Hiking the Diving Board Trail on Half Dome in Yosemite National Park
Distance: 10.4 miles / 16.7 km
The Diving Board Trail in Yosemite National Park is a unique and challenging off-trail adventure that leads to a hidden, overhanging cliff face on the north side of Half Dome, known as the Diving Board.
This ledge is renowned by those willing to undergo the tedious journey to get there, as the views from the top of the Diving Board are unlike anywhere else on Earth, because the cliff is so extremely undercut that it gives the feeling that truly nothing is beneath you!
Now, it must be said that the one-of-a-kind views from the Diving Board are just as dangerous as the hike to get there. By this, I mean that much of the hike to the Diving Board is off-trail, following what the National Park Service commonly calls a 'social trail'—similar to others around the National Park System, like the Delta Lake Trail in Grand Teton National Park.
On top of this, the Diving Board Trail traverses a very narrow and dangerous ledge along the base of Half Dome, known as the Snake Dike, where hikers are required to navigate their way across very small ledges that are sometimes only the width of a shoe—not to mention that at least one or two Class 4 moves are required at the very end of this tricky section.
I have all the photos of the entire Snake Dike shown below, but to those without this kind of high-exposure scrambling experience, I do not feel that the Diving Board Trail is the best place to learn. There are countless other adventures around the country that I feel are more suitable to see what you’re comfortable with, but the Diving Board Trail isn’t one of them, as the consequences of falling are simply too high!
Happy Isles Trailhead Parking
Parking for the Diving Board Trail is located at the Happy Isles Trailhead in the very back of Yosemite Valley, either in the dirt lot just past Curry Village or along Happy Isles Loop Road, with many visitors parking as far away as Yosemite Village and relying on the free shuttle to get to and from the trailhead.
That said, the Happy Isles Trailhead is one of the most challenging places in Yosemite National Park to find parking—unless you arrive first thing in the morning, which is what recommend for most adventures in and around Yosemite Valley.
Google Maps Directions: Mist & John Muir Trailhead (Happy Isles)
Hiking Checklist - Yosemite
Here is a complete list of must-have things that you will want for any hike in Yosemite National Park.
That said, bear spray is purposefully excluded from this list because, while the Sierra Nevadas are home to a large Black Bear population, bear spray is not allowed in Yosemite National Park.
Hiking the Diving Board Trail
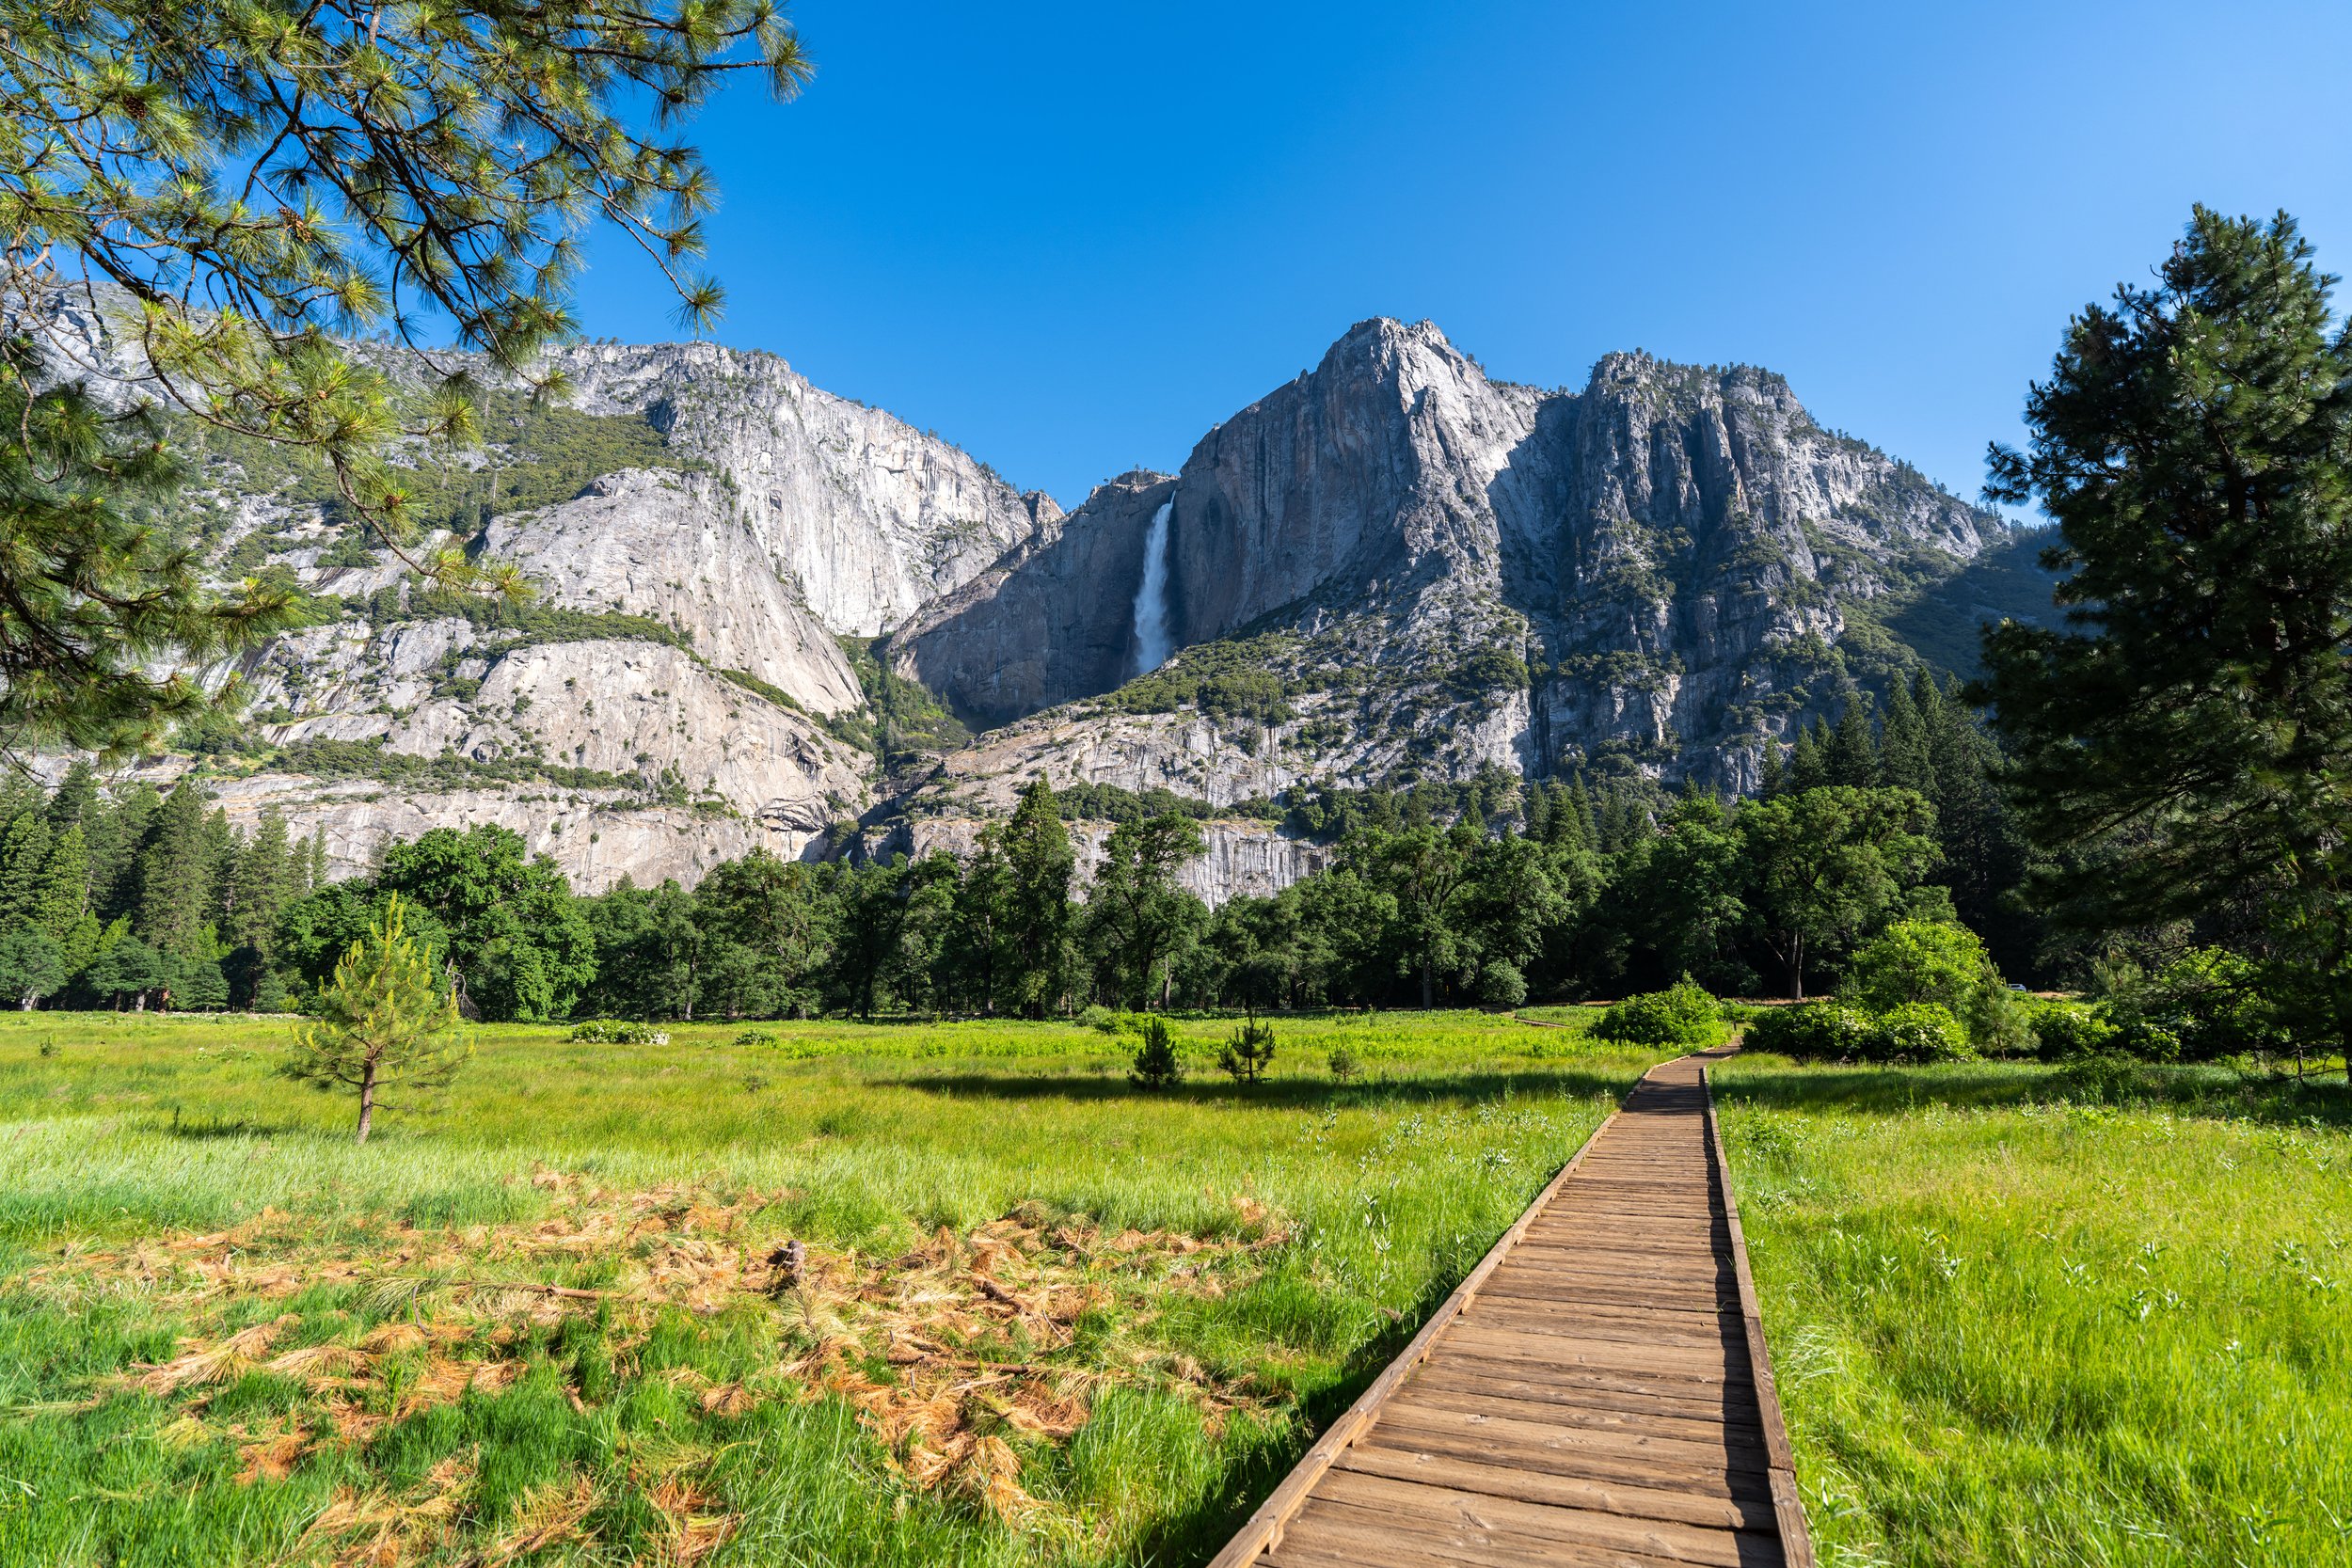
The Diving Board Trail begins at the Happy Isles Trailhead on the far side of the Merced River from the shuttle stop.
Those parking in the dirt lot or along the road by Curry Village can utilize the Yosemite Valley Loop Trail or the shuttle to reach the trailhead, as it is at least a 0.6-mile (1.0 km) walk each way from the closest parking area.
This is the same trailhead for both the Mist Trail and the John Muir Trail, which is why the beginning of this post will mirror both my article about Vernal and Nevada Falls, as well as the beginning of the Half Dome Trail.
To skip ahead to the JMT at the top of the Mist Trail, click here.
Initially, the hike begins on a very flat trail, but this will quickly change, as the entire 6.4-mile (10.3 km) Mist–John Muir Loop to Vernal and Nevada Falls is almost always climbing or descending one of many steep sections.
After just 0.4 miles (0.6 km), the Mist Trail makes a hard left turn to begin the ascent up to Vernal Falls.
This is also where the Mist Trail becomes paved and continues all the way to the Vernal Falls Bridge, about 0.9 miles (1.4 km) into the hike.
This sign at the beginning of the Mist Trail is strikingly similar to the sign at the beginning of the Crescent Meadow Loop Trail in Sequoia National Park, which marks the start of countless different adventures on the High Sierra Trail, such as the Mineral King Loop.
It really is fun to look at when you think about all the possibilities one can reach throughout the Sierras and beyond, like Mt. Whitney, more than 200 miles (322 km) away!
This is where the Mist Trail noticeably begins gaining elevation, a climb that remains fairly steep all the way to the top of Nevada Falls.
From this viewpoint, hikers can see Upper Yosemite Falls in the distance!
On a sunny day in Yosemite, which is very common in the Sierras during the summer, I highly recommend hiking in a hooded sun shirt to stay safe—something that can certainly be useful here and on countless other adventures throughout the park.
After roughly 0.9 miles (1.4 km), the Mist Trail crosses the Merced River for the first of two times before reaching the top of the loop.
That said, the Vernal Falls Bridge is a good sign that the beginning of the Mist Loop Trail is not far ahead.
Outside of filtering, the far end of the Vernal Falls Bridge is the last place for visitors to get water on the hike to the Diving Board.
With that in mind, all hikers should carry at least 2–3L of water for the steep Mist Trail and the Diving Board Trail, which is why I highly recommend traveling to Yosemite with a good water bladder, like the one listed below.
After the Vernal Falls Bridge, the Mist Trail continues for another 0.2 miles (0.3 km) until it reaches the John Muir Trail junction.
Lower Mist-John Muir Junction (Mist Loop Trail)
This is the lower junction where the Mist Trail and John Muir Trail split for the first time, effectively creating the Mist Loop Trail.
Here, hikers can either ascend the John Muir Trail to the top of Nevada Falls first by going right, but it is much more common to continue straight on the Mist Trail toward Vernal Falls, returning on the John Muir Trail at the end.
This is the direction in which this article is written.
Mist Trail vs. John Muir Trail
Whether to hike up the Mist Trail or John Muir Trail—especially when hiking Half Dome—is a fair debate, but I strongly feel that the Mist Trail is the better choice for hiking the full Mist–John Muir Loop Trail, Half Dome, and even the Diving Board.
I believe this because the Mist Trail, while steeper, is very direct and straight to the point, whereas the John Muir Trail is much longer, more out of the way, less fun, and the views aren’t as good.
That’s not to say I recommend against returning on the John Muir Trail, but when it comes to hiking up—especially when trying to get to Half Dome and the Diving Board as fast as possible—I highly recommend the Mist Trail, as it totals about 1.5 miles (2.4 km) from this point to the top of the loop, compared to 2.7 miles (4.3 km) on the John Muir Trail.
What is the Winter Route?
The winter route refers to a route that intentionally avoids both the Mist Trail from here to the top of Vernal Falls and the John Muir Trail between Clark Point and the Panorama Trail, while utilizing the connector in between.
This is because both routes can become extremely dangerous during the colder months of the year, as mist from Vernal Falls turns into ice on the steep sections by the waterfall, and water and rocks falling on the John Muir Trail between Clark Point and the Panorama Trail can make it particularly and unnecessarily dangerous.
Regarding my thoughts above, I chose to go straight on the Mist Trail toward Vernal Falls.

Mist Trail
This is where the Mist Trail begins—the steep, and soon-to-be-wet, sections up and around Vernal Falls.
This turn is where the Mist Trail will noticeably begin to get wetter and wetter until it reaches the uppermost sections closest to Vernal Falls.
Some hikers may prefer to carry trekking poles for the very steep, wet sections near Vernal Falls.
This first flat section is one of the better places to take photos on the hike up Vernal Falls, as it is conveniently protected from the worst of the mist.
Once through the rock tunnel, the Mist Trail enters the wettest part of the entire hike past Vernal Falls, which is why some visitors prefer to wear rain jackets for both the hike up and down.
After climbing to the top of the wettest section shown above, the Mist Trail becomes significantly drier around this flatter section, which is where I personally think the best places to take photos on the entire trail can be found!
Immediately past Vernal Falls, the Mist Trail continues up a very steep stretch, which essentially continues with no breaks until the top of Vernal Falls.
Yes, it’s really this steep!
Choosing the Mist Trail over the John Muir Trail will be a significantly steeper climb, but I truly think it’s worth the effort because of the beautiful sections below—and to cut out about 1.2 miles (1.9 km) to reach the uppermost part of the loop.
Just before the top of Vernal Falls, the Mist Trail traverses a very short but narrow section that can become a bit of a bottleneck as hikers squeeze past one another.
At the top of the narrow section, the Mist Trail opens up, with the path continuing to Nevada Falls on the right and the top of Vernal Falls straight ahead.
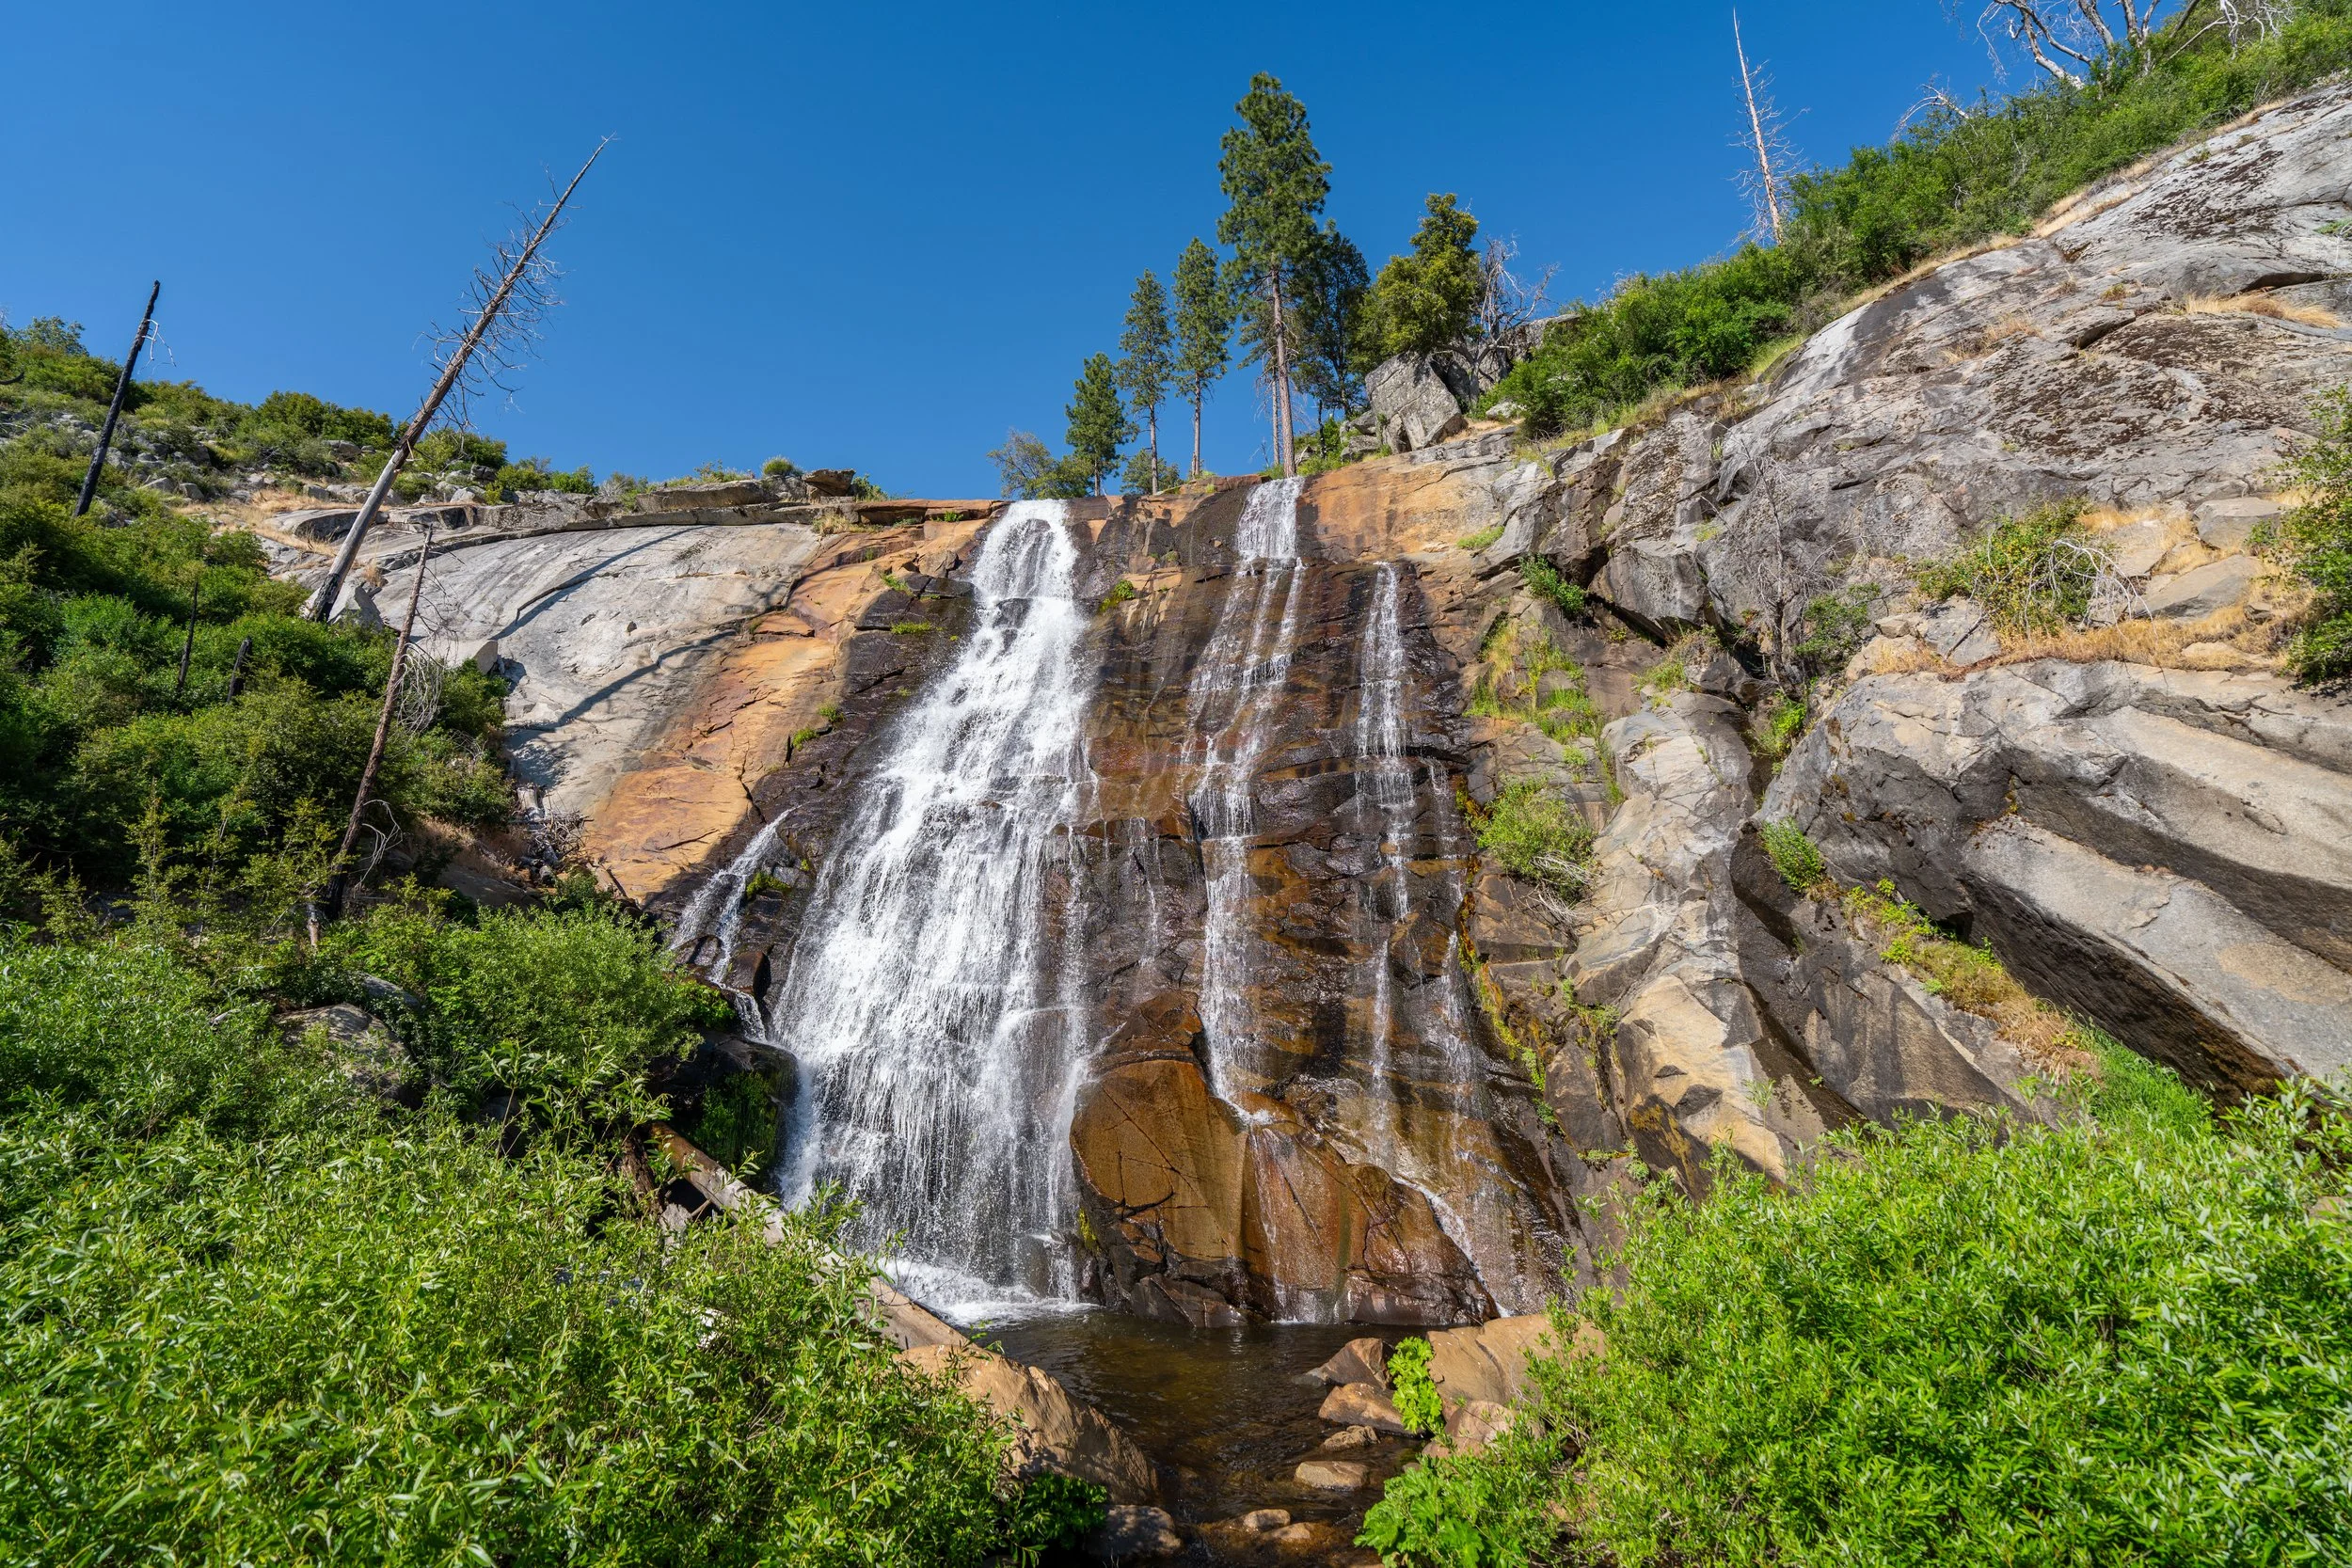
Top of Vernal Falls
The top of Vernal Falls is this panoramic viewpoint overlooking the 317-ft. (96.6 m) waterfall, which marks the most popular turnaround point on the Mist Trail after the Vernal Falls Bridge.
That said, the number of hikers continuing on the Mist Trail to Nevada Falls—about 1.3 miles (2.1 km) away—significantly drops from this point on.
To continue up the Mist Trail to the Diving Board, simply continue upstream and the trail will eventually narrow as it climbs its way up.
Just past Vernal Falls, there is another restroom with a third located at the very top of the loop.
Shortly past the restroom, the Mist Trail makes a hard right turn away from the Merced River.
Mist-John Muir Connector Junction (Clark Point Junction)
The next time the Mist Trail splits is when it comes to this short connector between the Mist Trail and the John Muir Trail, which is the winter route, as it avoids both the sections of each trail that are closed during off-season months.
That said, I personally don’t recommend following this connector at any point during the hike, because the fastest route to the top of the loop and the Diving Board Trail is by continuing straight.
All that to say, go straight (left) to continue on the Mist Trail to the top of Nevada Falls.
Shortly after the Clark Point junction, the Mist Trail crosses over the Merced River once again, where it begins to make its way toward the steepest sections, up the switchbacks to the top of Nevada Falls.
After the view of Nevada Falls from the bottom, the Mist Trail begins climbing through the trees, gaining roughly 700 ft. (213 m) to the uppermost part of the loop.
When the Mist Trail breaks out of the trees, the hike begins the steepest and typically hottest section of the entire climb!
Once again, I could not recommend hiking in a hooded sun shirt more!
In my opinion, the hot summer sun makes this ascent up Nevada Falls more difficult than the Mist Trail by Vernal Falls.
In total, there are 25 or 26 short, but steep, switchbacks to the top of Nevada Falls, depending on how you count.
This short straightaway is a nice break from the steep switchbacks prior to this point.
After the 'flatter' section, the few remaining switchbacks to the top of the loop and the Mist Trail begin.
Upper Mist-John Muir Junction
This uppermost junction is the very top of the Mist–John Muir Loop Trail, and it’s where the John Muir Trail continues to popular destinations such as Little Yosemite Valley, the Diving Board, and Half Dome, which you can read about in either of my separate posts linked below.
That said, go left to begin the John Muir Trail (if you hadn’t at the lower junction) to continue hiking toward the start of the Diving Board Trail.
Read My Separate Post: Mist Trail (Vernal & Nevada Falls)
John Muir Trail
After the steep hike up the Mist Trail, the John Muir section of the hike to the Diving Board becomes much less steep compared to the sections to get to this point.
From the top of the Mist Loop Trail, the John Muir Trail continues for about 0.8 miles (1.3 km), until it reaches the split for the Diving Board Trail.
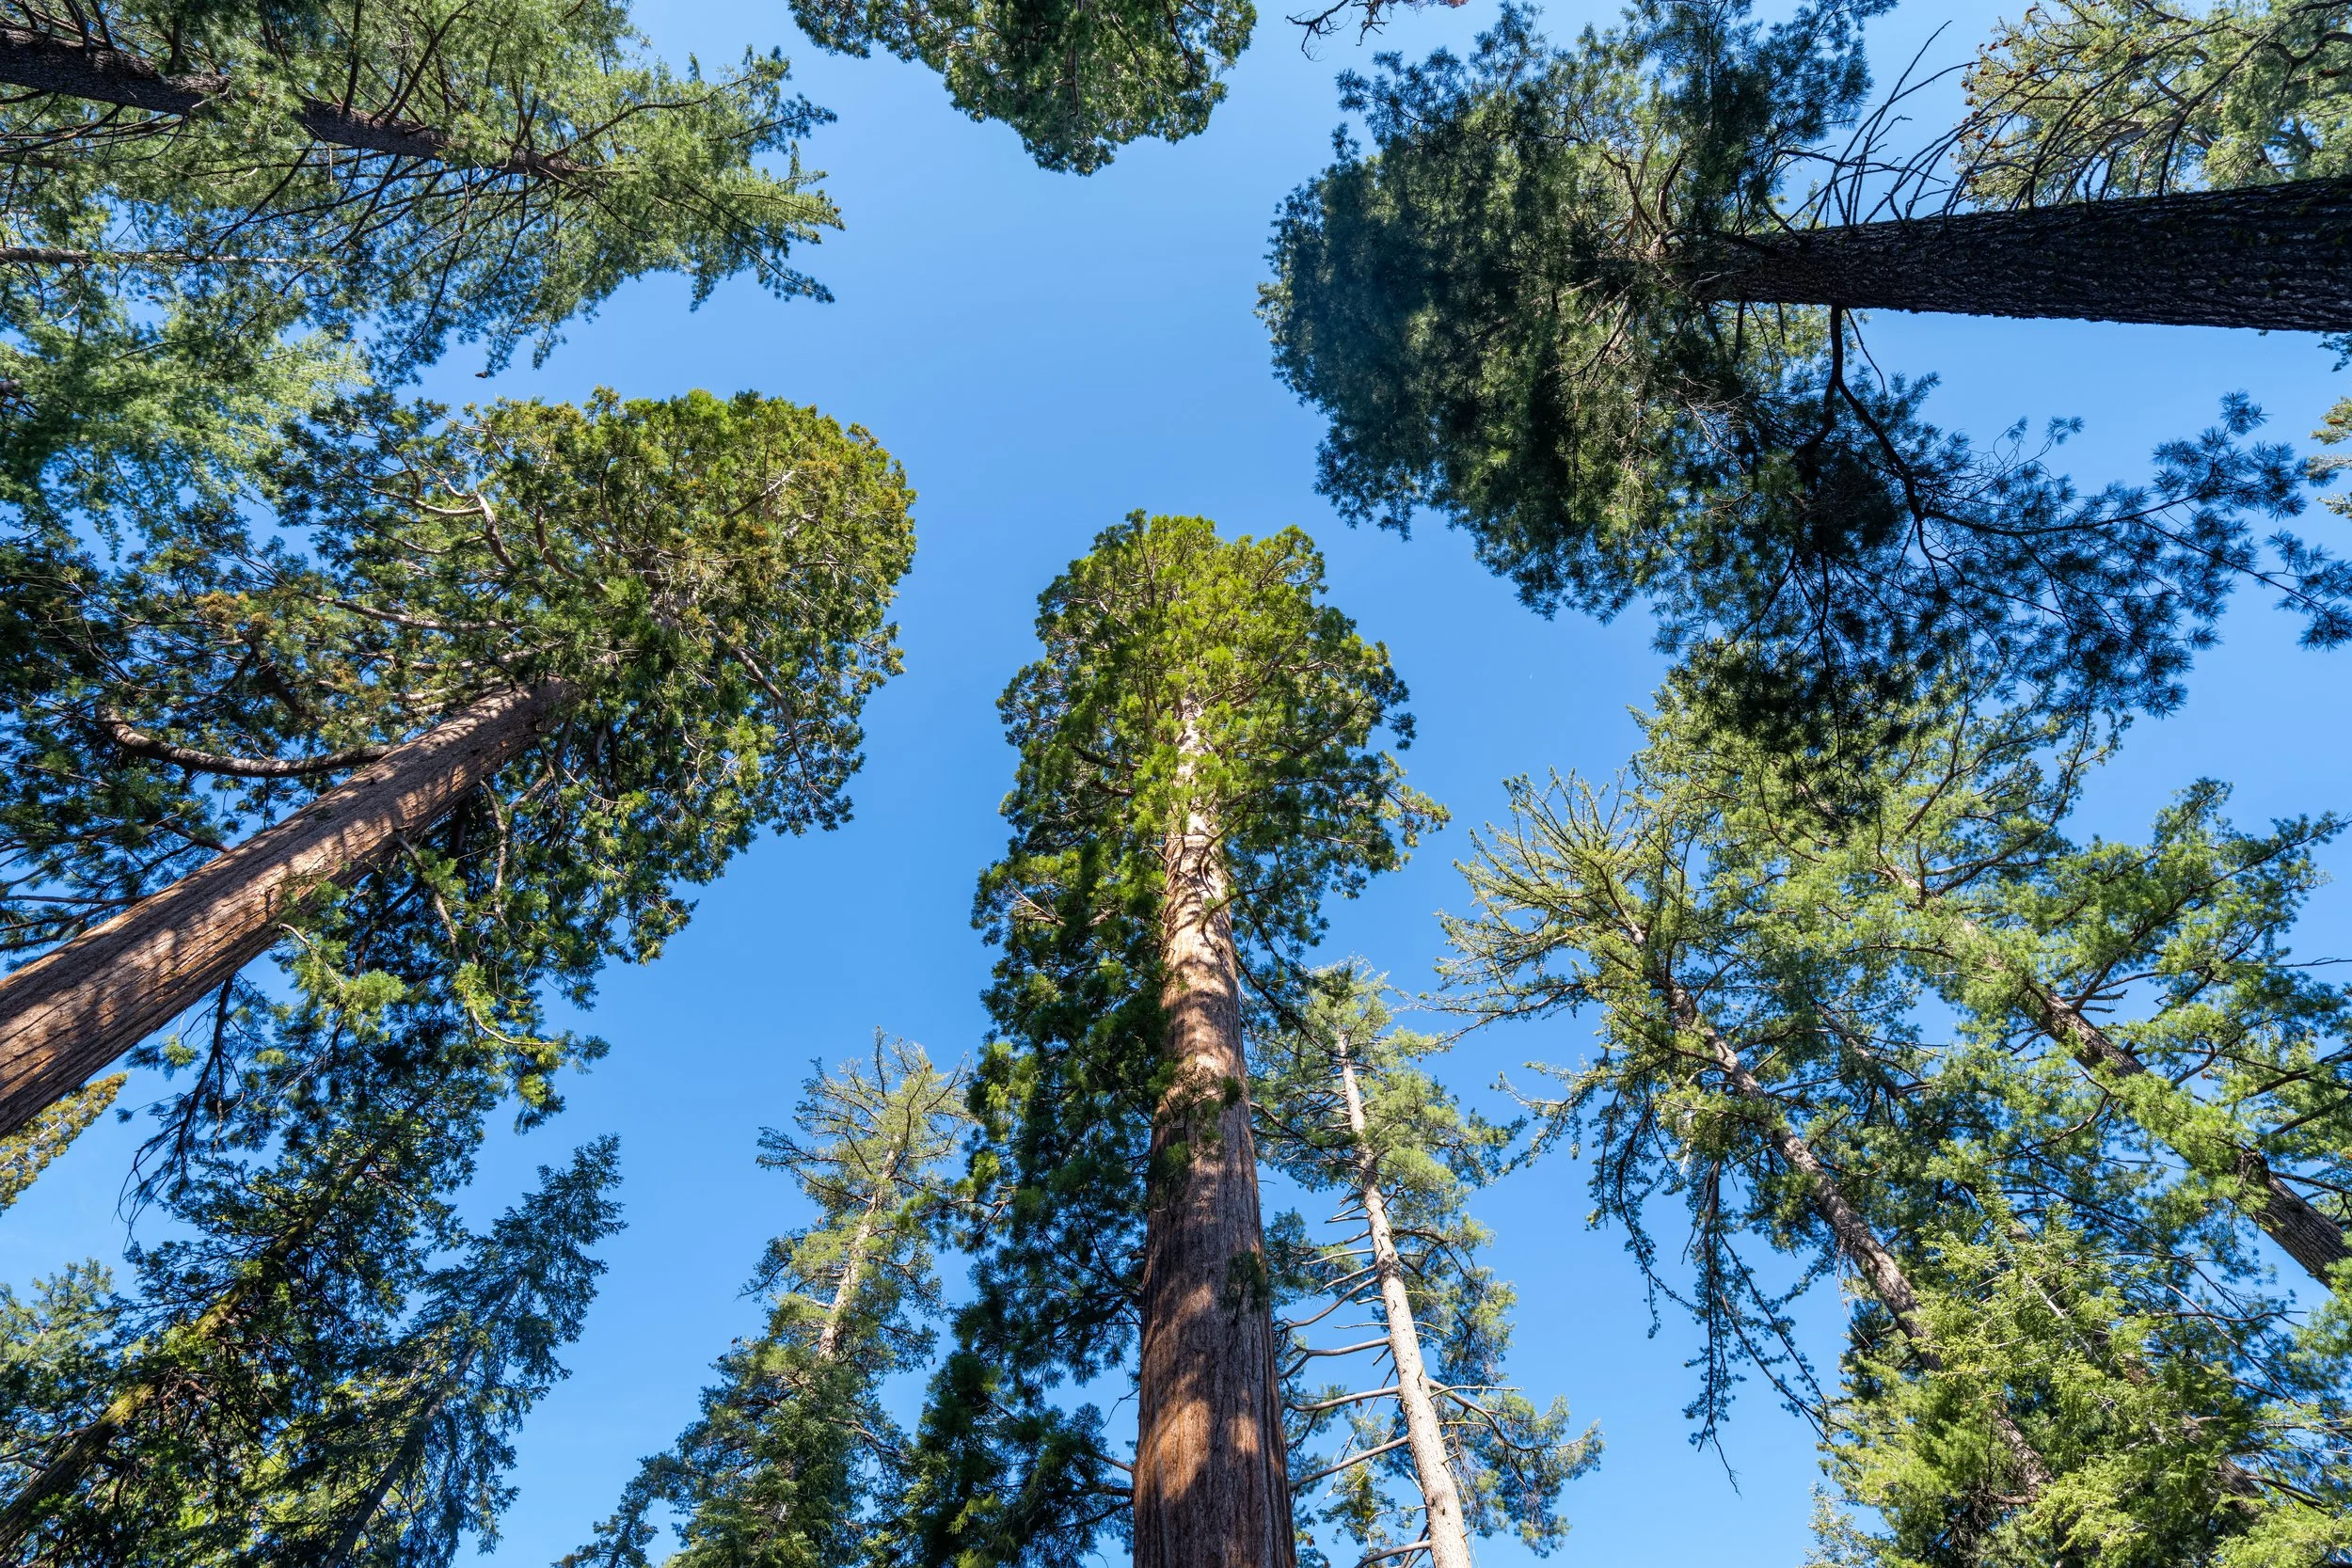
It’s always cool to run into Aspen trees throughout the Mountain West!
John Muir-Merced Lake Junction
The only time the John Muir Trail splits before the Diving Board Trail is at this junction, for the route that leads to Merced Lake.
Here, go left, and the split for the Diving Board will be found less than 0.1 miles (0.2 km) ahead.
Diving Board-John Muir Junction
After less than 0.1 miles (0.2 km) past the Merced Lake junction, the John Muir Trail splits, with this inconspicuous path to the left—the beginning of the Diving Board Trail.
There is this path here and another just beyond the trees from the other direction, but whichever you choose, go left to leave the John Muir Trail.
If you want to read more about the trail continuing toward Little Yosemite Valley and Half Dome, I highly recommend checking out my separate post linked below.
Read My Separate Post: Half Dome Trail
Initially, the Diving Board Trail climbs up the steep hill to the left of the John Muir Trail, which is why, if you don’t find the split shown above, there’s no chance of seeing the trail continuing out to the Diving Board from any other part of the JMT.
At the top of this first hill, the Diving Board Trail may seem a bit vague where the two paths come together, but this is where the trail makes a hard left turn, which should become more obvious once you find the path shown in the second photo below.
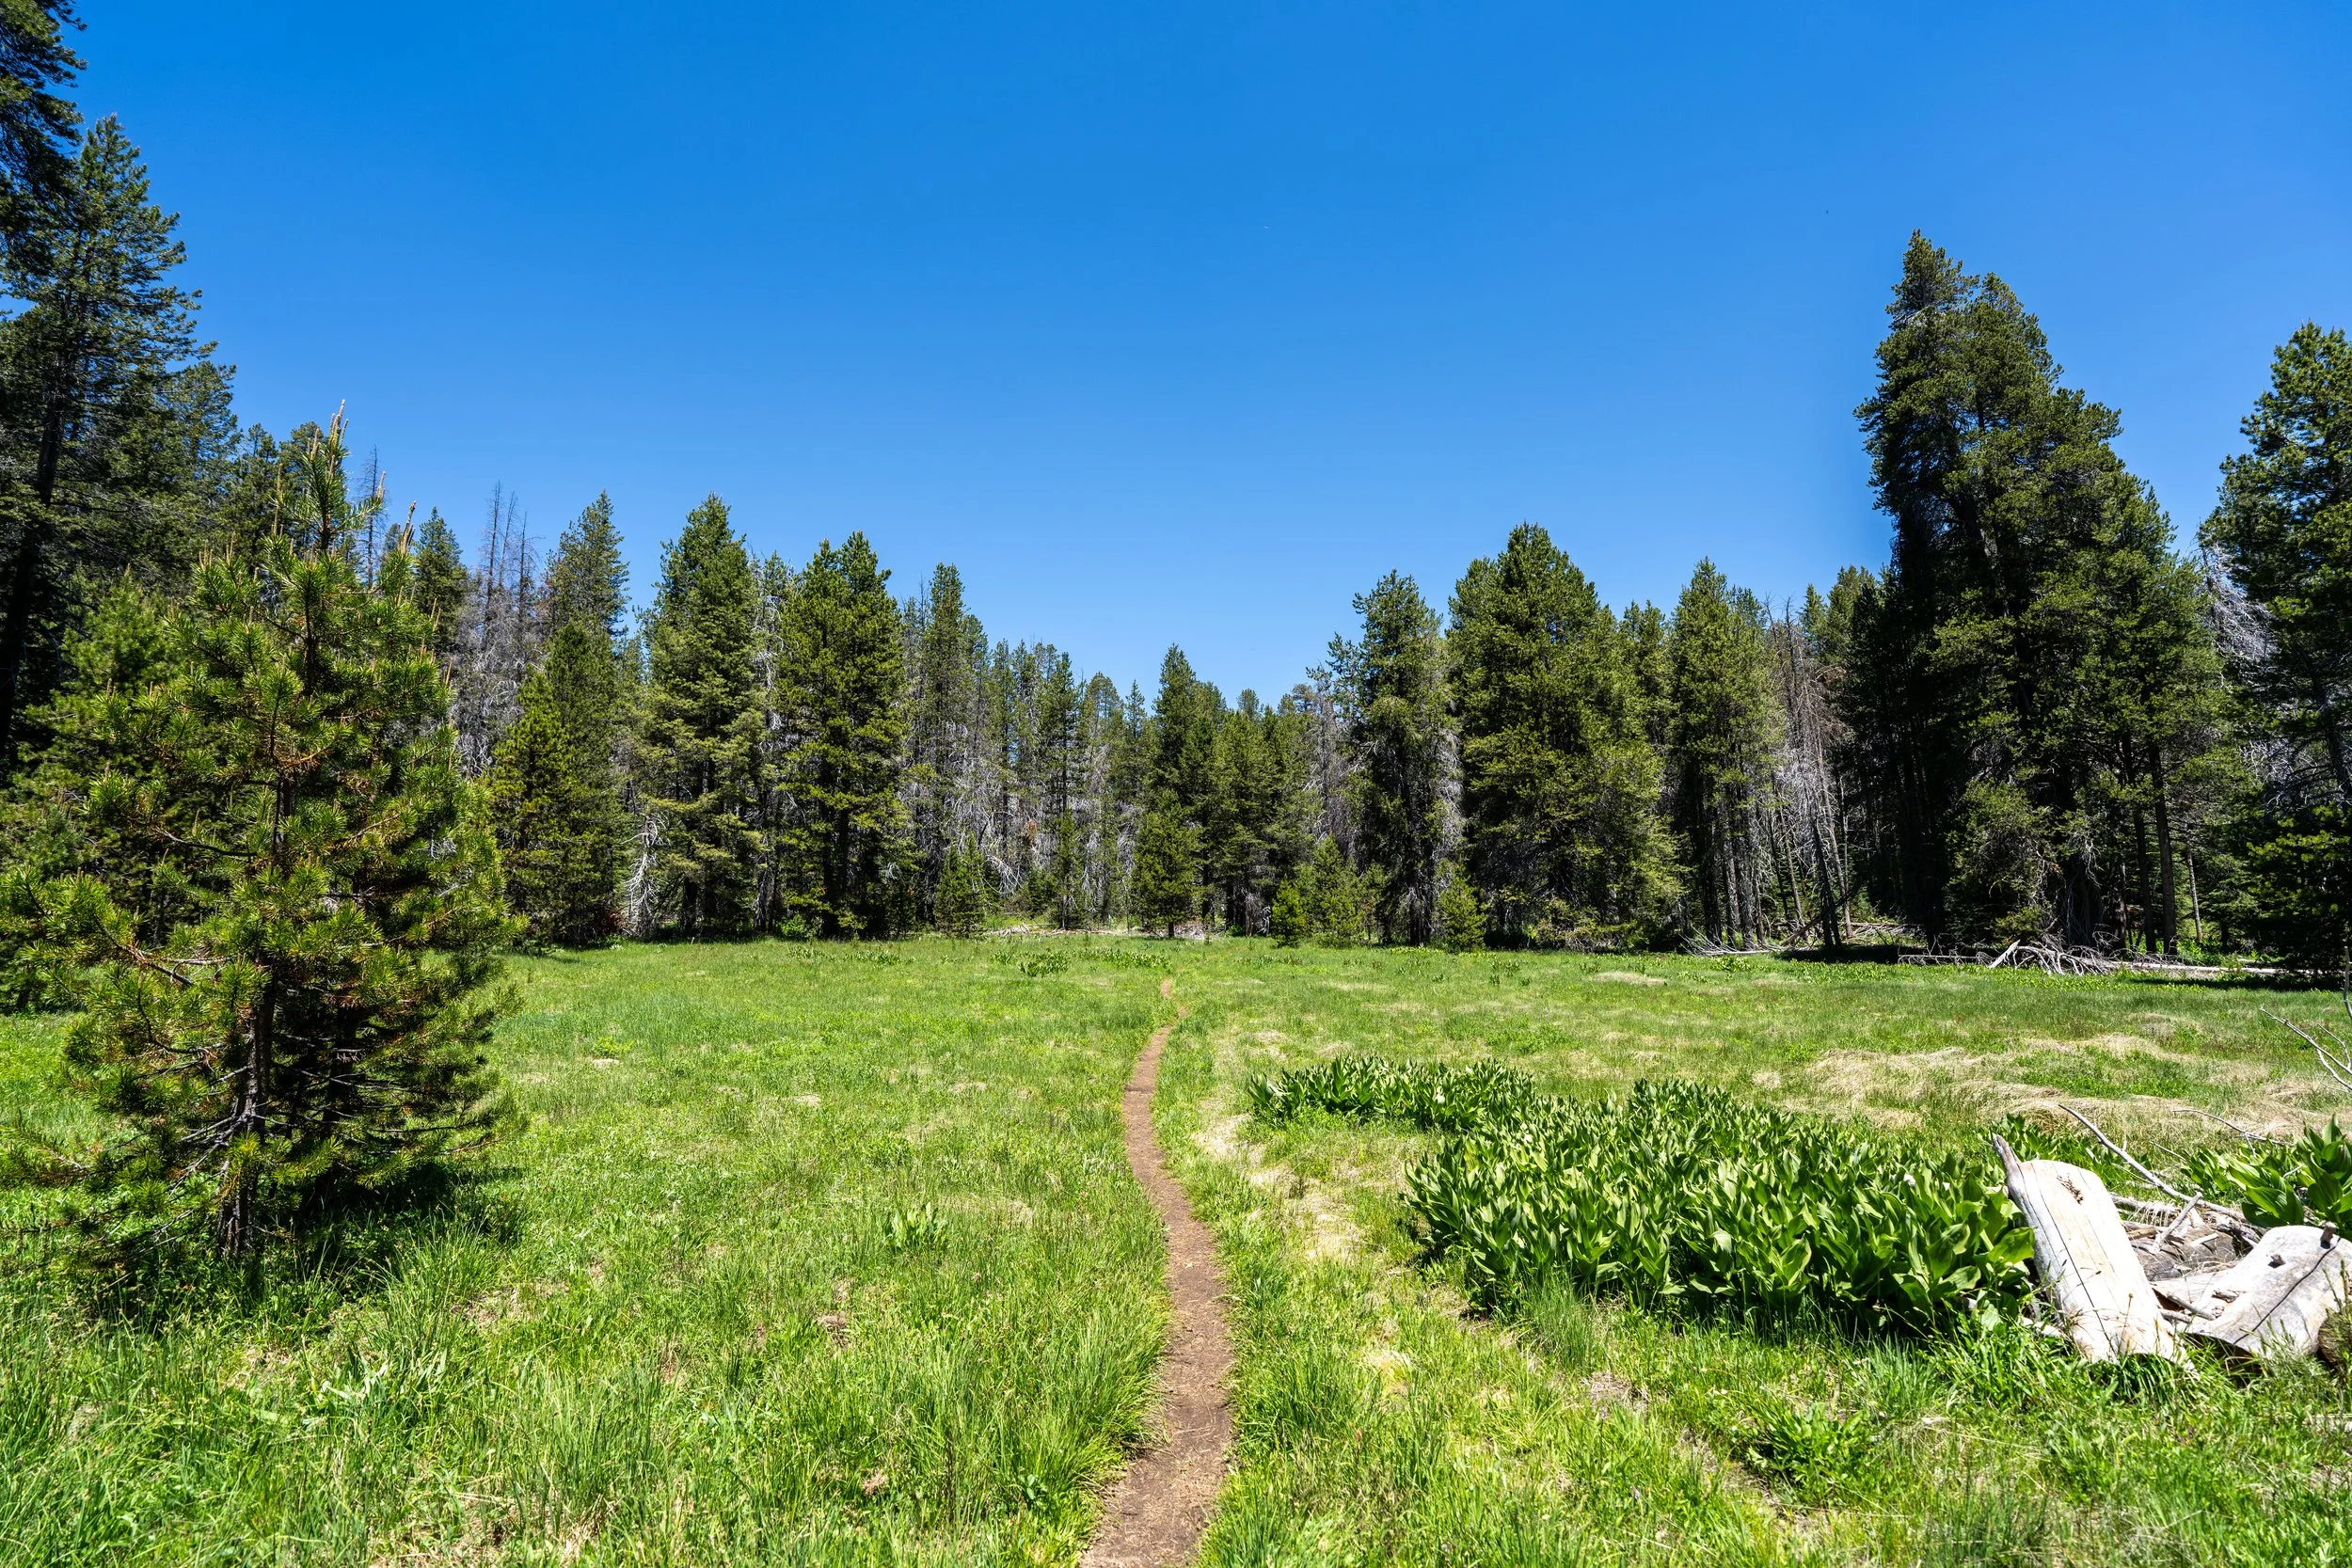
Once the two paths come together, the Diving Board Trail follows a mostly straightforward route for the first 0.3 miles (0.5 km), which, in my opinion, doesn’t become too challenging to follow until the sections just before Lost Lake.
It’s important to recognize that no one is maintaining the Diving Board Trail, meaning there will be countless fallen trees to navigate around—not to mention confusing paths that seem like the correct route, only to leave you backtracking to figure out which direction actually is the correct route.
This large rock is where the Diving Board Trail begins to get a little more confusing, as there are a number of not-so-obvious turns before Lost Lake that are easy to miss.
After the large rock, the trail climbs up this hill, where it starts to become a bit more vague—something I found to be true on both the way up and the way down.
This short but steep rocky section is one of the few indicators before Lost Lake to know you’re hiking on the correct trail.
At the top of the steep rocky section shown above, the Diving Board Trail makes a hard left turn to continue toward Lost Lake.
At the far end of the open clearing in the photo above, the Diving Board Trail will turn to the right to cross over the small creek running out of Lost Lake.
When the Diving Board Trail reaches Lost Lake, the path becomes much easier to follow, because there really is only one way to go between the lake and the cliff face on the left-hand side.
Lost Lake
Lost Lake really looks more like a marsh than a lake, but it is a cool spot to look for wildlife as you hike through!
Something unfortunate that must be said about all off-trail adventures in the Sierras is that it’s important to look out for rattlesnakes and be careful where you step.
I did see one while hiking to the Diving Board, and even in an area where it should have been easier to spot, it still started rattling before I noticed it.
On the far side of Lost Lake, the Diving Board Trail will then climb above the trees and remain out of the forest until the very end of the hike.
That said, I once again cannot recommend hiking in a hooded sun shirt enough, as they are extremely useful for almost any long adventure in the Sierras!
This is where the Diving Board Trail begins to wind its way over to the first scramble.
After Lost Lake, the Diving Board Trail makes a hard right turn toward the west face of Half Dome, to begin the scramble up to the Snake Dike—the narrow string of ledges that must be traversed to reach the other side of Half Dome, where the Diving Board Trail continues.
The line of vegetation that can be seen below the steep, open granite face at the bottom of Half Dome is the scramble that leads to the start of the Snake Dike.
While the majority of this scramble should be considered Class 2, there are a few sections I believe to be Class 3—though an easy Class 3 at that.
This is the view looking back toward Lost Lake and Little Yosemite Valley in the distance.
About halfway up the scramble, I found it easiest to follow the boulders along the steep west face of Half Dome because there is significantly less overgrowth.
That said, be careful if you decide to follow the face of Half Dome on the way back down, because this boulder field cannot be taken all the way to the bottom of the scramble without some serious bushwhacking.
I have made this mistake before, which is why it’s important to make a mental note of where you first met the wall if you decide to return on this same route.
This is the view looking back down the scramble from the beginning of the Snake Dike.
Snake Dike (Warning)
This crack at the top of the scramble is the beginning of the Snake Dike, and it’s the start of the most dangerous section of the entire hike—outside of the Diving Board itself.
That is to say, the next 0.3 miles (0.5 km) along the Snake Dike is absolutely a no-fall zone, and only those with the confidence and experience to make a few tricky Class 4 moves should proceed past this point—not to mention that the rest of this section is Class 2 or 3, with very high consequences due to the steep drop to the left.
Seriously, don’t go if you aren’t comfortable.
It really is a long way down!
After the first few ledges, the Snake Dike enters some easier terrain before getting narrow again shortly ahead.
This begins the second and final narrow section along the Snake Dike, with the most challenging part located at the very end.
These ledges are a bit featureless, but in my opinion, the toughest part of the Snake Dike is the awkward move straight ahead.
This rock is what I consider to be the crux of the route.
I say this because it’s not easy to go around it to the left or climb up it unless you’re tall, and everything nearby is pretty featureless, with very high consequences if you were to fall.
That said, bringing a short rope to tie wouldn’t be the worst idea, but I could easily see others who like to gatekeep cutting any ropes left behind.
This is the top of the short, awkward Class 4 section.
Once past the awkward Class 4 rock, the Diving Board Trail is through the worst of the challenging parts, as the remaining sections are nothing more than a steep hike that requires good route-finding to stay on course.
As the Diving Board Trail moves around to the north face of Half Dome, it should noticeably move more quickly than the sections prior.
At this split, follow the trail up to the right.
This is where the Diving Board Trail rounds the corner toward the north face of Half Dome.
The forest in the distance is where the final slope to the Diving Board begins!
At this next split, I found it easiest to continue up to the right.
When the Diving Board Trail enters the trees just before the final ascent, my best advice is to stay along the lowest part of the small drainage, away from the boulder field closest to Half Dome.
The trail is vague through this short section, but it becomes more defined when it reaches the steep hill up to the Diving Board at the very end.
This is the bottom of the small drainage, mentioned previously, that makes for the easiest path to follow.
This is the beginning of the final, steep 0.2-mile (0.3 km) hill up to the Diving Board.
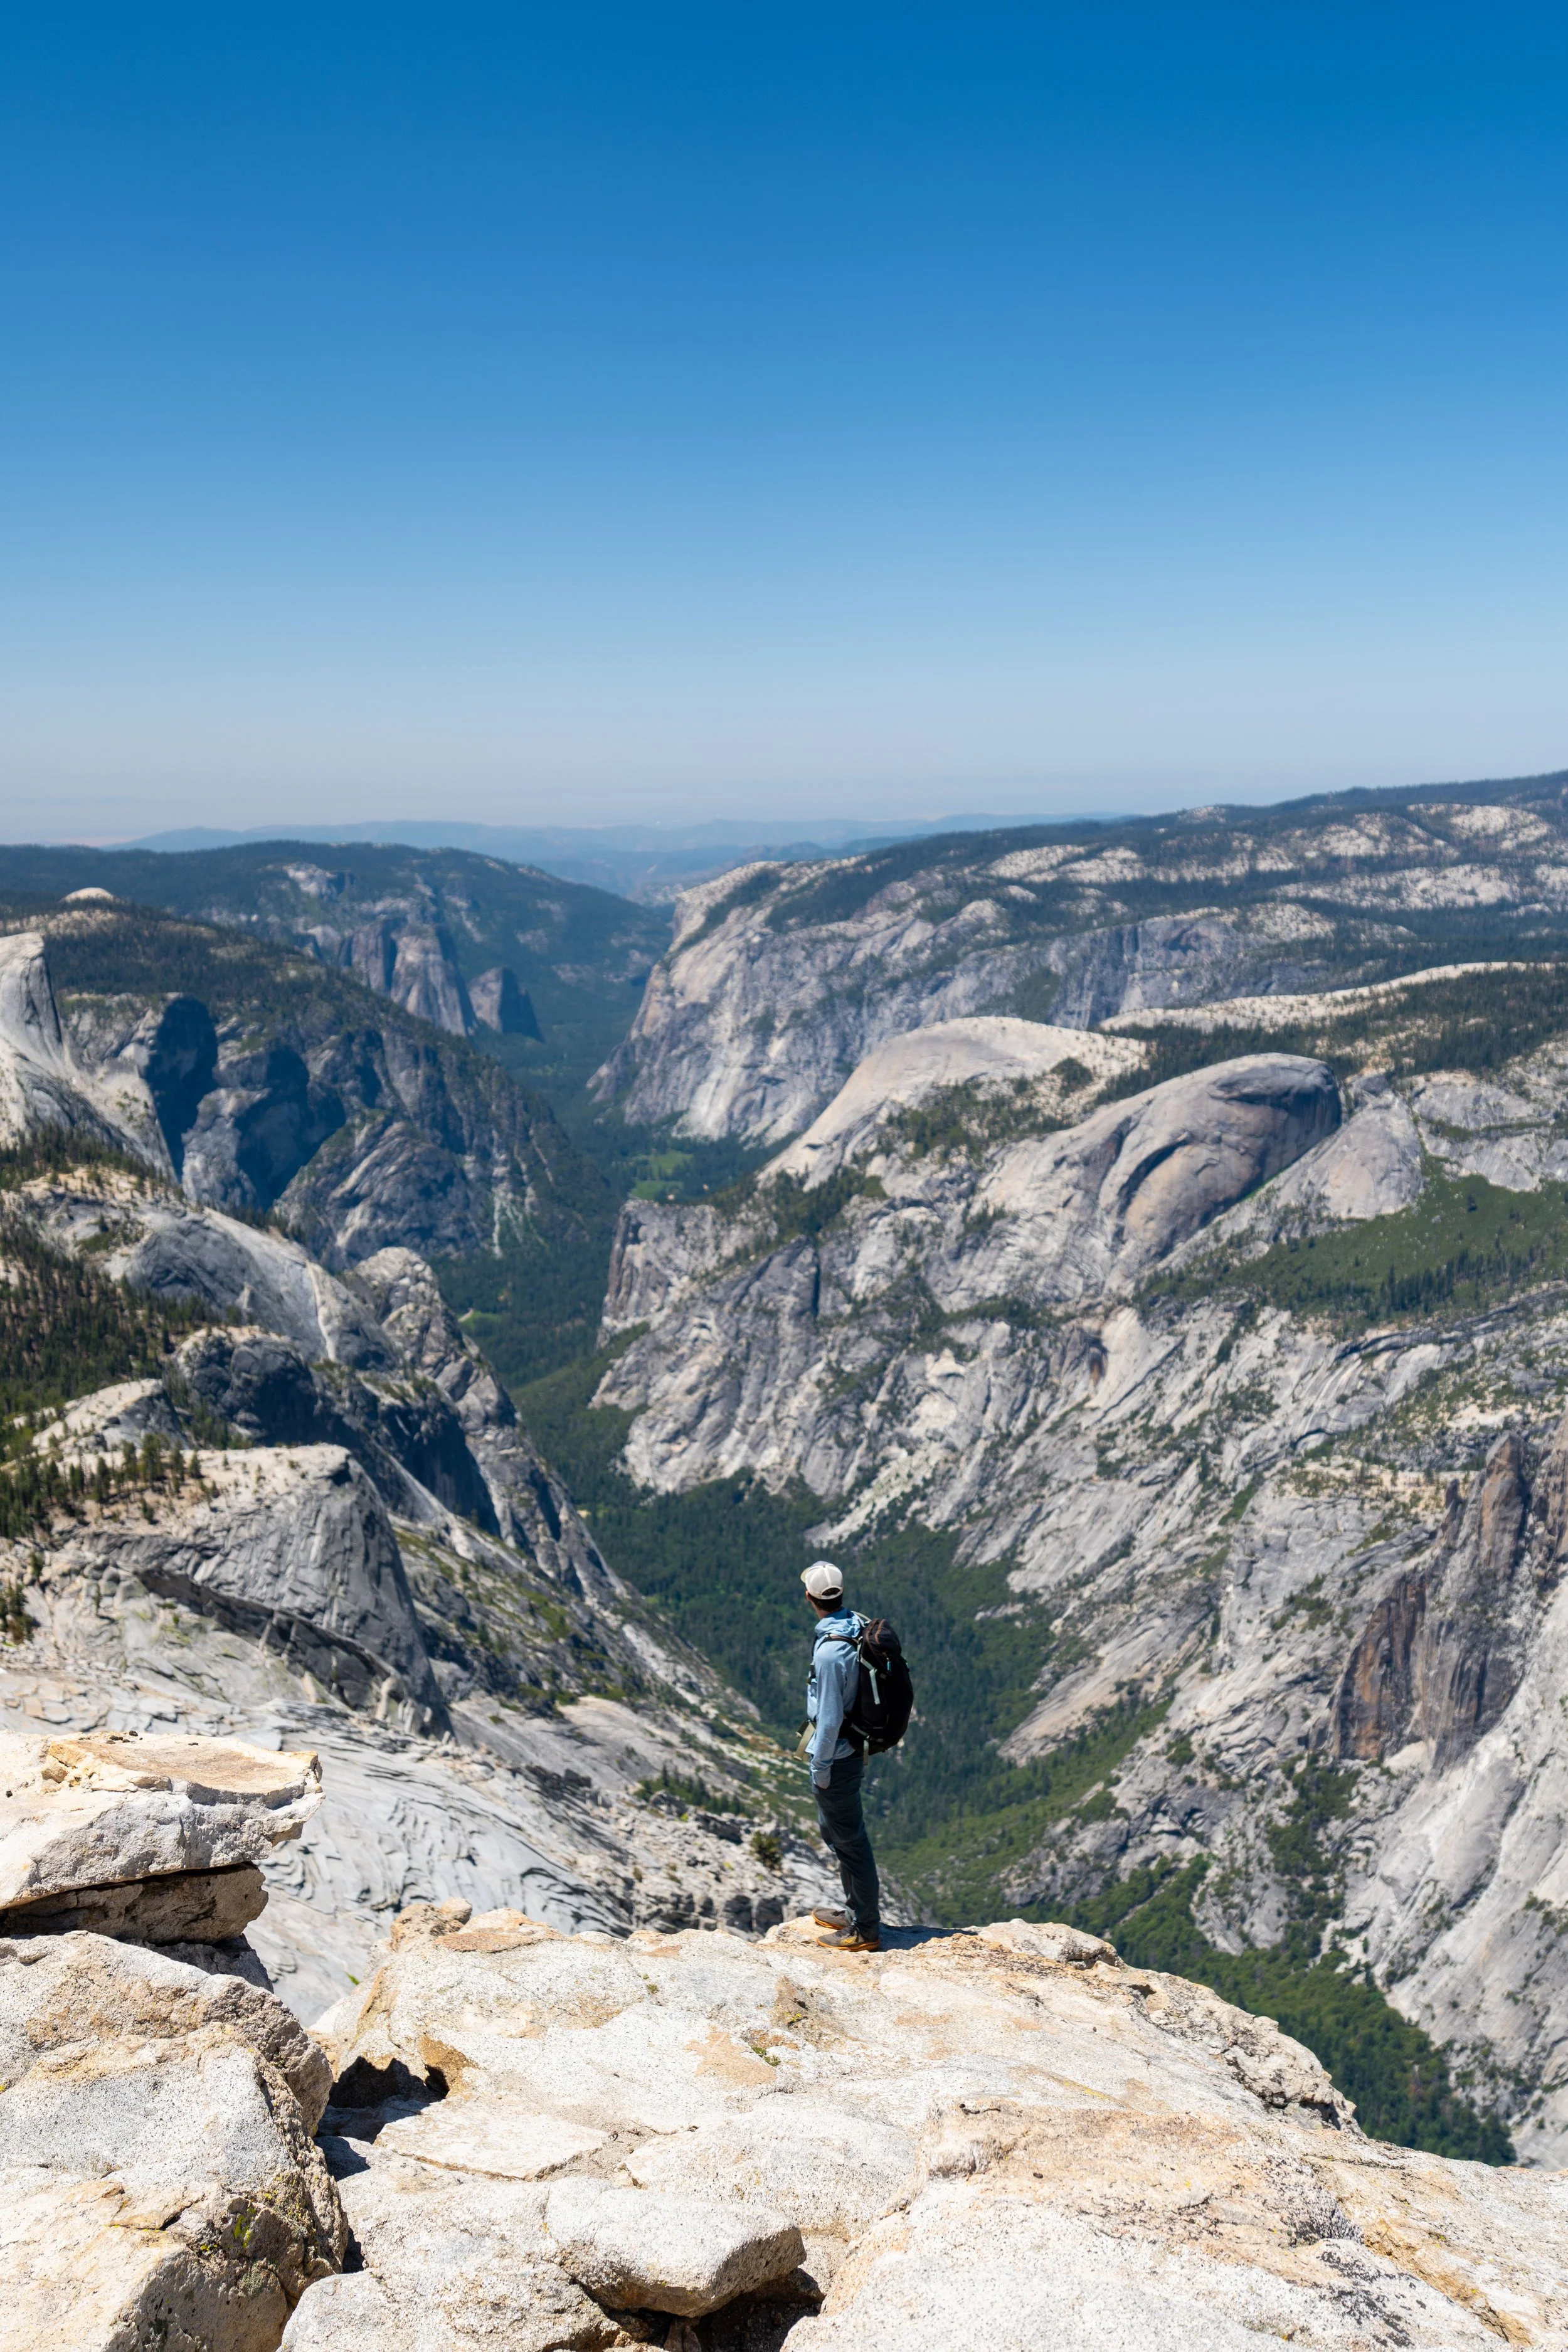
The top of this slope is the Diving Board!
This section really is that steep — and hot on a clear summer day like this!
It really is crazy that you don’t know what you’re about to walk up to from this angle!
Diving Board
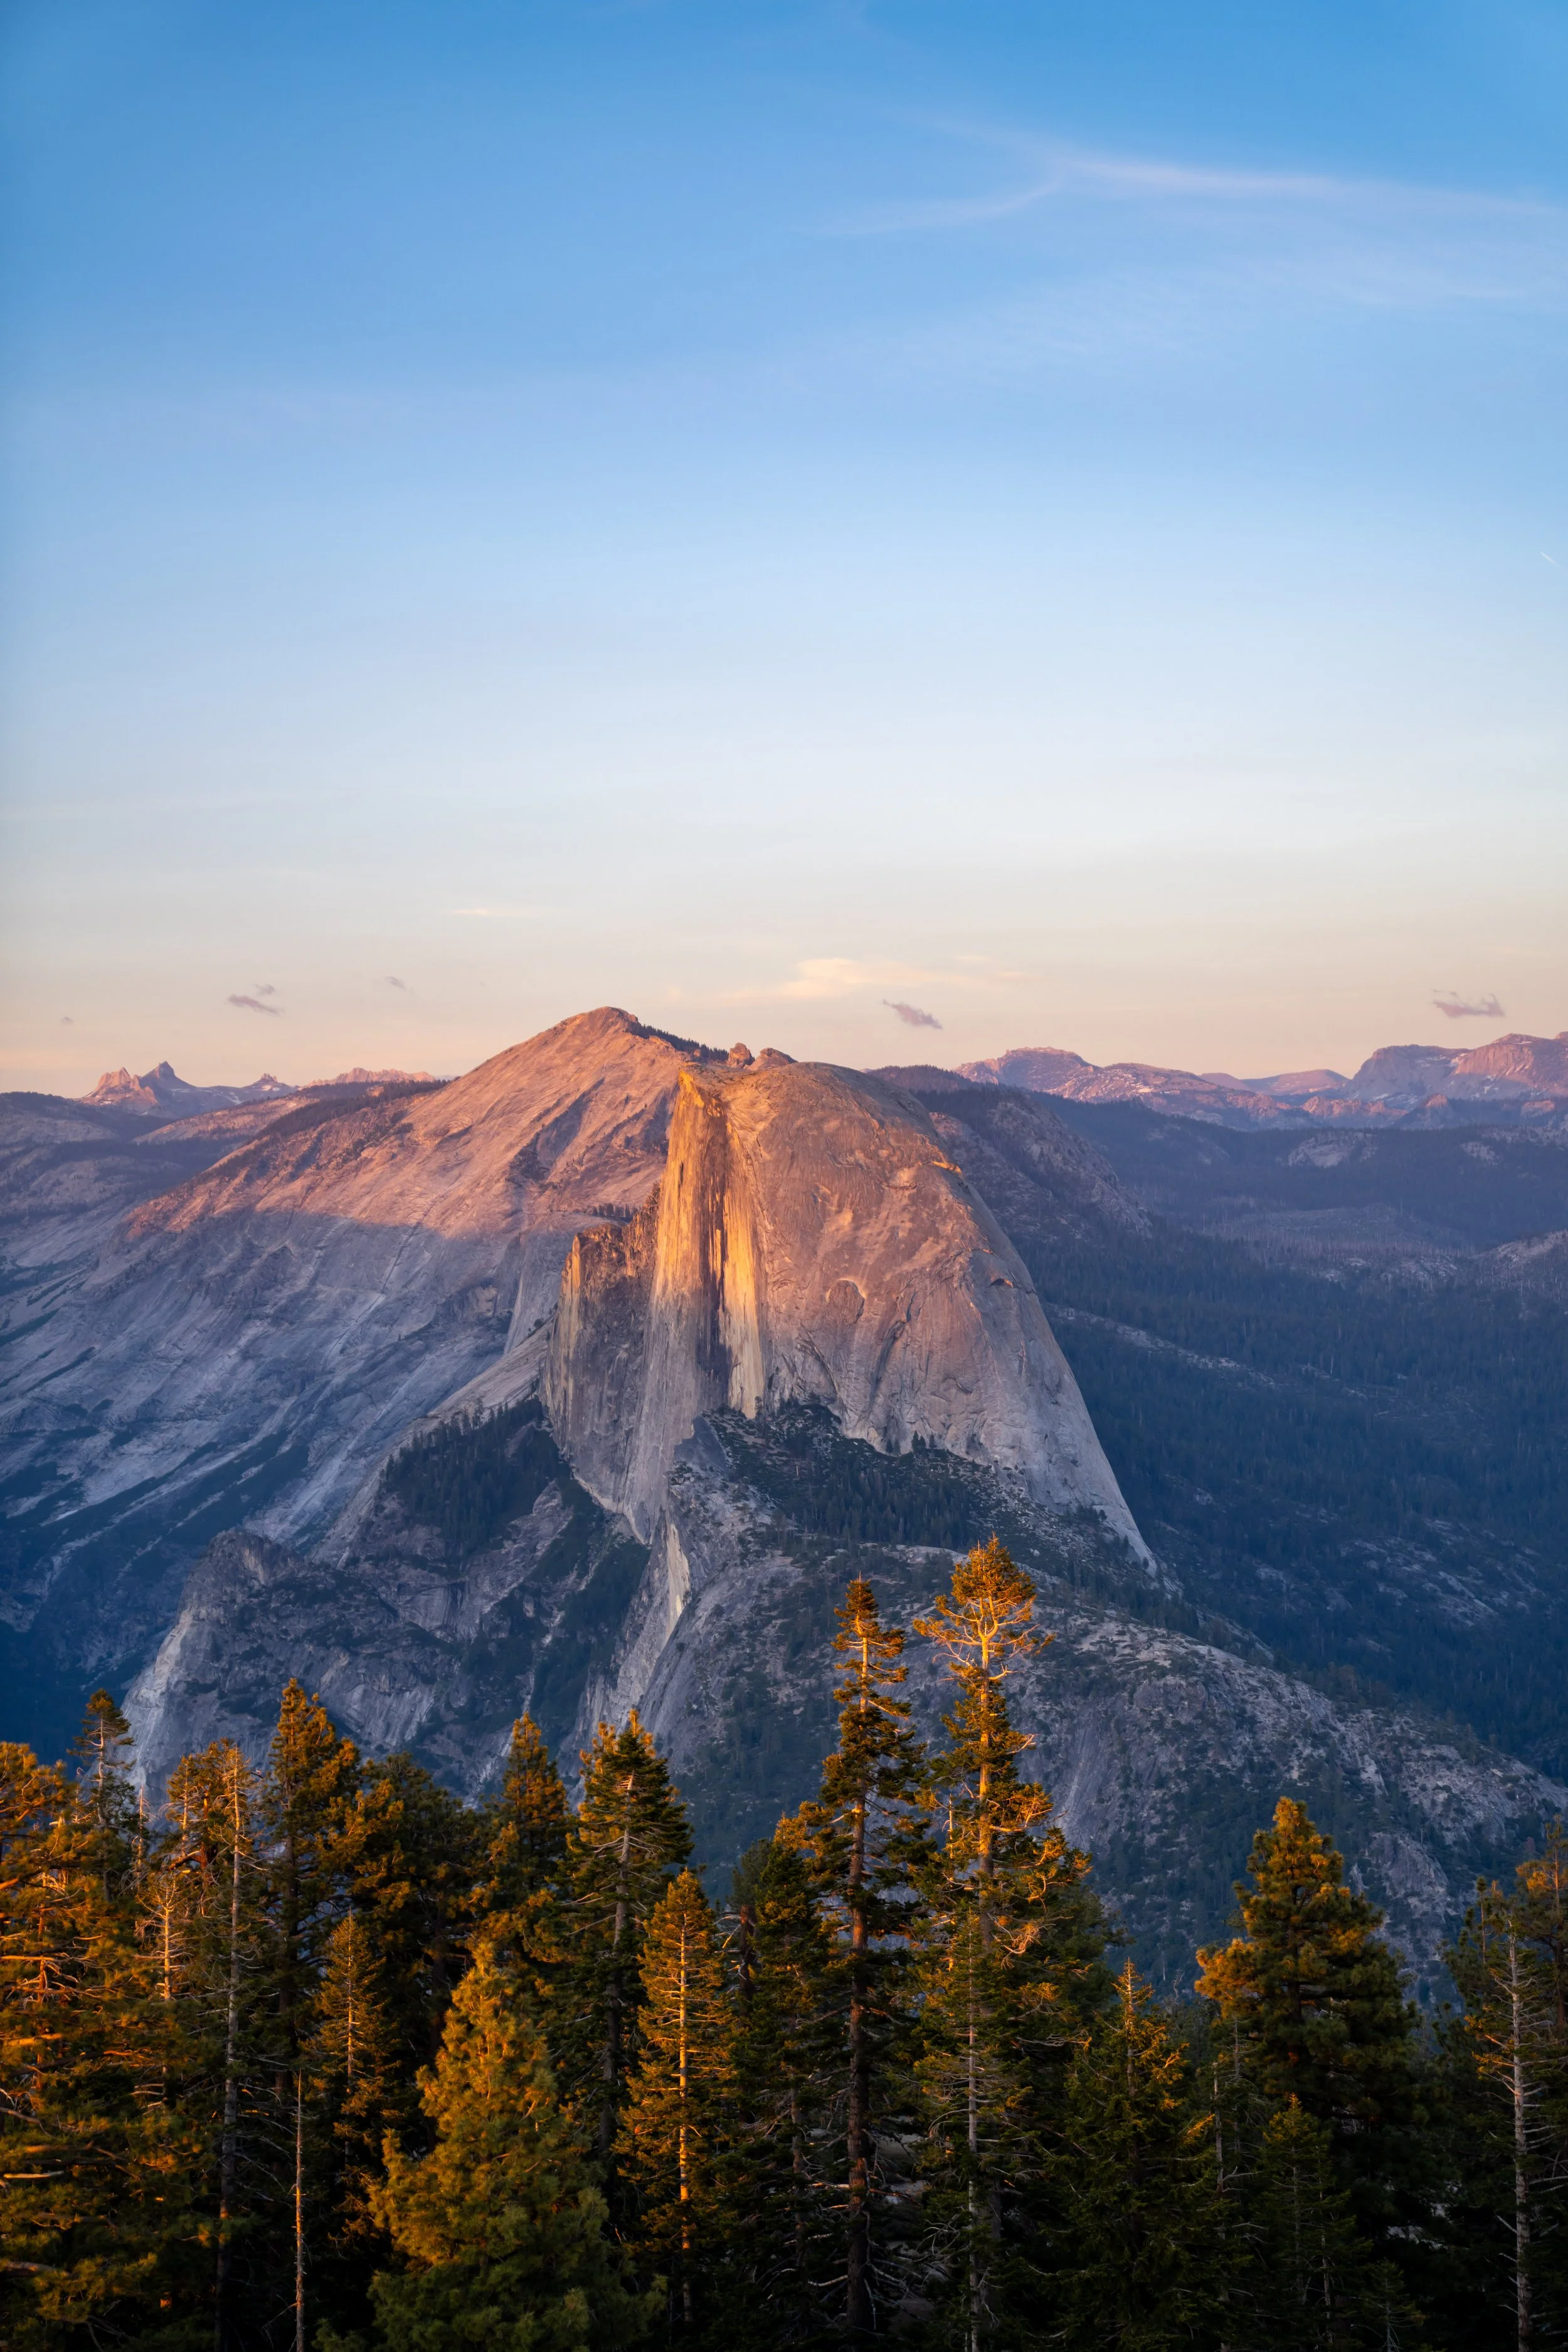
The very top of the hill is the Diving Board, an iconic overhanging cliff above Yosemite Valley that became known to the world through Ansel Adams’ 1927 photo titled Monolith, The Face of Half Dome.
That said, the Diving Board has long been associated with base jumping throughout the decades in Yosemite—something that has been illegal in the park since 1965, aside from a brief 10-week period in 1980 when the National Park Service experimented with base jumping permits from El Capitan.
Nevertheless, many people still jump from the Diving Board today, as enforcing such a regulation is more than a challenging task!
As for visiting, my best advice is to take everything out of your pockets before getting close to the edge and to only go as far as you’re comfortable.
There’s certainly no coming back from a slip in the wrong direction here!