Hiking the Chilnualna Falls Trail in Yosemite National Park
Distance: 8.4 miles / 13.5 km
Elevation Gain: 2,230 ft. / 680 m
The Chilnualna Falls Trail in Yosemite National Park is one of the best hidden gems outside of Yosemite Valley, as few venture into Wawona to explore the beautiful, towering waterfall and secret swimming hole in this quiet corner of the park!
Furthermore, the Chilnualna Falls Trail is often considered easy—or at least easier than most hikers expect for an all-uphill trail. One hiker I spoke with briefly even said, 'This is kind of a cruisy uphill!'—which I definitely agree with, as similar hikes like the Upper Yosemite Falls Trail are much more challenging!
In any case, the Chilnualna Falls Trail can most similarly be compared with the Tokopah Falls Trail in Sequoia National Park, just to the south. However, Chilnualna Falls and the secret swimming hole at the top are much less busy, which is why the Chilnualna Falls Trail is one of my favorite local adventures in Yosemite National Park!
Does Chilnualna Falls Flow Year-Round?
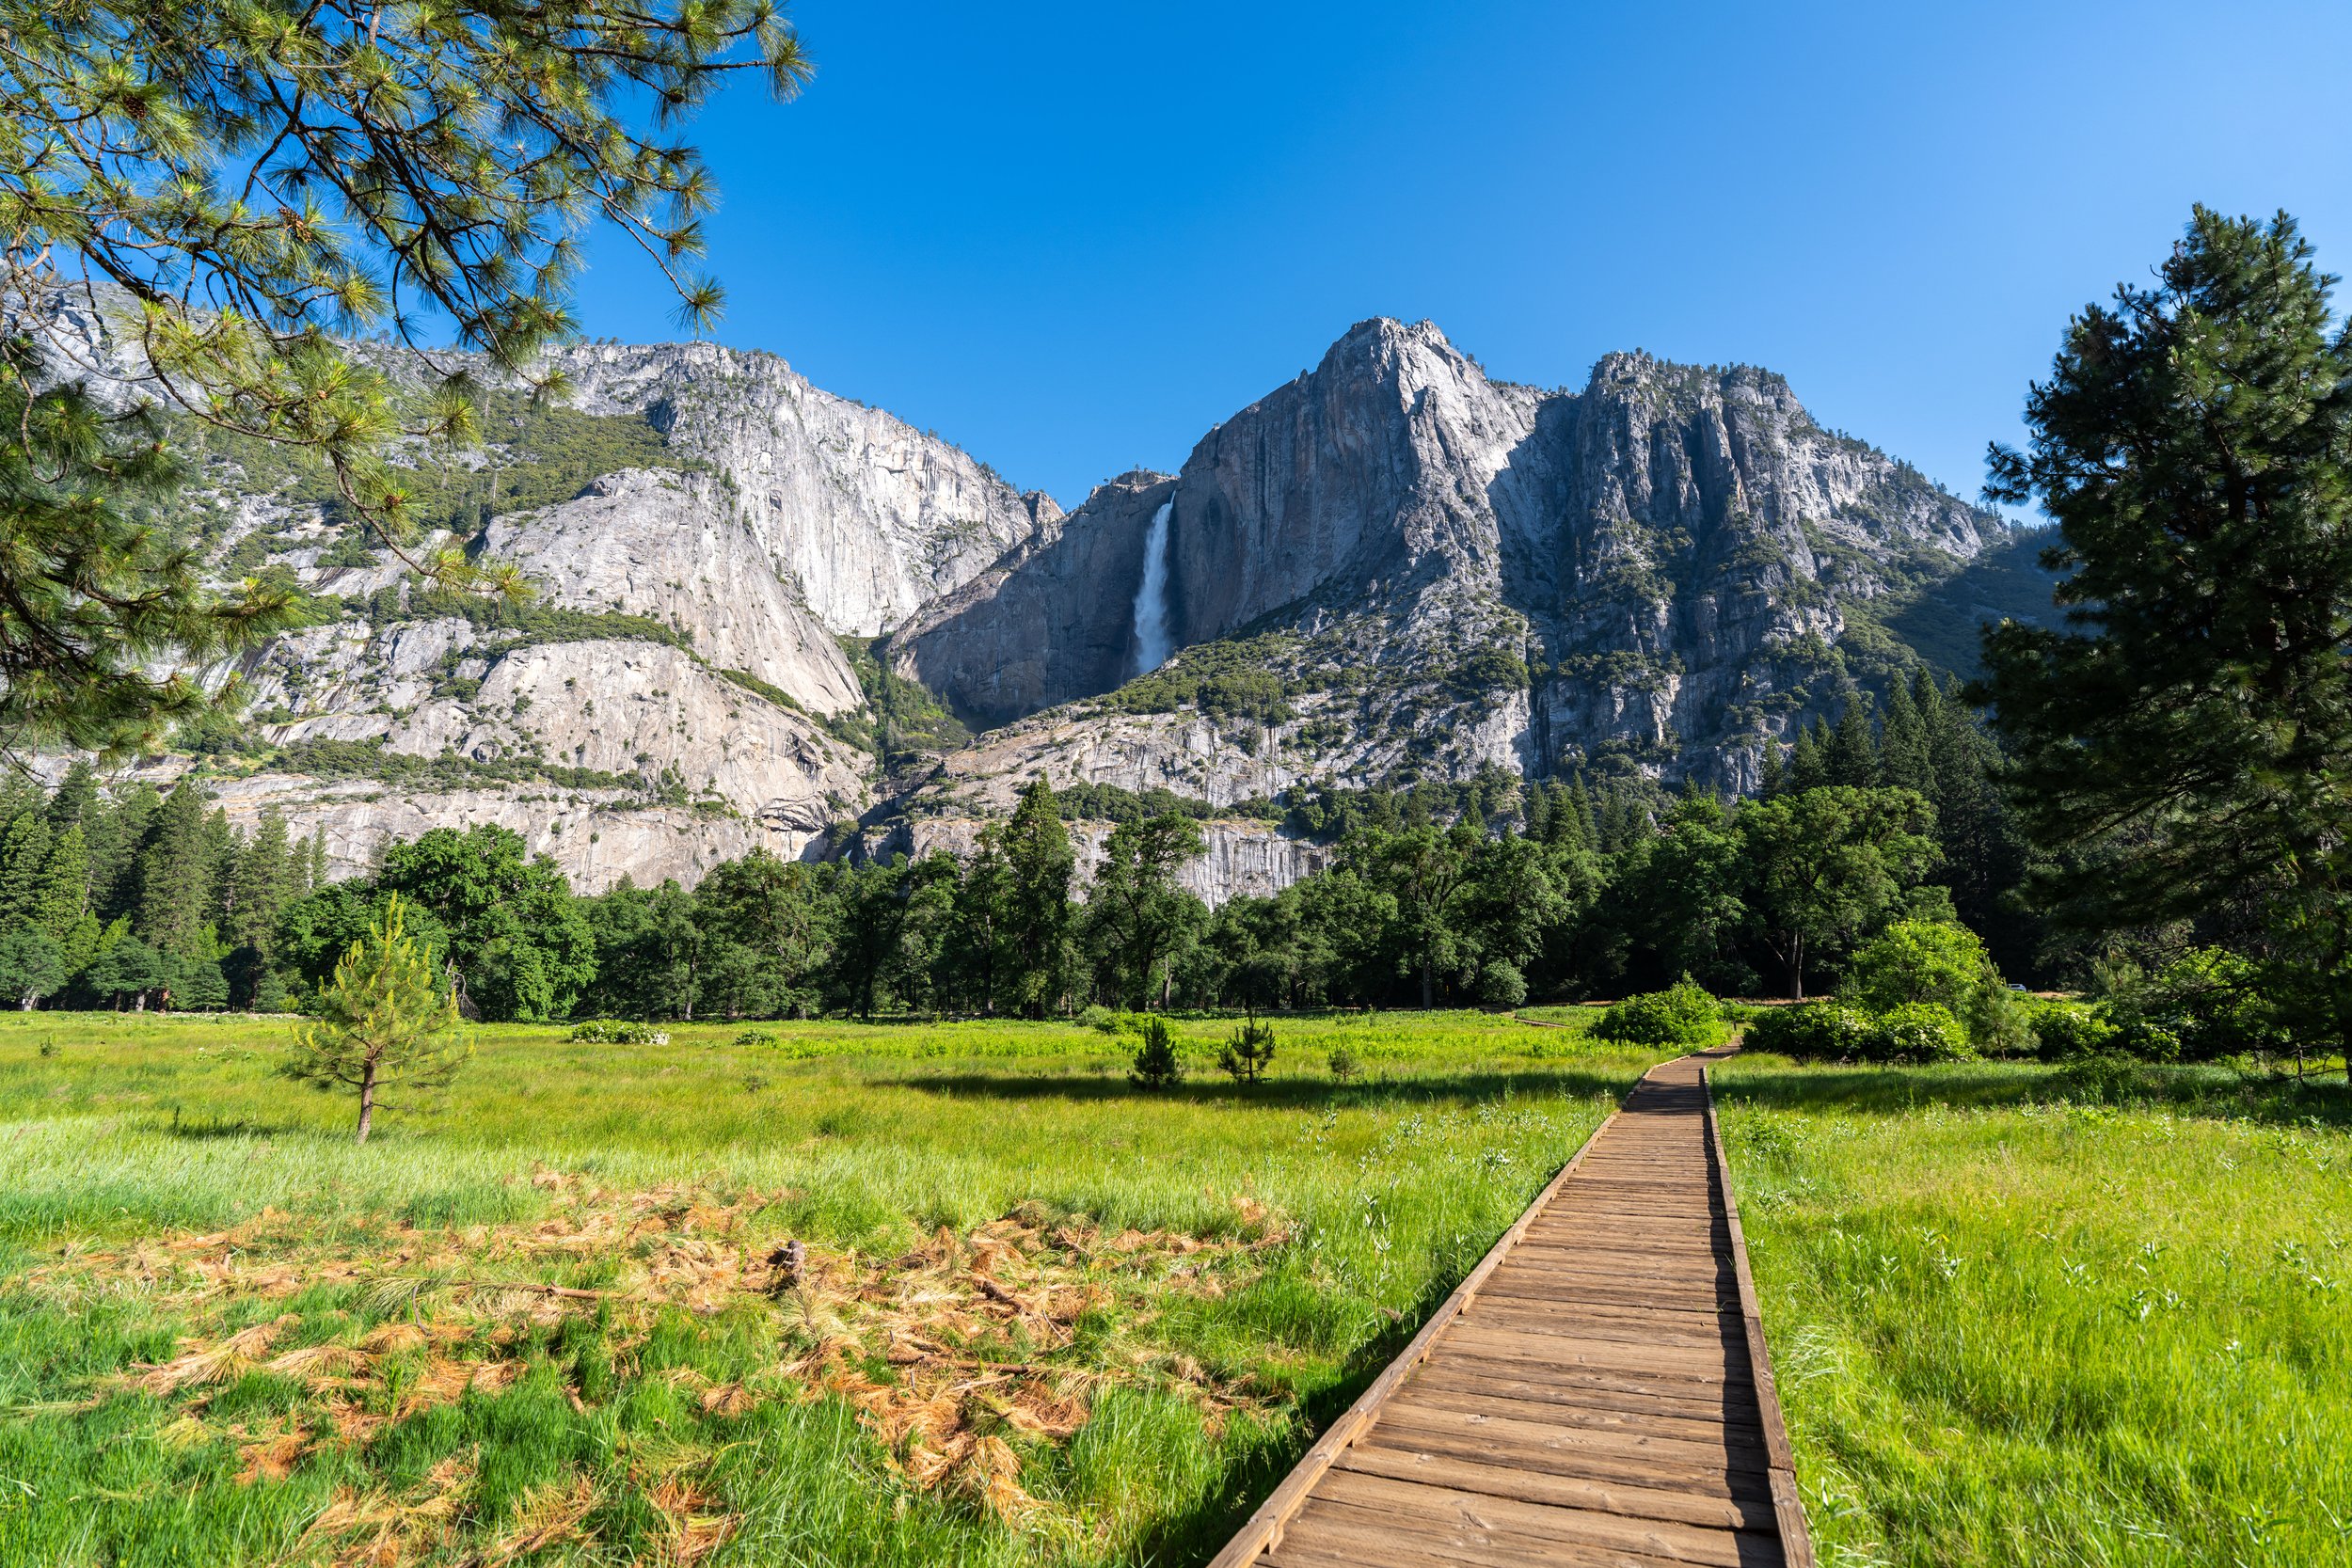
Yes, Chilnualna Falls is unlike all the well-known iconic waterfalls in Yosemite Valley in that it flows throughout the year, with snowmelt peaking in May and subsiding throughout the drier summer months.
Chilnualna Falls Trailhead Parking
Parking for the Chilnualna Falls Trail is located in a small, side-of-the-road parking area near the end of Chilnualna Falls Road in Wawona.
Before arriving, know that Wawona is a historic district within Yosemite that consists of a mixture of both public and private land, which is why it’s important to stick to designated public parking areas only.
Google Maps Directions: Chilnualna Falls Trailhead
Hiking Checklist - Yosemite
Here is a complete list of must-have things that you will want for any hike in Yosemite National Park.
That said, bear spray is purposefully excluded from this list because, while the Sierra Nevadas are home to a large Black Bear population, bear spray is not allowed in Yosemite National Park.
Hiking the Chilnualna Falls Trail
The Chilnualna Falls Trail begins just up the road from the public parking area.
After the first few driveways, go left where the road splits to find the Chilnualna Falls Trailhead on the right-hand side.
Chilnualna Falls Trailhead
This is the true Chilnualna Falls Trailhead, which begins the long but gradual 4.2-mile (6.8 km) ascent to the top of Chilnualna Falls, and the hidden swimming hole at the top.
There are many lupine species in the Sierras, but this one is a little more drought-tolerant, which is why it can be found in the drier, lower elevations of Yosemite National Park.
This is the first switchback on the Chilnualna Falls Trail, and it’s where Lower Chilnualna Falls starts to become louder, which is why there’s a side trail leading down to the creek.
However, this is not the route to Lower Chilnualna Falls, as the actual waterfall can be reached much more easily by simply continuing up the trail.
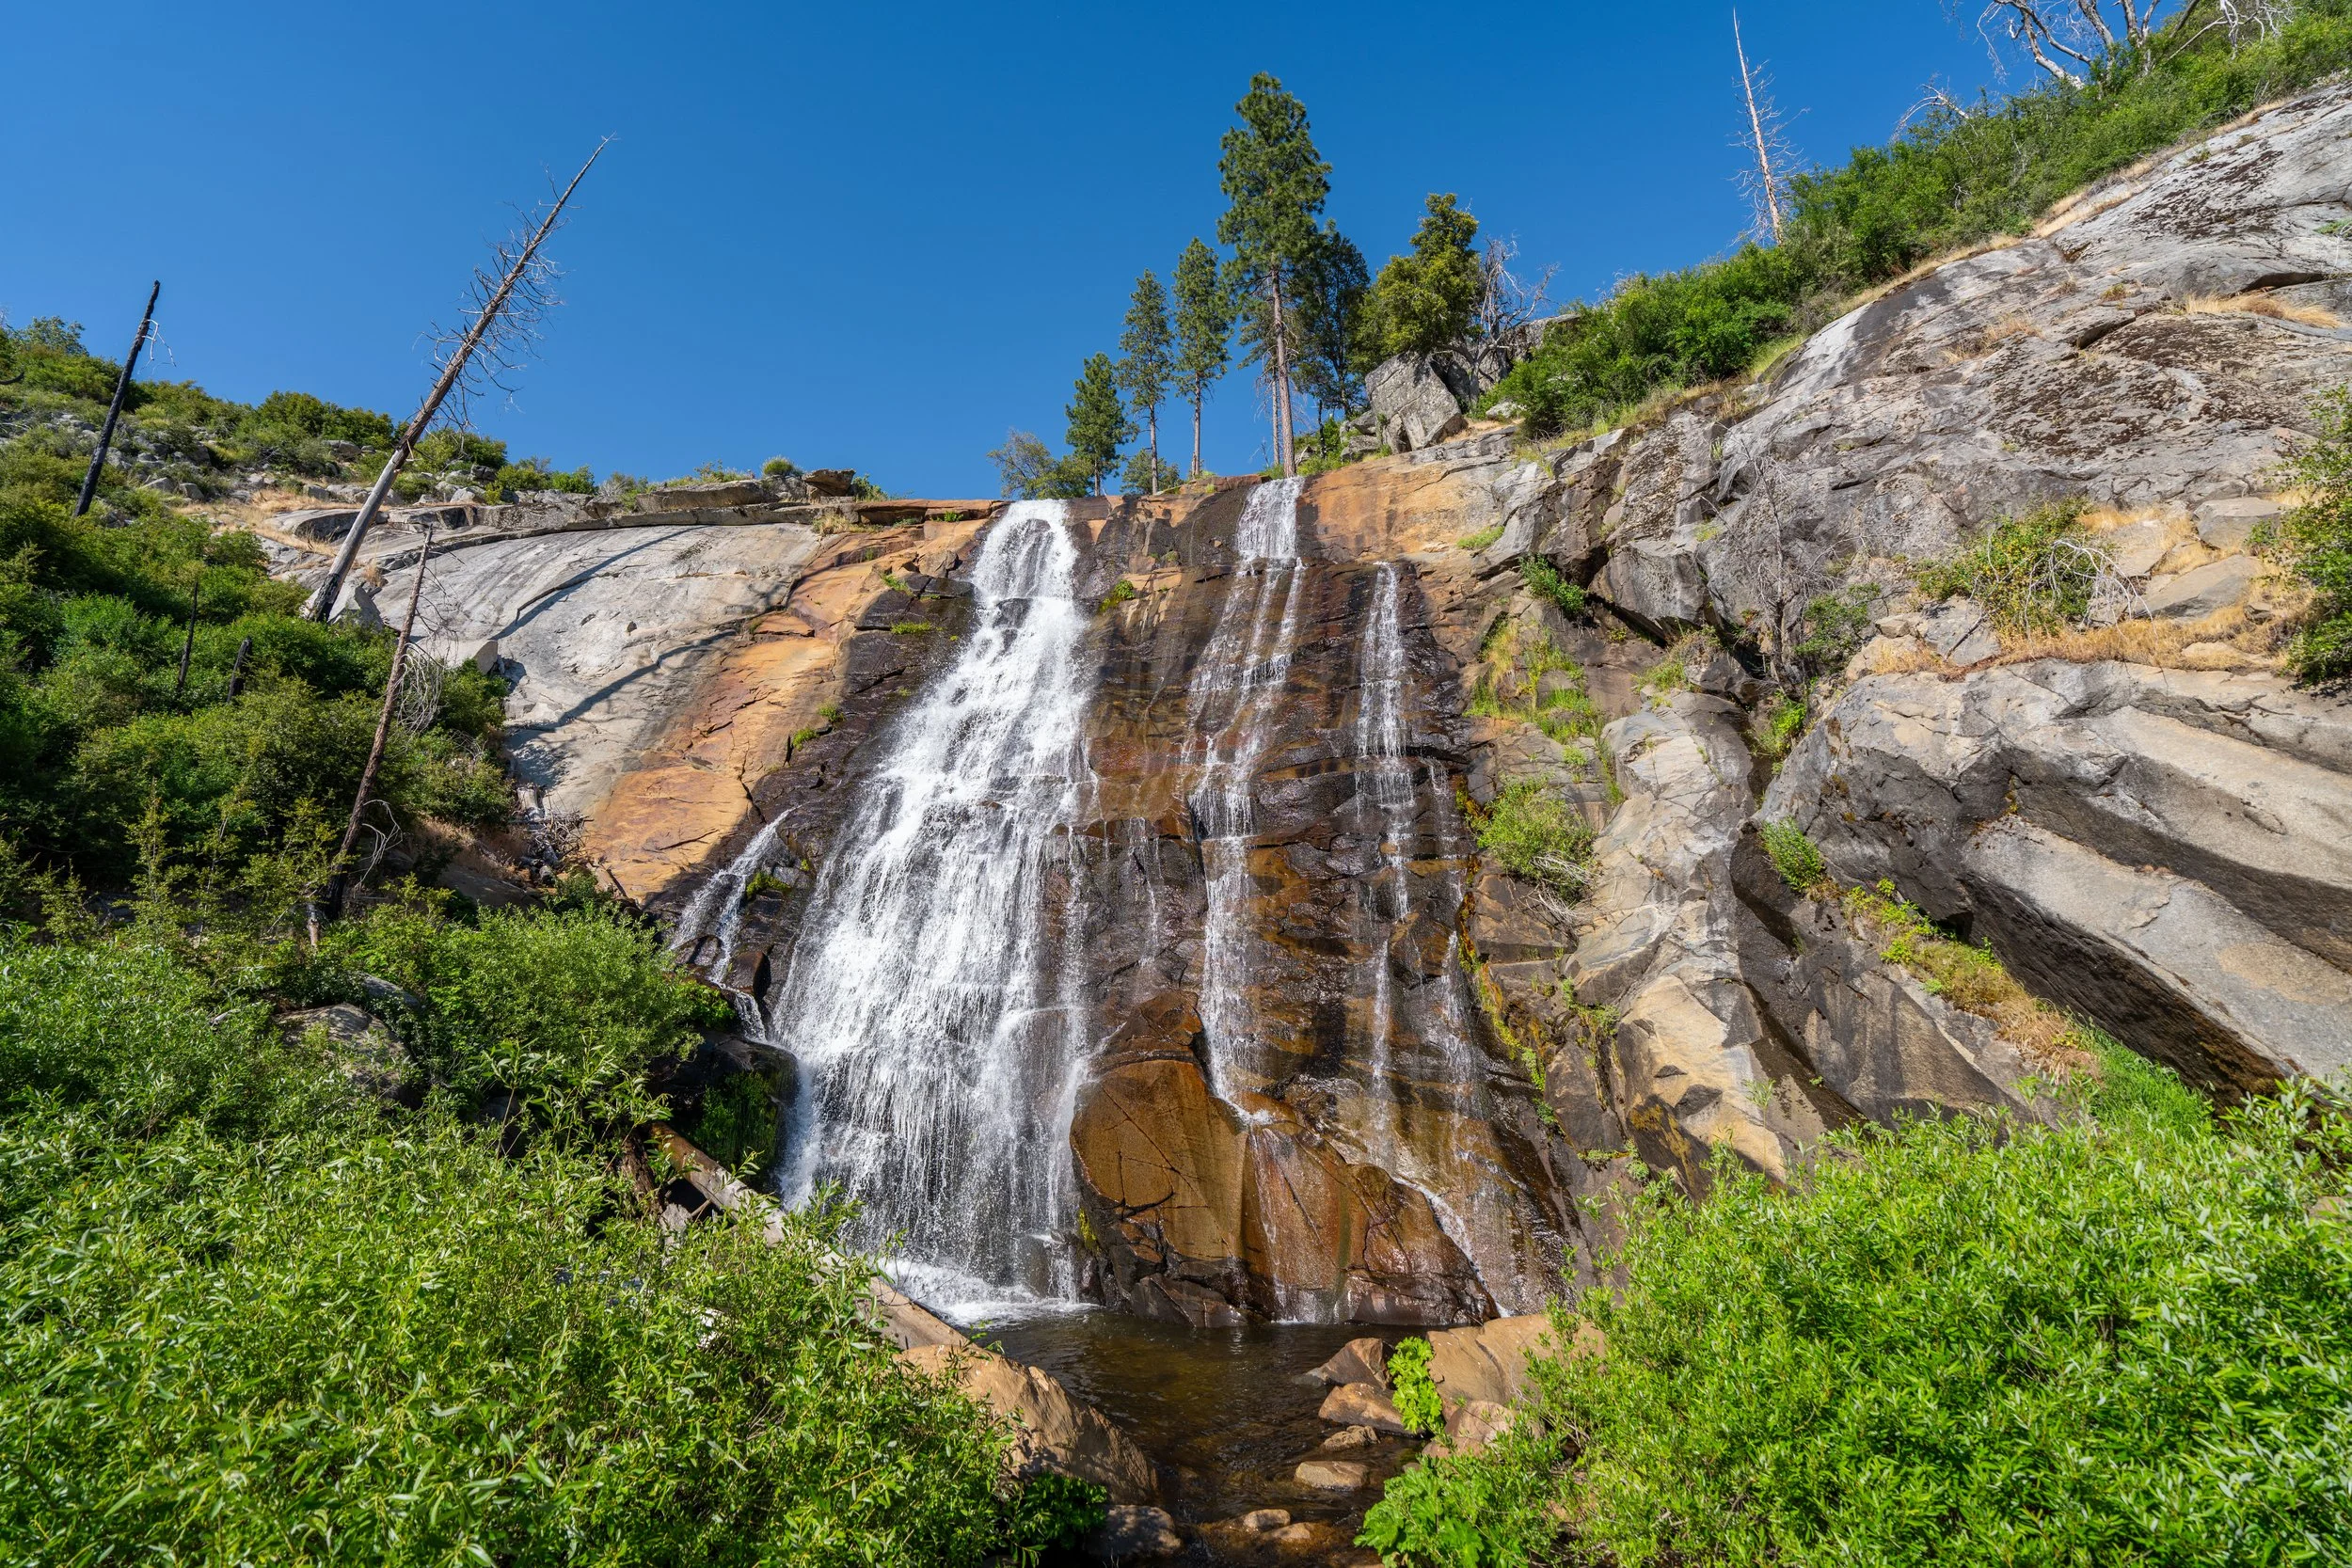
Lower Chilnualna Falls
This is exactly where Lower Chilnualna Falls can be reached with very little effort, compared to trying to navigate the side trail at the first switchback.
After Lower Chilnualna Falls, the trail ascends some of the steepest sections of the entire hike, which is nice to keep in mind as the ascent past the Stock Trail junction up ahead is a bit less steep in comparison.
At this sign, the Chilnualna Falls Trail makes a hard left turn away from the creek, to meet the Chilnualna Falls Stock Trail.
This Lupine is a completely different species from the one shown earlier, and it’s an even more special find, as it’s endemic only to California.
Chilnualna Falls-Chilnualna Falls Stock Junction
The only time the Chilnualna Falls Trail splits before the top of the waterfall is where the Chilnualna Falls Stock Trail meets the Chilnualna Falls Trail.
Here, go right at this split to continue to the top of Chilnualna Falls.
This switchback really shows just how gradual the Chilnualna Falls Trail is, as it rarely gets steeper than this—outside of the steps near Lower Chilnualna Falls.
Since the Chilnualna Falls Trail is such a long, exposed roundtrip hike, I highly recommend wearing a hooded sun shirt to stay safe.
I even swam in mine at the top, which made the hot hike back down much more enjoyable as it slowly dried!
At this split, go right to say on the Chilnualna Falls Trail.
The mountain that can be seen in the distance is called Wawona Dome, which I mention because the top of Chilnualna Falls is quite a bit lower than its summit.
That said, Wawona Dome makes for a great visual indicator of how much farther there is to climb, especially when Upper Chilnualna Falls starts to become visible on the switchbacks up ahead.
The trail at this small, unnamed creek crossing may be a little confusing, but know that the path continuing up can be found straight ahead on the other side.
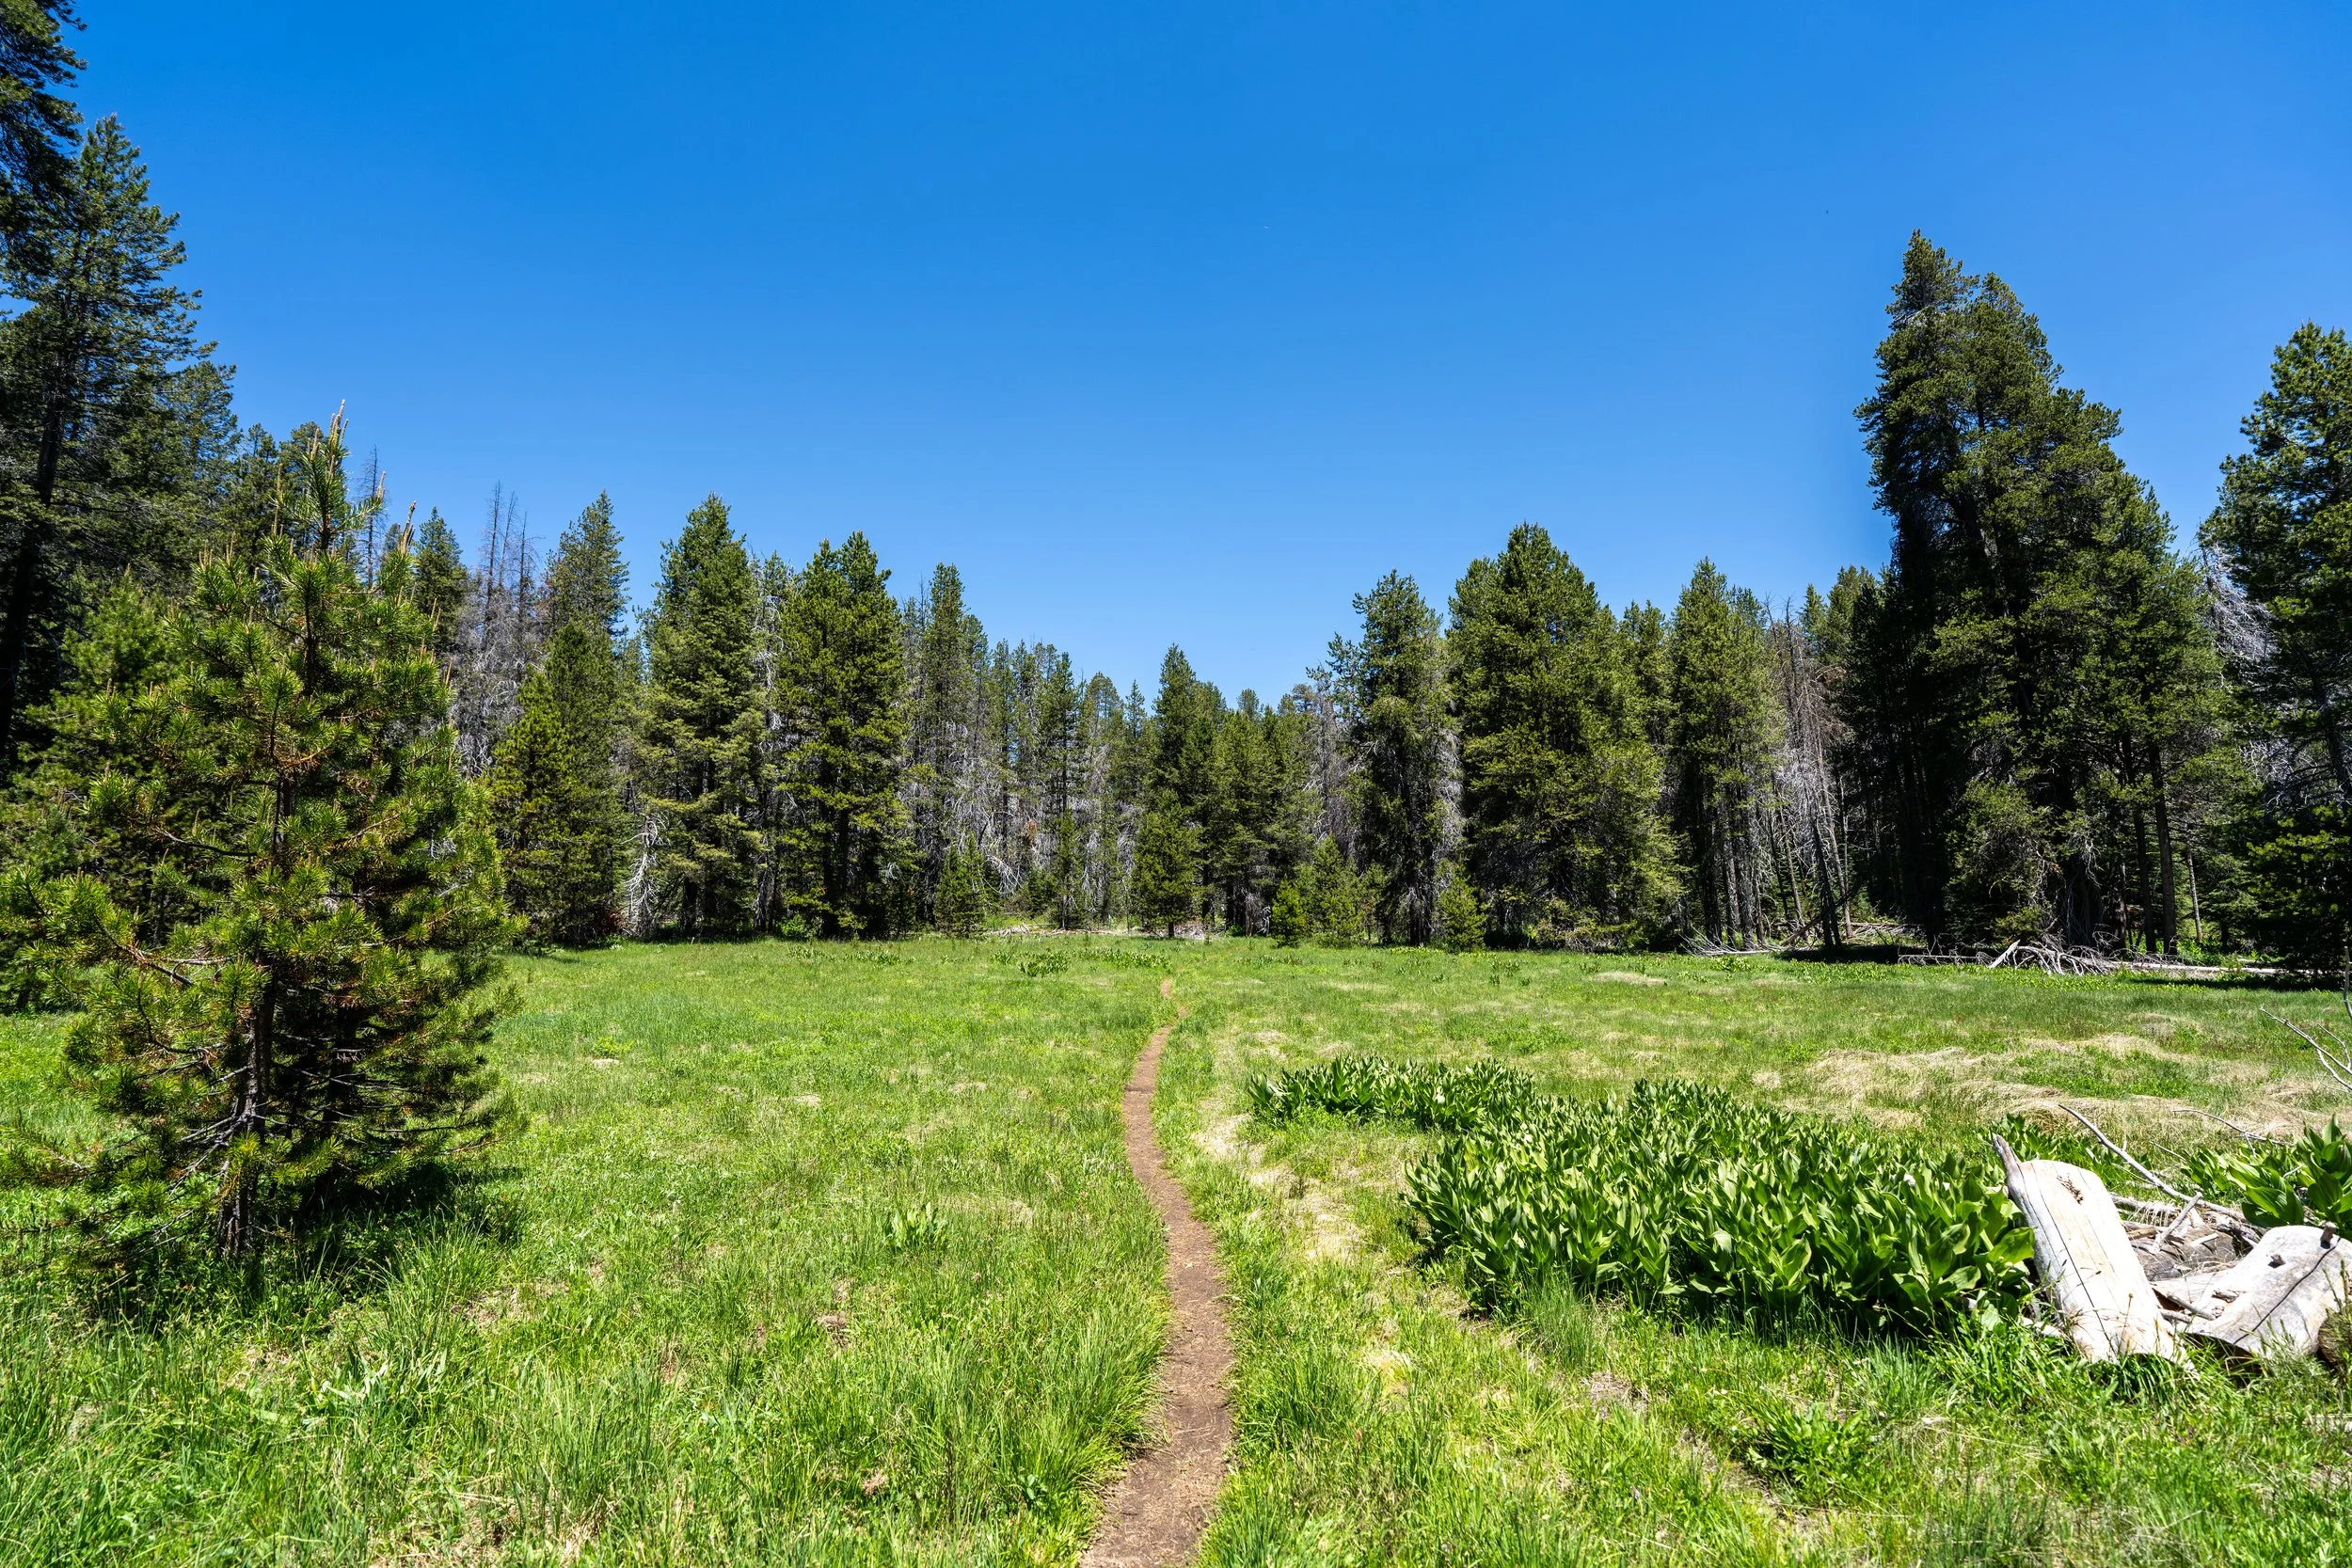
This clearing is a nice sign that the trail is about to begin the final switchbacks to the top of Chilnualna Falls!
This is where the Chilnualna Falls Trail begins to climb the final 14 switchbacks to the top of the waterfall.
However, just like at the beginning, the ascent is still very gradual, which is why the Chilnualna Falls Trail never feels all that difficult!
Poison Oak is certainly common throughout the Sierras and beyond, which is why it’s important to know how to identify it—especially on the off-trail portion of the hike to the hidden pool at the very end.
After the first few switchbacks, Wawona Dome already starts to feel a lot closer, which is why I think it makes such a great visual reference.
This is where Chilnualna Falls starts to become visible in the distance for the first time, which is important to mention because Chilnualna Falls is not visible where the trail reaches the top of the waterfall.
Instead, Chilnualna Falls is only visible in its entirety from the final switchbacks before the trail starts to make its way back over to Chilnualna Creek.
When the trail reaches clearings on the switchbacks, just like this, look for holes in the trees to try and see the full waterfall in the narrow gorge.
This is one of only a handful of places on the upper switchbacks, where Chilnualna Falls can be seen in its entirety!
That said, this is very similar to the Panorama Trail and Illilouette Falls off Glacier Point, where the waterfall can only be seen from one very specific location on the entire trail.
However, if you miss Chilnualna Falls on the way up, chances are you’ll see it on the hike back down!
This creek crossing is a nice sign that the Chilnualna Falls Trail is about to climb the final switchbacks to the top of the waterfall!
This is the final switchback before the trail reaches the top of Chilnualna Falls!
This turn is where the Chilnualna Falls Trail begins the long, straightaway directly toward the top of the waterfall.
Some maps indicate that there are views of Chilnualna Falls on this final stretch before the waterfall, but I don’t believe that is true.
Top of Chilnualna Falls
The top of Chilnualna Falls is a very open, exposed cliff face where the water cascades down into the narrow canyon that can be seen from the switchbacks.
That said, hiking to the top of Chilnualna Falls is not really the destination, in my opinion. Rather, I highly recommend continuing up another 0.4 miles (0.6 km) to the top of the trail, because this is where the hidden swimming hole can be found!
When the trail turns upstream, know that the only elevation gain left to climb is what can be seen at the top of the ledge straight ahead.
This is why I truly think hiking past the top of Chilnualna Falls is worth the effort!
This is the final switchback to reach the end of the Chilnualna Falls Trail—and the hidden swimming hole!
These were storm clouds in the distance that had been predicted over Yosemite Valley, which is exactly what prompted me to hike elsewhere.
Needless to say, I was happy I hadn’t applied for Half Dome permits when I hiked to Chilnualna Falls!
Chilnualna Falls-Deer Camp-Chilnualna Lakes Junction
This three-way intersection is the end of the Chilnualna Falls Trail, but it’s exactly where you want to hike to in order to reach the hidden swimming hole in Chilnualna Creek!
That said, make a hard right turn to leave all three trails toward Chilnualna Creek.
This is the off-trail route to the hidden swimming hole!
Just a short distance after leaving the trail, cross this unnamed creek, which will be more challenging in the late spring/ early summer months compared to mid- to late summer and fall.
On the far side of the creek, the hidden waterfall and swimming hole should start to become visible at the top of the next hill!
There should be a small trail to navigate through the trees, leading to the base of the waterfall.
Chilnualna Creek
This is the beautiful, secluded swimming hole at the top of Chilnualna Falls, which is noticeably 'safer' and more protected than any other part of the stream.
However, note that these photos were taken in mid-June, which I mention because peak spring/ early summer snowmelt can make swimming too dangerous.
That is to say, be smart and make responsible decisions, as help would certainly be limited and slow to respond this far from the busier parts of Yosemite National Park.