Hiking the Waiʻanae Summit Trail (WST) West to East on Oʻahu, Hawaiʻi
Distance: 27.4 miles / 44.1 km
The Waiʻanae Summit Trail (WST) on Oʻahu is a 27.4-mile (44.1 km) one-way adventure that covers the spine of the entire Waiʻanae Mountain Range, from Kaʻena Point on the westernmost side of the island to Pālehua-Palikea atop Nānākuli and Makakilo.
That said, the Waiʻanae Summit Trail truly lives in the shadow of Oʻahu’s infamous Koʻolau Summit Trail (KST), as the WST is typically much less known by comparison.
I put it this way because the KST is easily the better-known and more challenging cross-island hike, even though the WST is easier overall.
This is because the Waiʻanae Summit Trail is rarely completed compared to the Koʻolau Summit Trail—primarily due to one main reason: accessibility, as both termini are areas through which hikers are not supposed to visit without permission. I’ll get to that later.
However, I can only hope that public pressure from hikers wanting to complete the trail will push private landowners and the state to accommodate access in the future.
Koʻolau Summit vs. Waiʻanae Summit
Unlike the Koʻolau Summit Trail, the Waiʻanae Summit Trail is considerably easier.
By this, I mean that the overgrowth is far less significant, much of it is not a soft-soil, eroded landscape, the WST is much shorter, and there are more times where you get to walk on a decent path, as opposed to straddling a ridge.
Furthermore, unlike the KST where I advise you to become familiar with the trails that meet the summit trail, the trails up and down from the WST are far easier overall, both in distance and difficulty. This means that while it can take over 7 miles (11.3 km) just to reach the summit trail in the Koʻolaus, in the Waiʻanaes, you can start hiking along the WST with a lot less effort and time required.
For example, everything that I hiked from Kaʻena Point to Mt. Kaʻala all began early to mid-afternoon, knowing my ability to quickly navigate each trail.
WST Access Trails: West to East
For a few of these access trails, I’ve labeled them as not practical because, while yes, they technically can reach the WST, there is truly only one realistic way to break up the trail, and it’s how this article is written.
That said, most of the access trails begin on the Mokulēʻia side of the Waiʻanaes, with the only exception being Mt. Kaʻala.
In addition, it’s much easier to go farther than my recommendations below, but there really is no way to do less distance. The access points are very specific.
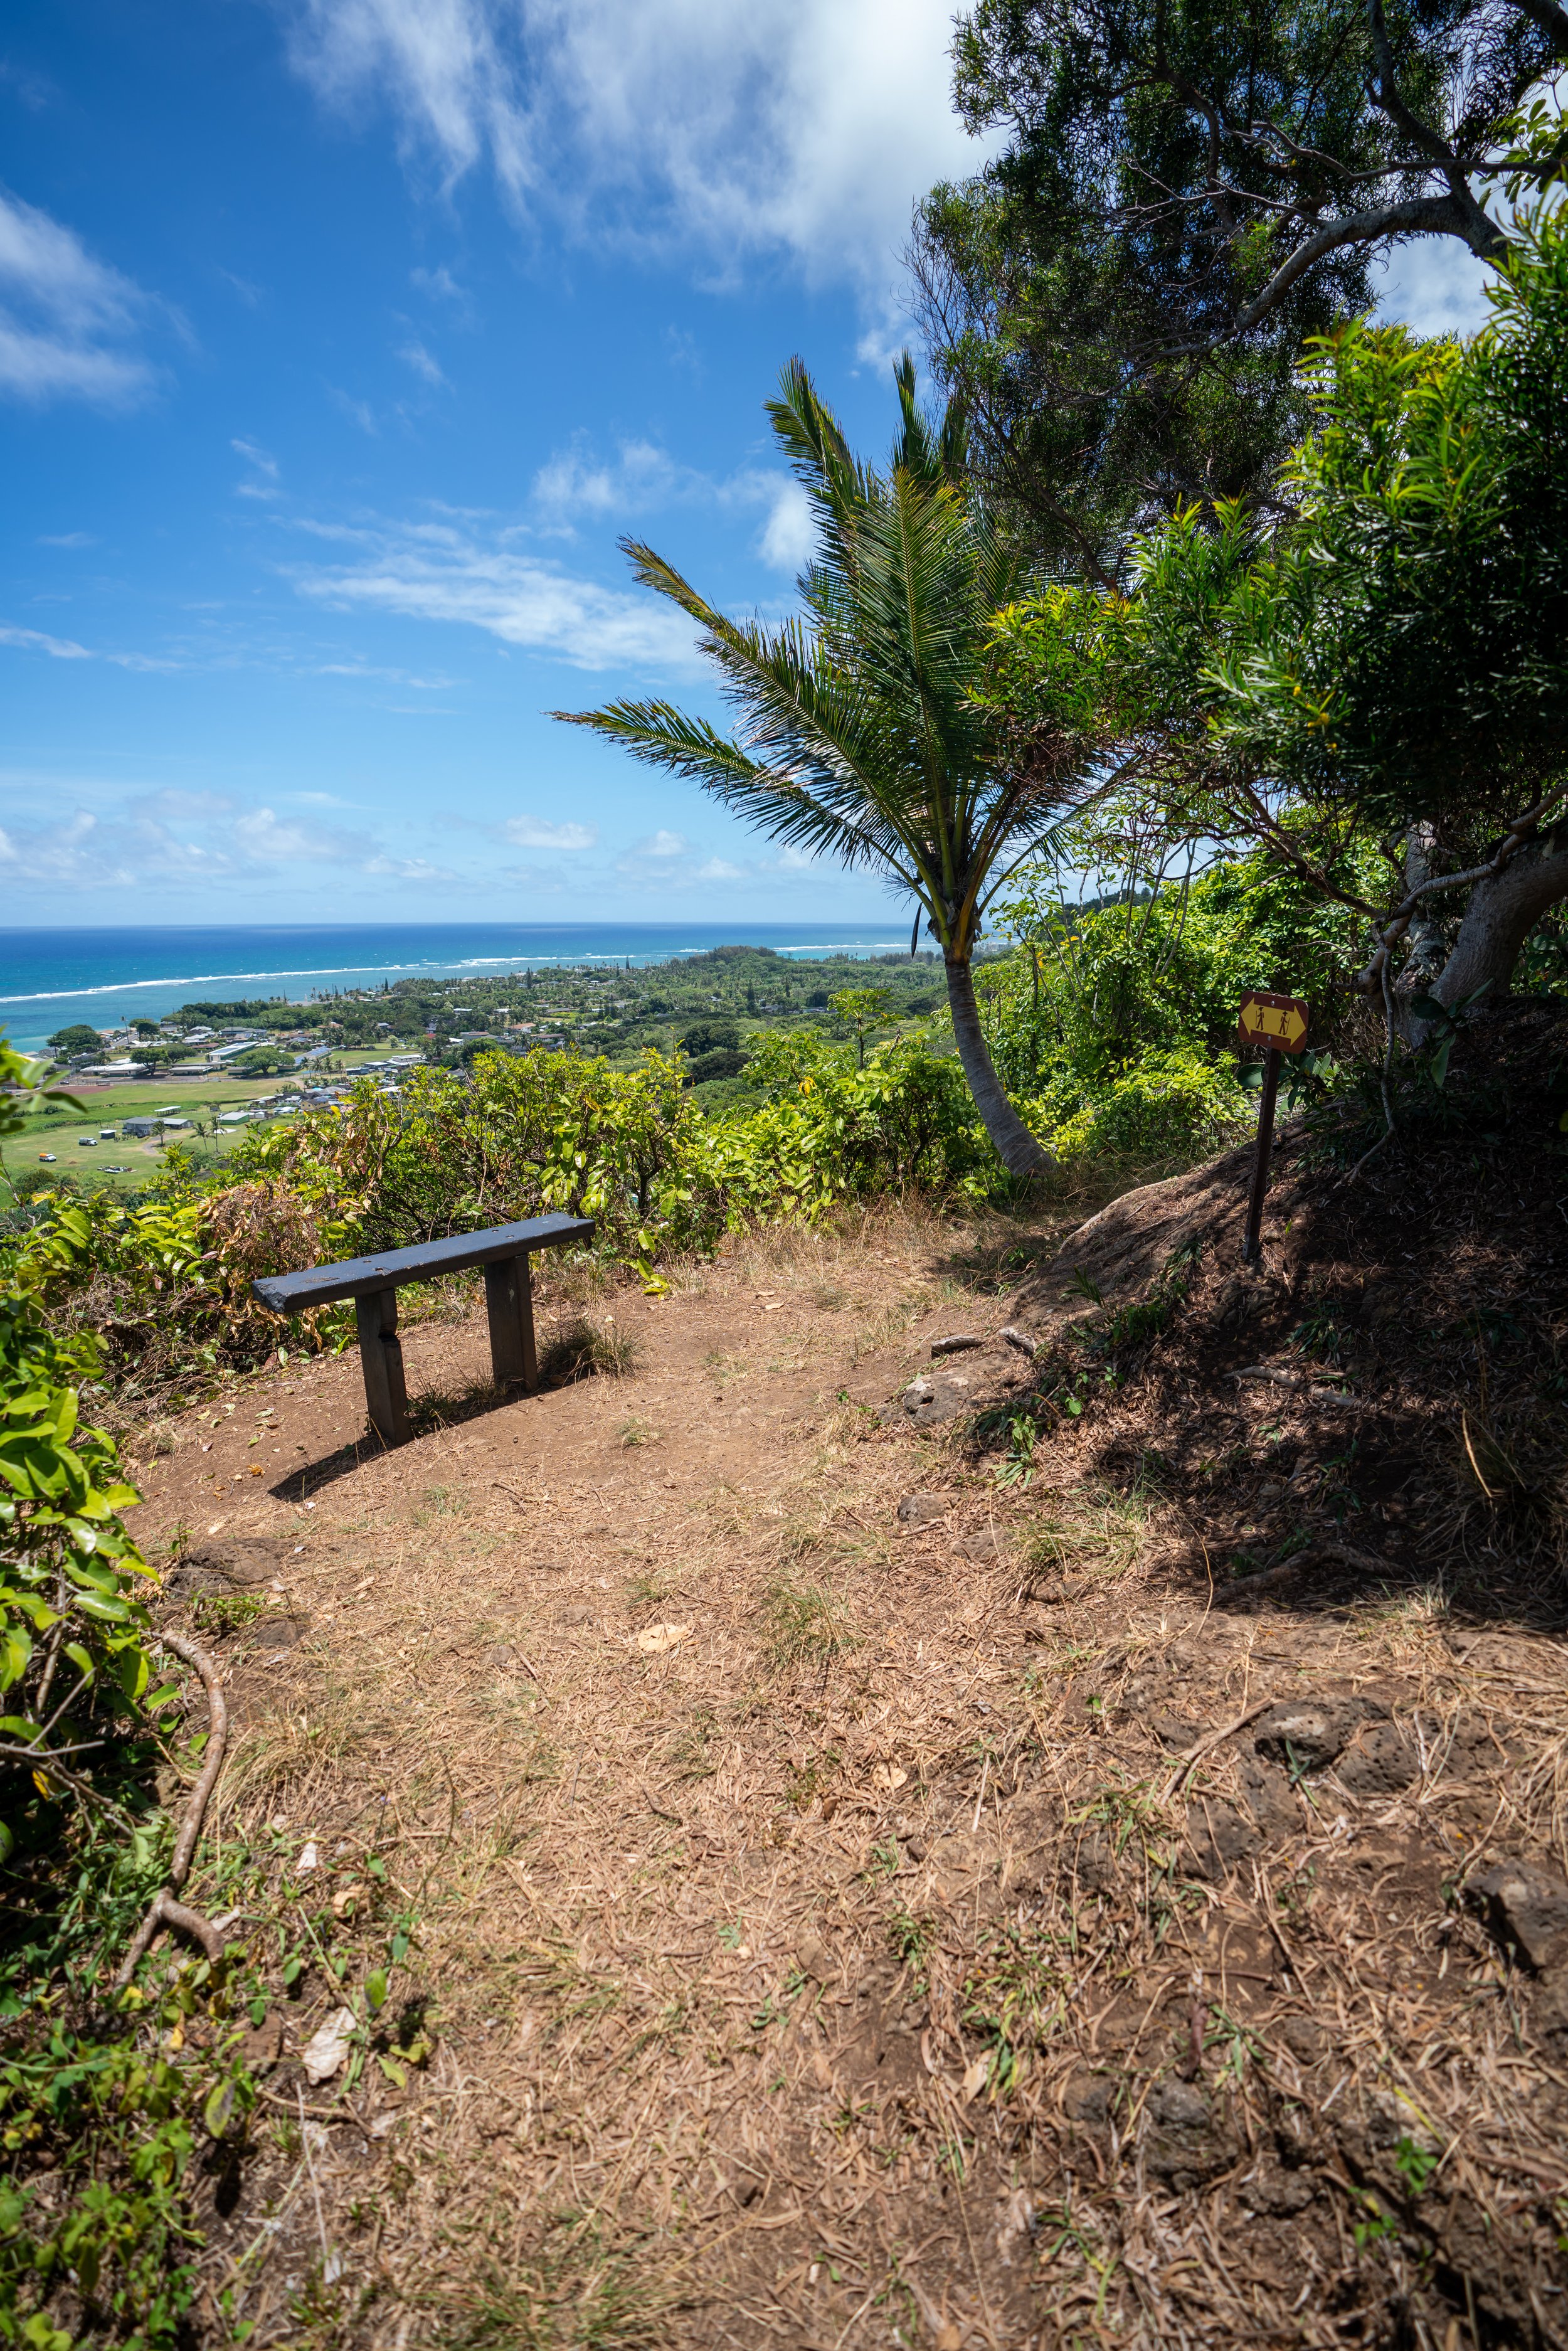
Kaʻena Point to Pālehua-Palikea
Kaʻena Point (North Shore or West Side)
Yokohmama/ Mākua Ridge - You can gain the ridge from both the driveway mauka of the Mākua Beach parking lot and by cutting into the tall grass before the Space Force Tracking Station guard shack. (not practical)
ʻŌhikilolo Ridge (not practical)
Keaʻau/Keaʻau Middle Ridge (not practical)
Mt. Kaʻala Road in Mokulēʻia (not practical going up)
Dupont Trail (not practical)
Puʻu Kamaileʻunu / Kawiwi (not practical)
Puʻu Heleakalā/ Nānākuli Ridge (not practical)
Pālehua-Palikea
I hope it stands out how many more trails there are to the west of Mt. Kaʻala than to the east.
Hawaiʻi Hiking Pants
Out of all the gear items on the list below, good hiking pants are arguably the most important item, as they are an absolute must when hiking anywhere east of Mt. Kaʻala.
The pants below are my recommendations that hold up the best with the overgrowth here in Hawaiʻi, but with any hiking pants that need to be durable, make sure that they are at or near 100% nylon. This is really the most important factor!
West Waiʻanae Summit Trailhead Parking
Being that east trailhead from Pālehua-Palikea is very impractical for most hikers on account of access, Kaʻena Point from either the North Shore or West Side is the most practical trailhead for the Waiʻanae Summit.
However, I recommend the North Shore more than the West Side because this first section from Kaʻena Point to Keālia, described below, is more practical. I say this because there is not another easy-access trail that could lead you down to Farrington Highway to get back to the Kaʻena Point Trailhead on the West Side.
Read My Separate Posts: North Kaʻena Point Trail / West Kaʻena Point Trail
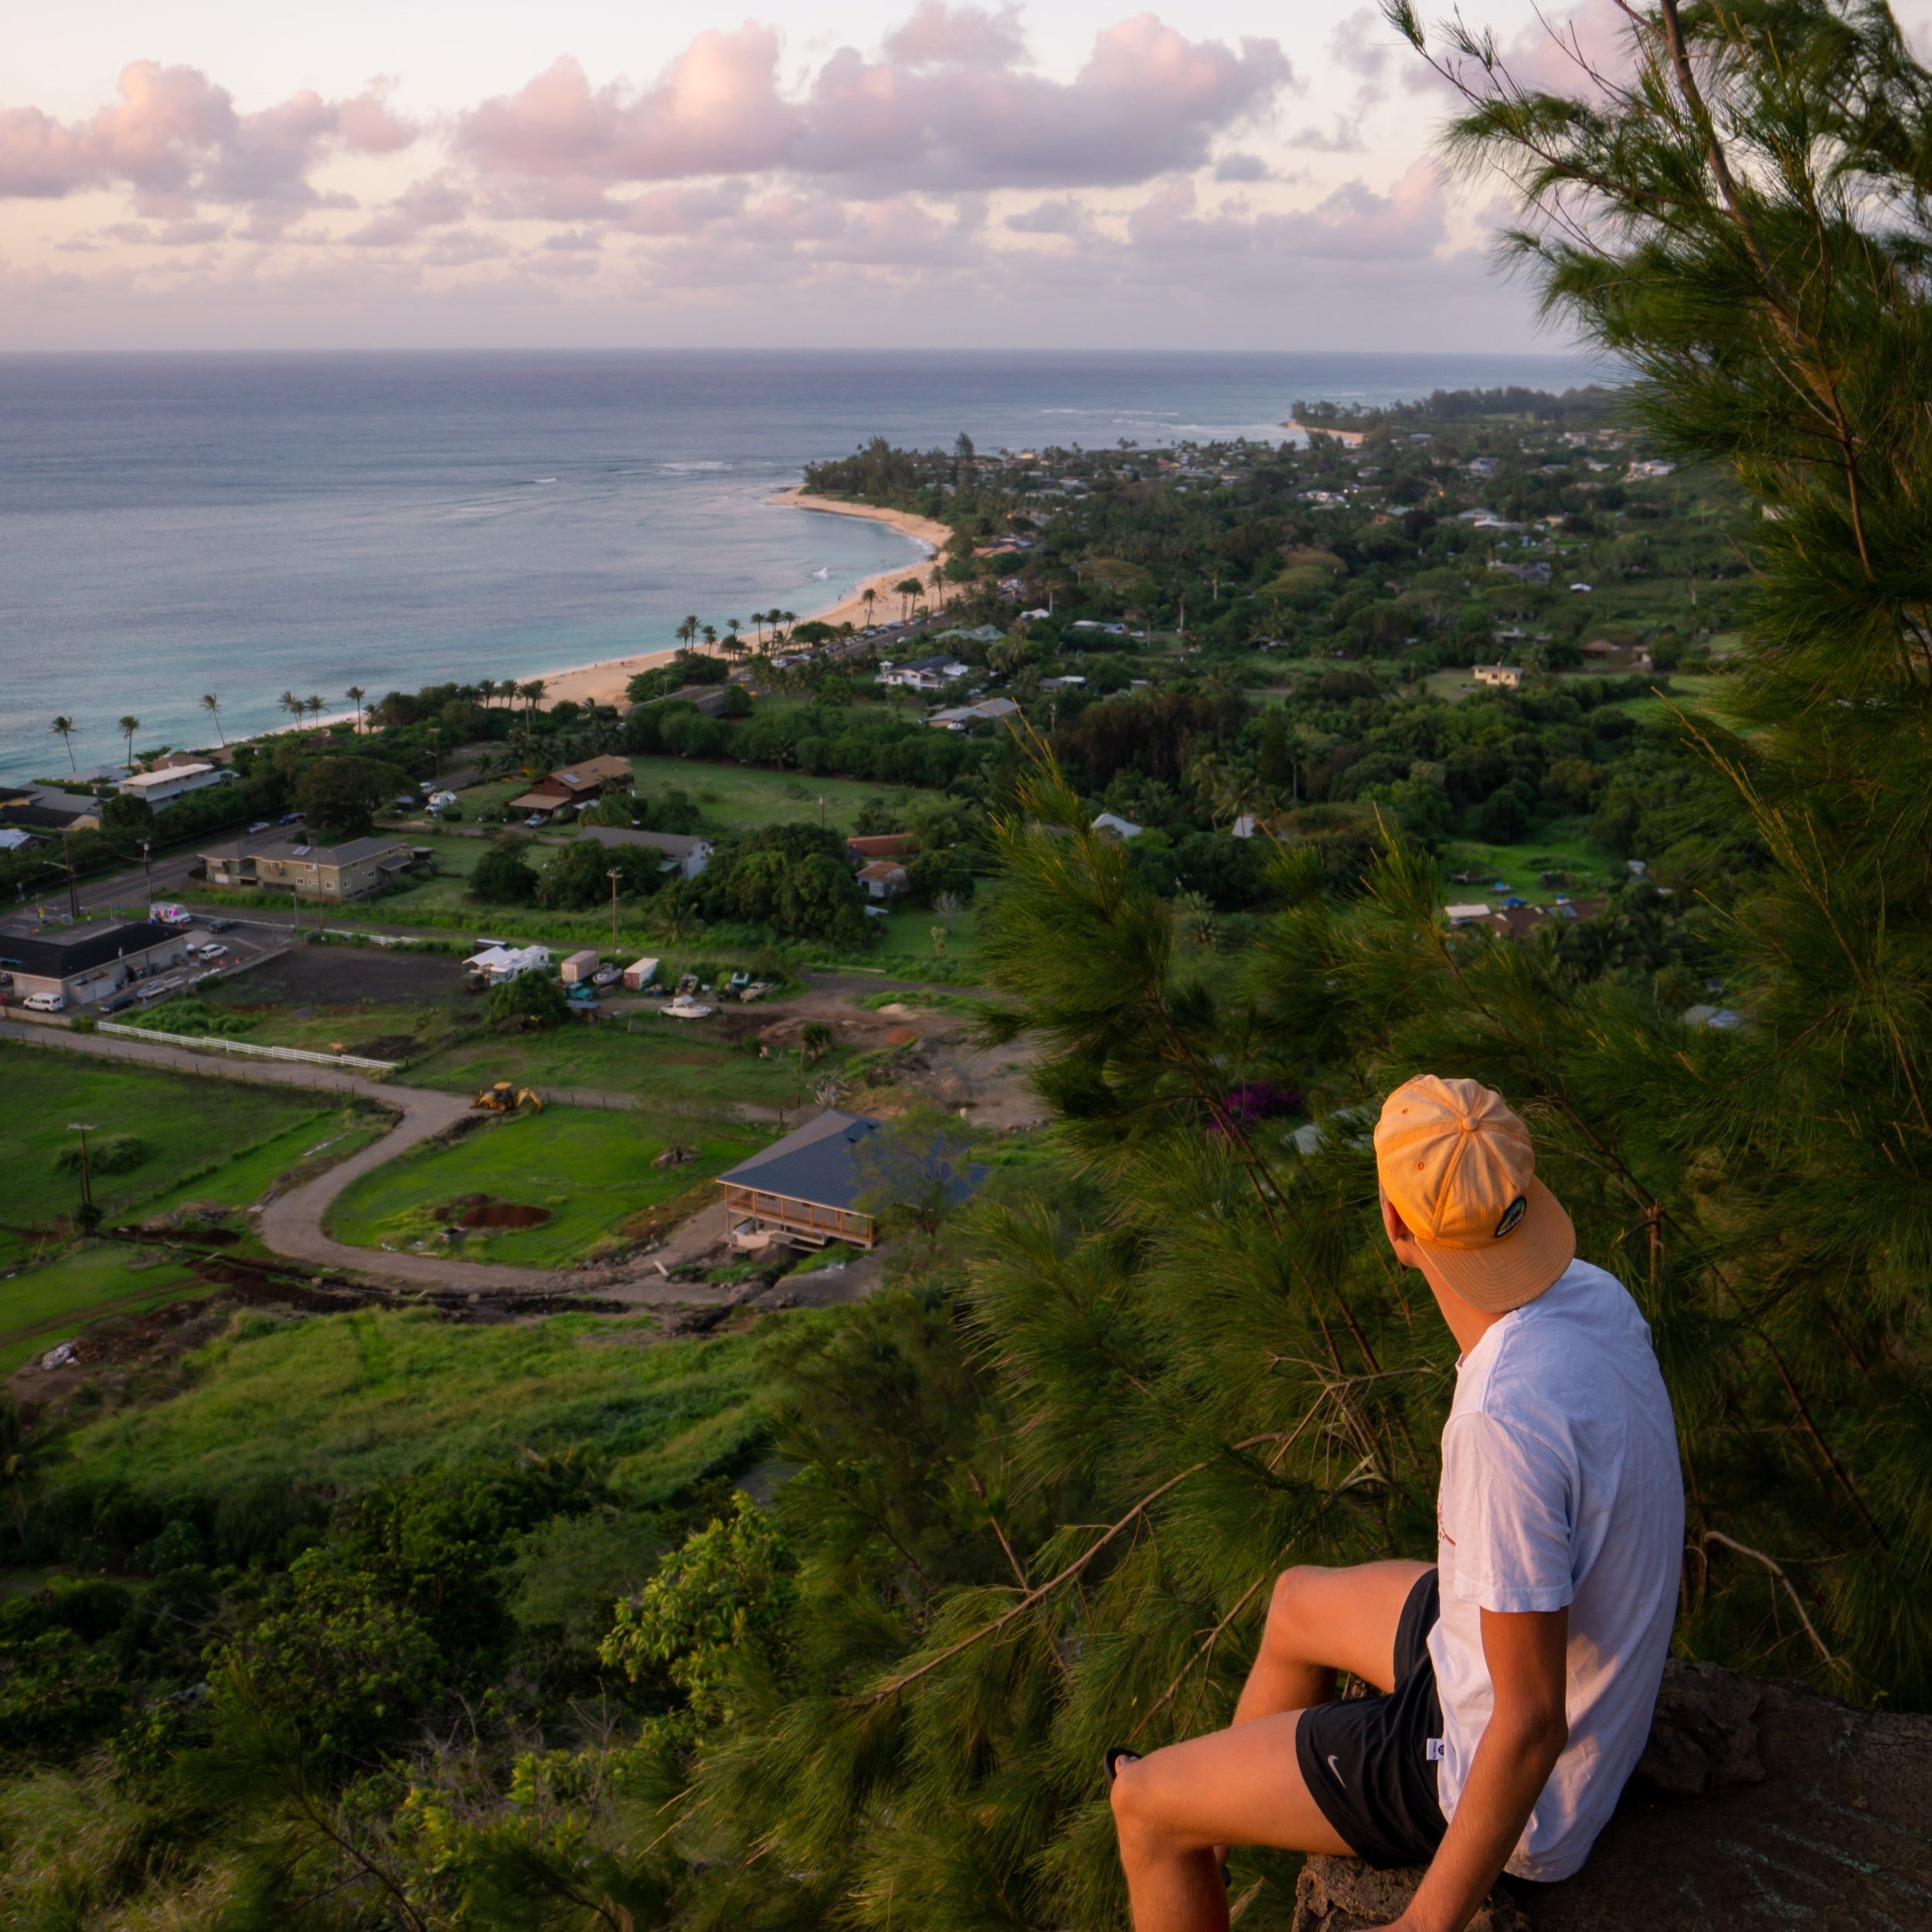
Kaʻena Point to Keālia
Beginning from the predator-proof fence at Kaʻena Point, the Waiʻanae Summit Trail begins its ascent along the ridge toward the Kaʻena Point Pillbox. There will be at least two trails that lead up toward the pillboxes from the short service road along the fence.
In total, the entire hike from Kaʻena to the Keālia Trailhead will be about 12.1 miles (19.5 km), which is not limited to just the WST portion. This assumes that you staged a car at Keālia instead of having to walk the highway back.
Furthermore, I recommend doing this section from Kaʻena to Keālia, rather than in reverse, simply because I find it best to get across the Tracking Station first than saving it for the end.
Kaʻena Point Pillbox
The upper Kaʻena Point Pillbox is where most hikers turn around, which will be obvious as the trail continues up the ridge.
That said, the WST continues up toward the Space Force Tracking Station, and it’s for this reason that I said previously that both trail terminuses are two places that you’re not supposed to pass through.
Kaʻena Point Space Force Tracking Station
Unfortunately, if you want to make the WST count, you need to hike across the Kaʻena Point Satellite Tracking Station in one way or the other. Fortunately, there are two approaches; the latter being the better of the two.
First, the easiest and least-effective approach is to walk the road. That said, if you don’t get turned around by the Space Force on the road, you will by the time you reach the guard shack at the top of the road from Yokohama Bay.
Therefore, I don’t see this approaching being worth it because you will likely end your hike early, simply by taking the easier of the two routes.
That said, the route I prefer is to hike through the adjacent ranch land on the North Shore side of the road.
In either case, whichever way you choose, first walk toward the chain-linked fence next to the first set of buildings you will see after the Kaʻena Point Pillbox.
Then, go either right or left around the building. I don’t think one is easier than the other, as both are very overgrown.
We went left, and you will have to fight through the overgrowth and navigate around some randomly placed barbed wire.
Once on the road past the fence, you can either keep walking the road toward the second set of buildings or cut off to the left off the road to avoid walking by the buildings. This is where I always choose to leave the road wherever it seems easiest.
Kaʻena Point Ranch
After leaving the pavement, it won’t be until you’re past the second set of buildings that you will reach the first dirt road, which will make the walking a bit easier than the previous sections to get to this point.
That said, it’s important to have a plan for which direction you want to follow, as all the dirt roads curve back toward the pavement. This could lead to getting turned back, especially if you don’t have a valid Kuaokalā permit.
Be that as it may, there’s always a way to piece together a series of roads and small trails to hike across the ranch.
Then, at the very end, when it seems that you’ve come to the end of the roads that you can see from a satellite view, cut straight down the ravine into the trees and tall grass, heading toward the last white ball—not the ones on the main road.
Kuaokalā Trail
Once you reach the pavement, hike toward the Kuaokalā Trailhead, but know that the WST is not the 4WD road that begins adjacent to the Kuaokalā Trail.
For the sake of the upcoming section, the WST is not any of the 4WD roads that lead to Peacock Flats, with the exception of very small sections where the Mākua exclusion fence meets the road along the rim of Mākua Valley.
However, the WST is the entire length of the Kuaokalā Trail from where it begins here at the Tracking Station to the east trailhead that leads back down to Keālia.
West Kuaokalā Trailhead
Once on the Kuaokalā Trail, follow it as normal heading east toward Mākua Valley.
As a side note, the Kuaokalā Trail is one of the better West Oʻahu hikes to see one of Hawaiʻi’s native ʻIliahi species, like the tree on the right side of this photo here.
At the junction with the road in the photo below, turn left.
The road to the right simply leads back to the Space Force Tracking Station.
Then, go right up the hill in the first photo on the left and left up the second hill, as shown in the photo on the right.
Mākua Valley
When the Kuaokalā Trail comes to the Mākua Valley ungulate exclusion fence, go left after the gate.
Additionally, please close the gate after passing through, as Mākua Valley is home to a number of very rare and endangered Hawaiian species.
East Kuaokalā Trailhead
Once at the second gate in the fence, also known as the East Kuaokalā Trailhead, you can either go right to continue hiking the WST or straight through the gate to hike down Keālia to Kawaihāpai.
That said, don’t underestimate how long this section will take to reach the East Kuaokalā Trailhead, as simply hiking the short distance across the Kaʻena Point Tracking Station takes up the vast majority of the time.
In any case, you can see all the turns from Keālia to the East Kuaokalā Trailhead at the end of my separate Keālia article linked below.
Read My Separate Post:Keālia Trail
Keālia to Pahole/ Mokulēʻia Junction
Distance to Pahole Junction: 1.6 miles (2.6 km)
Beginning from the East Kuaokalā Trailhead, the WST simply follows the fence line toward Mt. Kaʻala.
With that in mind, it is obviously easiest to walk along the Mokulēʻia-Kuaokalā Access Road instead of following the fence, but the road is not the WST, with the exception of a few short sections where the two meet.
In any case, these initial sections upon leaving Kuaokalā are some of the most annoying when they’re overgrown.
In my experience, this gate in the fence is where you should start looking out for Lilikoi!
This is one of a few short sections where the WST and access road come together as one.
Here, the Waiʻanae Summit Trail leaves the road after just a short stretch of easy hiking.
This is one of a handful of sections where I often find it easiest to hike on the Mākua side of the fence, but those stretches never last long before I decide to hop back over.
Then, the fence line meets the road for a second time before branching away almost immediately after.
This is the third and final time the WST meets the road to Peacock Flats before the much longer spur road just below Pahole and the Waiālua Nike Site.
This short, rocky section is the only part of this stretch on the WST that could, in any way, be considered 'technical.'
That said, go left down the easier trail to get around the small cliff, as the fence line drops off steeply if you were to continue straight.
Pahole Spur Road
Next, the WST comes to the short Pahole Spur Road off the main Mokulēʻia-Kuaokalā Access Road just below the Nike Site.
This is where the hiking truly gets easier, since leaving the East Kuaokalā Trailhead, which will continue until the end of the Pahole Trail.
Once here, simply follow the road uphill, which will eventually transition into a trail shortly before the Pahole junction.
This is where the short Pahole Spur transitions back into a trail.
Pahole Junction
Finally, the WST leaves the 'harder' hiking behind when the Pahole Spur meets the maintained Pahole Trail.
Here, go right to continue on the Pahole portion of the WST, or go left to hike down to the Pahole Trailhead/ Waiālua Nike Site shortly ahead.
Waiālua Nike Site
This is the Waiālua Nike Site and the very top of the Mokulēʻia Access Road, past Peacock Flats.
With that in mind, the Mokulēʻia Access Road is a great place to end a hike on the WST, as hiking back to the Pahole Trailhead to continue toward Mt. Kaʻala is relatively easy and straightforward.
However, I personally recommend against this option and suggest continuing along the Pahole Trail to the Mokulēʻia Bench because re-hiking the Mokulēʻia Access Road just for this section to the bench is not the best use of time.
I say this because adding the Pahole Trail onto the hike to Mt. Kaʻala would make an already 18-19-mile (29-30.6 km) long hike from the bench even longer by beginning from the Pahole Trailhead.
Read My Separate Post: Mokulēʻia Access Road
Pahole Trail
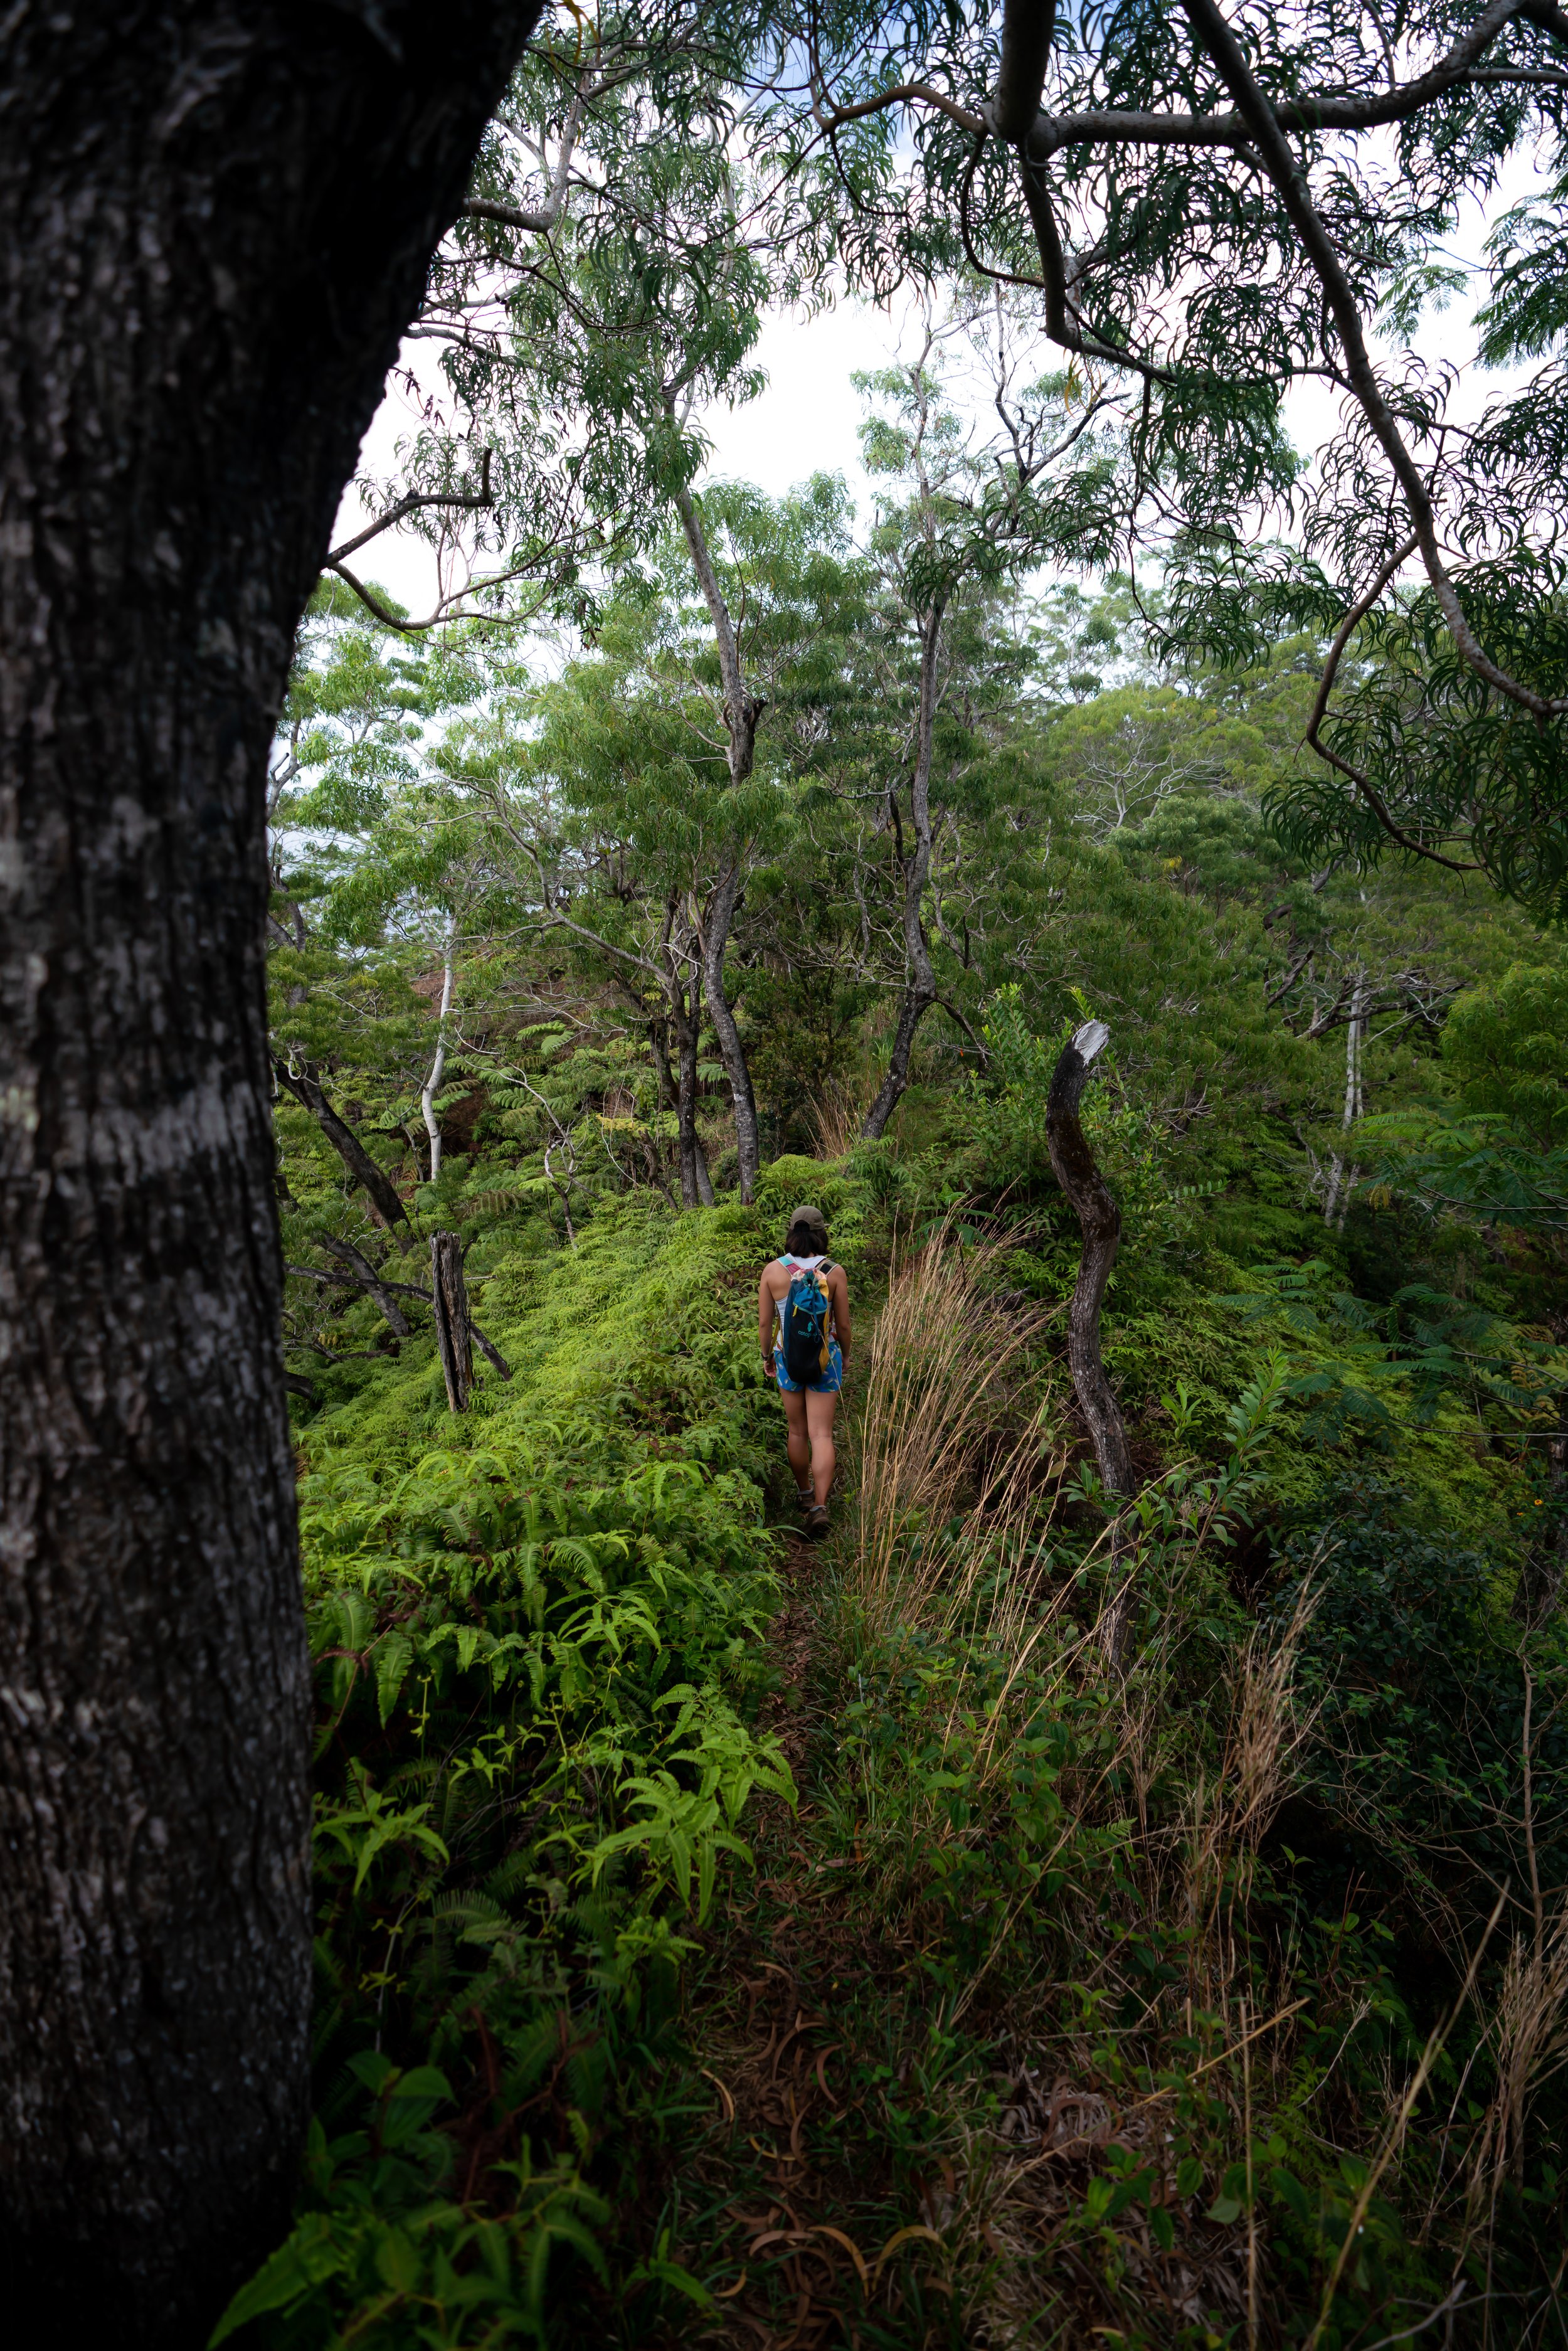
Regardless of how you decide to break up this section, the Pahole Trail is one of the easiest hikes along the WST, much like the Kuaokalā Trail.
It’s hard to understate how beautiful the Pahole Trail truly is, as I only wish it continued for longer!
You can either follow the fence up and over this hill or hop over here to stay on the easier Pahole Trail.
The Pahole Trail is an area of constant restoration work, and I ask that you please stay on the trail to avoid stepping on of these native out-plantings.
Pahole-Kahanahāiki Junction
In short, the Kahanahāiki Trail is an entirely separate trail off of the WST.
Therefore, don’t hop the fence but stay on the more obvious/ trafficked side.
On the far side of the predator-proof snail enclosure, the WST continues on the back side through the trees.
The viewpoint in the photo below is where the main Pahole Trail ends.
That said, simply continue along the fence past this viewpoint to get to the Mokulēʻia Trail/ bench.
Waiʻanae Summit-Mokulēʻia Junction
Eventually, the WST comes to this low point in the trees, with a trail leading down to the left. This is the path that leads to the Mokulēʻia Trail and back to Peacock Flats/ the Mokulēʻia Access Road.
If you’re ending your hike here, go left here and take another left on the Mokulēʻia Trail at the shelter below. Then, follow the Mokulēʻia Trail for 1.5 miles (2.4 km) until you reach Peacock Flats.
From Peacock Flats, go right down the 3.6-mile (5.8 km) access road to get to the North Shore.
As a side note, no part of the Mokulēʻia Trail is a part of the WST.
Read My Separate Post: Mokulēʻia Trail
Mokulēʻia Junction to Mt. Kaʻala
Hiking from the Mokulēʻia Junction to Mt. Kaʻala is a time-sensitive section—more on this later.
This aside, from the Mokulēʻia junction, the WST continues steeply up the ridgeline to the Mokulēʻia Bench.
Mokulēʻia Bench
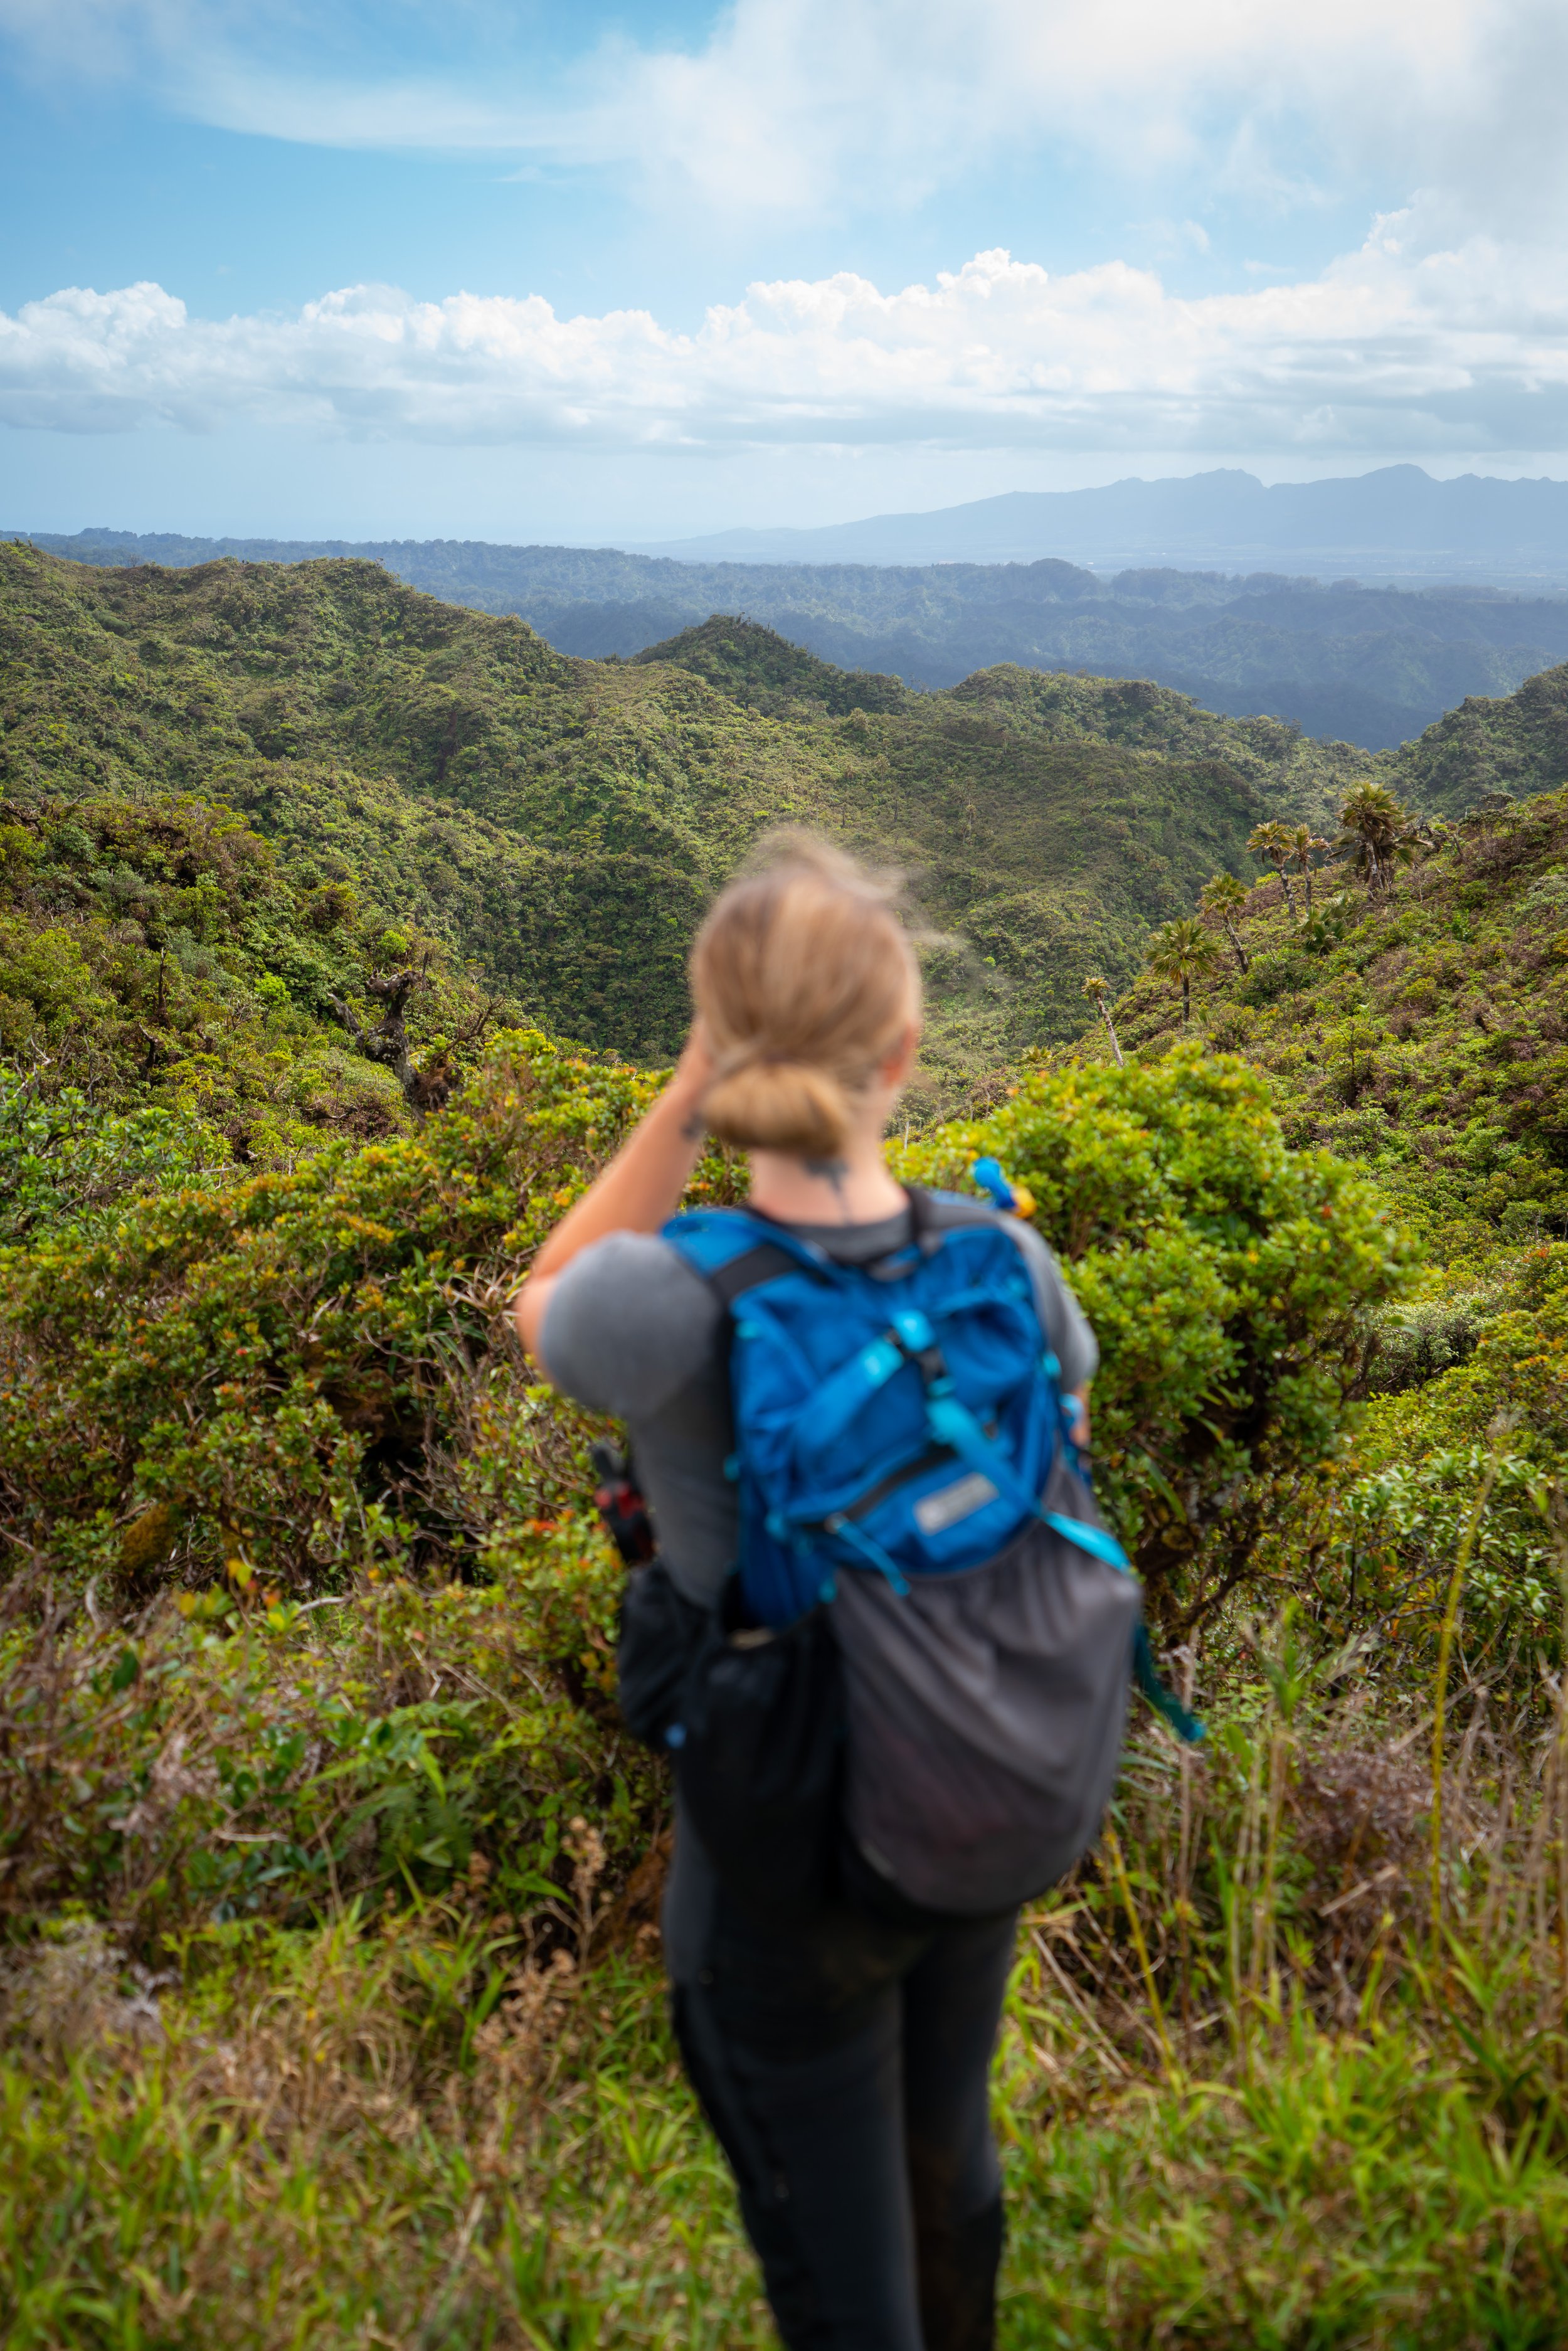
From the bench, the summit trail continues along Mākua Valley toward Three Corners.
If you don’t know, Three Corners is the junction where you can see Mokulēʻia, Mākua, and Mākaha Valley all in one spot.
To get to Three Corners, follow the exclusion fence straight past the benches.
There are going to be multiple sections where multiple fences come together before Three Corners, and generally speaking, the WST goes right/ straight at all of them.
The most notable of these junctions will head down this steep hill along the fence that faces the West Side.
Three Corners
Once at Three Corners, go left along the fence toward the next predator-proof enclosure that you will find.
That said, don’t walk down toward the enclosure, but rather, stay along the fence, as this fence will lead down the ridge toward Kaʻala Road.
When the fence on the ridge makes a sharp left/ U-turn, leave the fence behind and stay straight.
Going straight won’t look like the right direction at first, but when you push through the overgrowth, it will make more sense.
Eventually, the ridge will reach a nice set of stairs that leads down to the Mt. Kaʻala Road.
Mt. Kaʻala Road
The Mt. Kaʻala Road is exactly why I said that this section of the WST is time-sensitive.
By this, I mean that hikers are not supposed to walk on the Mt. Kaʻala Road, and the signs will make that clear.
Additionally, don’t get the idea that if you get turned around by someone on the road, you will be able to walk back up Kaʻala Road from the North Shore in the future. That plan is unlikely to work because you won’t make it past the properties at the bottom.
Even going up Kaʻala Road in the middle of the night would be tough, but I’ll get to that later.
Realistically, if you got turned around on Kaʻala Road, you’re going to have to repeat this section in the same direction described above.
The alternative would be to start from the Mt. Kaʻala Trail in Waiʻanae, which would be a logistical nightmare to stage a car.
What I hope all this shows is that it’s best simply try to get it right the first time by planning your hike around the times posted on this sign.
I have heard of employees giving hikers a ride back down the road, but I would have a hard time believing that if you were seen on Kaʻala Road, they would let you continue walking up toward the summit. My guess is that they would turn you back around toward the North Shore.
Mt. Kaʻala
Upon walking up Mt. Kaʻala Road to the military installation, be sure to tag the real summit marker through the gate to the left of the fence.
Don’t listen to the signs at the end of the boardwalk, as the true summit can easily be reached through the small gate shown below.
Mt. Kaʻala Summit
At approximately 4,025 ft. (1,227 m), this is the true summit of Mt. Kaʻala.
On a different note, I mentioned previously that this section of the WST is 18-19 miles (29-30.6 km), including the 1-mile (1.6 km) return walk along Farrington Highway to get back to the access road trailhead. However, it’s important to keep in mind that the majority of these miles come from the Mokulēʻia Access Road and Mt. Kaʻala Road, which is roughly 7.7 miles (12.4 km) from the summit of Mt. Kaʻala to Farrington Highway.
Why to Avoid Walking Up the Mt. Kaʻala?
This is why walking up the Kaʻala Road from the North Shore is a fatal plan:
Regardless of the time of day that you are there, you are going to attract a lot of attention.
On my way down, I startled two stray hunting dogs that were barking at me the loudest I have ever heard a dog bark!
This was not a 'hi, how are you?' kind of bark, but rather, an 'I am going to kill you' kind of bark. I legitimately thought that I was going to have to choose between my life or the dogs'.
In any case, they were barking at me from on top of a hill, and every step I would walked on the road to try to put some distance between me and them would only stir them up more.
The only reason I got away was that I stopped moving so that I stopped making noise. I then tiptoed on the road for a few hundred feet before I felt it was safe again to pick up speed to get away.
That was the scariest encounter I’ve ever had with a hunting dog on Oʻahu, but I would say it’s good to have a plan in mind in case this were to ever happen to you.
Other than the hunting dogs making a huge scene, on the lower part of the road, I also stirred up some other dogs just by walking by some properties on the dirt road to get out of there. This stirred up the cattle, and therefore, I say there’s no way, whether day or night, that you’re going to get up or down the road without causing a scene.
Keep in mind that I was inadvertently making all of this noise in the dark under the moonlight. When the sun comes up and people are working the land or employees are driving to the summit, walking up Kaʻala Road will only get harder.
Therefore, for all these reasons, I believe it’s better to exit on the road, rather than to try and enter from Mokulēʻia.
Mt. Kaʻala to Kolekole Pass
In terms of planning, this section is the most logistically challenging, as it is best to stage a car on Schofield and then drive to the Mt. Kaʻala Trailhead to begin the hike.
Personally speaking, I would never hike from Mt. Kaʻala to Kolekole in reverse because it’s highly likely to make it to Kolekole Pass after the official Kolekole Trail closure, which could result in your staged car becoming locked in at the trailhead.
Therefore, in order to avoid the hiking gate closure on Schofield late in the evening, it’s best to park a few miles away from the trailhead at the very first gate you see when driving on Schofield toward the pass.
Mt. Kaʻala to Puʻu Kalena
Beginning at the Mt. Kaʻala Trailhead, hike up to the summit.
If you left off on Mt. Kaʻala Road previously, walk the entire boardwalk to make it official because to continue on the WST from summit bog, you need to cut into the forest at a random point. Meaning, if you don’t walk the entire boardwalk, then you’re still missing that small section. I know, I’m a purist.
Mt. Kaʻala Bog Junction
Look at the Apple Maps satellite image above, where I labeled the pin 'WST to Kolekole.' This is where you need to cut into the bog to continue on the WST, which is the junction shown below.
When you leave the boardwalk, be as careful as possible not to leave any impact.
Don’t grab branches, be careful about brushing up against the trees, and watch where you step, as habitat is critical for the survival of a number of federally listed endangered species.
In any case, the Mt. Kaʻala bog junction may or may not have ribbons, but the best thing you can do is follow the most obvious path through the forest. If the path gets too narrow and you’re wondering where you lost it, turn back to a point where you can clearly identify the path.
I’ve had this happen multiple times and had to turn back, stopping to look for what seemed like the right way.
That said, the trail through the Kaʻala bog is not obvious until you find the ridge on the far side of the bog.
When you make it to the ridge, you are going to start dropping in elevation off of Mt. Kaʻala.
There is one significant down-climb on this section, and it wouldn’t be the worst idea to bring a 25-ft. (7.6 m) rope to tie and leave behind.
When you finally regain the fence after these climbs, it should be very straightforward from here to Puʻu Kalena.
The most annoying part is the invasive Blackberry thorns that never seem to end.
Puʻu Kalena to Kolekole
After Mt. Kaʻala, the next peak on the WST is Puʻu Kalena; the second-highest peak on Oʻahu.
After Puʻu Kalena, the hiking gets noticeably easier, but there’s deceptively more to hike than you can see from Puʻu Kalena. However, it will move previous sections to get to this point.
Then, the WST continues toward 'Sexy Ridge' and Puʻu Kūmakaliʻi, the last significant peak between Kaʻala and Kolekole Pass.
After Kūmakaliʻi, the WST begins to drop steeply down toward Kolekole, but keep an eye out for a sharp right turn that is above Kolekole, leading off the main ridge. I believe that continuing straight on the ridge would cliff out, and you would have to hike back up to find the correct turn. In my experience, this turn should be marked with ribbons.
The rest of the hike leads all the way down to where the main Kolekole Trail is located, but know that the last section of this hike just before Kolekole Road is going to be the least straightforward. However, just keep cutting through the woods going downhill until you pop out on Kolekole Road.
Starting from the Mt. Kaʻala Trailhead in Waiʻanae Valley, the whole hike is roughly 8.9 miles (14.3 km).
Kolekole to Pālehua
Pālehua-Palikea Trail Access
This section, just like Kaʻena Point, is why the WST is tricky.
That said, the entirety of this section, from Kolekole to Pālehua, is public land until the second you step off of the trail at Pālehua.
Thankfully, I had special one-time permission from one of the owners of the Gill-Ewa & Olson Trust property to access the land, but truthfully speaking, there is nothing that I can do for you to be able to have the same permission to pass through their property at the top of Makakilo.
Don’t be stupid and try to jump the gate from the Makakilo side, as that is about the worst idea a hiker could come up with.
I say this because there are many residents that live on the property that have Kuleana Rights to the land. Furthermore, Pālehua Road, a long 4.5-mile (7.2 km) road to the trailhead, and the chances are very high that you will get caught if you try to sneak by on the road. The residents are also fed up with hikers trespassing, and they will call the HPD if they hikers are seen.
On top of all this, the Gill-Ewa & Olson Trust property has a security guard, which is why I say that it’s a stupid attempt to try and sneak up Pālehua Road.
The only reason I was able to get permission is that I had previously been up on the property by hiking from Puʻu Heleakalā, which is not a practical route down after finishing the WST. However, when walking down Pālehua Road, we had a not-so-pleasant confrontation with one of the owners, but it did deescalate when the owner learned of our intentions. This is again to say that they do not take kindly to seeing hikers on the road.
Nevertheless, I continued to keep in touch for months after the fact over email, and I kept trying to see if there could be a way for hikers to access the trail without causing a problem.
Overall, nothing ever came of it, but it is a real shame because the trail was donated by Ed Olson to the Department of Land and Natural Resources, with the best intentions that it was to be accessible for the public. The issue is that there is no legal access for the now-public trail, and the Gill-Ewa Olson Trust property has inadvertently become gatekeepers to its access. However, it’s not fair to blame the owners because the property is home to very critical communication infrastructure near the trailhead that doesn’t need to be vandalized by the public.
This is all to say that Pālehua-Palikea is arguably the most beautiful trail on Oʻahu, and I hope there will be a better solution in the future!
Pālehua to Kolekole Pass
With the permission that I was given, the owner requested that we start from the Pālehua Trailhead.
That said, I initially thought I would much rather start from Kolekole because of the infamous Pōhākea Pass, but I changed my mind after hiking it from the direction we did.
What I mean is that I thought west to east was better at first because I prefer to climb up harder sections than descend them. However, at least by going down Pōhākea, we could set our own ropes.
Furthermore, I changed my mind about my initial thoughts because you are essentially getting all of the hard hiking out of the way right away, which I’ll talk about in the coming sections.
Pālehua-Palikea Trail
The hike began with the security guard dropping us off at the Pālehua Trailhead, for which we were extremely thankful, as we didn’t have to walk the long road.
In any case, the Pālehua-Palikea Trail is a very easy trail, and I wish we that we would have had more time to enjoy because of how beautiful it is!
However, aside from it’s natural beauty, you can find endemic Kāhuli snails, native birds like the Oʻahu ʻelepaio, Hawaiian Happy-Face Spiders, and plants that only exist in this highly protected portion of the trail. That said, we didn’t stay long because of the challenging sections to come.
By this, I mean that the real hiking begins shortly after you reach the top of Heleakalā/ Nānākuli Ridge, leaving the Pālehua-Palikea Trail behind.
Pōhākea Pass
We started at 7:00 a.m. at Pālehua, and we reached Pōhākea Pass right at 9:00 a.m., which was kind of a luxury because if you read this blog about the same section, they were getting to the pass a lot closer to dark.
From the bottom of the pass, the WST ascends back up about 900 ft. (274 m) into Puʻu Kaua; the fourth-highest summit on Oʻahu.
That said, the top four highest summits on Oʻahu are Mt. Kaʻala at 4,025 ft. (1,226 m), Puʻu Kalena at 3,504 ft. (1,068 m),Puʻu Kōnāhuanui at 3,150 ft. (960 m), and in fourth, Puʻu Kaua at 3,127 ft. (953 m).
Puʻu Kaua to Gorilla Heads
From Puʻu Kaua to Kolekole, the only other true obstacles on the hike are the Gorilla Heads and this awkward 'nipple,' where you will vertically climb the fence like a ladder to get up and down on the far side.
As for the Gorilla Heads, one person in our group thought they were harder than Pōhākea Pass because of the exposure, but personally, I disagree.
In my opinion, the Gorilla Heads are simply a couple of down and up climbs where you just need to take it slow to not make a mistake. If you’re looking for something to compare it to, both Pōhākea Pass and the Gorilla Heads are Class 3/4 scrambles.
Gorilla Heads to Puʻu Kānehoa
Past the Gorilla Heads, I found the following section to the top of Puʻu Kanehoa to be the most annoying.
By this, I mean that the WST is covered in invasive Christmas Berry, which is much woodier than Uluhe, making it much more annoying and slow to walk through. On top of that, we spent this entire section hunched over just to take the easiest path through it because the overgrowth gives you no places to stand up comfortably.
Puʻu Kānehoa to Puʻu Hapapa
Once at the summit of Puʻu Kānehoa, the WST to Puʻu Hapapa gets significantly easier. This is one main reason why I liked hiking in this direction, as we got all of the hard hiking out of the way leading up to this point.
Then, as the summit trail heads west from Puʻu Kānehoa, the WST continues to get easier—especially once you reach the ungulate-exclusion fence.
Puʻu Hapapa (Kolekole Trail)
Finally, the WST reaches the helicopter landing that is the end of the popular Puʻu Hapapa Trail from Kolekole Pass.
Since I had hiked here along the WST prior to hiking the section above, this was the point I completed the Waiʻanae Summit Trail!
Read My Separate Post: Kolekole Trail (Puʻu Hapapa)
Past the Puʻu Hapapa helicopter landing pad, the WST follows the popular Puʻu Hapapa Trail that begins atop Kolekole Pass.
This section will mirror my separate Puʻu Hapapa article, except that it is written from east to west (the summit to the pass).
Please be mindful as you traverse these uppermost elevations, as the entire area along the summit of Puʻu Hapapa is carefully managed for a variety of native Hawaiian species.
I think this landslide looks worse than it actually is, but that is not to say that it will not get worse over time.
Puʻu Hapapa
After the landslide, the WST will pass over the true Puʻu Hapapa Summit, which is where equipment used by resource managers to protect the native landscape across this portion of the summit is commonly stored.
Again, please be respectful, and do not take or disturb any equipment.
These westernmost areas of the Waiʻanae Range are always the best places to see the endemic Huʻahuʻakō.
Once past the uppermost portion, the Puʻu Hapapa Trail will turn north toward the Puʻu Hapapa Loop shortly ahead.
Upper Puʻu Hapapa Loop Junction
This is where the Puʻu Hapapa Trail splits into two different ridges down the northeast side of the mountain.
That said, the ridge to the left (west) is the true Waiʻanae Summit Trail, while the ridge to the right (east) is not.
After turning left at the junction above, there are no more turns on the Puʻu Hapapa Trail until the base of the mountain, where the WST will meet the Honouliuli Contour.
I highly recommend hiking in a hooded sun shirt for these long exposed sections across the summit!
About 0.3 miles (0.5 km) from the Upper Puʻu Hapapa Loop junction, the WST comes to the first of two steep scrambling sections.
That said, these two Class 3 sections are nowhere near as challenging as Pōhākea Pass, but be careful—the rock may be loose even if it appears stable.
Yes, it’s steep, but it’s nowhere near the level of the most challenging of climbs on Oʻahu.
After the first climb, the Puʻu Hapapa Trail simply continues along the ridgeline until the second steep descent, shortly ahead.
This is where the WST drops down one more steep section on the west ridge.
Consider bringing your own rope to use something more reliable than what others have left behind.
Past these two steep sections, the Puʻu Hapapa Trail to the Honouliuli Contour at the bottom becomes much easier than anything experienced thus far.
When the Puʻu Hapapa Trail enters the Paperbark forest near the bottom, the steepest sections are almost over!
Lower Puʻu Hapapa Loop Junction (Honouliuli Contour Trail)
This is the bottom of the west ridge and the beginning of the short stretch where the Puʻu Hapapa Trail follows the Honouliuli Contour.
That said, go left to continue toward Kolekole Pass, as the trail to the right simply follows the Honouliuli Contour over to the east ridge that was mentioned at the upper junction.
Go left at this split to continue toward the Kolekole Trail.
Kolekole Bench
The Kolekole Bench marks the end of the Puʻu Hapapa Trail and the beginning of the 'official' trail from Kolekole Pass.
After the Kolekole Bench, the WST follows the easiest section between Pālehua and Kolekole thus far, as the short 0.3-mile (0.5 km) Kolekole Trail is one of the most popular and well-maintained sections of the entire summit trail.
When the Kolekole Trail reaches this fenced-in area, go right to continue down to the pass.
Kolekole Pass
In total, this section from Pālehua to Kolekole took right around 10 hours, covering 8.2 miles (13.2 km), which does not include any walking that you may have to do, whether on Schofield or Pālehua Road.
On a different note, I’ve never understood why Kenji’s hike was north of 16 hours, including the walk on the 4.5-mile (7.2 km) road from the Pālehua Trailhead.
Taking that away, which our group didn’t have to walk, it still should not have taken this long, which leads me to think there must have been a slow hiker, or something else like an injury that wasn’t mentioned.
Either way, I’m just saying don’t plan like it’s going to take you 16 hours. It shouldn’t.
WST Notes
Kolekole Pass
Before planning to hike from Mt. Kaʻala to Kolekole or Pālehua to Kolekole, check the trail status to see that it will be open on Schofield before visiting.
It would be much less of a hassle to go when the Kolekole Trail is open than when it’s closed.
That said, stage your car outside of the gates, for the likely chance that you may be getting down to Kolekole Pass after the official trail closure.
Pōhākea Pass
Before setting off for Pōhākea Pass, I brought a harness, just in case someone in the group would need it—and yes, it ended up coming in handy, as I needed to set up my own rappel because one person in our group may have turned back without it!
That said, I want to be clear that a fall from the top of Pōhākea Pass would likely be fatal.
On another note, we learned from the security guard that drove us to the trailhead that it is possible to contour the entire climb through the Ironwood trees leading up to it, but I don’t know the route specifically.
My guess was that he climbed down on the north side of the pass, and when it was safe to do so, he contoured over back to the pass. He mentioned that he had to downclimb a bit lower than the pass in order to climb back up when it was safe to do so.
Now, I know I’m a purist, but I don’t believe that avoiding the Pōhākea climb is the WST, as this climb is kind of a right of passage.
In any case, make sure that you bring at least a 100-ft. (30.5 m) rope, which is roughly the exact length you will need to get through the worst of it. Also, an additional shorter rope wouldn’t hurt in order to re-tie the lower section.
Gorilla Heads
As for the Gorilla Heads, an extra 100 ft. (30.5 m) of rope to cut for whatever you need may be necessary.
In my experience, the ropes were in pretty bad shape when I did this section.
Pālehua-Palikea Trail Access
If you are able to receive the Gill-Ewa & Olson Trust’s permission to access Pālehua legally, this is the liability form that we were asked to fill out.
Please be aware that I can do nothing for you in terms of gaining access to the property, and simply filling out this form and emailing it does not grant access either.
Now, I have learned directly from the Oʻahu Branch Manager of the Division of Forestry and Wildlife that there is a mandate to open up Pālehua Trail to the public, as it is a public trail. However, we will have to see how that works out.