
Hiking the Subway Trail (Bottom-Up) in Zion National Park
Distance: 7.4 miles / 11.9 km
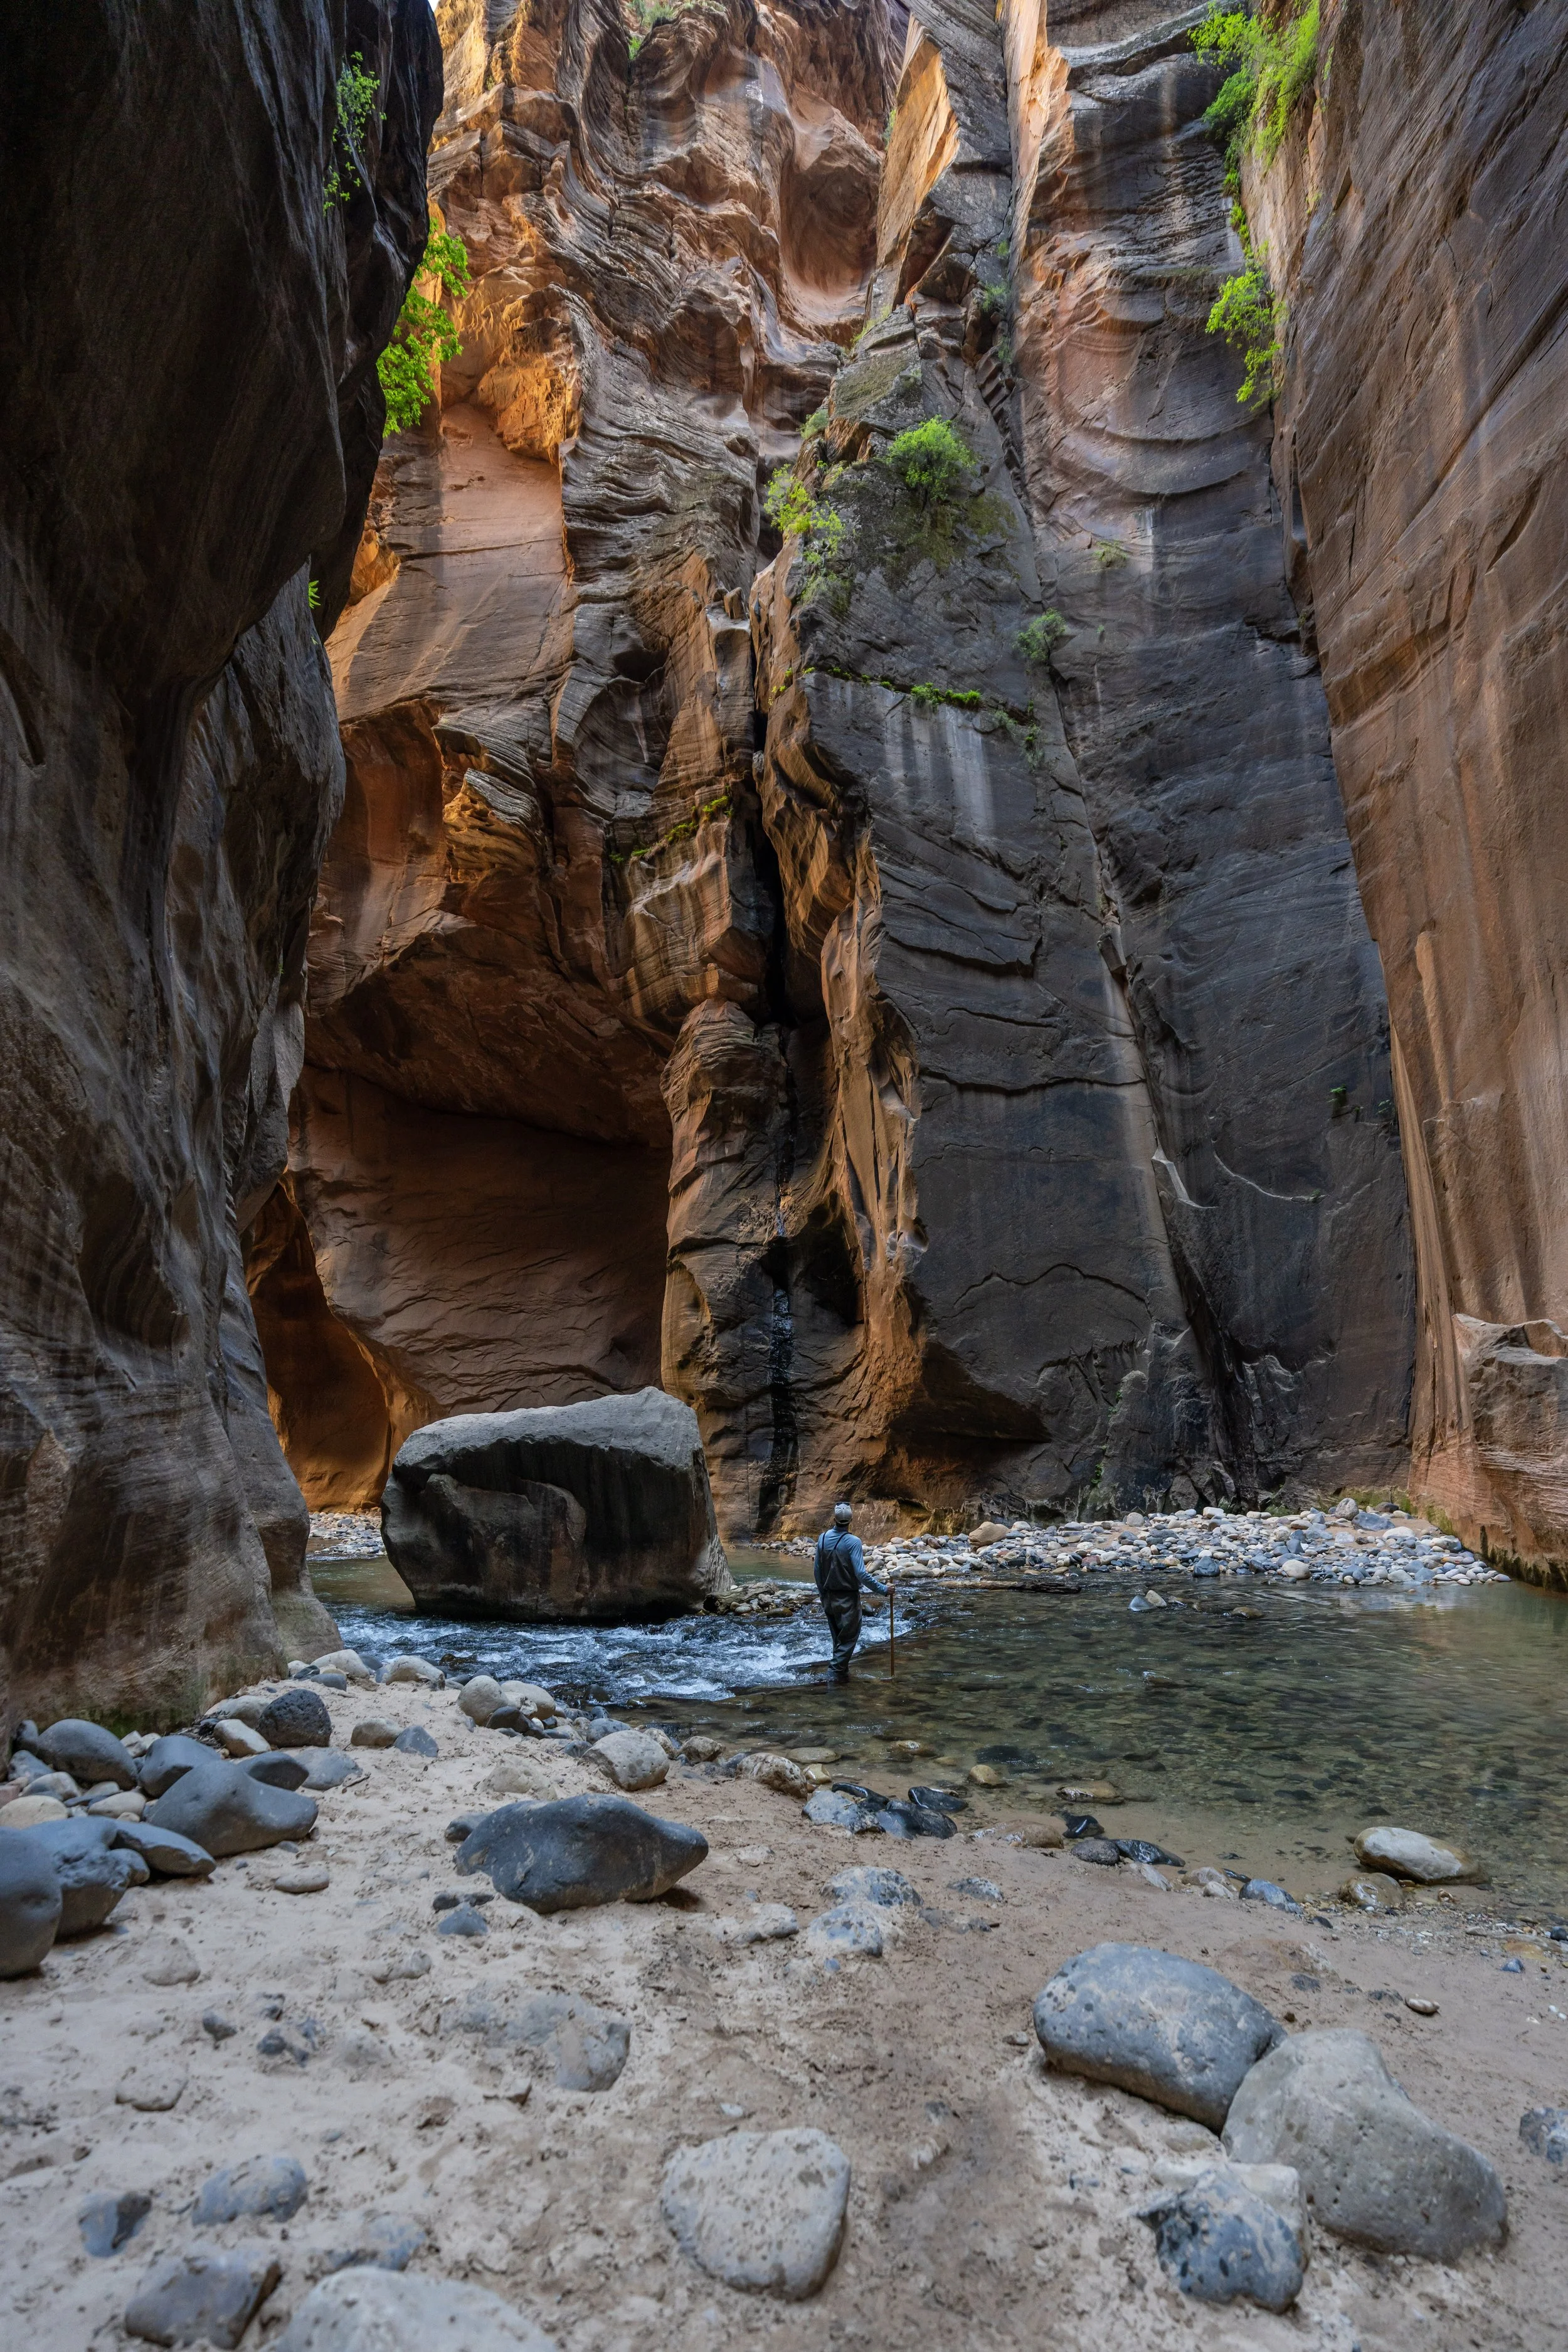
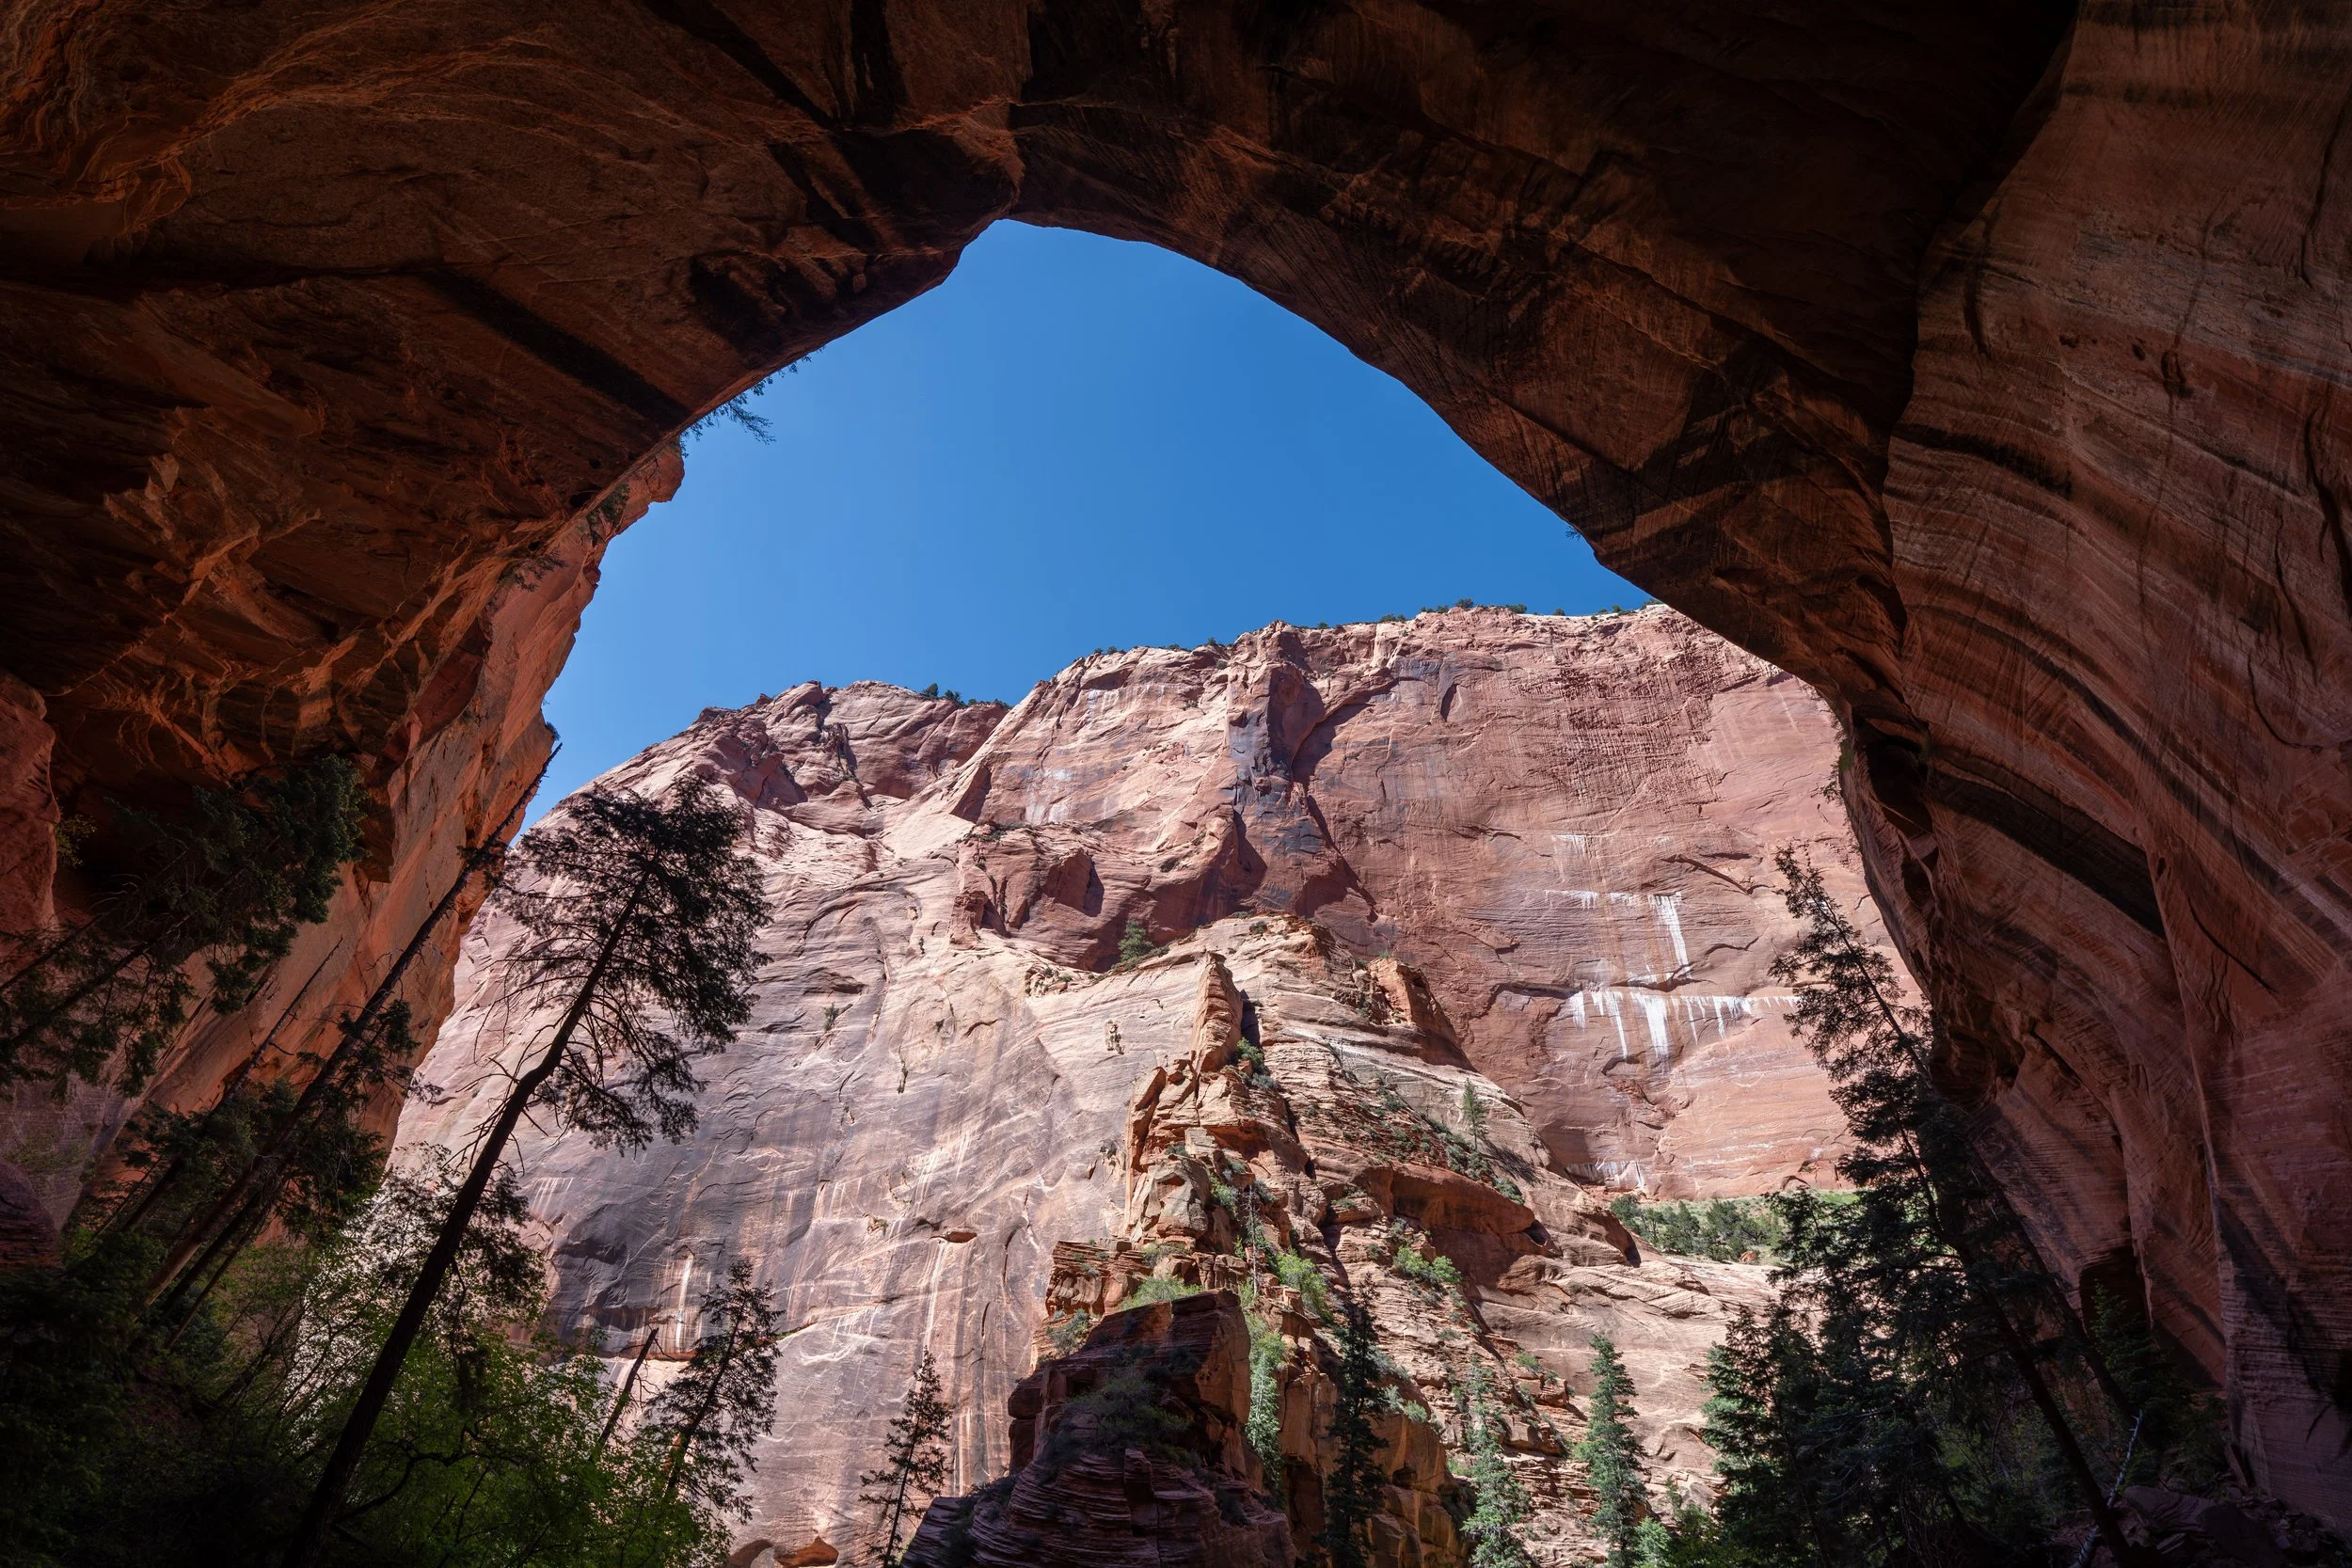
The Subway Trail in Zion National Park is a fun, beautiful, and rugged off-trail day hike that leads to a unique tunnel-like canyon on the Left Fork of North Creek, hence the nickname 'The Subway!'
That said, The Subway is one of the most sought-after day hikes in Zion National Park, which is exactly why the National Park Service manages a strict quota and permit system to limit the number of hikers accessing the Left Fork Trailhead and hiking to The Subway on a daily basis. This quota applies to all visitors, regardless of whether you plan to rappel top-down or hike bottom-up, as outlined in this article.
In my opinion, the somewhat competitive permit system is a blessing in disguise, as it makes the entire backcountry experience that much more enjoyable while, at the same time, keeping out visitors who have no business hiking to The Subway.
That’s not to say that the Subway Trail is an overly difficult or strenuous day hike, but sometimes there’s no nice way to say it: The Subway is beyond some people’s ability, particularly because the National Park Service does not, and never will, maintain the trail.
This is all to say that the Subway Trail up Left Fork of North Creek really is an amazing way to spend a day in Zion, but those who are interested should arrive with the expectation that The Subway is more involved than most adventures across the park—especially compared to those in Zion Canyon!
How to Get Permits For the Subway?
The Left Fork of North Creek, commonly known as The Subway, is managed under a strict daily limit of 80 permits, which reportedly breaks down to 60 permits released through the advance lottery and 20 permits through the daily lottery.
However, there is a third, last-second option to secure an unclaimed permit, which is to walk in and ask for a day-of permit at the Wilderness Desk in the Zion Visitor Center. To do so, it’s best to arrive and wait in line at least 30 minutes before the visitor center opens in the morning, as visitors typically line up early, both for The Subway and other backcountry destinations within the park.
In all of my experiences, I was successful on my first attempt by putting in for the advance lottery and selecting only weekdays as my preferred hiking days.
A little-known secret in the world of Recreation.gov permits is that weekdays and smaller groups are more likely to be successful than larger groups and those putting in for dates on a weekend.
With all that in mind, all permits for The Subway must be picked up in person at the Wilderness Desk in the Zion Visitor Center, either the day before or the day of your awarded hiking date. The National Park Service does this to both talk about the trail and the regulations, but also to cancel any permits if there is an imminent flash flood risk. I have seen this before!
Book Here: The Subway (Daily Lottery) / The Subway (Seasonal Lottery)
Subway Trailhead Parking
Parking for The Subway is located at the Left Fork Trailhead, directly off Kolob Terrace Road.
The National Park Service requires all permitted hikers to place a provided slip on the dash of their vehicle, which helps the agency manage the wilderness route for safety and accountability purposes.
Google Maps Directions: Left Fork Trailhead (The Subway)
Hiking Checklist - Zion
Here is a complete list of must-have things that you will want for any hike in Zion National Park.
Hiking the Subway Trail
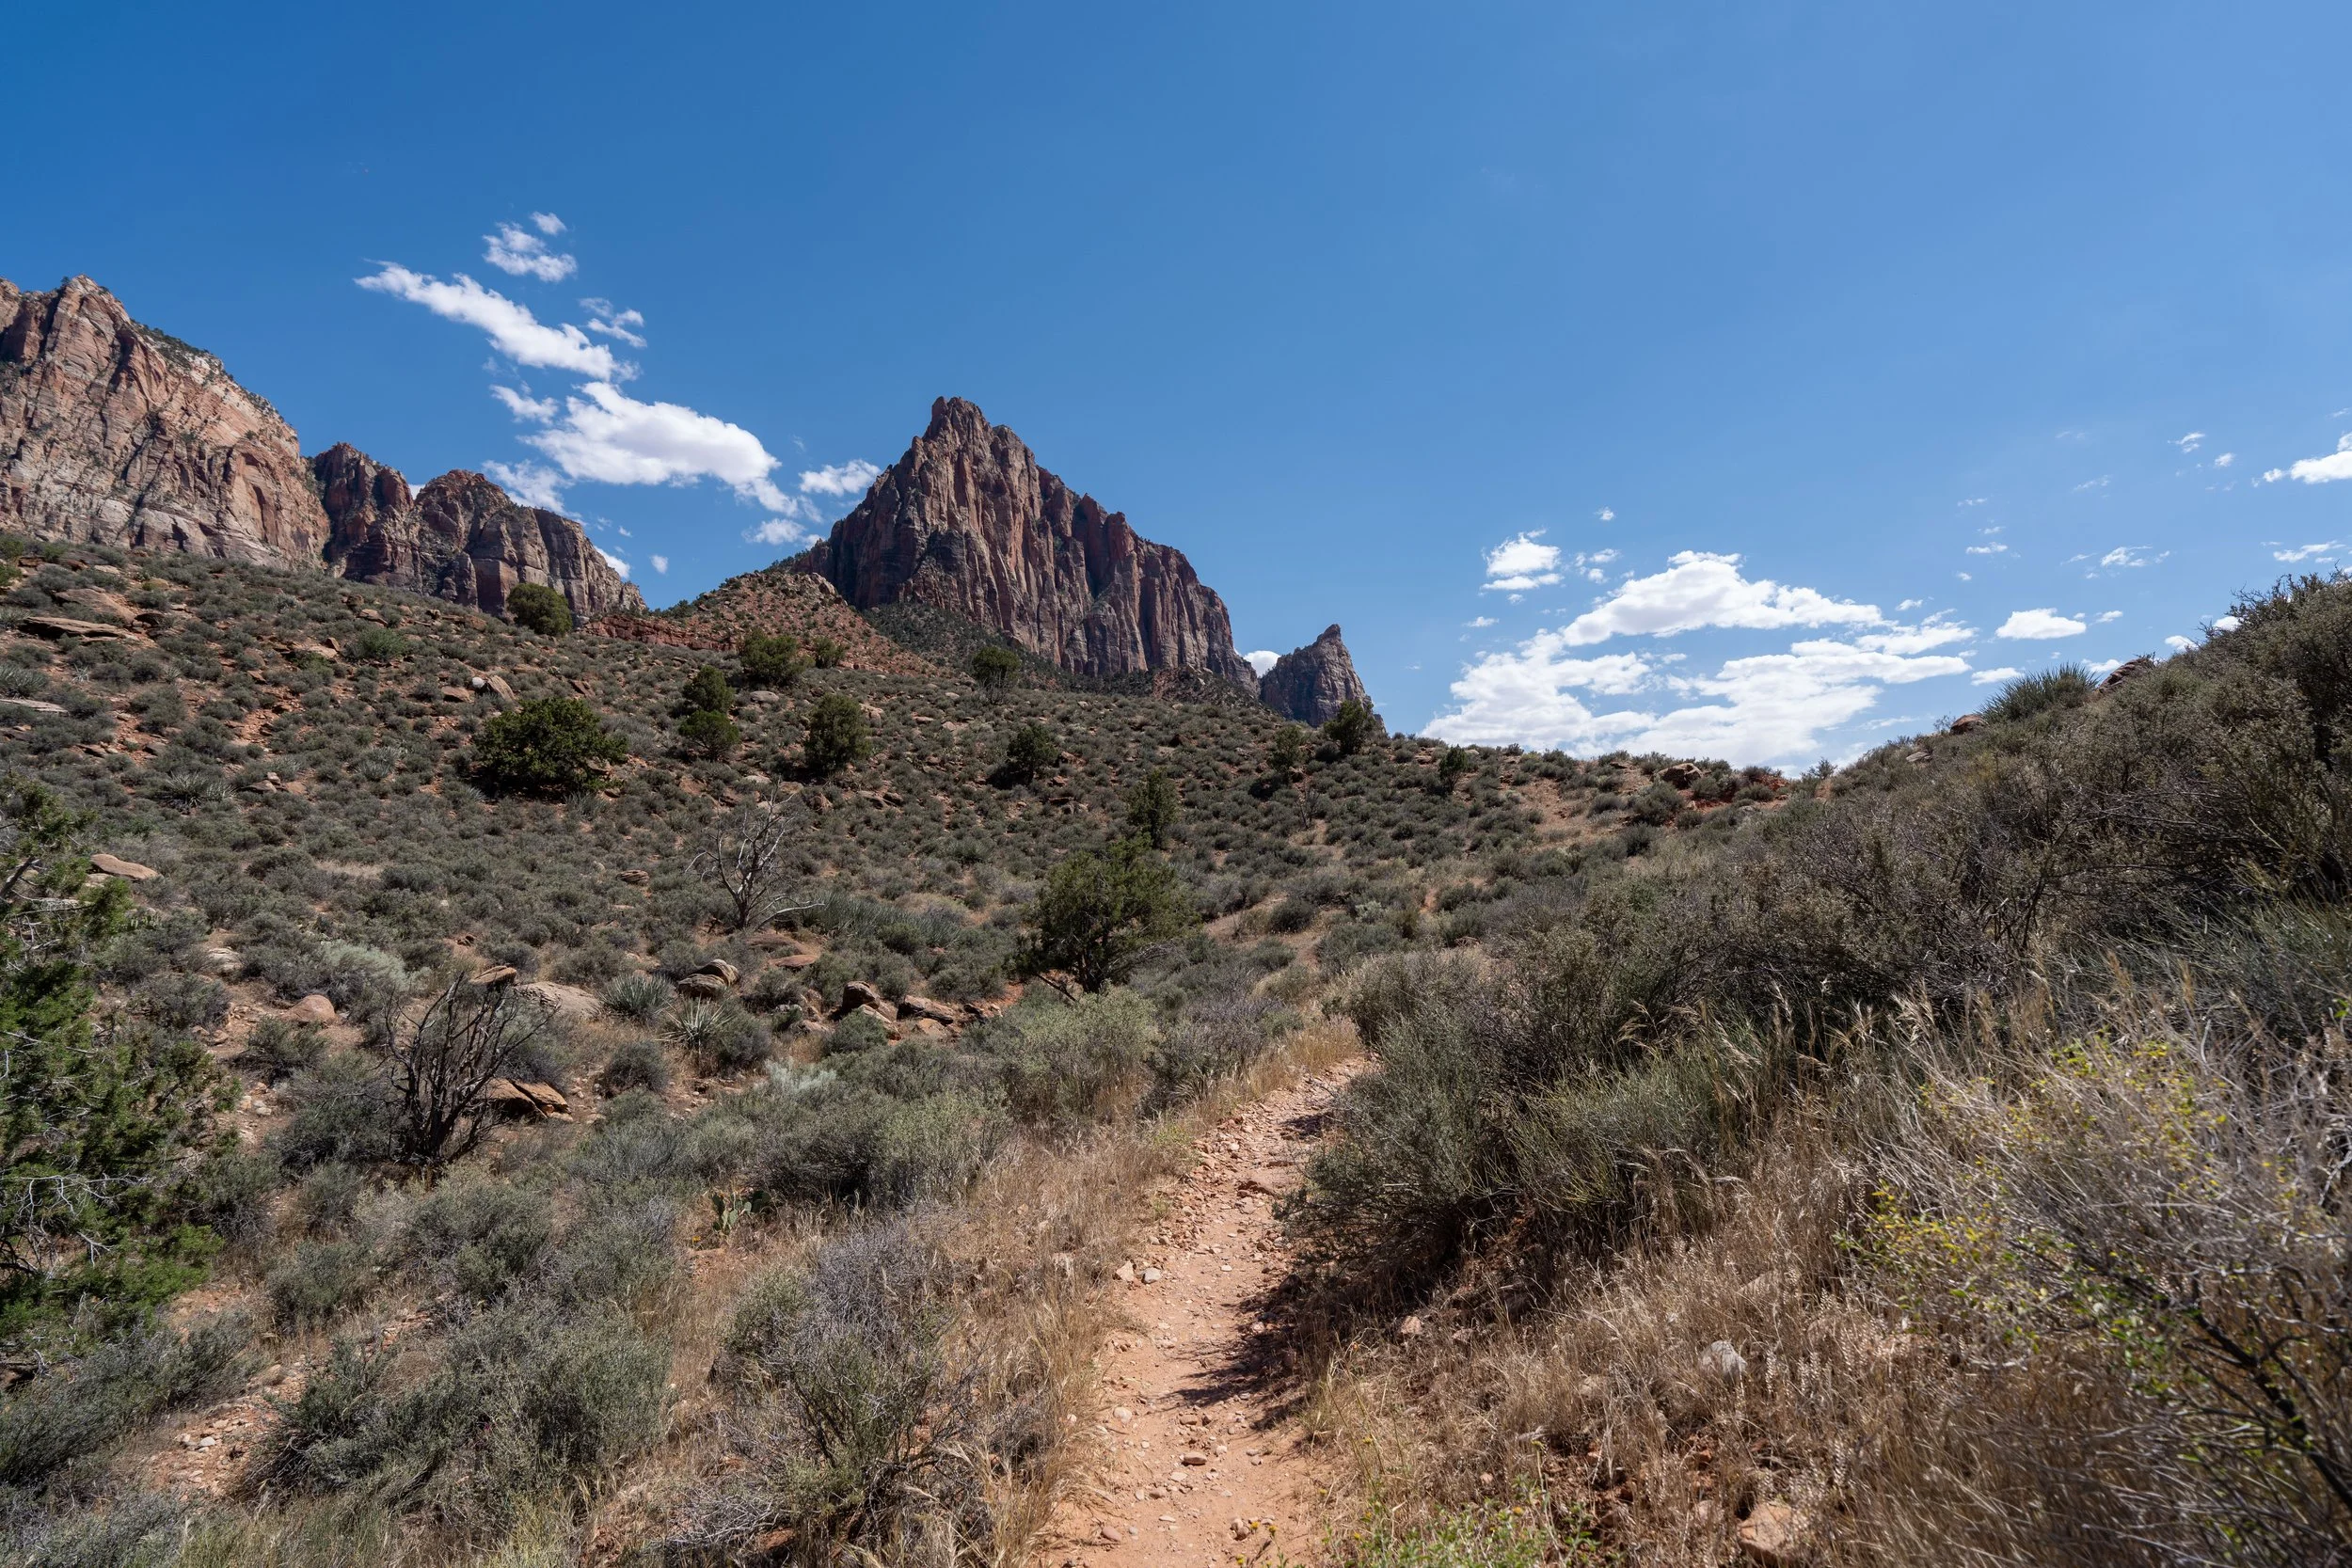
The hike to The Subway begins at the Left Fork Trailhead, where the trail follows a mostly flat path until it reaches the edge of the canyon, about 0.6 miles (1.0 km) into the hike.
On a different note, the National Park Service requires that all human waste be packed out, similar to other adventures like Coyote Gulch, just to the east of Bryce Canyon National Park, and Mt. Whitney in the Sierras.
That said, I recommend arriving prepared before traveling to Zion National Park.
If you forgot your wag bag in the car, do other hikers a favor and turn back upon seeing this early reminder.
It’s really not a hard rule to follow!
In the beginning, the Subway Trail follows a very easy, well-maintained trail to the edge of Left Fork Canyon.
This is the only maintained part of the entire trail, and as a result, it’s the part of the hike that typically moves the fastest compared to everything after the 0.6-mile (1.0 km) mark.
Zion Wilderness Boundary
This is where the Subway Trail crosses the Zion Wilderness Boundary, which is one of a few reasons the National Park Service does not maintain this, the Grapevine Trail, or the Right Fork Trail down the road.
Even though there are a few minor hills on this first stretch before the rim of the canyon, there is effectively no elevation change over the first 0.6 miles (1.0 km), which is nice to keep in mind for the steep hike back out!
This is the 0.6-mile (1.0 km) mark, and it’s where the Subway Trail reaches the edge of the canyon and the beginning of the very steep, rapid descent off Kolob Terrace to the Left Fork of North Creek below.
In terms of what it takes to get down to the creek, the Subway Trail is nothing more than a Class 2 hike, but a steep Class 2 at that!
The steep hike from the edge of the canyon to the Grapevine junction at the bottom is only 0.25 miles (0.4 km), but in that distance, the Subway Trail descends roughly 400 ft. (122 m) on a very loose path.
This is why some hikers may want to bring trekking poles for the hike to The Subway, especially if you anticipate the Left Fork to be running high, as there are countless stream crossings from the junction at the bottom to The Subway up the canyon.
Subway-Grapevine Junction
This is where the Subway Trail reaches the bottom of the descent, and it’s the one and only time the Subway Trail passes a junction for another hike.
That said, go left at this split before reaching the creek, as the trail that continues downhill is the path that leads to Left Fork Falls and the Grapevine Trail beyond.
Read My Separate Post: Grapevine Trail (Left Fork Falls)
Once on the correct trail at the bottom of Left Fork Canyon, the Subway Trail will start heading upstream toward The Subway and will remain fairly obvious in the very beginning.
However, since the National Park Service does not maintain the trail, the best and easiest path only becomes more obscure the farther up Left Fork Creek it heads, as hikers have created countless side trails around the creek, large boulders, and fallen trees.
This is the first of countless stream crossings on the hike to The Subway.
In my experience, the Subway Trail is fairly obvious and easy to follow for most of the first 1.0 mile (1.6 km) following the Grapevine junction, but this trend quickly changes as the canyon walls close in.
This second stream crossing is located about 0.4 miles (0.6 km) up the Left Fork from the Grapevine junction at the bottom of the canyon.
Pine Spring Wash
Pine Spring Creek is one of two side streams that flow into the Left Fork before The Subway, and it’s one of the best mental checkpoints that the Grapevine junction is not far ahead on the long hike back!
One of the most important things I can highlight when writing this article is that I do a fairly good job of showing the best route and the best trail in these photos.
However, finding the best route and staying on the best route is most definitely not as easy as I make it seem in this post.
From time to time, there are a few notable landmarks farther up the canyon where I highlight a turn or two, but for the most part, remembering where to go and when will be difficult.
This is why there are so many routes on both sides of the creek, but if there’s one piece of advice I can give that will help more than anything else, it’s to get your shoes wet early!
Get them wet so that you aren’t constantly working harder and taking more difficult routes in an effort to keep them dry, because eventually, there is no option to keep your feet dry. The creek will be the only route forward—particularly as the trail nears Archangel Falls and The Subway at the end.
This hill marks roughly 0.6 miles (1.0 km) since reaching the Grapevine junction at the bottom of the canyon.
Other than these photos showing how long the Subway Trail is, I think it’s important to mention how tedious the hike is.
I say this because venturing up the Left Fork of North Creek will be a long day outside and, in turn, a lot of time spent in the sun!
If you get an early morning start, this will likely be on the hike back, but either way, I recommend wearing in a hooded sun shirt to stay safe—especially because they dry so well if you happen to get it wet in the creek!
This is where Subway Trail starts to become a bit more confusing, as hikers braid out in a number of directions, creating trails on both sides of Left Fork Creek.
That said, this trend is only exacerbated the higher the trail climbs, which is why the National Park Service often tells hikers when picking up their permits to stick to the creek.
There is some useful advice in that statement, but in my experience, it is most useful within the last 1.0 mile (1.6 km) of The Subway.
Little Creek
About 0.3 miles (0.5 km) past Pine Spring Creek, the Subway Trail crosses Little Creek, located roughly 0.8 miles (1.3 km) up the Left Fork from the Grapevine junction.
After Little Creek, scrambling starts to become more and more prevalent the higher the Subway Trail climbs, but in most areas, it isn’t all that difficult, as it’s mostly necessary to climb up and over a few boulders before the trail gets easier again.
This stream crossing is one of many where there is the option to cross Left Fork or hike up a steep hill on the left-hand side.
That said, the hill up and around the left side of the large boulder is often more obvious when hiking up the Subway Trail, but I recommend crossing to avoid an unnecessary up and down.
Again, it’s not worth trying to keep your shoes dry!
If you decided to avoid the climb up and over the large boulder, the Subway Trail will cross to the left side of the creek again.
This is the first of a few wide-open sections where the trails braid out in a number of directions, typically influenced by whether a hiker is going up or down.
Once at the field of boulders, I recommend hiking up a short distance, then crossing to the right side of the creek to avoid scrambling up a number of unnecessary large boulders on the left side.
This is the easiest path on the right side of the creek.
Even though I recommended crossing to the right side of the creek above, the Subway Trail will cross back over to the left, but at least the route I recommend following avoids some unnecessary steep scrambling.
At this point, I hope it’s obvious that there really is no consistency as to which side of the Left Fork the Subway Trail follows as the walls of the canyon close in.
This ledge is one of the best obvious mental checkpoints on the Subway Trail, which is located almost exactly 1.1 miles (1.8 km) from the Grapevine junction at the bottom of the canyon.
This is roughly the 2.0-mile (3.2 km) mark since leaving the Left Fork Trailhead off Kolob Terrace Road.
For those looking for the dinosaur tracks on the Subway Trail, this section through these large boulders and the stream crossing that immediately follows are your best mental indicators that the tracks are not far away!
Dinosaur Tracks
This large white rock face is where hikers can find the very obvious dinosaur tracks on the Subway Trail.
That said, there are more than a few fossilized tracks, so if you remember where to look, they should not be hard to find!
Once the Subway Trail crosses back over to the left side of the creek following the dinosaur tracks, the trail will remain on the left side of the creek for about the next 0.3 miles (0.5 km), until just after the large rockslide farther up the canyon.
This is quite a long stretch on one side of the Left Fork, which is not a trend that continues after the rockslide as the trail approaches The Subway.
The cube-looking rock that can be seen on the canyon cliff in the photo below is where Guardian Angel Pass can be seen from the Subway Trail for the first time!
This is notable because Guardian Angel Pass sits right above Archangel Falls, with The Subway located just a few steps beyond!
At this ledge, there’s either the option to step up or walk around to the right, but either way, both routes come together and end up on the ledge a short distance ahead.
This steep drop is one of countless examples why, sometimes, it’s best to simply walk up the creek, which is largely true for the parts of the canyon nearest to Archangel Falls.
This rockslide is one of the last notable mental indicators on the Subway Trail before Archangel Falls, as much of the hike to the end will start to look the same from this point on.
If there’s one crossing that’s easiest to remember mentally, it should be this one, immediately after the rockslide!
I say this because there is the option to continue up the left side, but crossing the creek immediately after the rockslide is easiest in the long run—again, another reason I say to just get your shoes wet!
This is one of those spots on the hike to The Subway where it’s tempting to go right up the hill in an attempt to stay out of the stream.
However, I recommend going left because it’s much easier to possibly get your shoes wet than to climb up and down this unnecessary hill.
This is another good example of all the scrambling that hikers must navigate to hike up the Left Fork of North Creek.
This is again another spot where it might seem tempting to climb up and over the rock to the left, but I recommend walking through the water on the right because it’s so much easier—not to mention, the easiest trail continues for a short distance up the right side.
Warning
As the walls of the Left Fork close in, it’s important to be mindful that the dangers associated with flash floods only increase, meaning there are far fewer places to find high ground in an emergency.
This is exactly why the National Park Service does not issue permits more than one day in advance, and it’s something to keep in the back of your mind when hiking up the Left Fork, especially during the summer monsoon season!
If at this point you’ve worked hard to keep your feet dry, I can almost guarantee it won’t last much longer!
However, there are side trails up and around this short cascade, but, as I continually stress, they are not worth it this far up the canyon!
The cube rock atop the canyon cliff in the photo below is the same rock previously mentioned, and it’s a nice sign that Archangel Falls is not far ahead once the Subway Trail passes beneath it!
This is another area where there is a trail out of the stream on the right, or there is the much easier option to go left and walk around the big rock through the stream.
I obviously recommend going through the stream to stay on the easiest path.
This large boulder is again one of the more notable areas where there is a much easier path on the left through the creek, or a steep, out-of-the-way path up and around to the right.
Once again, I recommend going left because it is so much easier and less overgrown.
At this point, the number of side trails only seems to increase as the Subway Trail nears Archangel Falls, but as I write again and again, the easiest route, by far, is to stay as close to the Left Fork as possible, which is also what the National Park Service recommends.
At this narrow cascade, there are only two more areas where I recommend following a side trail to stay on the easiest path: one that begins just a few steps ahead, and a second to climb up and around Archangel Falls.
This is the first of two areas before The Subway with a fairly easy path up and around on the right-hand side.
The short side trail doesn’t last long before it drops back down to the creek.
As the canyon walls close in and the trail nears Archangel Falls, The Subway starts to feel closer than ever before, and it’s where the Left Fork truly becomes the only practical trail to follow.
This is exactly why I continually stress that it’s not worth trying to keep your feet dry, especially considering that the stream can, and often does, run higher.
The easiest path is to simply walk straight up this short cascade.
From the top of the cascade, Archangel Falls can be seen up the Left Fork for the first time!
Archangel Falls
This is Archangel Falls, and it’s the second place I mentioned where there is a much easier path on the right-hand side before the end.
At the top of Archangel Falls, the start of The Subway is just 0.1 miles (0.2 km) away and can be seen in the distance once the Left Fork turns the corner ahead!
The tunnel-like section straight ahead is The Subway!
The Subway
After a slow and tedious 3.7 miles (6.0 km) since leaving the Left Fork Trailhead, the hike finally ends at The Subway, a unique, tunnel-like bend in the Left Fork of North Creek that offers stunning photography opportunities and a great place to hang out in the shade after the long hike up!
Be careful when walking through The Subway with photography equipment, as the stream can be very slippery in spots, and the pools are quite deep!
This is the view looking up the Left Fork at the end of The Subway, and it’s the final section that those going top-down must rappel before putting the rope away for good.
That said, there is a hidden waterfall just out of view from where this photo was taken, but considering all the information provided thus far, I think it’s best to let that be a surprise!