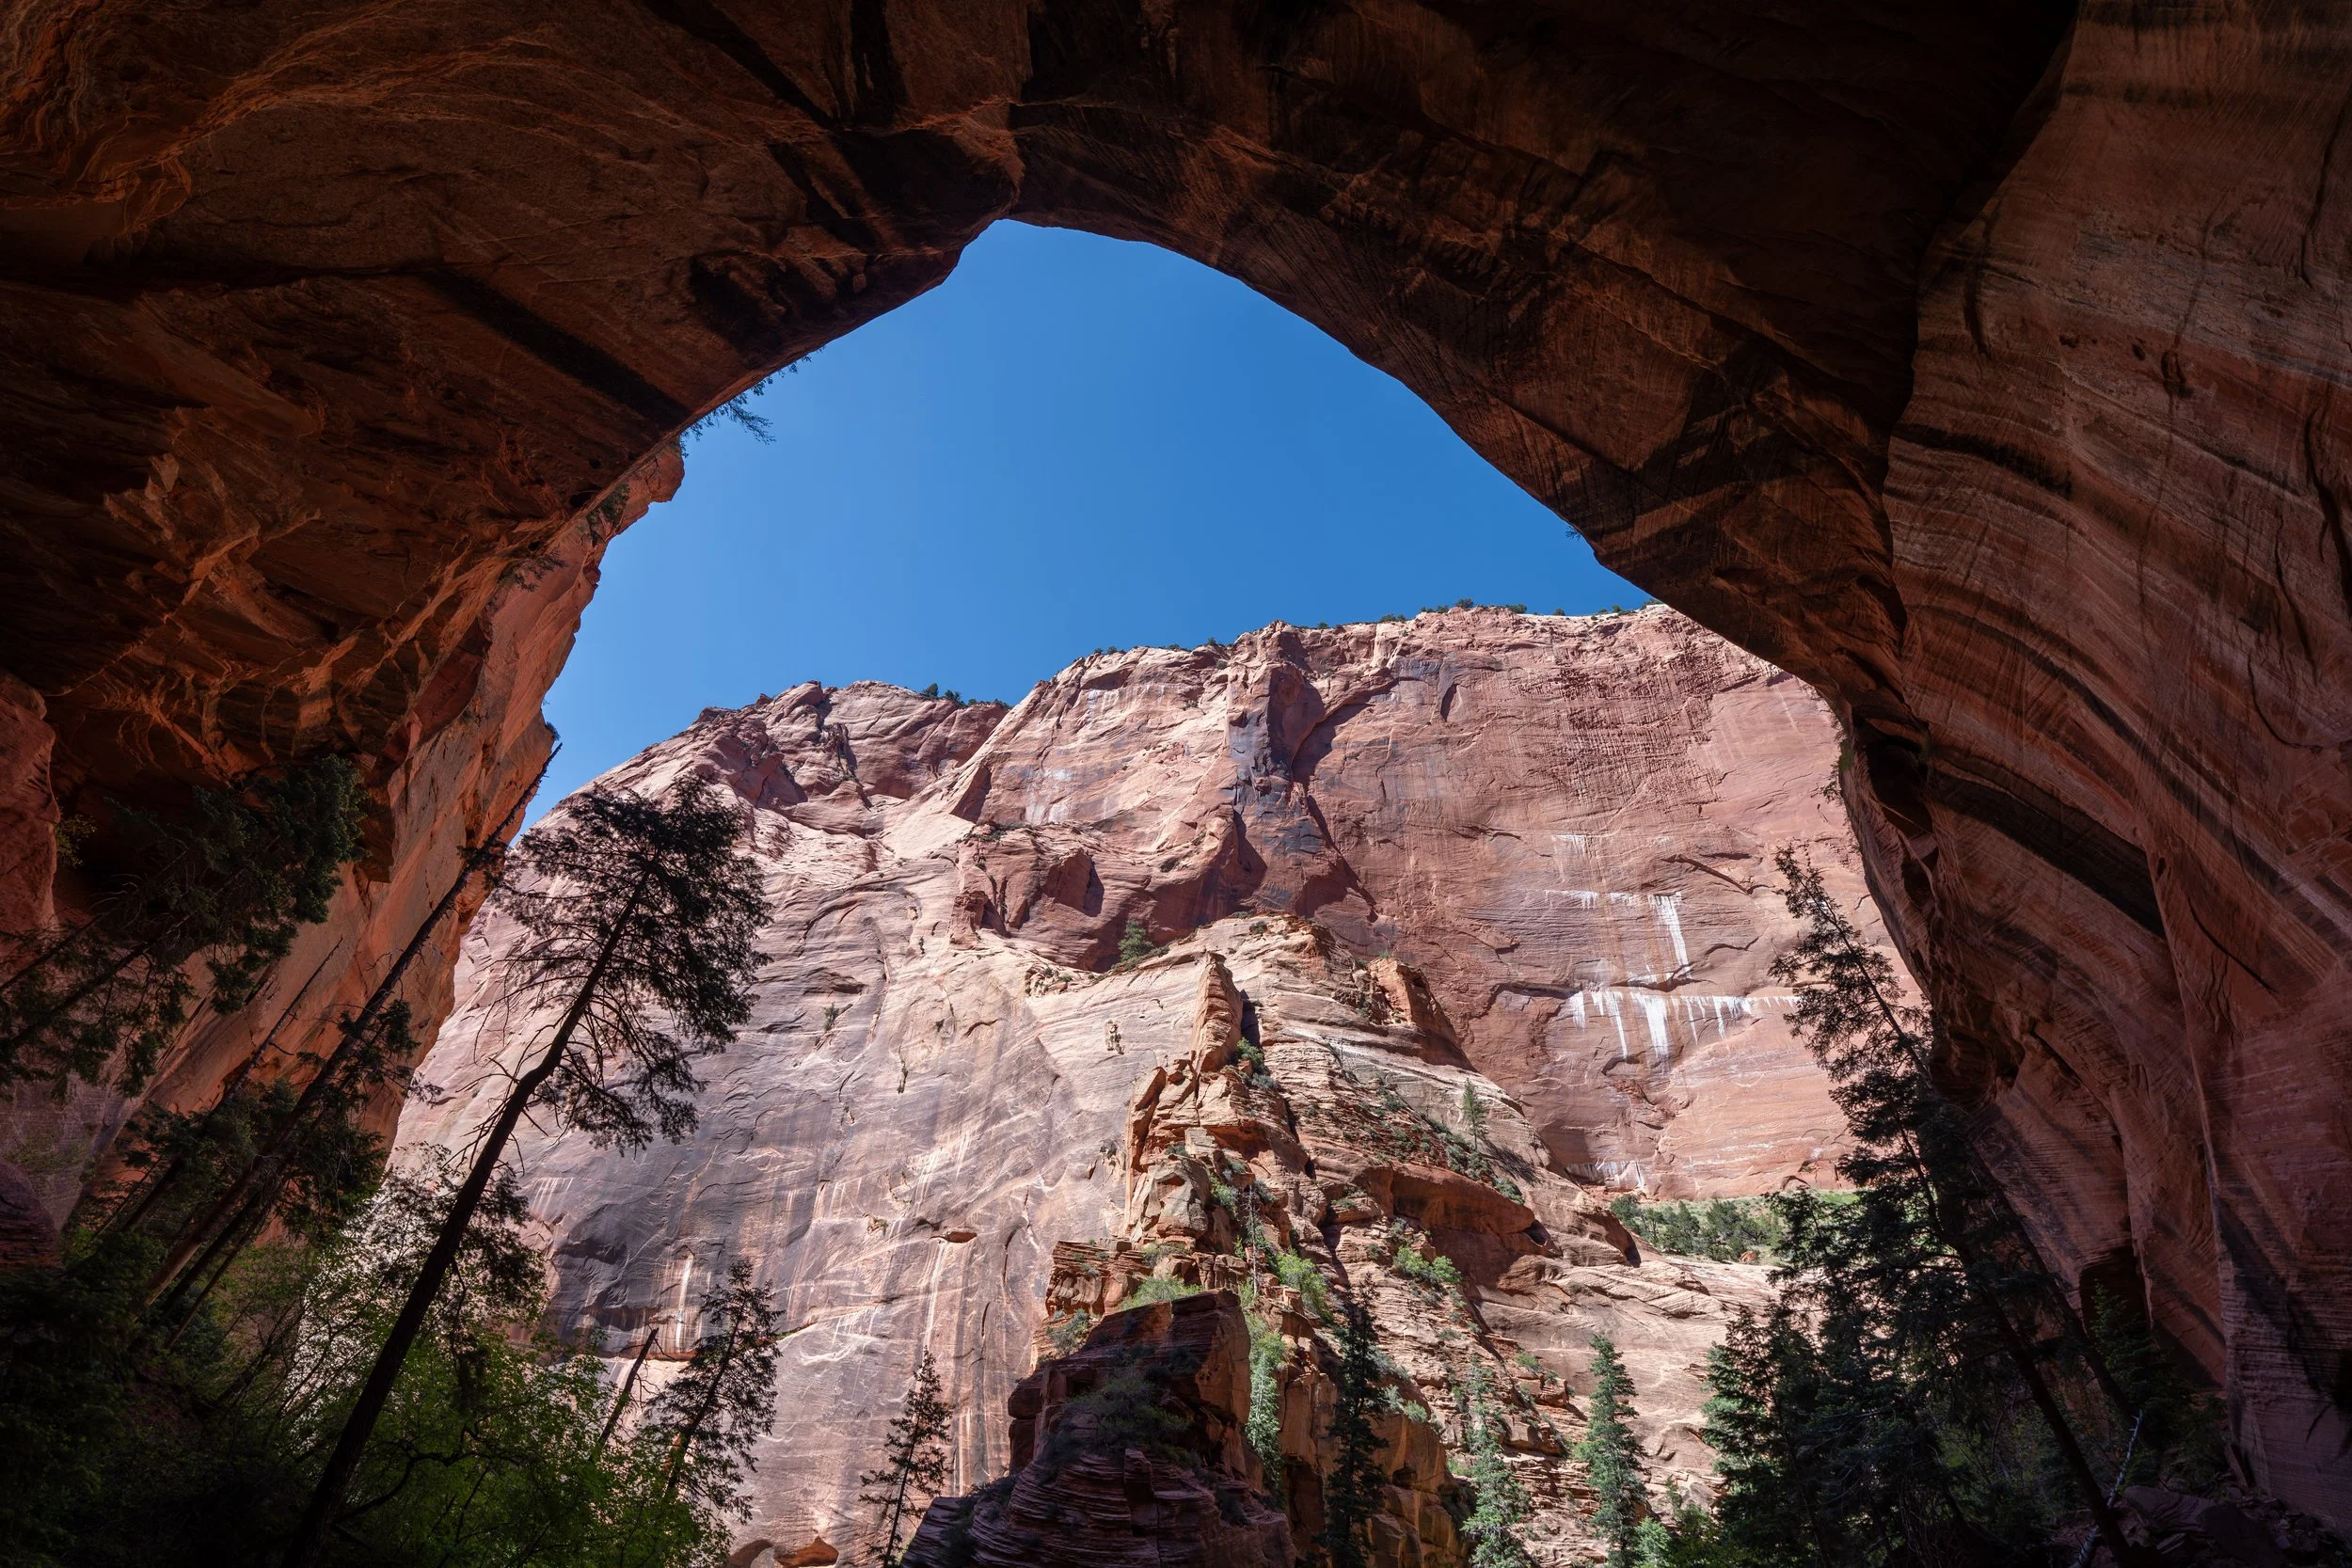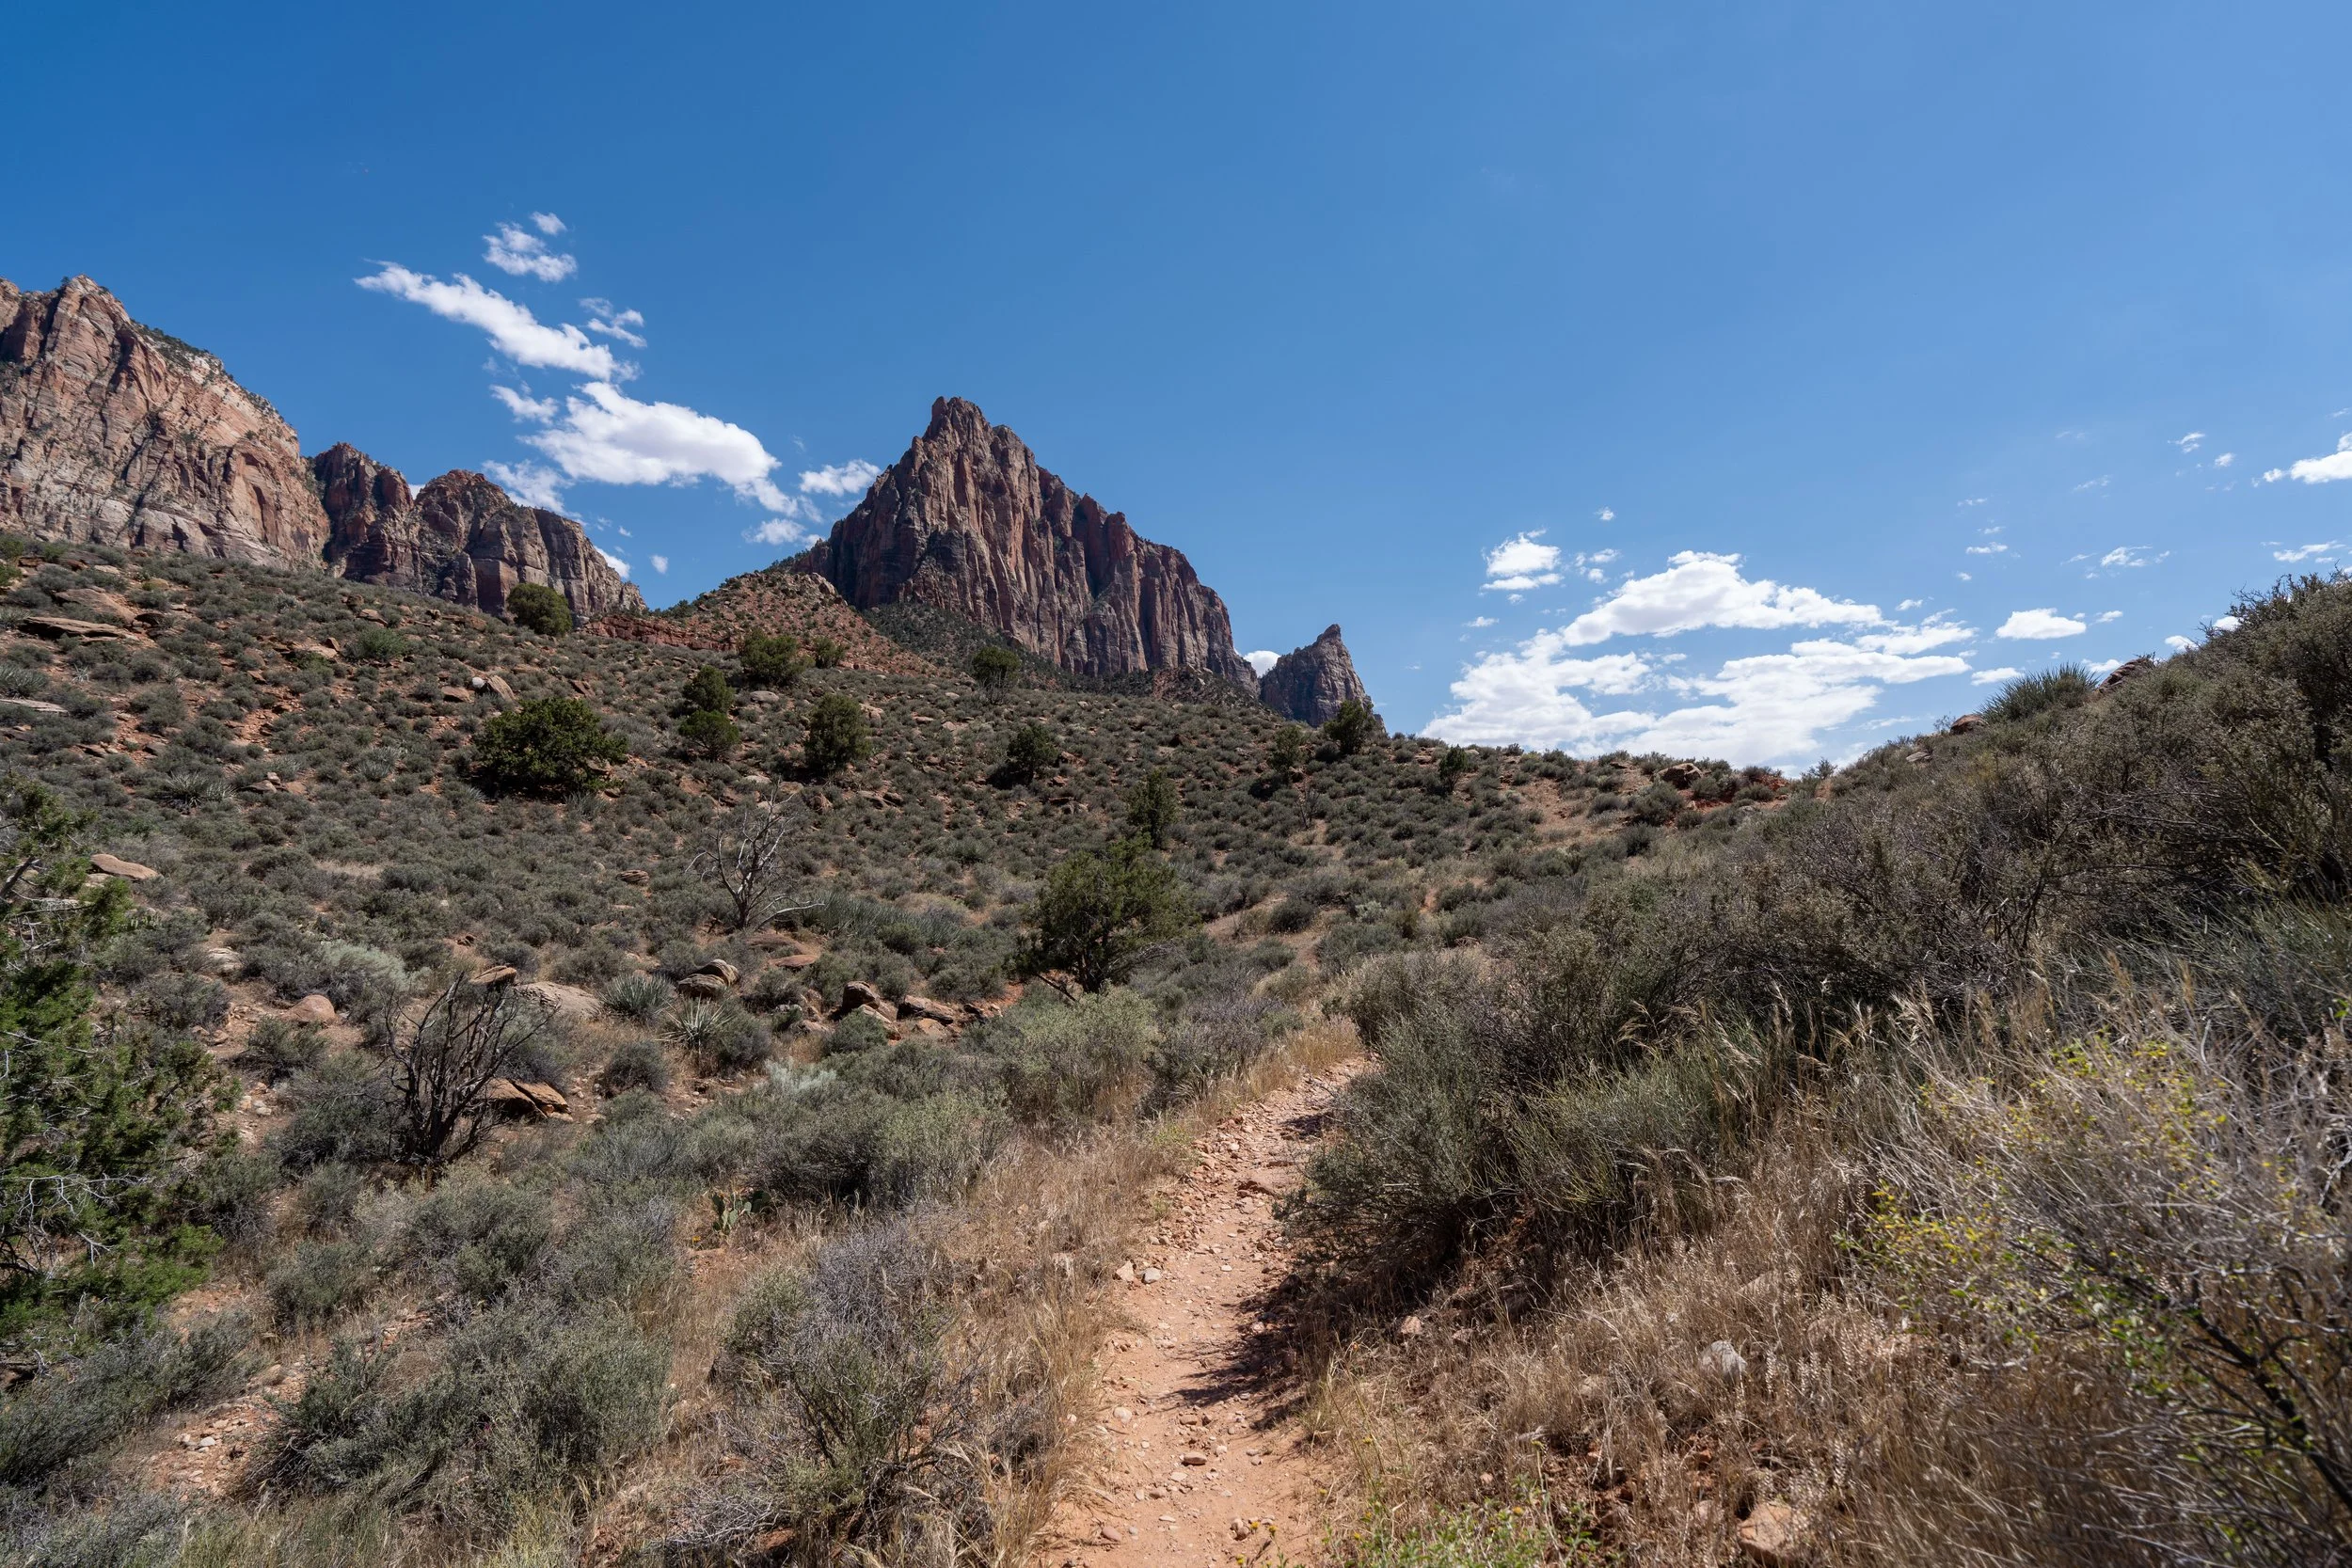

Hiking the Angels Landing Trail in Zion National Park
Distance: 5.1 miles / 8.2 km
Elevation Gain: ~1,500 ft. / 457 m
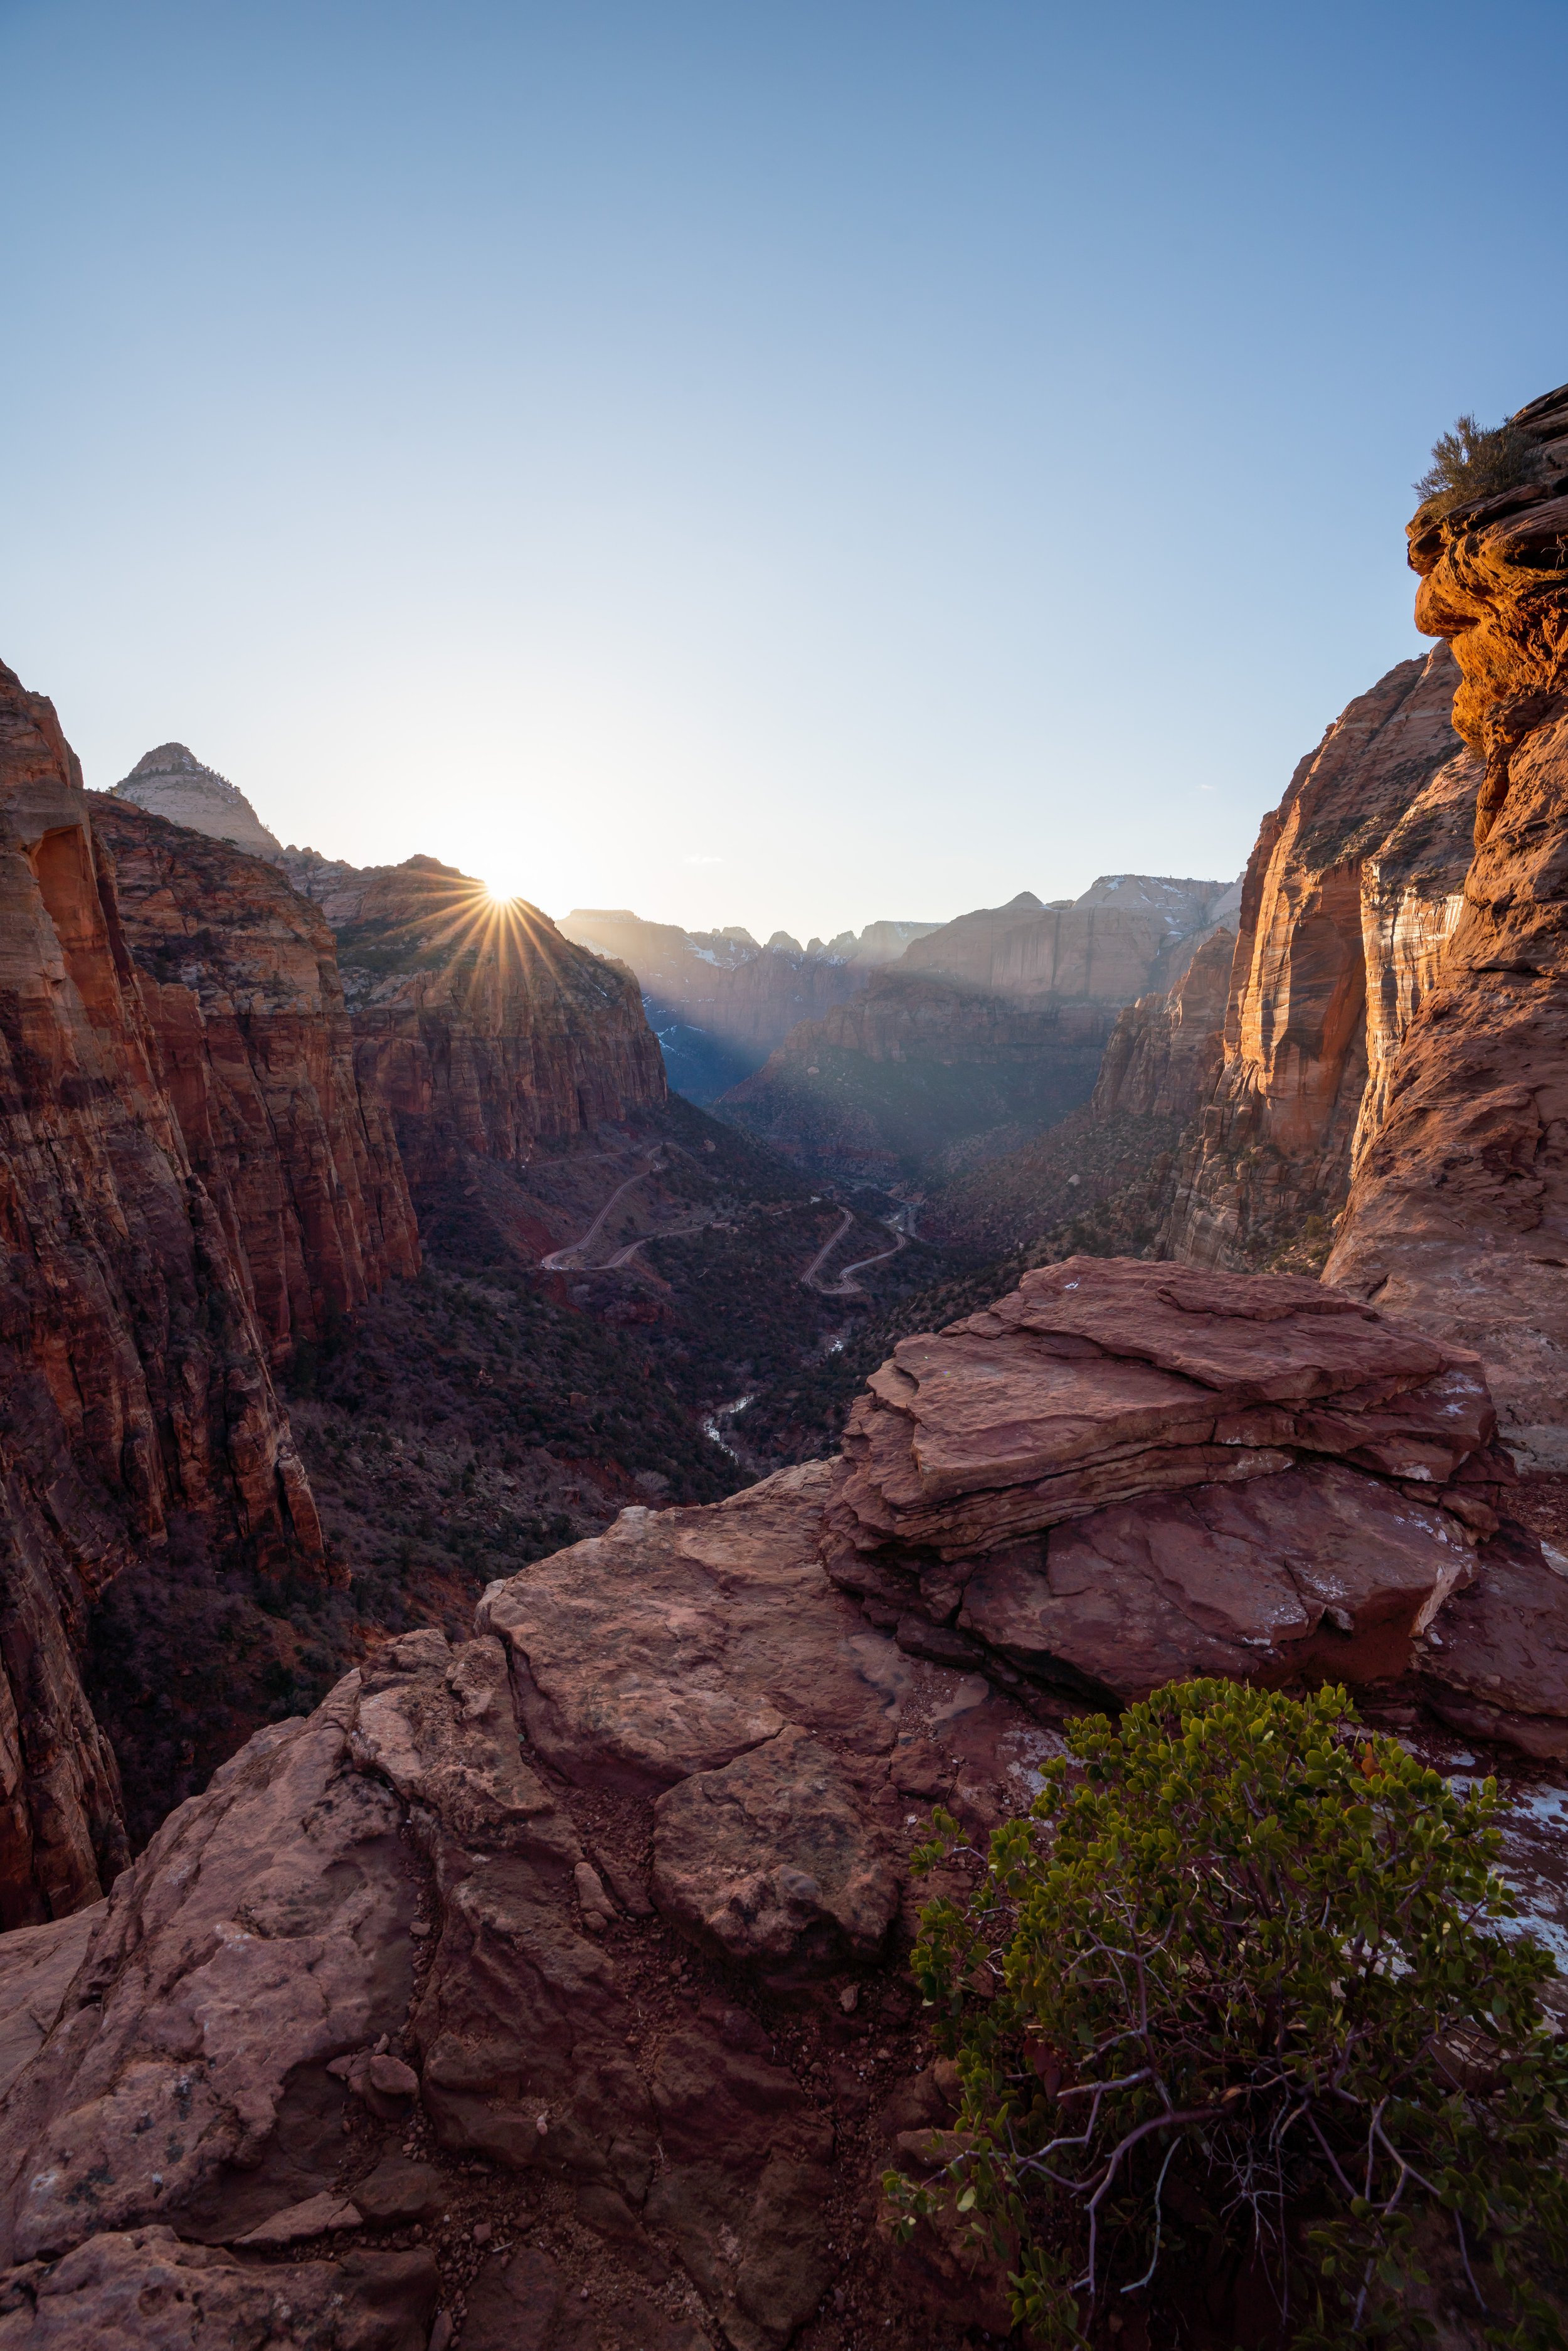
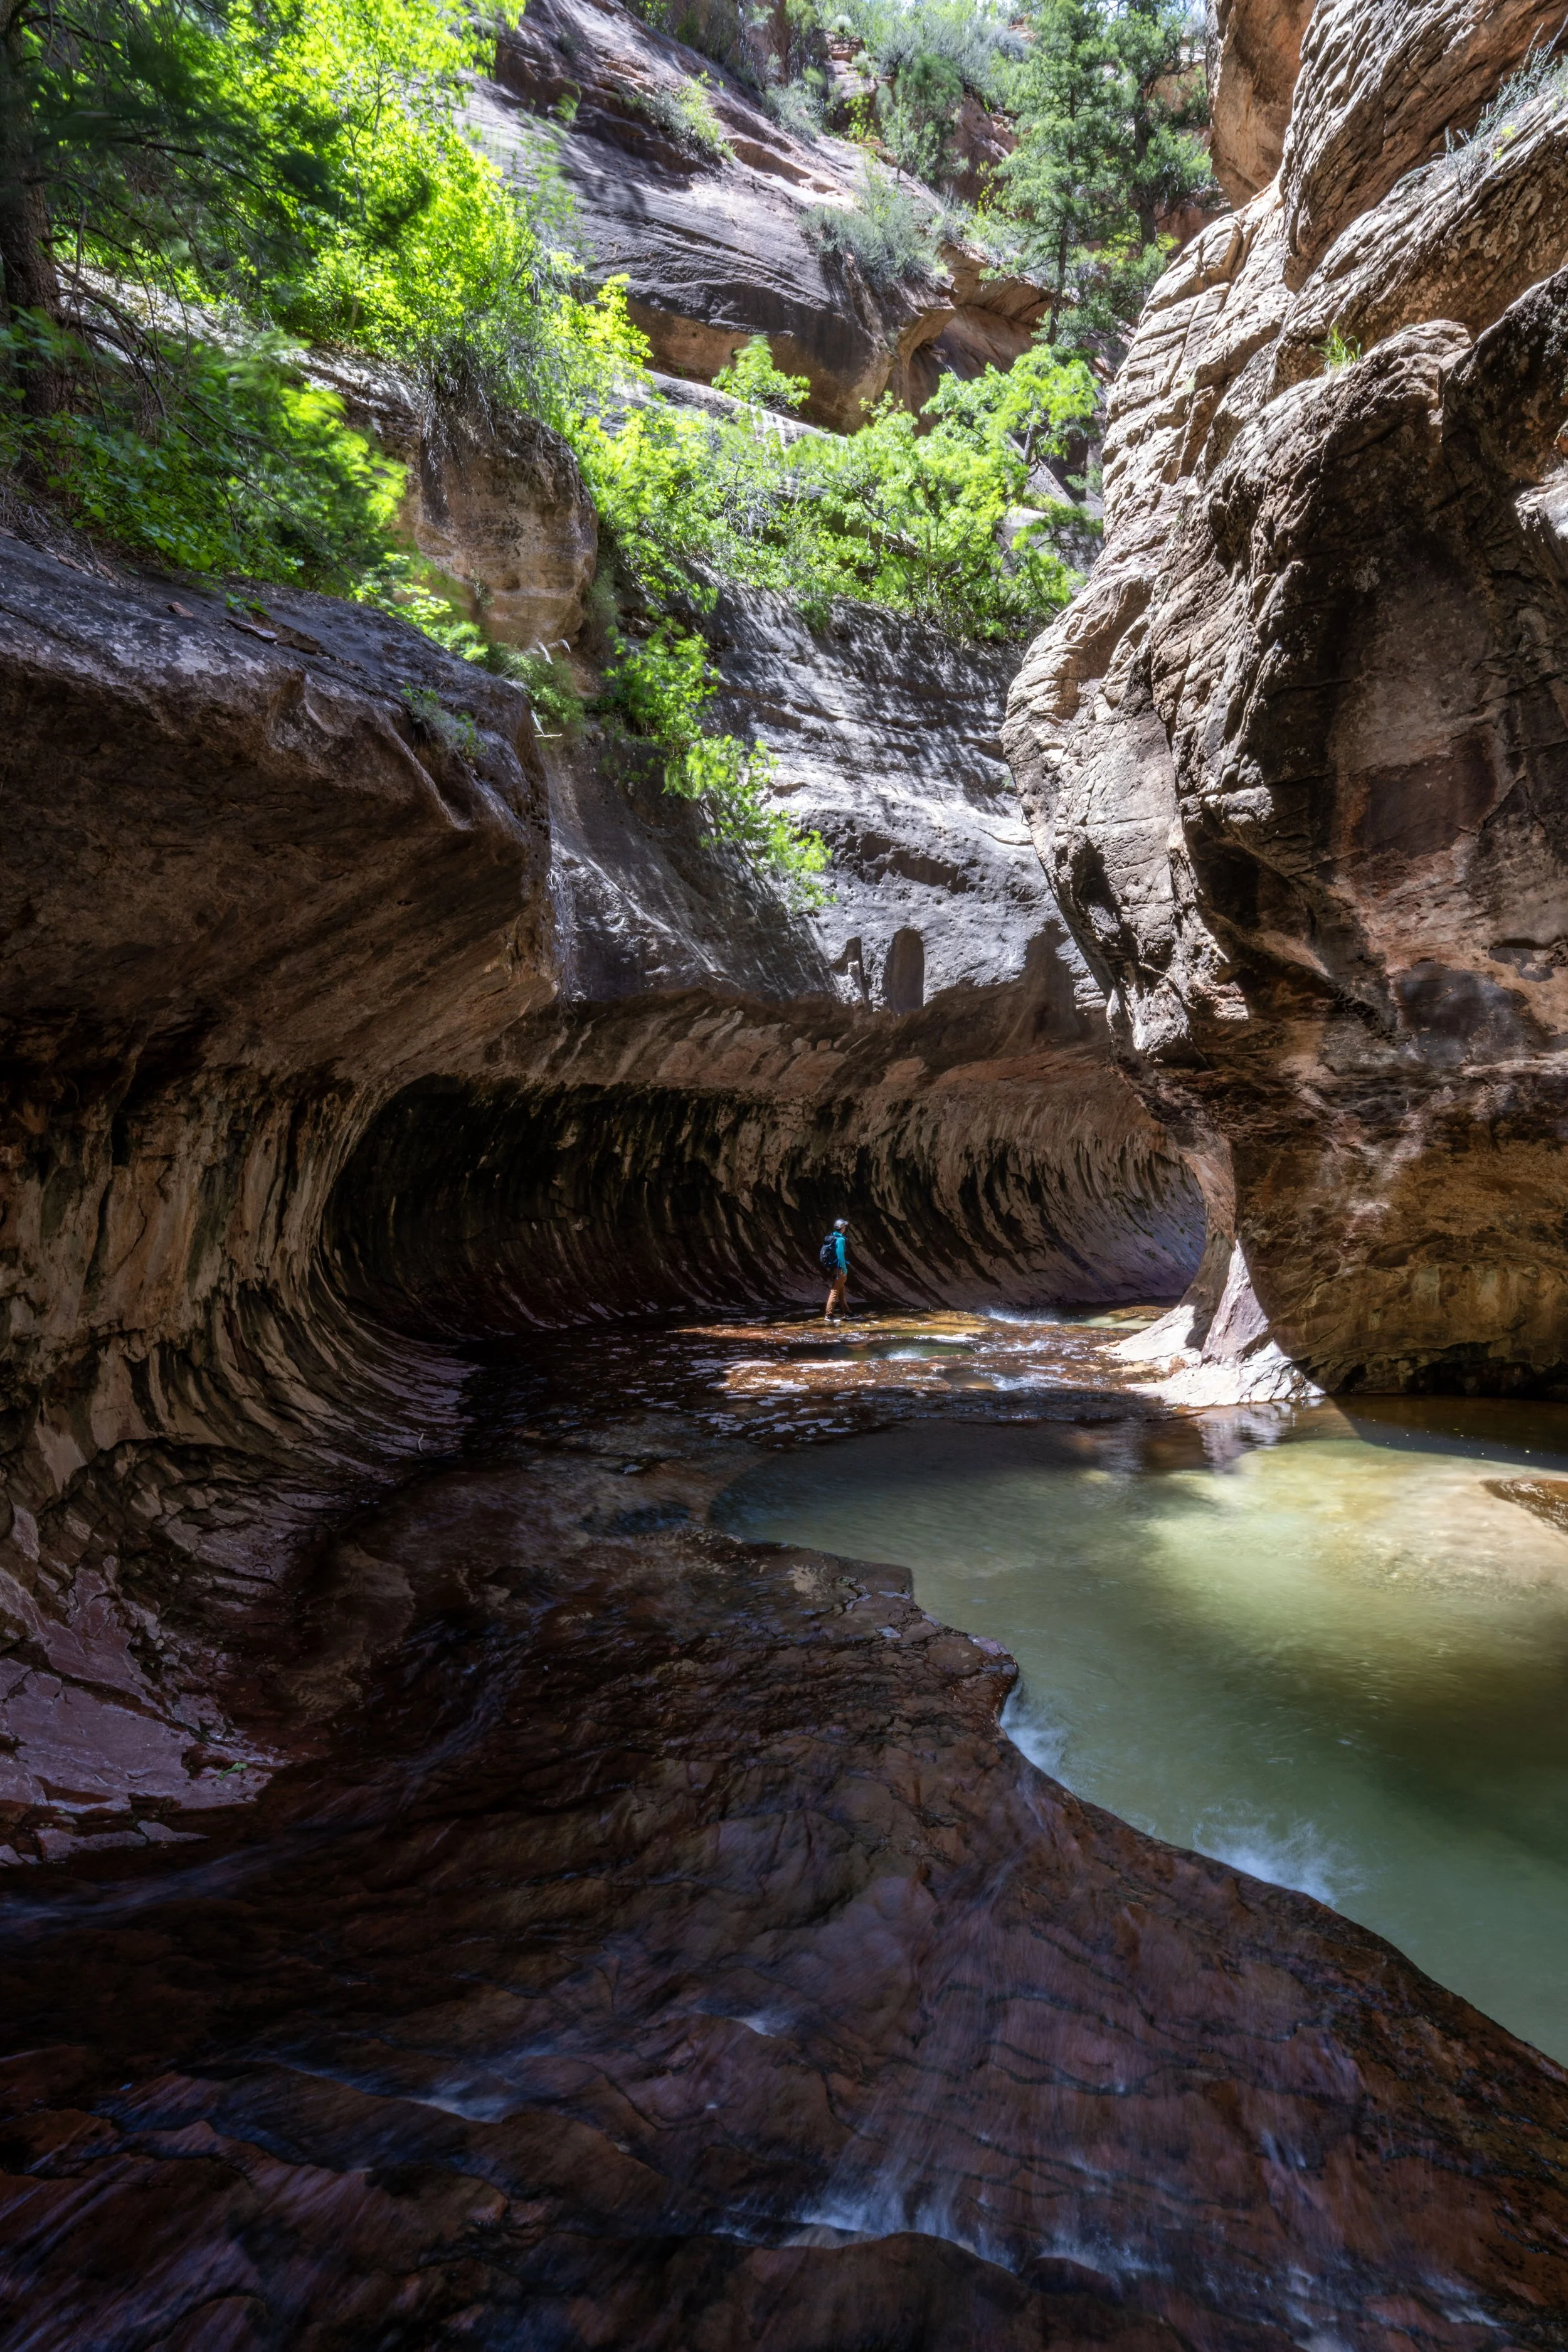
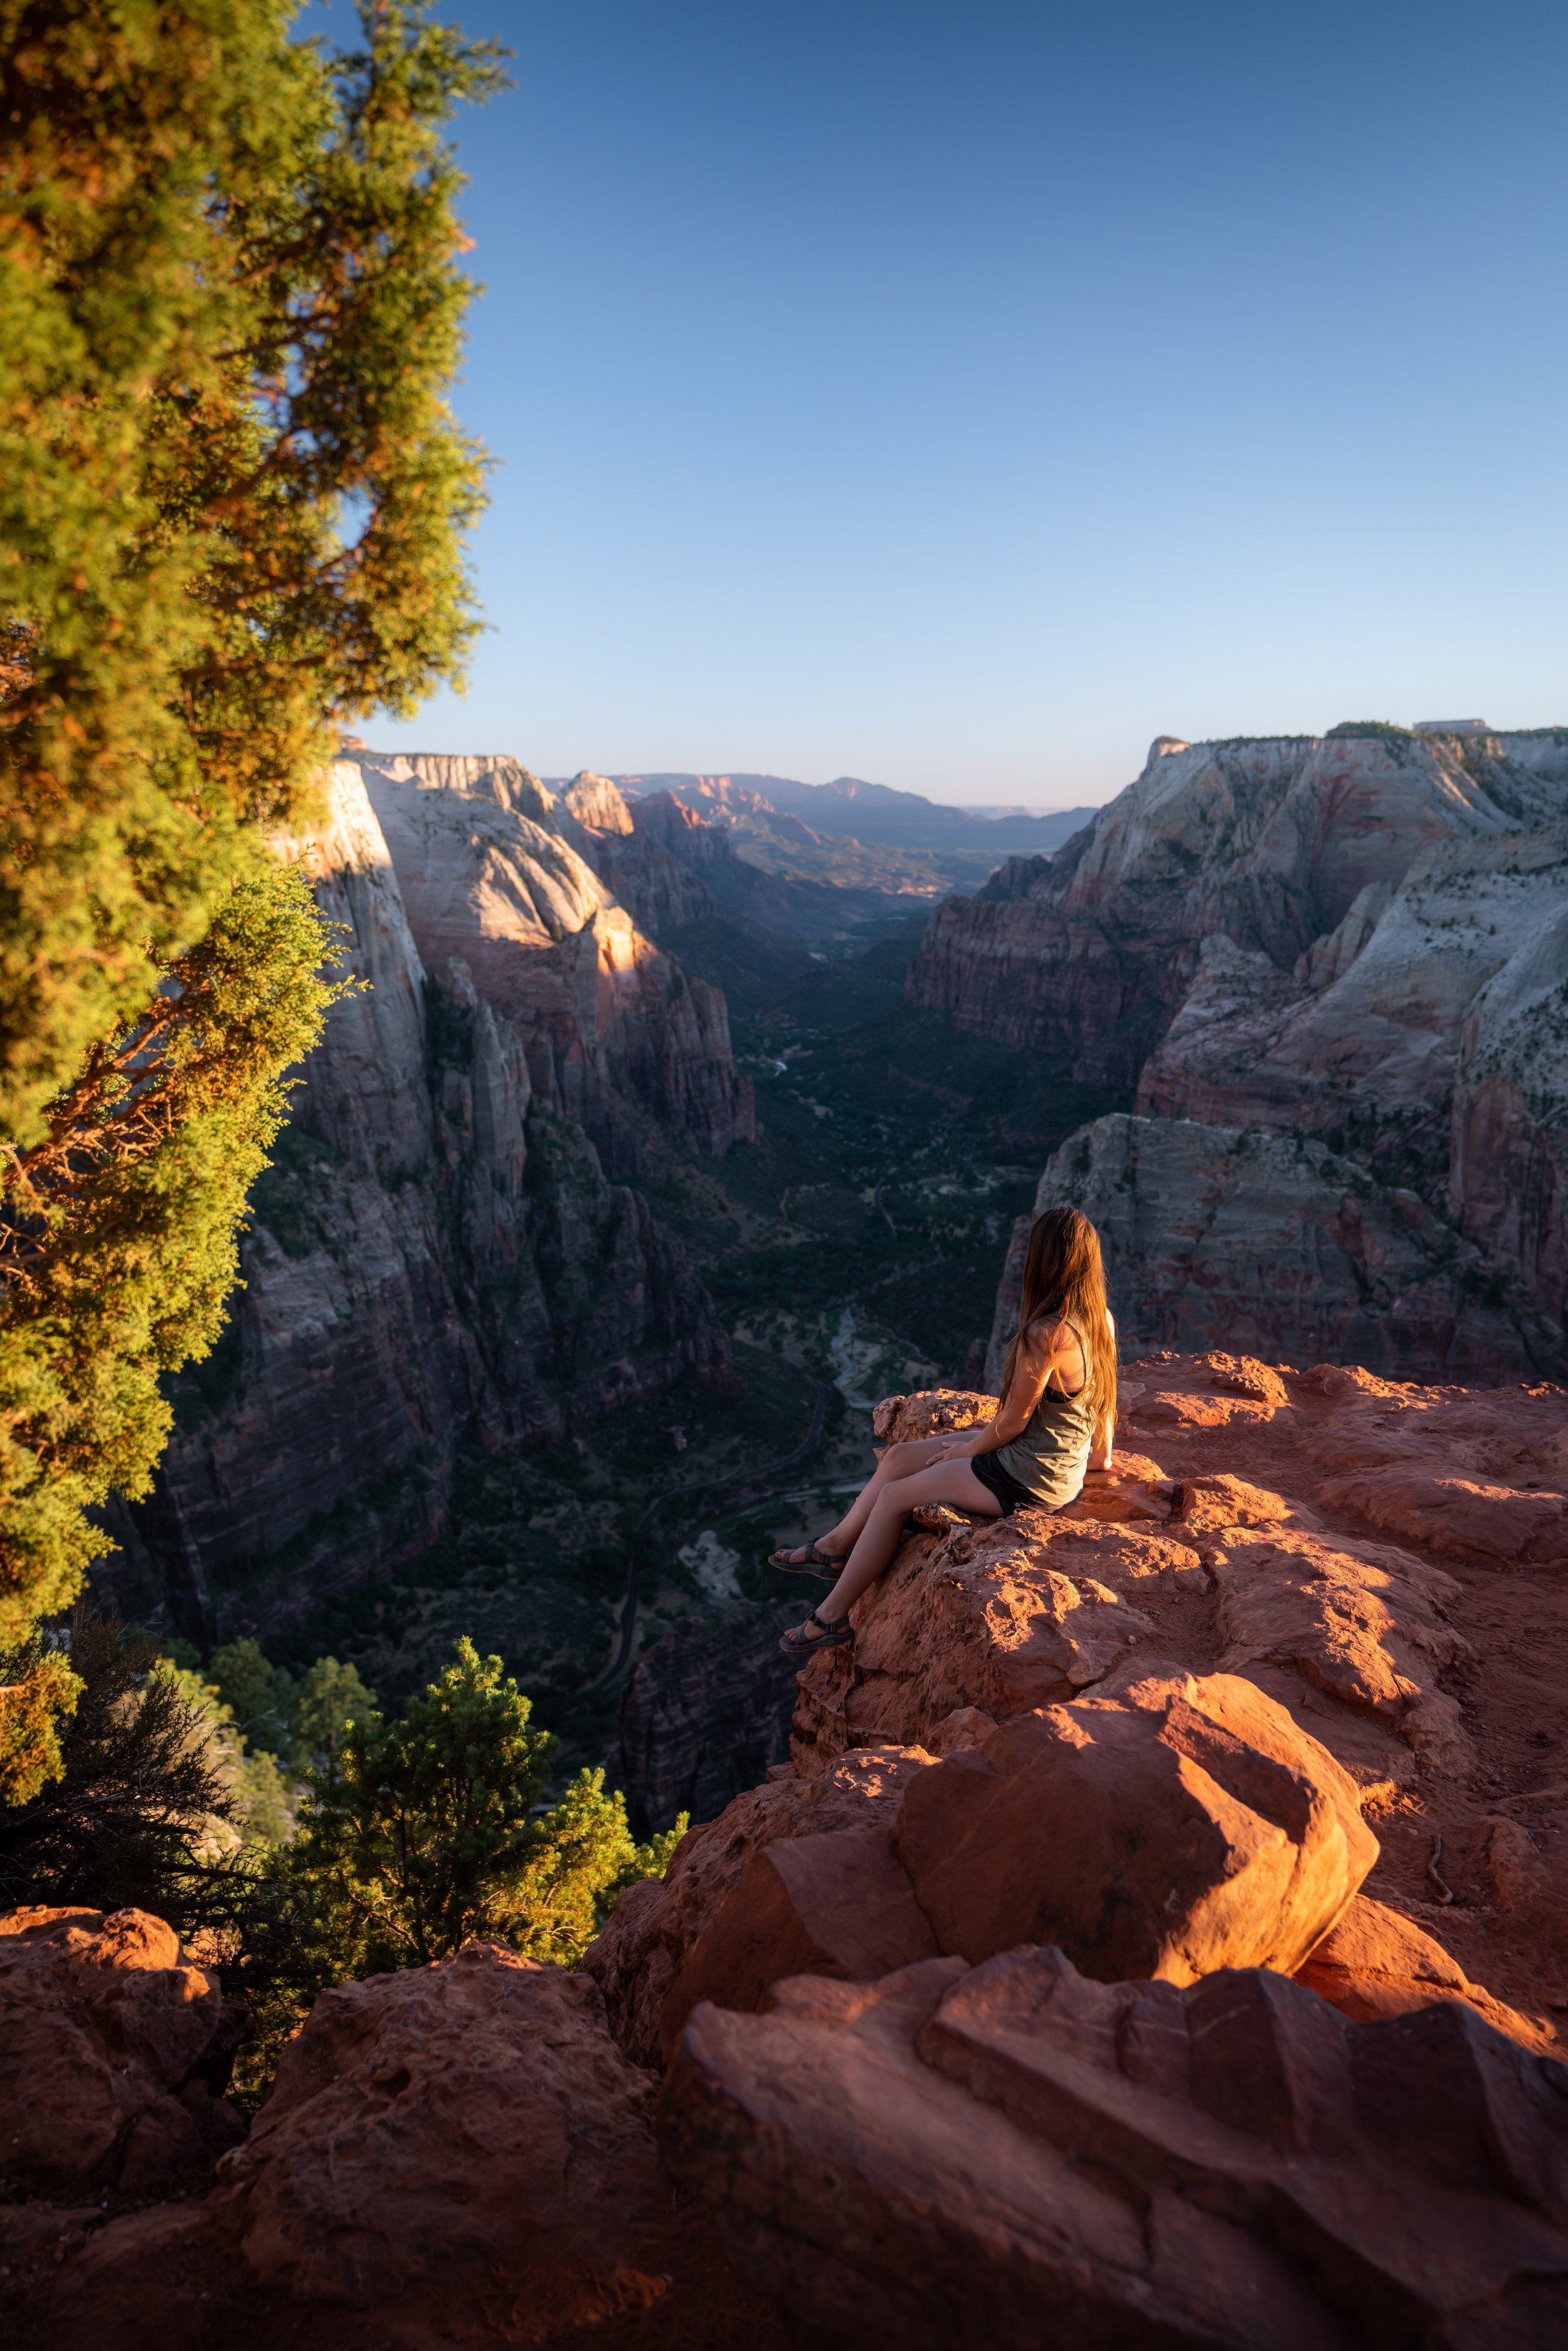
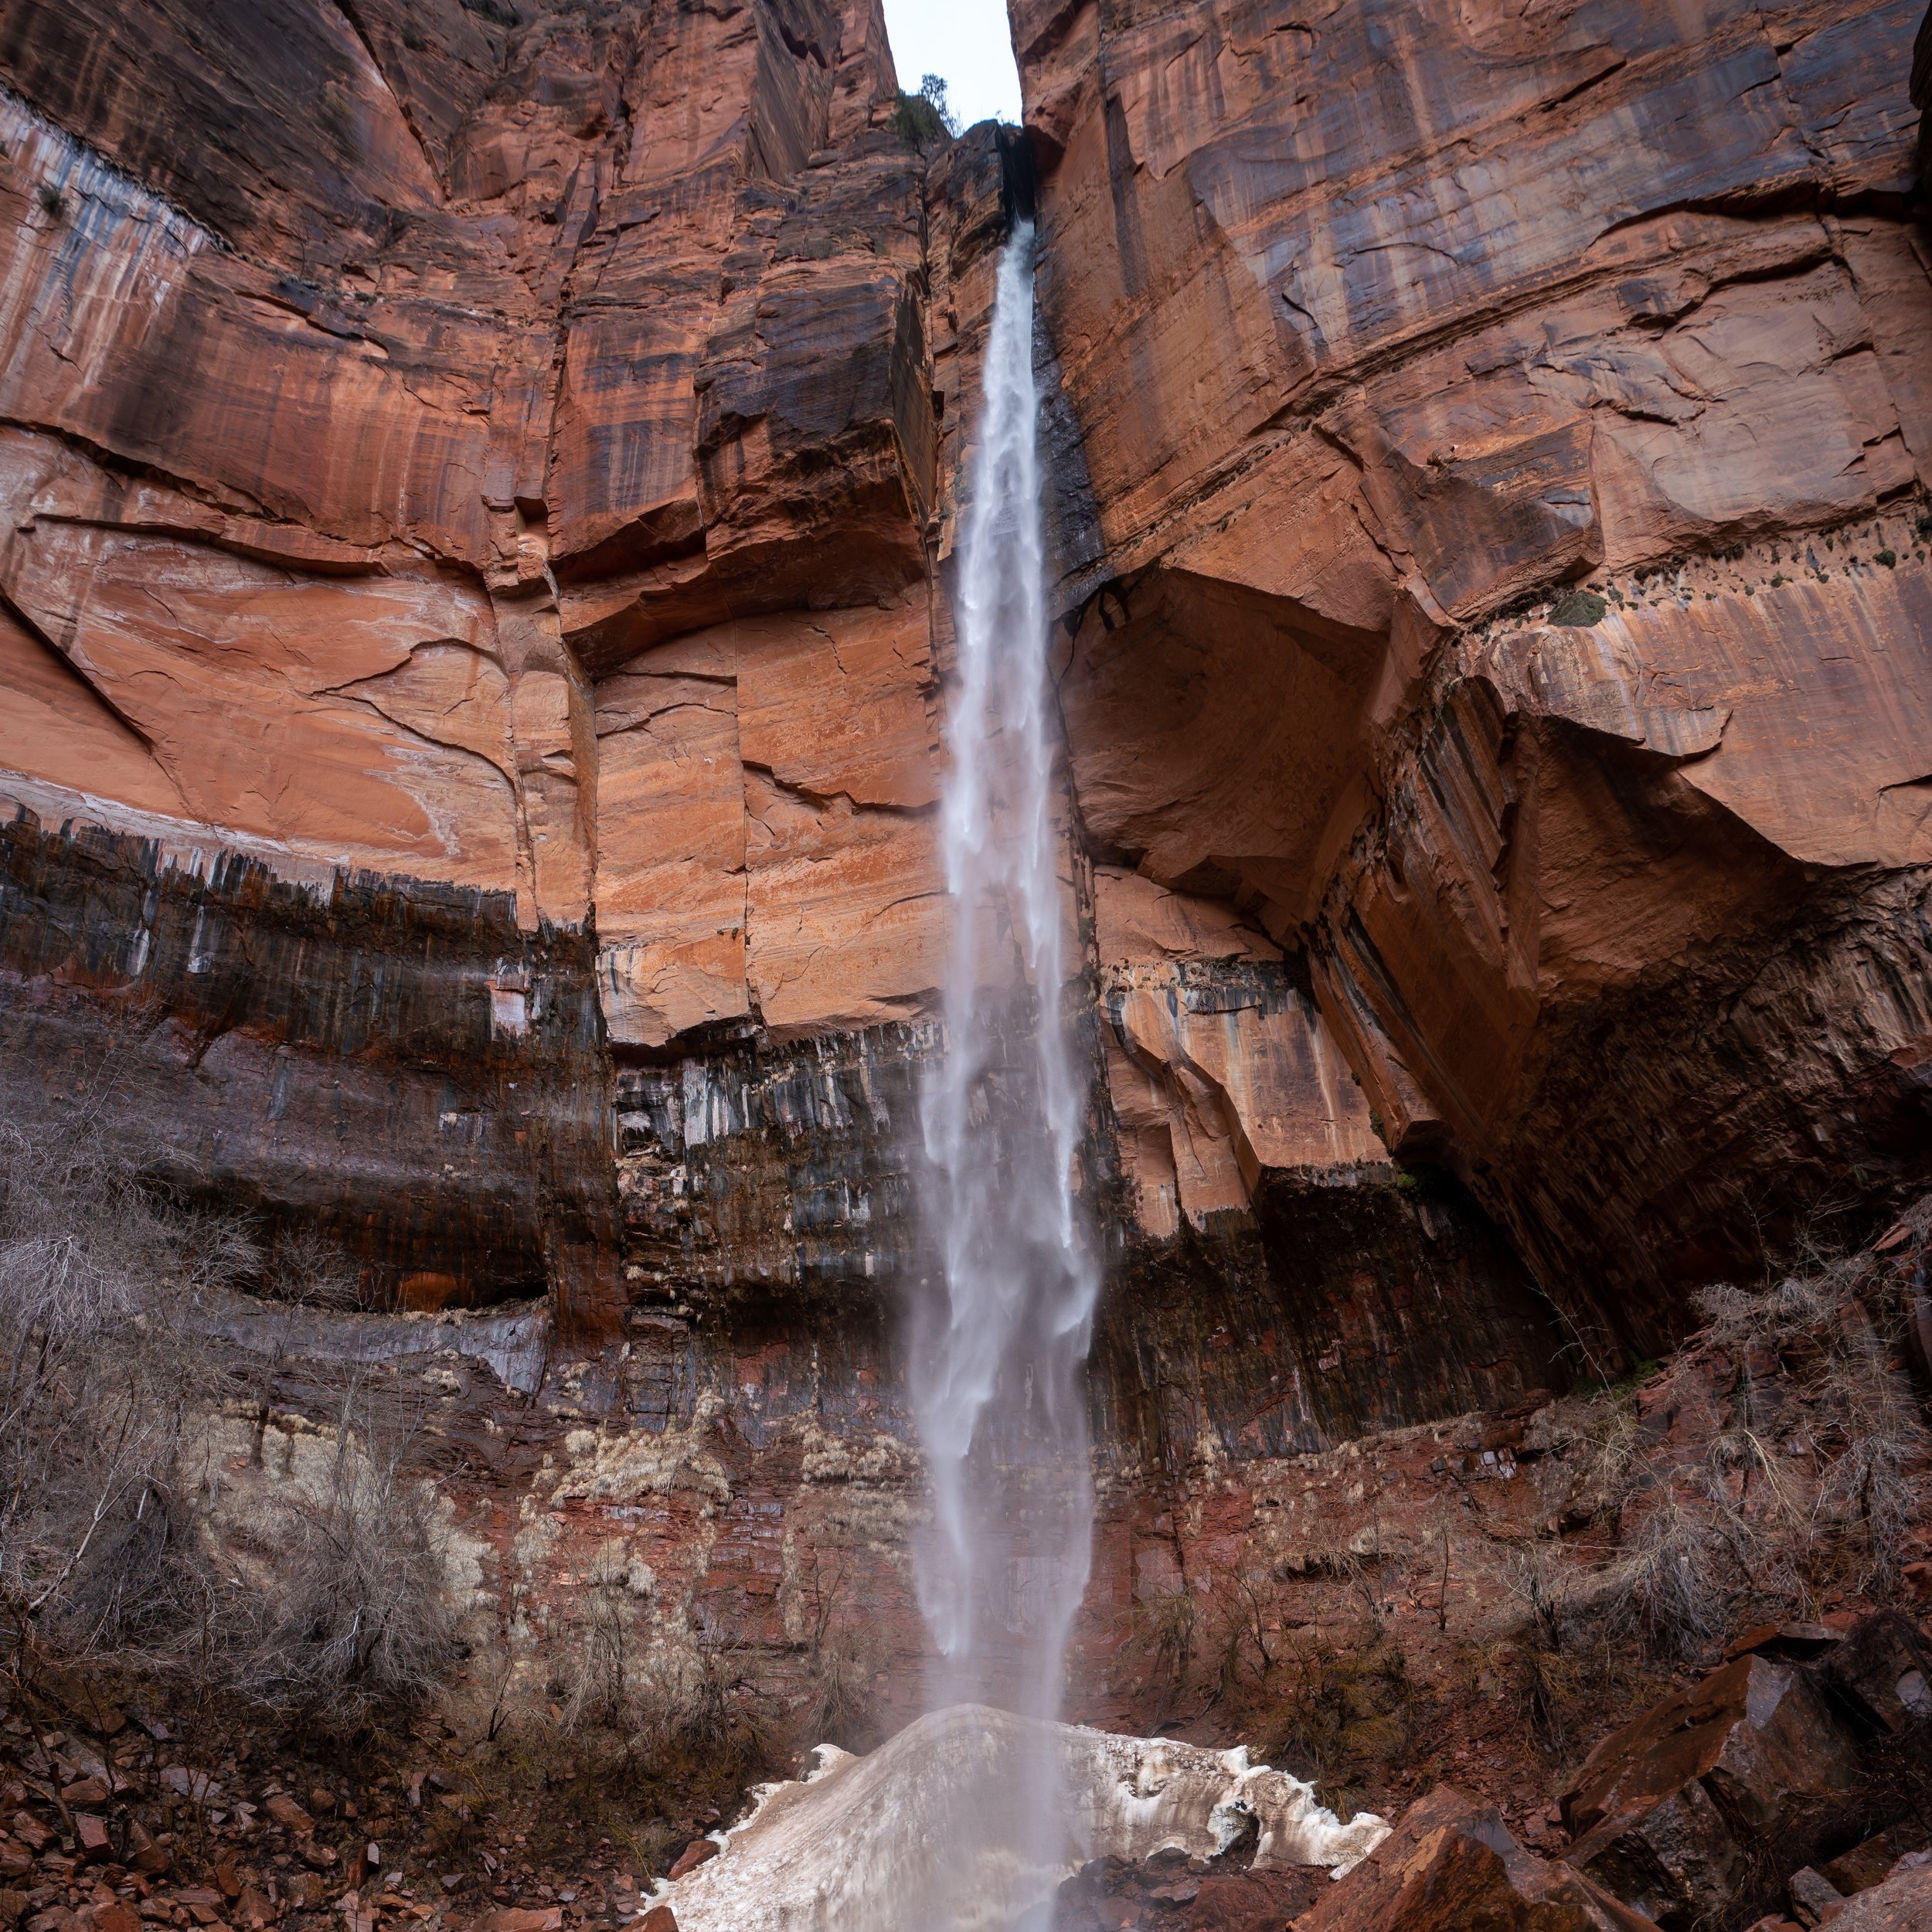
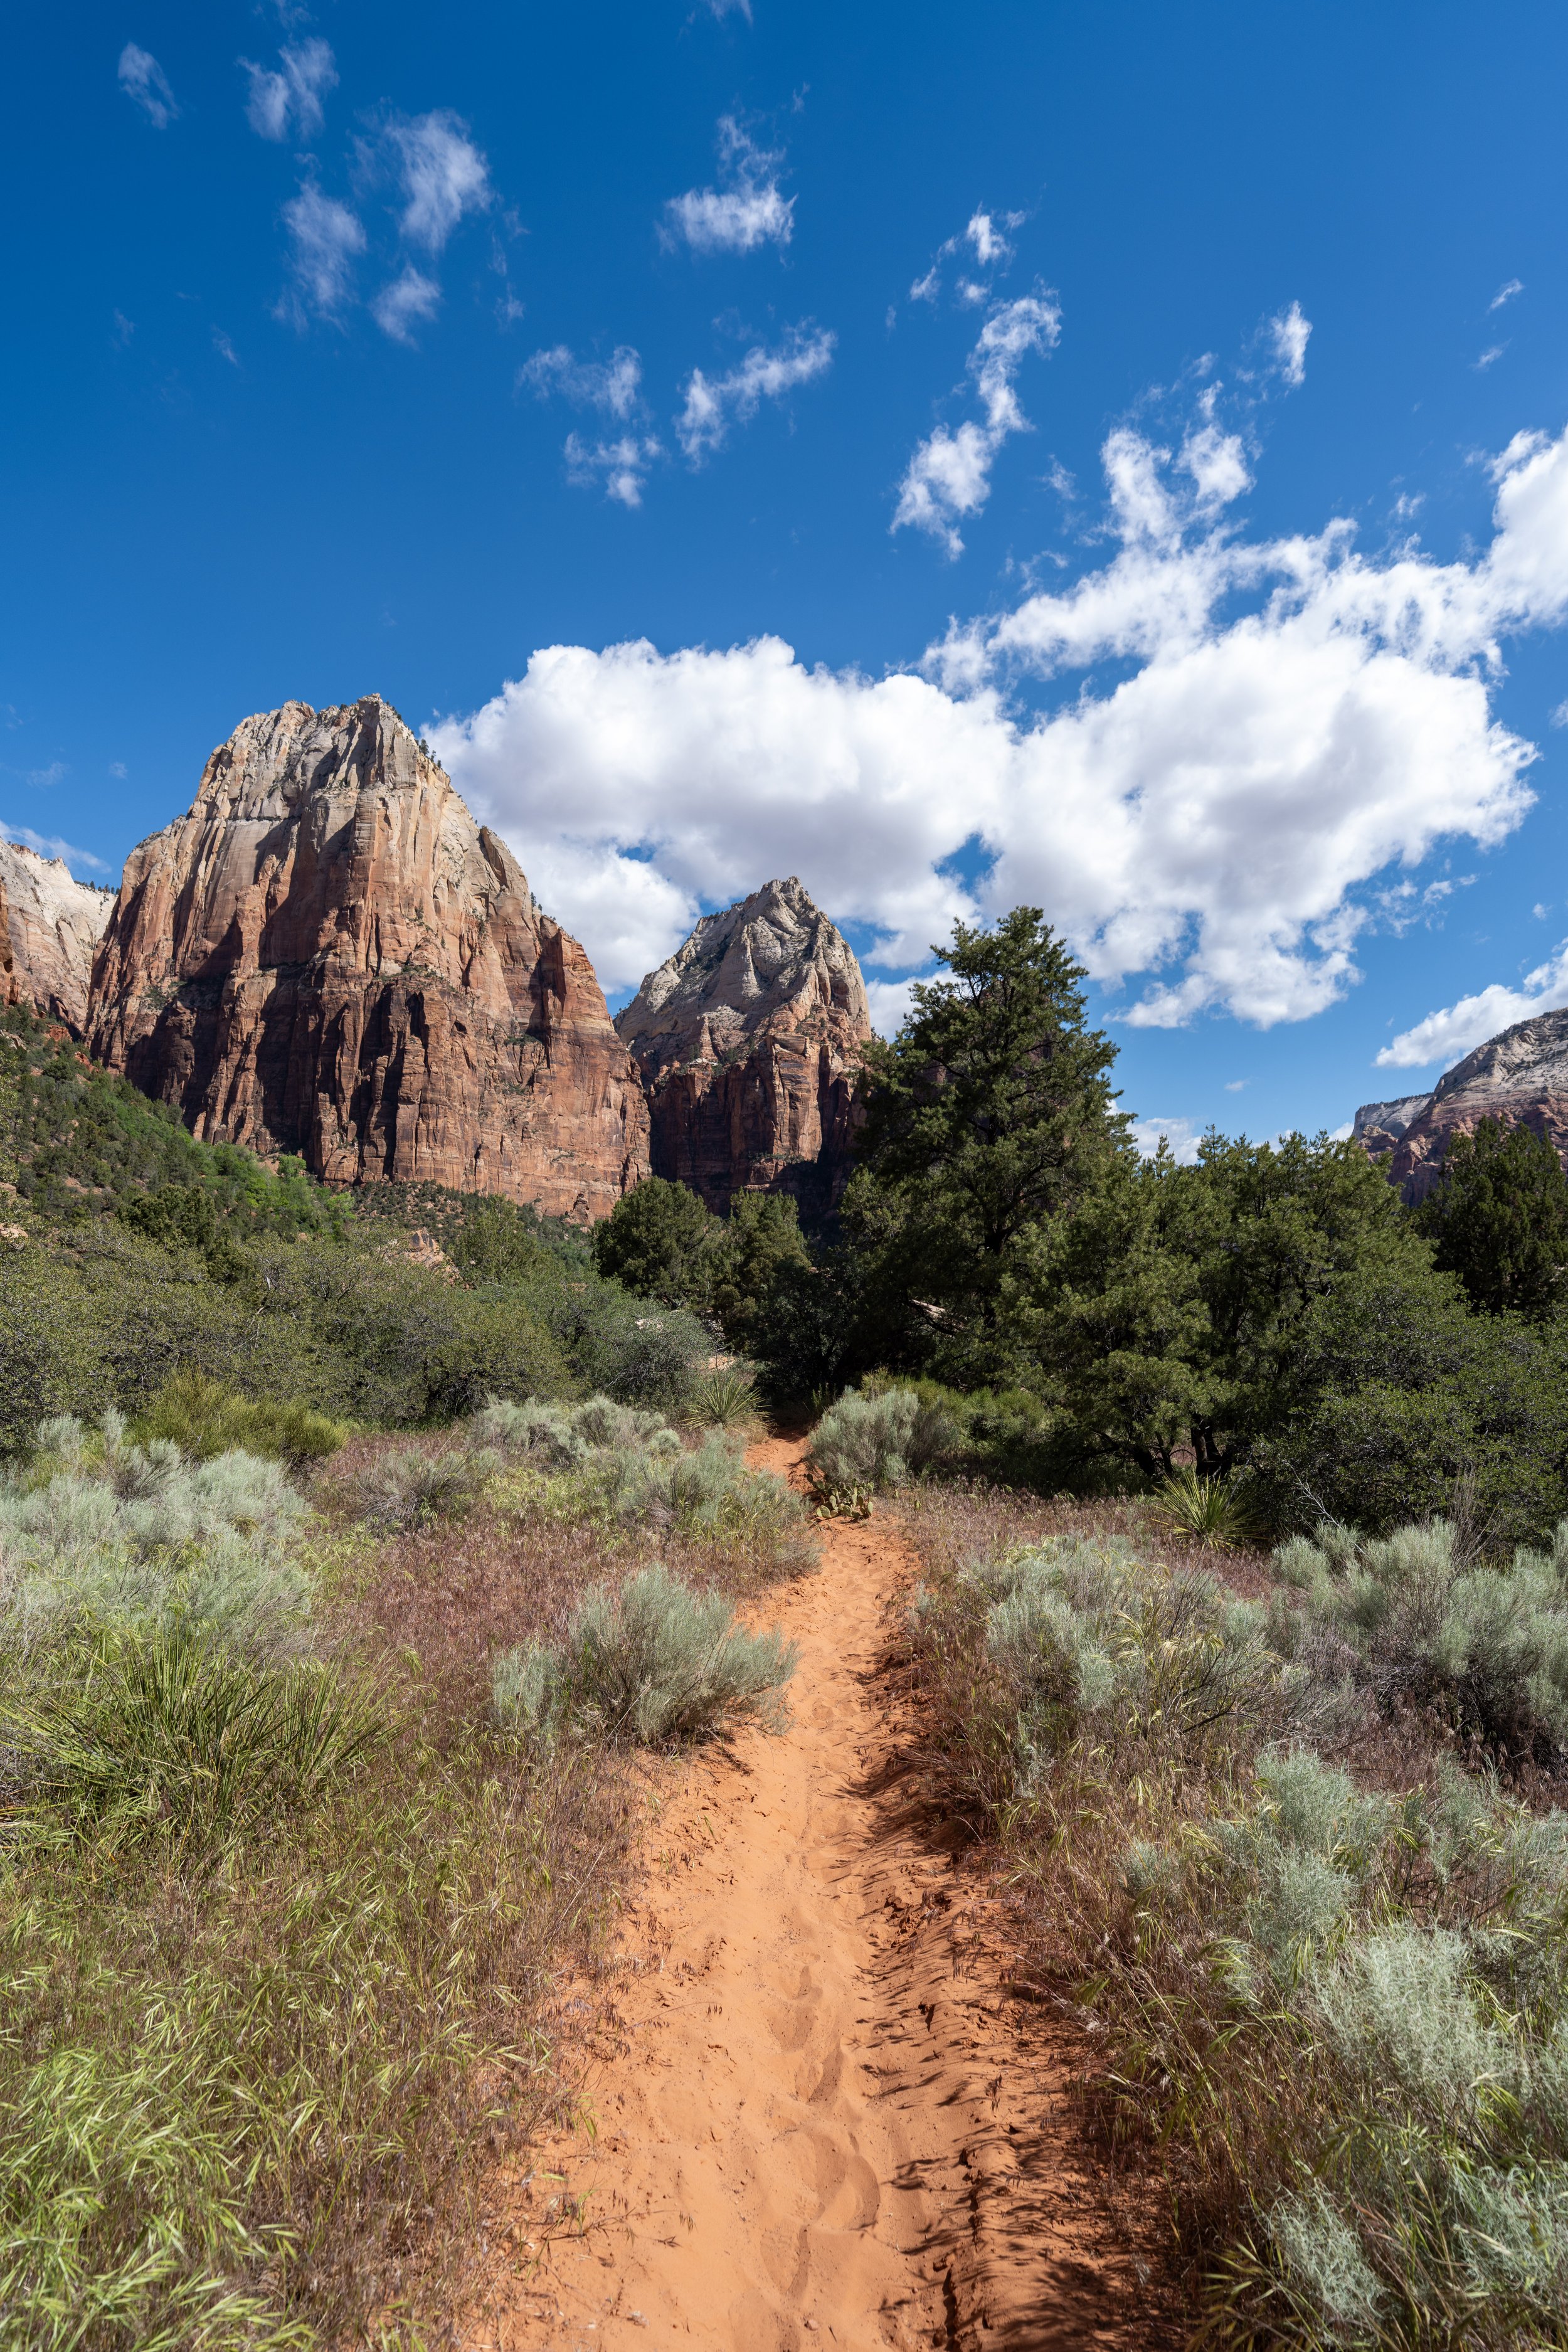
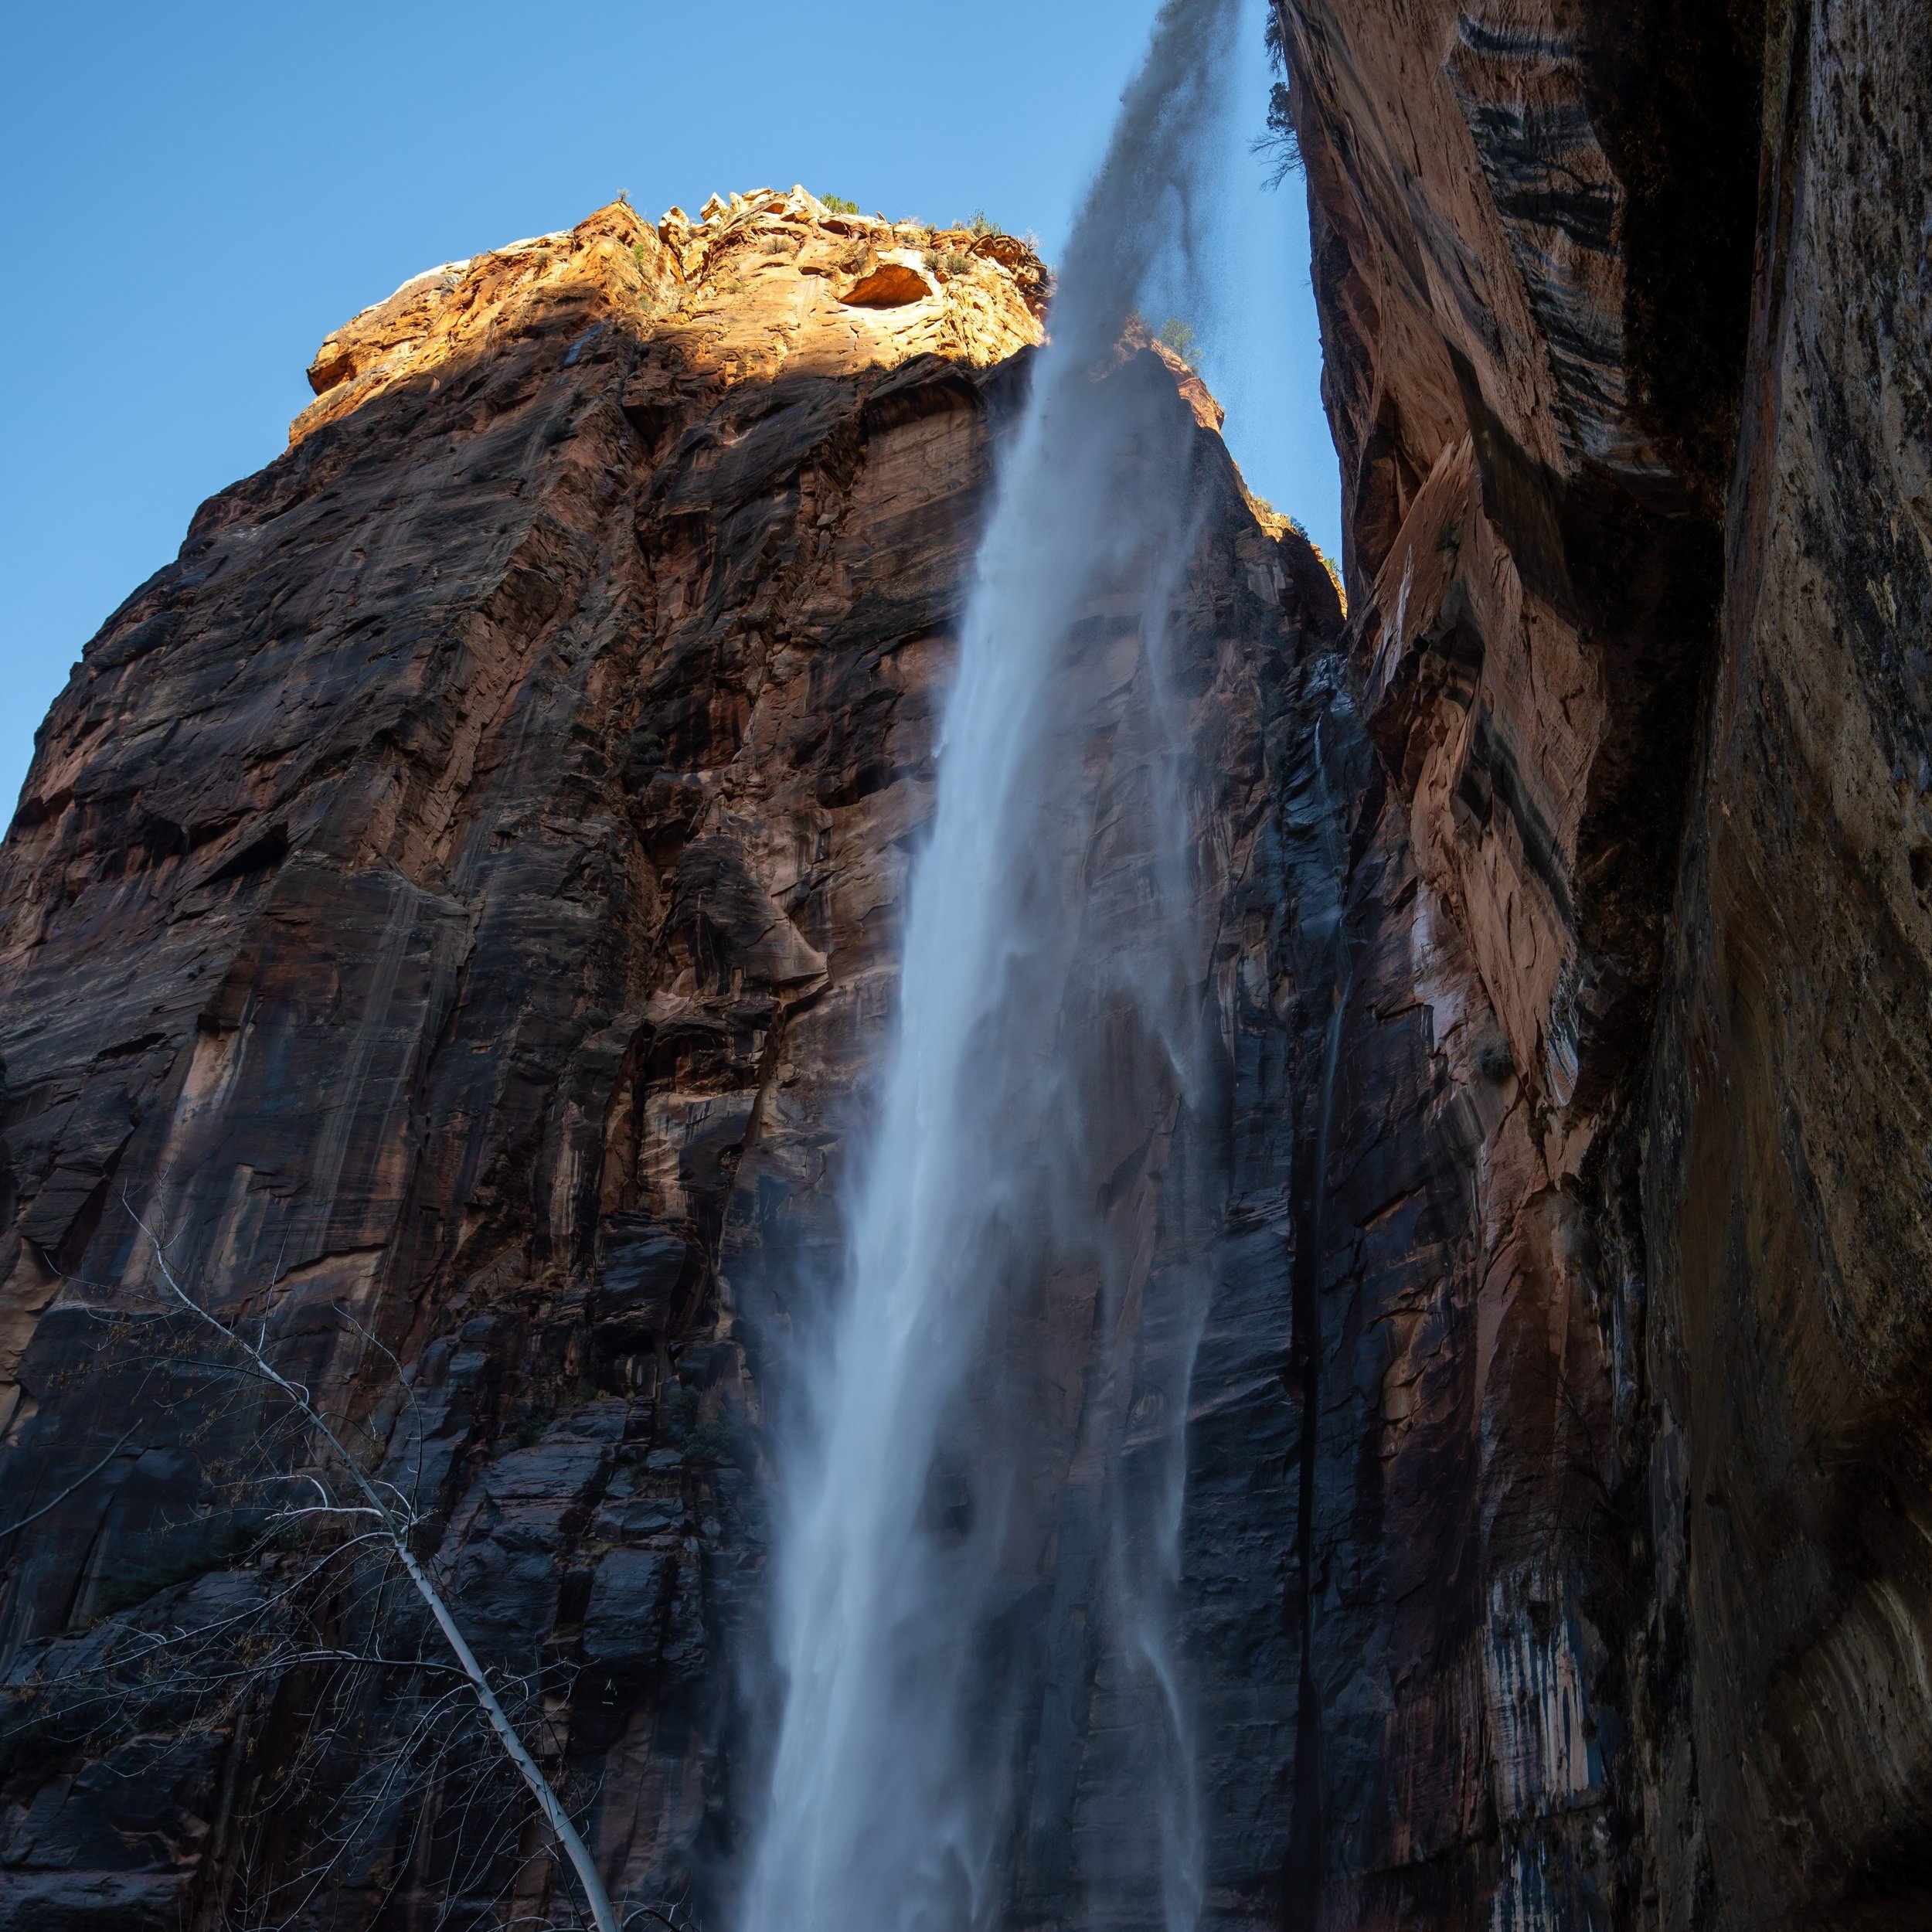
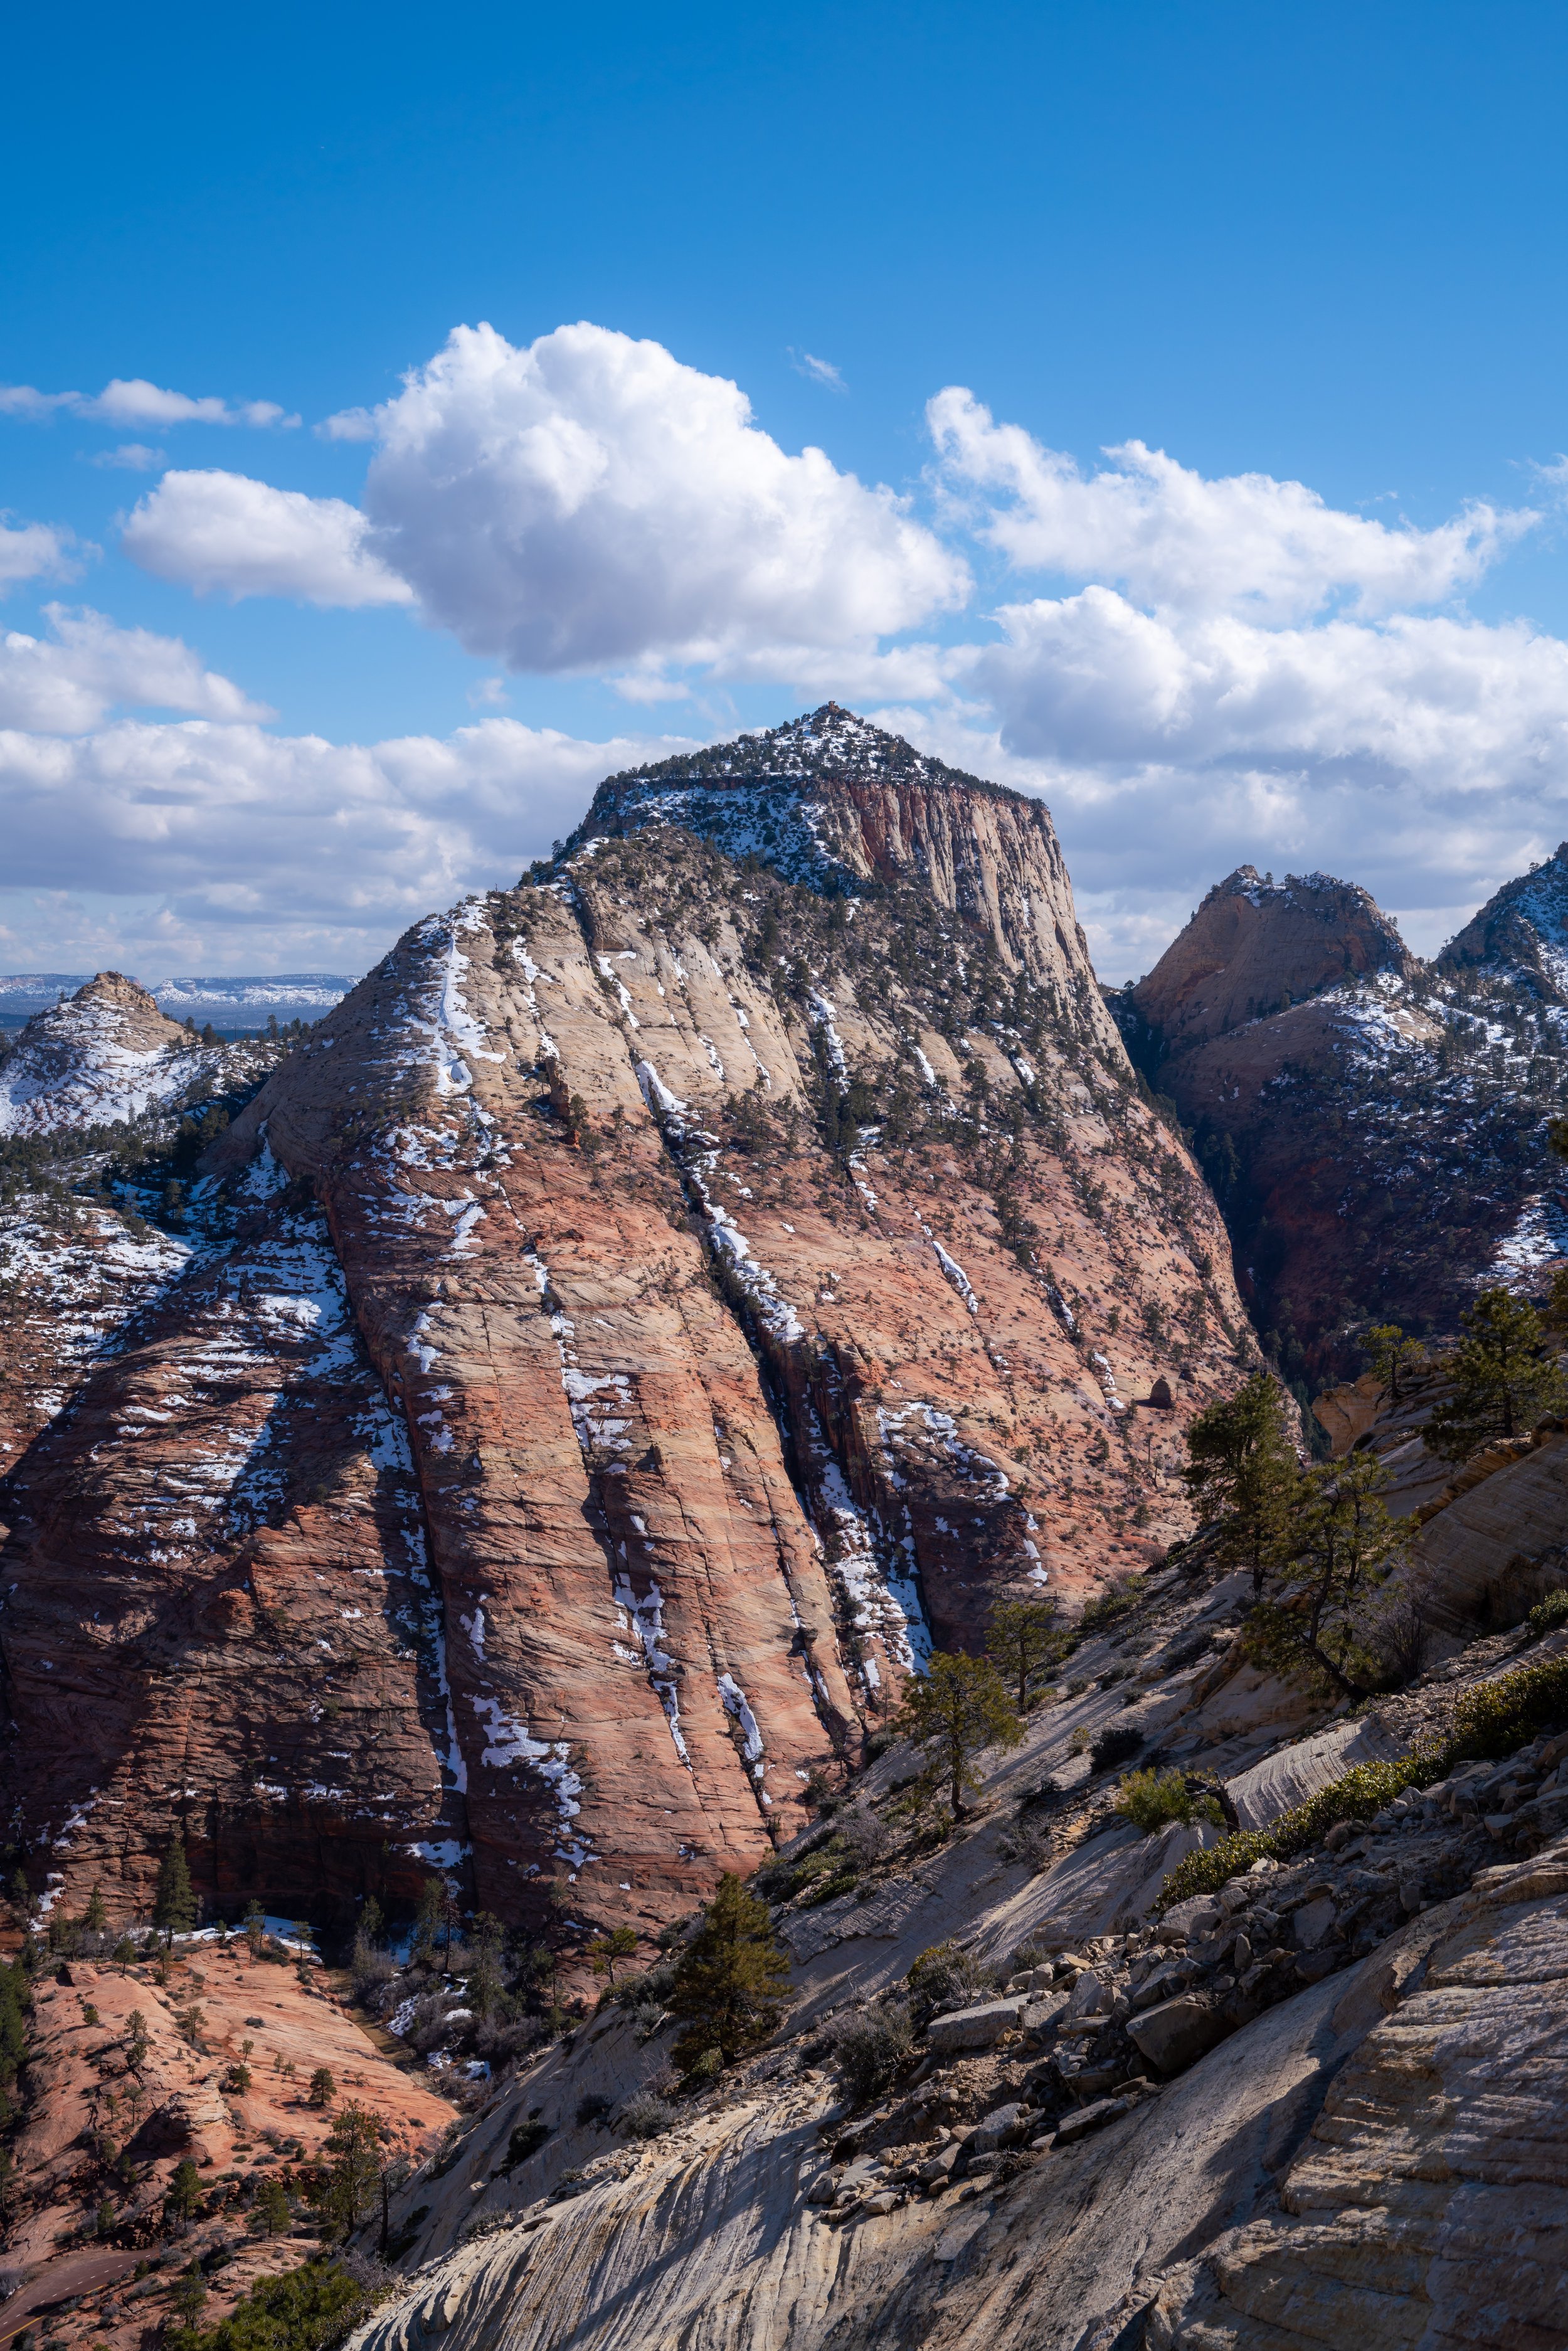
The Angels Landing Trail in Zion National Park is a stunning, near-all-uphill adventure that, in my opinion, is one of the most beautiful day hikes in Zion Canyon!
However, this goes without saying that the Angels Landing Trail is also the single most popular day hike in Zion National Park, which has inevitably led to changes over the years from what the hike used to be.
By this, I mean that following the trail’s explosion in popularity—due entirely to social media—the Angels Landing Trail is now managed under a permit system in an effort to reduce the number of visitors hiking the steep and narrow ridgeline up The Chains to the summit.
That said, I’ve been visiting Zion National Park and hiking the Angels Landing Trail for many years—both before and after the implementation of the permit system—and I can confidently say that the reduced number of visitors on the final 0.6-mile (1.0 km) stretch past Scout Lookout makes for a better experience than it had been in years prior!
How Long is the Angels Landing Trail?
Since many hikers only hike parts of the full Angels Landing Trail, I’ve broken down each section to help you plan your adventure.
Angels Landing Distances:
Angels Landing Trailhead to Refrigerator Canyon: 1.2 miles (1.9 km)
Refrigerator Canyon to Walter’s Wiggles: 0.5 miles (0.8 km)
Walter’s Wiggles to Scout Lookout: 0.25 miles (0.4 km)
Scout Lookout to the Top of The Chains: 0.5 miles (0.8 km)
Top of the Chains to Angels Landing: 0.1 miles (0.2 km)
Total Distance (One Way): 2.55 miles (4.1 km)
How to Get a Permit to Hike Angels Landing?
Permits on the Angels Landing Trail are only required to hike past Scout Lookout, not up Walter’s Wiggles to get to Scout Lookout. This is why the Angels Landing Trail is still a very popular hike following the implementation of the permit system in April 2022.
All that to say, there are two options to reserve Angels Landing permits, both of which are only available on Recreation.gov.
If you know the dates of your trip to Zion National Park in advance, you can apply for the advanced seasonal lottery. This is the best method to try to secure a permit because, if you are unsuccessful, you still have one more chance using option two.
The second option is the daily lottery, which is how most visitors apply. Simply submit your application the day before, and results are typically emailed within an hour of the lottery closing.
How Hard is it to Get an Angels Landing Permit?
The likelihood of being successfully awarded an Angels Landing permit comes down to two main factors.
The first is how busy is the season or dates that you are applying for are, and the second is how big your group is.
The lottery drawing is completely random, regardless of how many days in a row you may have been applying. However, those applying for a single permit, or as few permits as possible, are more likely to be successful than larger groups.
Another thing to consider before applying is how the season and time of day affect visitors’ willingness to hike. Typically speaking, the vast majority of visitors apply for morning permits, making afternoon reservations much easier to come by.
That said, morning permits are much more popular because visitors typically want to avoid the heat of the day during the hottest summer months. In other words, it can be somewhat irresponsible to book an afternoon permit in June, July, and August just because the chances of being successful are higher.
Angels Landing Trailhead Parking
When the Zion Canyon Shuttle is operating, parking for any trail off Zion Canyon Scenic Drive is only possible with a valid parking pass. This is because the 6.2-mile (10.0 km) road up Zion Canyon has very small parking lots at each trailhead and simply cannot handle the number of vehicles that Zion National Park receives on a daily basis. Even those with reservations to stay at Zion Lodge are not permitted to drive past the lodge to park at any of the trailheads farther up the canyon.
That said, the vast majority of visitors will need to find parking outside of Zion Canyon Scenic Drive and ride the free shuttle to Stop 6. The Zion Visitor Center and Zion Human History Museum are the best two spots to find parking inside the park.
During the busiest times of the year, the Zion Visitor Center parking lot typically fills completely by 7:30 a.m., with nearby parking spots filling shortly thereafter.
If you do have a valid Zion Canyon parking pass, parking for the Angels Landing Trail can be found at the North Grotto Trailhead in one of two very small parking lots near Shuttle Stop 6. I have been given a valid Zion Canyon parking pass before, and I can tell you from experience that you don’t get one just because you want one. Parking passes for Zion Canyon Scenic Drive are handed out on a very limited, case-by-case basis, and frankly, it is not appropriate for me to disclose any more details.
Google Maps Directions: Angels Landing Trailhead / Zion Visitor Center
Hiking Checklist - Zion
Here is a complete list of must-have things that you will want for any hike in Zion National Park.
In addition to the list below, you are required to carry a copy of your permit and valid photo ID to hike the Angels Landing Trail past Scout Lookout.
Hiking the Angels Landing Trail
The Angels Landing Trail begins at the joint West Rim–Kayenta Trailhead, often called the Grotto Trailhead, even though the true Grotto Trail is located on the other side of Zion Canyon Scenic Drive.
Read My Separate Post: Grotto Trail
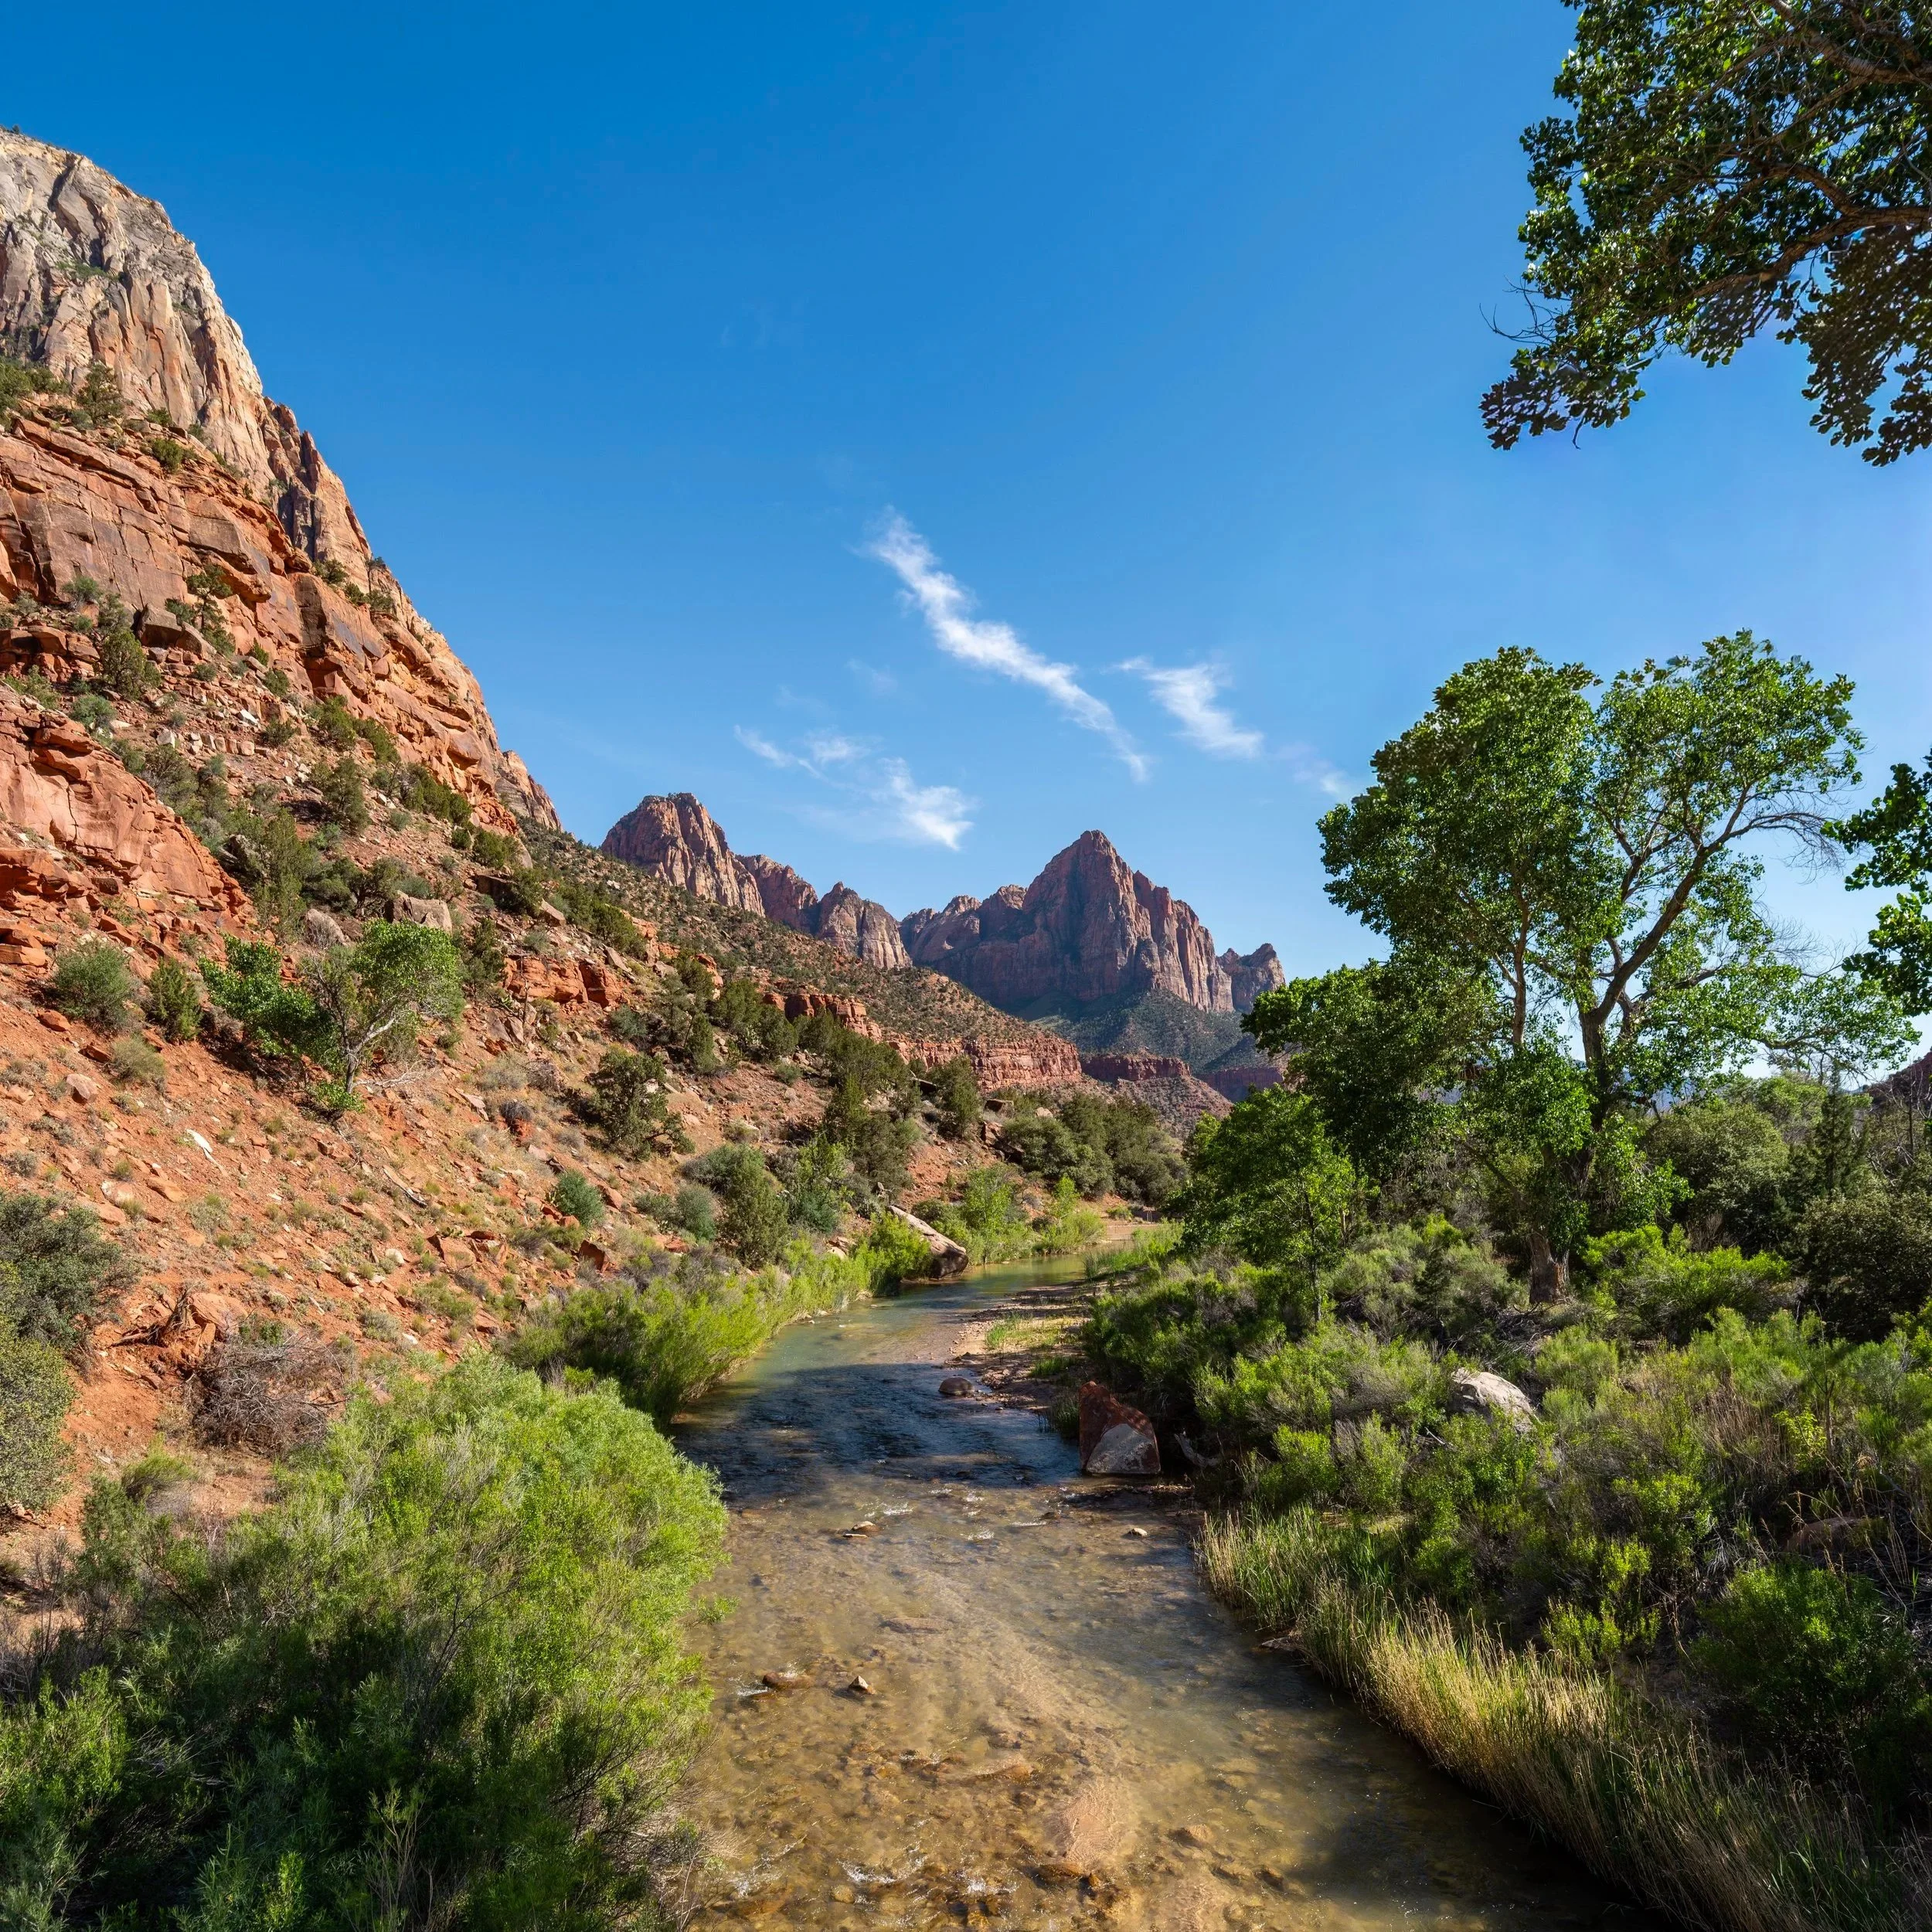
Almost immediately, the Angels Landing Trail crosses the Virgin River, the only time it does on the entire hike.
Angels Landing-Kayenta Junction
After crossing the bridge over the Virgin River, the Angels Landing Trail will pass the northern terminus of the Kayenta Trail.
This is the alternative route to hike to the Emerald Pools, but more often than not, visitors begin at the trailhead near Zion Lodge.
That said, go straight (right) after crossing the bridge to continue on the Angels Landing Trail along the Virgin River toward Scout Lookout.
At two different points below the switchbacks, the Angels Landing Trail passes an access trail that leads down to the Virgin River.
In the hotter summer months, these spots can be a great way to cool off after completing the hike!
It doesn’t take long for Angels Landing to fully come into view at the beginning of the trail, but hikers at the summit typically cannot be seen from this close to the mountain.
However, there are better viewpoints in Zion Canyon to see hikers at the summit, such as sections of the Grotto Trail just down the road.
This is the second and final side trail that leads down to the Virgin River.
This is where the Angels Landing Trail starts climbing up from the bottom of Zion Canyon, which is also where the path becomes paved and remains this way for much of the hike up to Scout Lookout.
Shortly after the ascent begins, the Angels Landing Trail turns the first of 12 switchbacks on the hike up to Refrigerator Canyon—the flat section between the top of the first switchbacks but before Walter’s Wiggles.
How Hard is the Angels Landing Trail?
There’s no nice way to say it, but the Angels Landing Trail is beyond some peoples’ ability.
I say this in an effort to be honest and straightforward, but many visitors do not have the physical capability to hike Angels Landing, both because of the physical requirements in terms of elevation gain and comfortability with high-exposure areas, while potentially hiking on snow and black ice during the off-season months.
This is to say that on the upper elevations past Scout Lookout, you cannot fall, and many visitors have died hiking the Angels Landing Trail over the years, which I believe can largely be attributed to the lack of preparation among hikers—both in terms of hiking without water during the hot summer months and attempting the trail without serious hiking gear, such as hiking in designer shoes when there’s black ice on The Chains.
This should not need to be said, but if you aren’t familiar with this type of exposure and what Class 3 scrambling means, the Angels Landing Trail may not be for you.
Regardless of whether you decide to hike the Angels Landing Trail early in the morning or later in the day, there is quite a bit of exposure on the hike, especially on the upper mountain.
This is why I highly recommend hiking Angels Landing in a hooded sun shirt, which can be useful on countless different adventures in Zion National Park and across the Southwest.
The low point between the two ridges in the photo below is where the Angels Landing Trail enters Refrigerator Canyon at the top of the first switchbacks.
This is where the initial switchbacks out of Zion Canyon become much steeper and more exposed but, at the same time, more beautiful as they climb higher toward Refrigerator Canyon!
Since there is so much elevation gain on the Angels Landing Trail—particularly on this first ascent and Walter’s Wiggles to come—many hikers prefer to use trekking poles, which can be especially useful on the way back down.
This is where the Angels Landing Trail turns the final switchback before reaching Refrigerator Canyon, and it is, without a doubt, one of the most beautiful sections before Scout Lookout and The Chains that lead up to the summit!
Refrigerator Canyon
This is where the Angels Landing Trail enters Refrigerator Canyon, marking the end of the first 12 switchbacks out of Zion Canyon.
From here, the next 0.5-mile (0.8 km) section through Refrigerator Canyon is relatively flat compared to the switchbacks up to this point and Walter’s Wiggles that immediately follow.
According to the National Park Service, the Mexican Spotted Owl lives in steep canyon and cliff habitats throughout Zion National Park, which is exactly why this narrow corridor through Refrigerator Canyon is one of many places they find refuge!
Compared to the first 1.2 miles (1.9 km) leading up to Refrigerator Canyon, this mostly flat stretch truly is a nice break from the rest of the Angels Landing Trail!
Throughout much of the day, Refrigerator Canyon is one of the few sections on the Angels Landing Trail that receives near-constant shade, apart from the midday hours when these photos were taken.
With that in mind, a hike up Angels Landing at this time of day should only be attempted during the off-season months, as summer temperatures are nothing to take lightly—even if the afternoon is the easiest time to secure a permit for The Chains past Scout Lookout.
Shortly before Walter’s Wiggles, the Angels Landing Trail climbs seven quick switchbacks, which is a nice sign that Scout Lookout is not far ahead!
Walter’s Wiggles
After the seven short switchbacks, the Angels Landing Trail reaches the infamous Walter’s Wiggles—a series of 21 very short, steep switchbacks that climb from this point to Scout Lookout, just below Angels Landing.
For whatever reason—probably because of social media—many hikers dread Walter’s Wiggles before reaching this point, but honestly, they aren’t that bad!
The switchbacks that lead up to Refrigerator Canyon are far more challenging, and I say this because each Walter Wiggle up to Scout Lookout is completed and can be counted in such a short amount of time!
Who are the Walter’s Wiggles Named After?
Walter’s Wiggles were built and named after Walter Ruesch in 1926, the first superintendent and park construction foreman in Zion National Park.
According to historical National Park Service records, Ruesch helped plan and build the trail system that made access to Angels Landing possible.
This is the top of the 21st and final switchback up Walter’s Wiggles, meaning that Scout Lookout is just a few steps around the corner from this point!
Scout Lookout
Scout Lookout is this flat, open area at the top of the ridgeline, and it’s the furthest point on the Angels Landing Trail that those without a permit can legally hike.
On a different note, there are bathrooms at Scout Lookout, which is the only place on the Angels Landing Trail that has them.
Angels Landing-West Rim Junction
The beginning of Scout Lookout is also where the Angels Landing Trail and West Rim Trail split from one another.
Once here, go right to walk a short distance across Scout Lookout to the beginning of The Chains and the permitted section of the Angels Landing Trail.
The Chains (Permits Required)
This is the beginning of The Chains on Angels Landing, and from this point on, all hikers are required to have a valid permit and a photo ID matching the name on the permit before continuing.
Do Park Rangers Check for Permits on Angels Landing?
Yes, and I have seen them!
That is not to say that park rangers are always at the base of The Chains, but just because you don’t see them when you go up doesn’t mean they won’t be there when you hike down.
For anyone with concerns about The Chains on Angels Landing, I can confidently say that the following photos contain every section leading up to the summit.
There is not a single part of the hike missing from this point to the top, which will hopefully help you prepare and know exactly what to expect if it’s your first time hiking the Angels Landing Trail.
One of the biggest concerns first-time hikers on The Chains have is the exposure between Scout Lookout and the summit of Angels Landing.
However, there are really only two areas with fairly direct exposure along the edge of the cliff, but that’s not to say the rest is free from any danger.
It’s best to consider the entire hike between Scout Lookout and the summit a no-fall zone, especially during the spring months, when melting snow during the day creates black ice on the trail overnight.
In my opinion, if you have any difficulty with The Chains up to this point, I recommend turning back to Scout Lookout, as the exposure and scrambling only get more challenging as the Angels Landing Trail climbs higher.
This long, straight section along the edge of Refrigerator Canyon is the first of the two most exposed areas on the Angels Landing Trail.
This is where the first, most exposed section along Refrigerator Canyon comes to an end.
This view of the final ridge leading to the summit is one of the most iconic photos on Angels Landing, and is best taken shortly after sunrise in the early morning light!
This next, very short section is the second area with the highest exposure on The Chains leading up to Angels Landing.
After the short exposed stretch shown above, the Angels Landing Trail begins a number of sections that require a bit more scrambling than the beginning.
To put a label on it, these sections can largely be considered Class 3 scrambling—but easy Class 3 at that!
In the spring, this section on the left-hand side of the ridge is notorious for hanging onto snow and ice much longer than many other parts of the trail.
If this is when you plan to visit Zion National Park, it is imperative to hike the Angels Landing Trail with micro-spikes during the off-season—especially in March and much of April, when black ice is much more common on the trail.
All of these cracks and shaded areas are what allow snow and ice to linger, even when much of the Angels Landing Trail is otherwise snow-free.
This short traverse is fairly exposed, but it is not as exposed to the cliffs on either side as the sections previously shown.
This is the view looking back toward Scout Lookout.
This part of The Chains may look like the last section up the Angels Landing Trail, but it is a false summit at the top.
This is the final ascent to the summit ridge on Angels Landing.
After roughly 0.5 miles (0.8 km) from the beginning of The Chains at Scout Lookout, the Angels Landing Trail finally reaches the summit ridge, where the hike levels out significantly compared to the beginning.
This little peak on the right-hand side of the ridge is the true summit on Angels Landing!
Angels Landing
Angels Landing is the point where the ridgeline makes a hard right turn toward Zion Canyon, which, in my opinion, is one of the most beautiful and iconic views across Zion National Park!
According to the National Park Service, the Angels Landing summit stands at 5,784 ft. (1,763 m), or roughly 1,500 ft. (457 m) above the canyon floor.
If you are interested in hiking to the end, I wouldn’t say the hike down is any different or more difficult than The Chains up to this point, but it is important to be very cautious during the winter and spring off-season months, as the entire ridge slopes down toward the cliff.
Is Angels Landing Better for Sunrise or Sunset?
There is no question: Angels Landing is a sunrise hike through and through, and I don’t say this because of extreme summer temperatures.
I say this because Zion Canyon is, for the most part, not a great place to catch the sunset based on where the sun sets and which peaks light up late in the day.
However, sunrise is best from the top of Angels Landing because the sun comes up from the back side of the summit ridge, ultimately lighting up the peaks in Zion Canyon, like you see in the photo below.
That said, shuttles do not run early enough at any time of the year to get hikers to the Angels Landing Trailhead. Even on the winter solstice, sunrise is around 7:40 a.m., which is well before the first shuttle leaves the visitor center.
I write all this because, as I mentioned in the beginning, private vehicles are not allowed to drive into Zion Canyon throughout much of the year, which is all to say that the closest most visitors can park is roughly 3.4 miles (5.5 km) away at Canyon Junction or 4.0 miles (6.4 km) away at the Zion Human History Museum.
From either spot, you can either walk or bike to the Angels Landing Trailhead, but know that renting bikes in Springdale can be a challenge last second when the results for the day-before lottery are announced.
Keep in mind that lottery results are typically announced around mid-afternoon the day before, but if you are successful, the link below can be a great option for securing an e-bike as soon as you get the results!