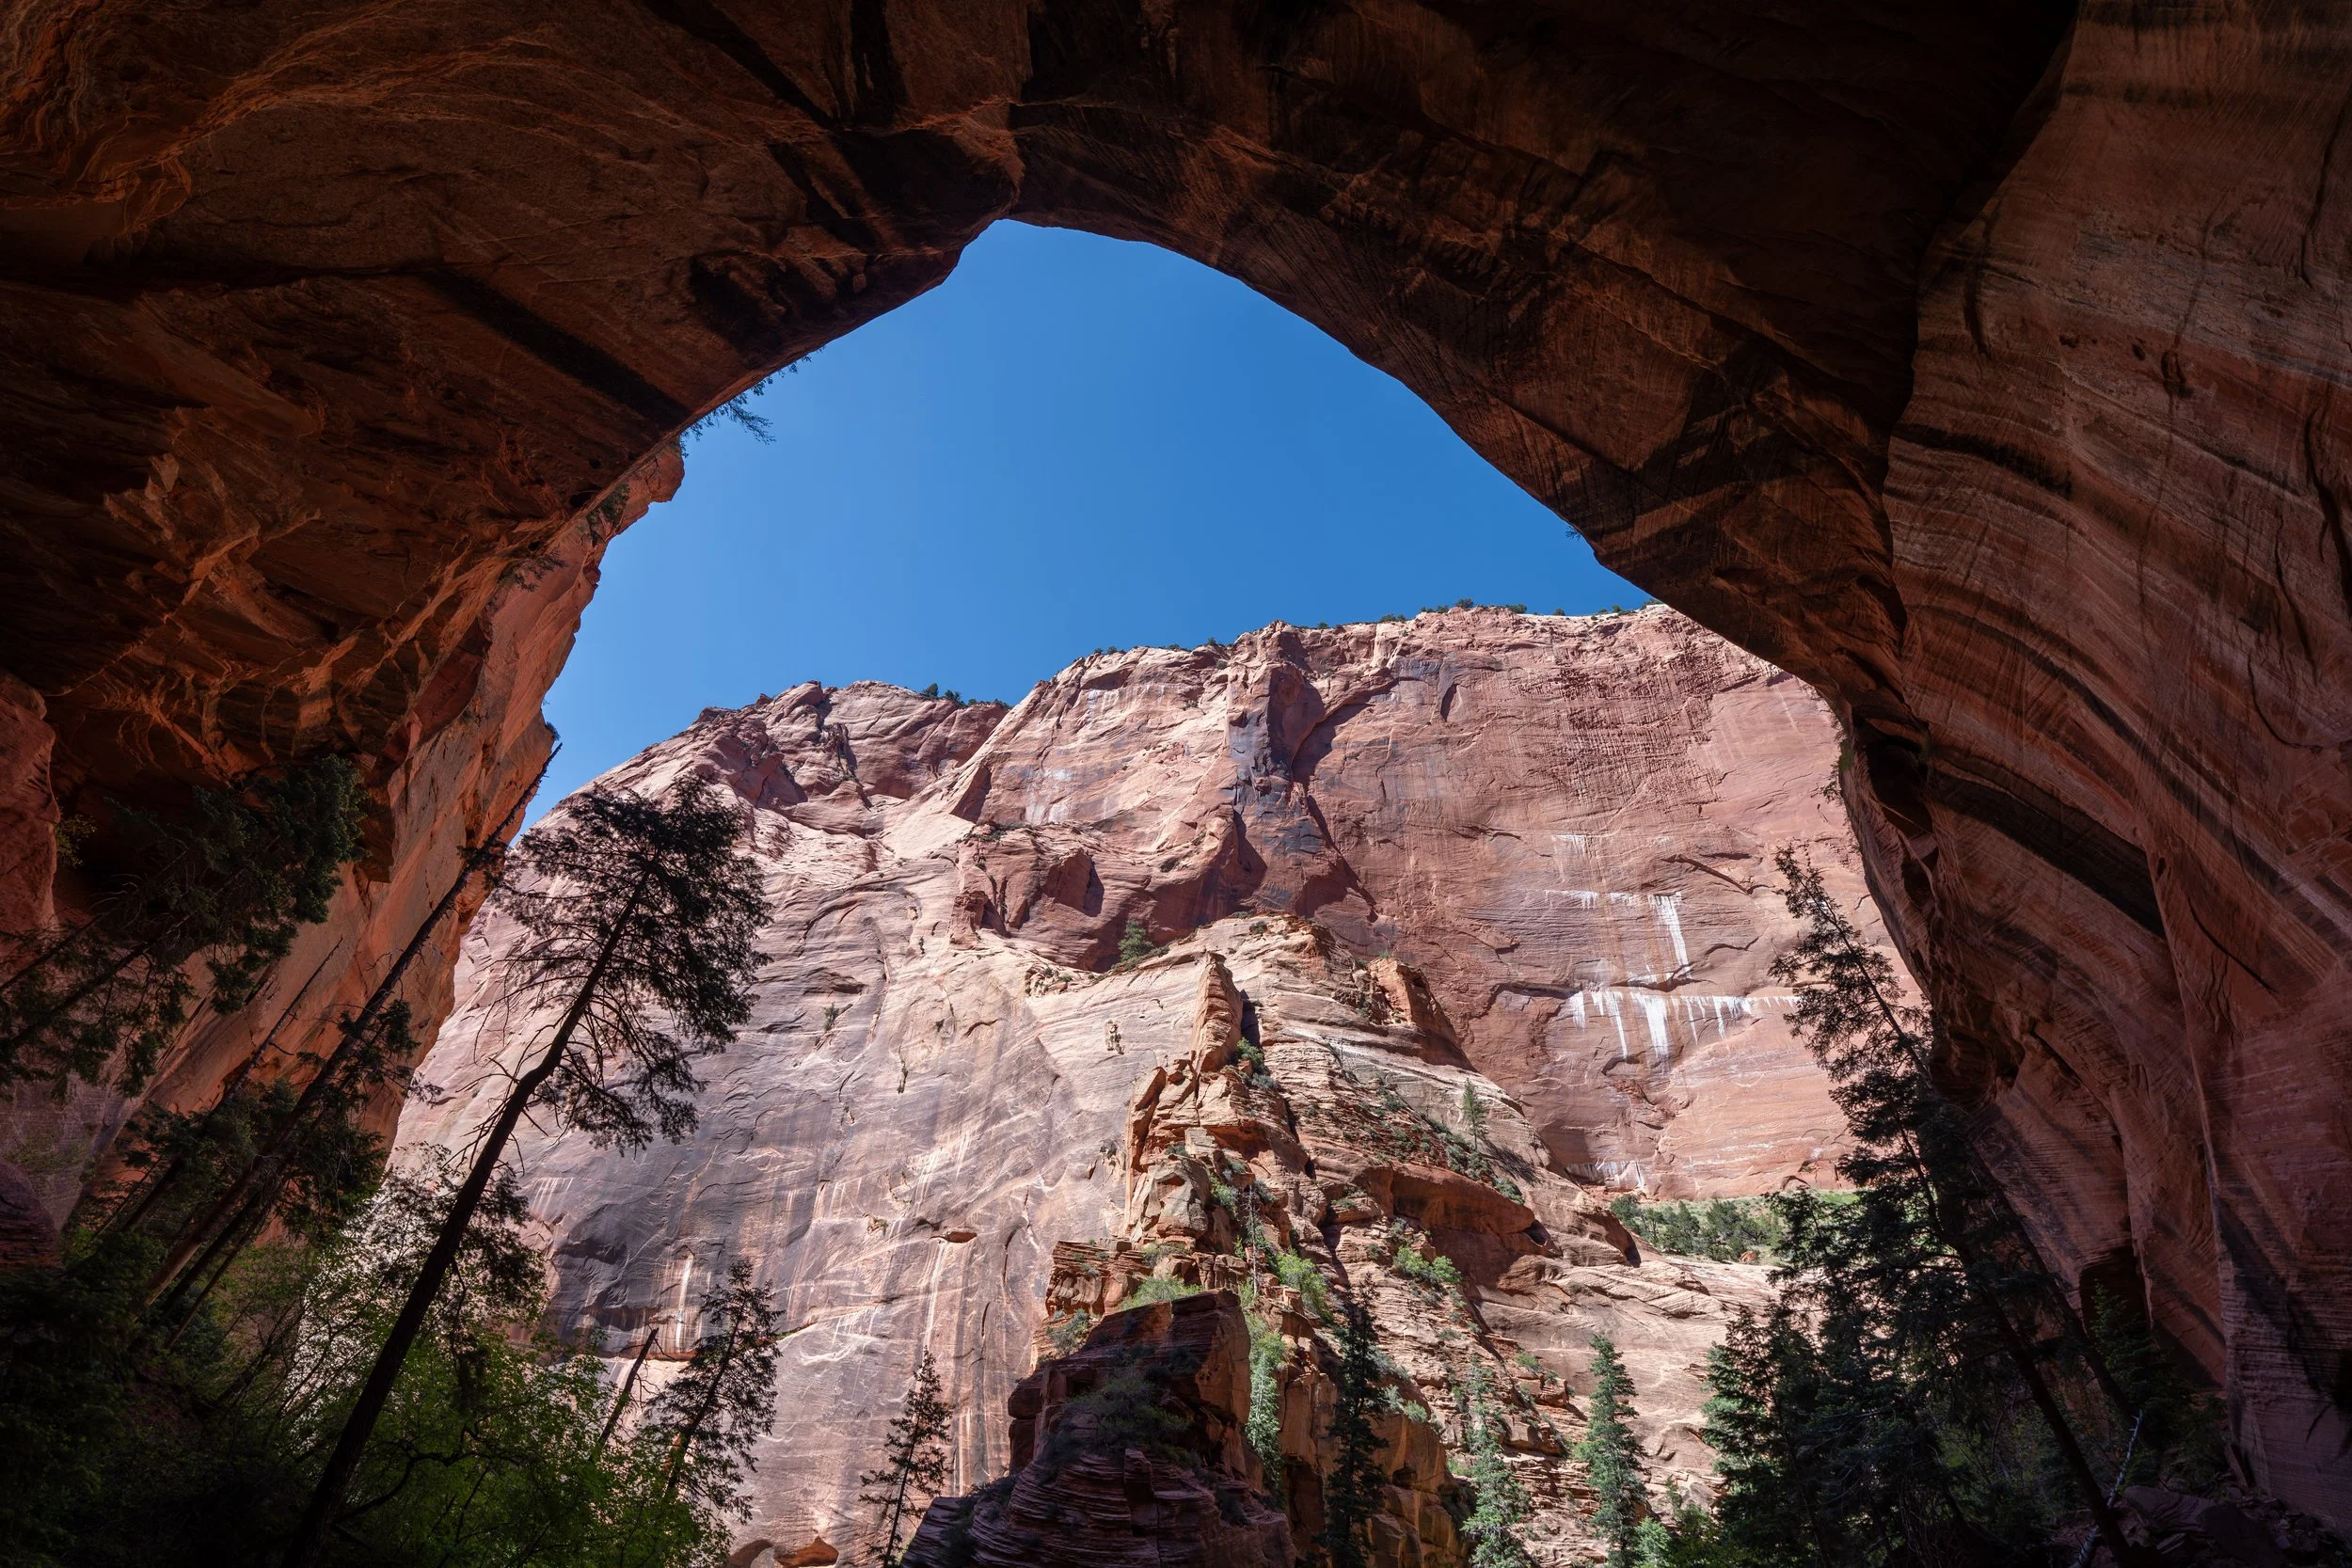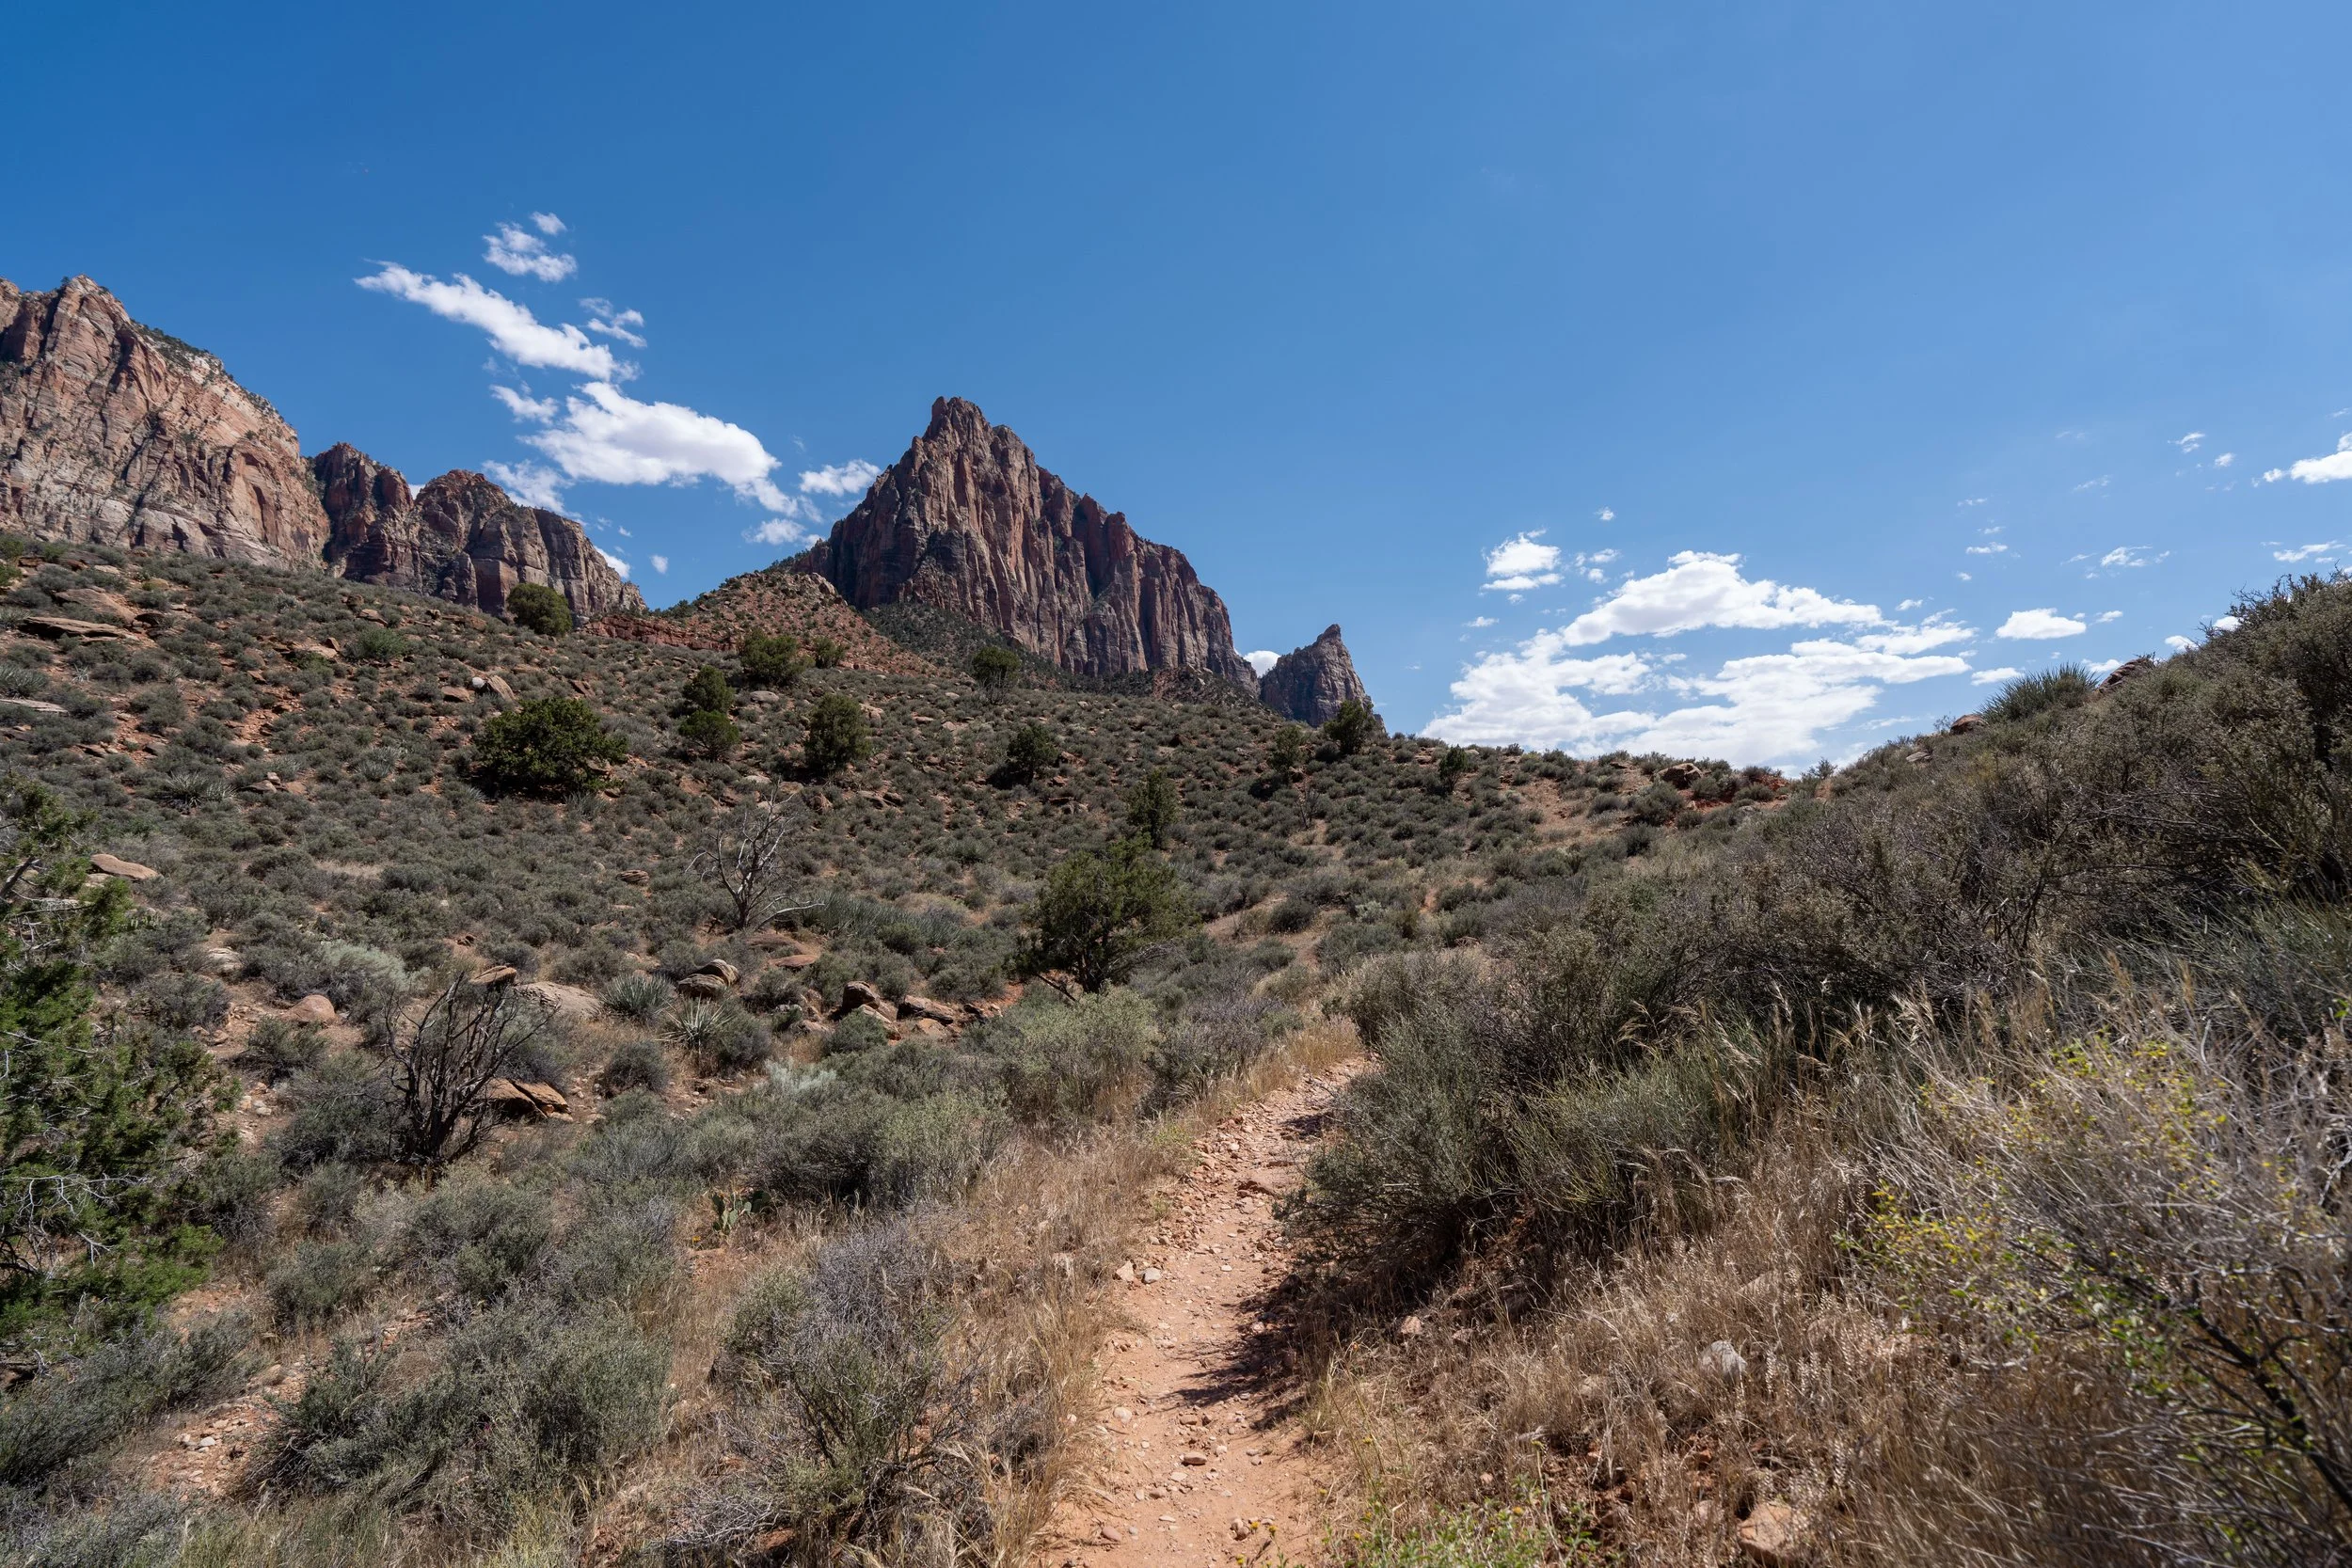

Hiking the Narrows (Bottom-Up to Big Springs) in Zion National Park
Distance (One Way to Big Springs): 4.7 miles / 7.6 km
The Narrows in Zion National Park is a stunning, unique, and rugged river corridor through the uppermost reaches of Zion Canyon that connects the very popular Riverside Walk with Chamberlain’s Ranch, the upper trailhead located just outside the park boundary.
That said, how to hike The Narrows, how far to hike up The Narrows, what direction to hike The Narrows, and more are all similar questions first-time hikers have, as The Narrows is not very straightforward when it comes to planning a day hike, deciding when to turn around, or planning a permitted hike through the full Narrows and how to break it up. Deciding whether to hike all 16.8 miles (27.0 km) in one day or over multiple days is a common debate, and there is a fair argument to be made about whether it’s easier to carry more gear but go slower, or hike farther with lighter packs—not to mention which option is more enjoyable!
In any case, this article is about hiking The Narrows bottom-up from the end of the Riverside Walk to Big Springs—the farthest visitors can legally day hike up the Virgin River without a wilderness permit. That is to say, all visitors hiking between Big Springs and Chamberlain’s Ranch must have a permit.
With all that in mind, this is a very long and detailed article about the full day hike, including all the most notable landmarks within The Narrows. Therefore, I highly recommend using the pop-up bubble in the right-hand corner of the page to navigate around this long article more easily, which will hopefully help you plan how much or how little of the full hike to Big Springs you’re interested in seeing!
How Long is The Narrows (Bottom-Up)?
Since many hikers only hike parts of the full Narrows from the Riverside Walk to Big Springs, I’ve broken down each section to help you plan your adventure.
Bear in mind that the relatively short distances for each section are a bad way to estimate time—it will take longer.
Temple of Sinawava to End of Riverside Walk: 1.0 mile (1.6 km)
End of Riverside Walk to Mystery Falls: 0.25 miles (0.4 km)
Mystery Falls to Orderville Canyon Junction (Start of Wall Street): 1.25 miles (2.0 km)
Start of Wall Street to Boulder Pair (End of Wall Street): 1.25 miles (2.0 km)
Boulder Pair (End of Wall Street) to Big Springs: 0.95 miles (1.5 km)
Total One-Way Distance: 4.7 miles (7.6 km)
Is Special Gear Needed to Hike The Narrows?
No, but it can be helpful!
Depending on the season you’re visiting Zion National Park, the water in the Virgin River can be unbearably cold, particularly during the spring and fall. During the summer, the water is still freezing cold, but since the temperatures are so hot in southern Utah at this time of year, visitors typically don’t mind the cold water.
That said, all the gear, including waders, canyoneering boots, neoprene socks, and more, can be rented from various outfitters in Springdale, typically the day before you plan to hike.
However, a setup like this is not completely necessary if you don’t mind getting wet, as the most important gear item by far is durable, close-toed boots. This could be canyoneering boots or very rugged hiking boots, again, if you don’t mind soaking them.
It really is all personal preference and season-dependent, but of anything that you can bring from home, a dry bag to go in a backpack or a dry backpack is the most important personal item. If you have expensive photography equipment like I do, I recommend a dry bag in a dry pack, but that is more so unique to those in my situation.
Should I Hike The Narrows with a Guide?
The true answer is: it depends!
The one thing this post shows more than anything else is that The Narrows is a very long adventure—not to mention, much of the hike looks the same! This is why an experienced local guide can be very helpful and reassuring in terms of understanding how much is left or what’s around the next corner when hiking in either direction.
That said, I say it depends because the first 2.5 miles (4.0 km), from the Temple of Sinawava to the Orderville Canyon Junction (the start of Wall Street), is very popular. Even though much of the hike will look the same, many visitors feel more comfortable simply because there are other people around.
However, past the Orderville Canyon Junction, I recommend a guide if you have any doubts about the trail. I suggest one because from the beginning of Wall Street, The Narrows abruptly becomes much less crowded and, as a result, feels much more remote!
Is The Narrows Open Year-Round?
No. The National Park Service regularly closes The Narrows from the end of the Riverside Walk to Chamberlain’s Ranch when the water level in the Virgin River is running higher than 150 CFS (4.25 m³/s), or if there is an active flash flood warning for the canyon.
Typically speaking, The Narrows are closed seasonally from early April to mid-May, and sometimes well into June, depending on snowmelt.
National Park Service: The Narrows Status
The Narrows Trailhead Parking
When the Zion Canyon Shuttle is operating, parking for any trail off Zion Canyon Scenic Drive is only possible with a valid parking pass. This is because the 6.2-mile (10.0 km) road up Zion Canyon has very small parking lots at each trailhead and simply cannot handle the number of vehicles that Zion National Park receives on a daily basis. Even those with reservations to stay at Zion Lodge are not permitted to drive past the lodge to park at any of the trailheads farther up the canyon.
That said, the vast majority of visitors will need to find parking outside of Zion Canyon Scenic Drive and ride the free shuttle to Stop 9. The Zion Visitor Center and Zion Human History Museum are the best two spots to find parking inside the park.
During the busiest times of the year, the Zion Visitor Center parking lot typically fills completely by 7:30 a.m., with nearby parking spots filling shortly thereafter.
If you do have a valid Zion Canyon parking pass, parking for The Narrows (bottom-up) can be found where the road ends at the very end of Zion Canyon Scenic Drive, the same parking lot that serves the Temple of Sinawava and the Riverside Walk. I have been given a valid Zion Canyon parking pass before, and I can tell you from experience that you don’t get one just because you want one. Parking passes for Zion Canyon Scenic Drive are handed out on a very limited, case-by-case basis, and frankly, it is not appropriate for me to disclose any more details.
Google Maps Directions: Narrows Trailhead (Riverside Walk) / Zion Visitor Center
Hiking Checklist - Zion
Here is a complete list of must-have things that you will want for any hike in Zion National Park.
Hiking the Narrows (Bottom-Up to Big Springs)
The bottom-up hike to Big Springs begins on the easy, paved, 1.0-mile (1.6 km) Riverside Walk from the Temple of Sinawava.
If you’re interested in learning more about this section, all the details about the Riverside Walk can be found in my separate article linked below.
Read My Separate Post: Riverside Walk
End of the Riverside Walk
This is the end of the Riverside Walk and the start of the 3.7-mile (6.0 km) one-way hike to Big Springs.
The Narrows
This is where the Riverside Walk ends and the bottom-up hike to Big Springs begins!
That said, the vast majority of visitors do not venture far past the end of the Riverside Walk.
That is not to say that visitors don’t hike up The Narrows, but with every notable landmark, including Mystery Falls, House Rock, Wall Street, etc., the number of hikers drops precipitously, particularly following the Orderville Canyon Junction.
Throughout this article, it will not be helpful if I try to say hike on this side or that side of the Virgin River.
There are few places where there really is only one best route to follow, but, for the most part, hiking up The Narrows is all about what best fits you, noting that the Virgin River Narrows are always changing with every flash flood.
Wall to Wall
This short section just before Mystery Falls is called Wall to Wall, and it is the first of many spots past the Riverside Walk that persuades unprepared hikers to turn back.
Mystery Falls
Just a few steps after Wall to Wall, The Narrows passes Mystery Falls, also called Mystery Canyon Falls, which is somewhat of a turnaround point among day hikers, though it is not the most popular.
I say this because those who make it through Wall to Wall are typically more determined to hike farther up The Narrows, as there are no more major obstacles after Wall to Wall for quite some distance.
After Mystery Falls, The Narrows simply winds its way from side to side up the river.
These are the sections that typically feel the longest on the return hike because all these tight bends in the Virgin River take some time to navigate, which is deceiving when the end of the Riverside Walk looks so close on a map.
This is the beginning of the big horseshoe in the Virgin River, which can be seen on a satellite map of The Narrows.
Perhaps it’s obvious, or maybe it’s not, but I hope these photos show is that there is quite a bit of shade in The Narrows, thanks to how dramatic and narrow the canyon walls are!
In fact, some areas never receive any direct sunlight throughout much of the year.
However, regardless of whether you get an early start or not, it is very common to spend quite a bit of time in the sun, either on the hike up or down.
If you’re a first-time hiker, The Narrows will take longer than you probably anticipate, meaning that avoiding the midday sun is very much inevitable, especially for a hike past the start of Wall Street.
This is why I strongly recommend hiking The Narrows in a hooded sun shirt, which can certainly be useful for other adventures across Zion and the Southwest.
This is where The Narrows starts to round the horseshoe bend between Mystery Falls and House Rock.
Narrows Alcove
The Narrows Alcove is a lesser-known landmark on the hike to Wall Street, as it is not as much a destination as it is a mental checkpoint, if you notice it at all.
After the Narrows Alcove, the hike up to House Rock and Wall Street beyond continues up a long embankment on the side of the Virgin River.
I highlight this because sections of trail like this only become less and less frequent the higher you hike, which is exactly why the hike up to Big Springs and back is so tedious!
This is the end of the horseshoe, and it’s a nice mental checkpoint that House Rock is not too far ahead!
By this point, the crowds of hikers that make the beginning of The Narrows so busy are reduced to more individual hiking groups.
That is not to say The Narrows isn’t still busy, but again, the hike only becomes more and more enjoyable the farther up the Virgin River you choose to explore!
This is where House Rock can be seen in the distance for the first time!
House Rock
This big rock is House Rock, and it’s probably the most confused landmark in the Virgin River Narrows, as incorrect information online commonly calls Floating Rock and other random rocks House Rock.
In any case, know that House Rock is located about 0.3 miles (0.5 km) from the Orderville Canyon Junction and the start of Wall Street, which I mention to say that I recommend continuing a little farther if you’ve made it this far!
Wall Street truly is something to see, and I think it would be a bit disappointing to end a hike at House Rock, given that it is so close to one of the best parts of the canyon!
After House Rock, the canyon walls start to close in, which is a nice sign that the start of Wall Street is not far ahead!
Orderville Canyon Junction (Start of Wall Street)
This is the Orderville Canyon Junction and the start of the iconic Wall Street Narrows!
That said, go left to continue hiking up the Virgin River. However, if you have time on the hike back, or don’t plan to hike as far as Big Springs, Orderville Canyon can be a great destination side hike, which can be explored as far as Veiled Falls, about 0.5 miles (0.8 km) up the creek.
Zion Wilderness Boundary
Just steps after the Orderville Canyon Junction, The Narrows crosses the Zion Wilderness Boundary.
After the Orderville Canyon Junction, the next most common hiking destination is Floating Rock, which is only 0.25 miles (0.4 km) from the start of The Narrows.
However, I personally think the prettiest sections of The Narrows are a short distance past Floating Rock, so if you are planning to hike that far, I recommend continuing just a little farther.
You won’t be disappointed!
Floating Rock is the big rock that can be seen at the very end of this long, straight corridor.
Imlay Canyon Junction
Imlay Canyon is a lesser-known canyon compared to Orderville, as day hikers do not venture up the canyon, as they do with Orderville to get to Veiled Falls.
That said, Imlay is more or less a mental checkpoint for day hikers, as it’s only steps away from the iconic Floating Rock!
Floating Rock
This giant boulder, which quite literally bisects the Virgin River, is Floating Rock, and it is often a popular turnaround point after Orderville Canyon.
However, as I mentioned above, I recommend hiking just a little farther, as the best of the Wall Street Narrows, known as The Chute, is just around the corner!
The Chute
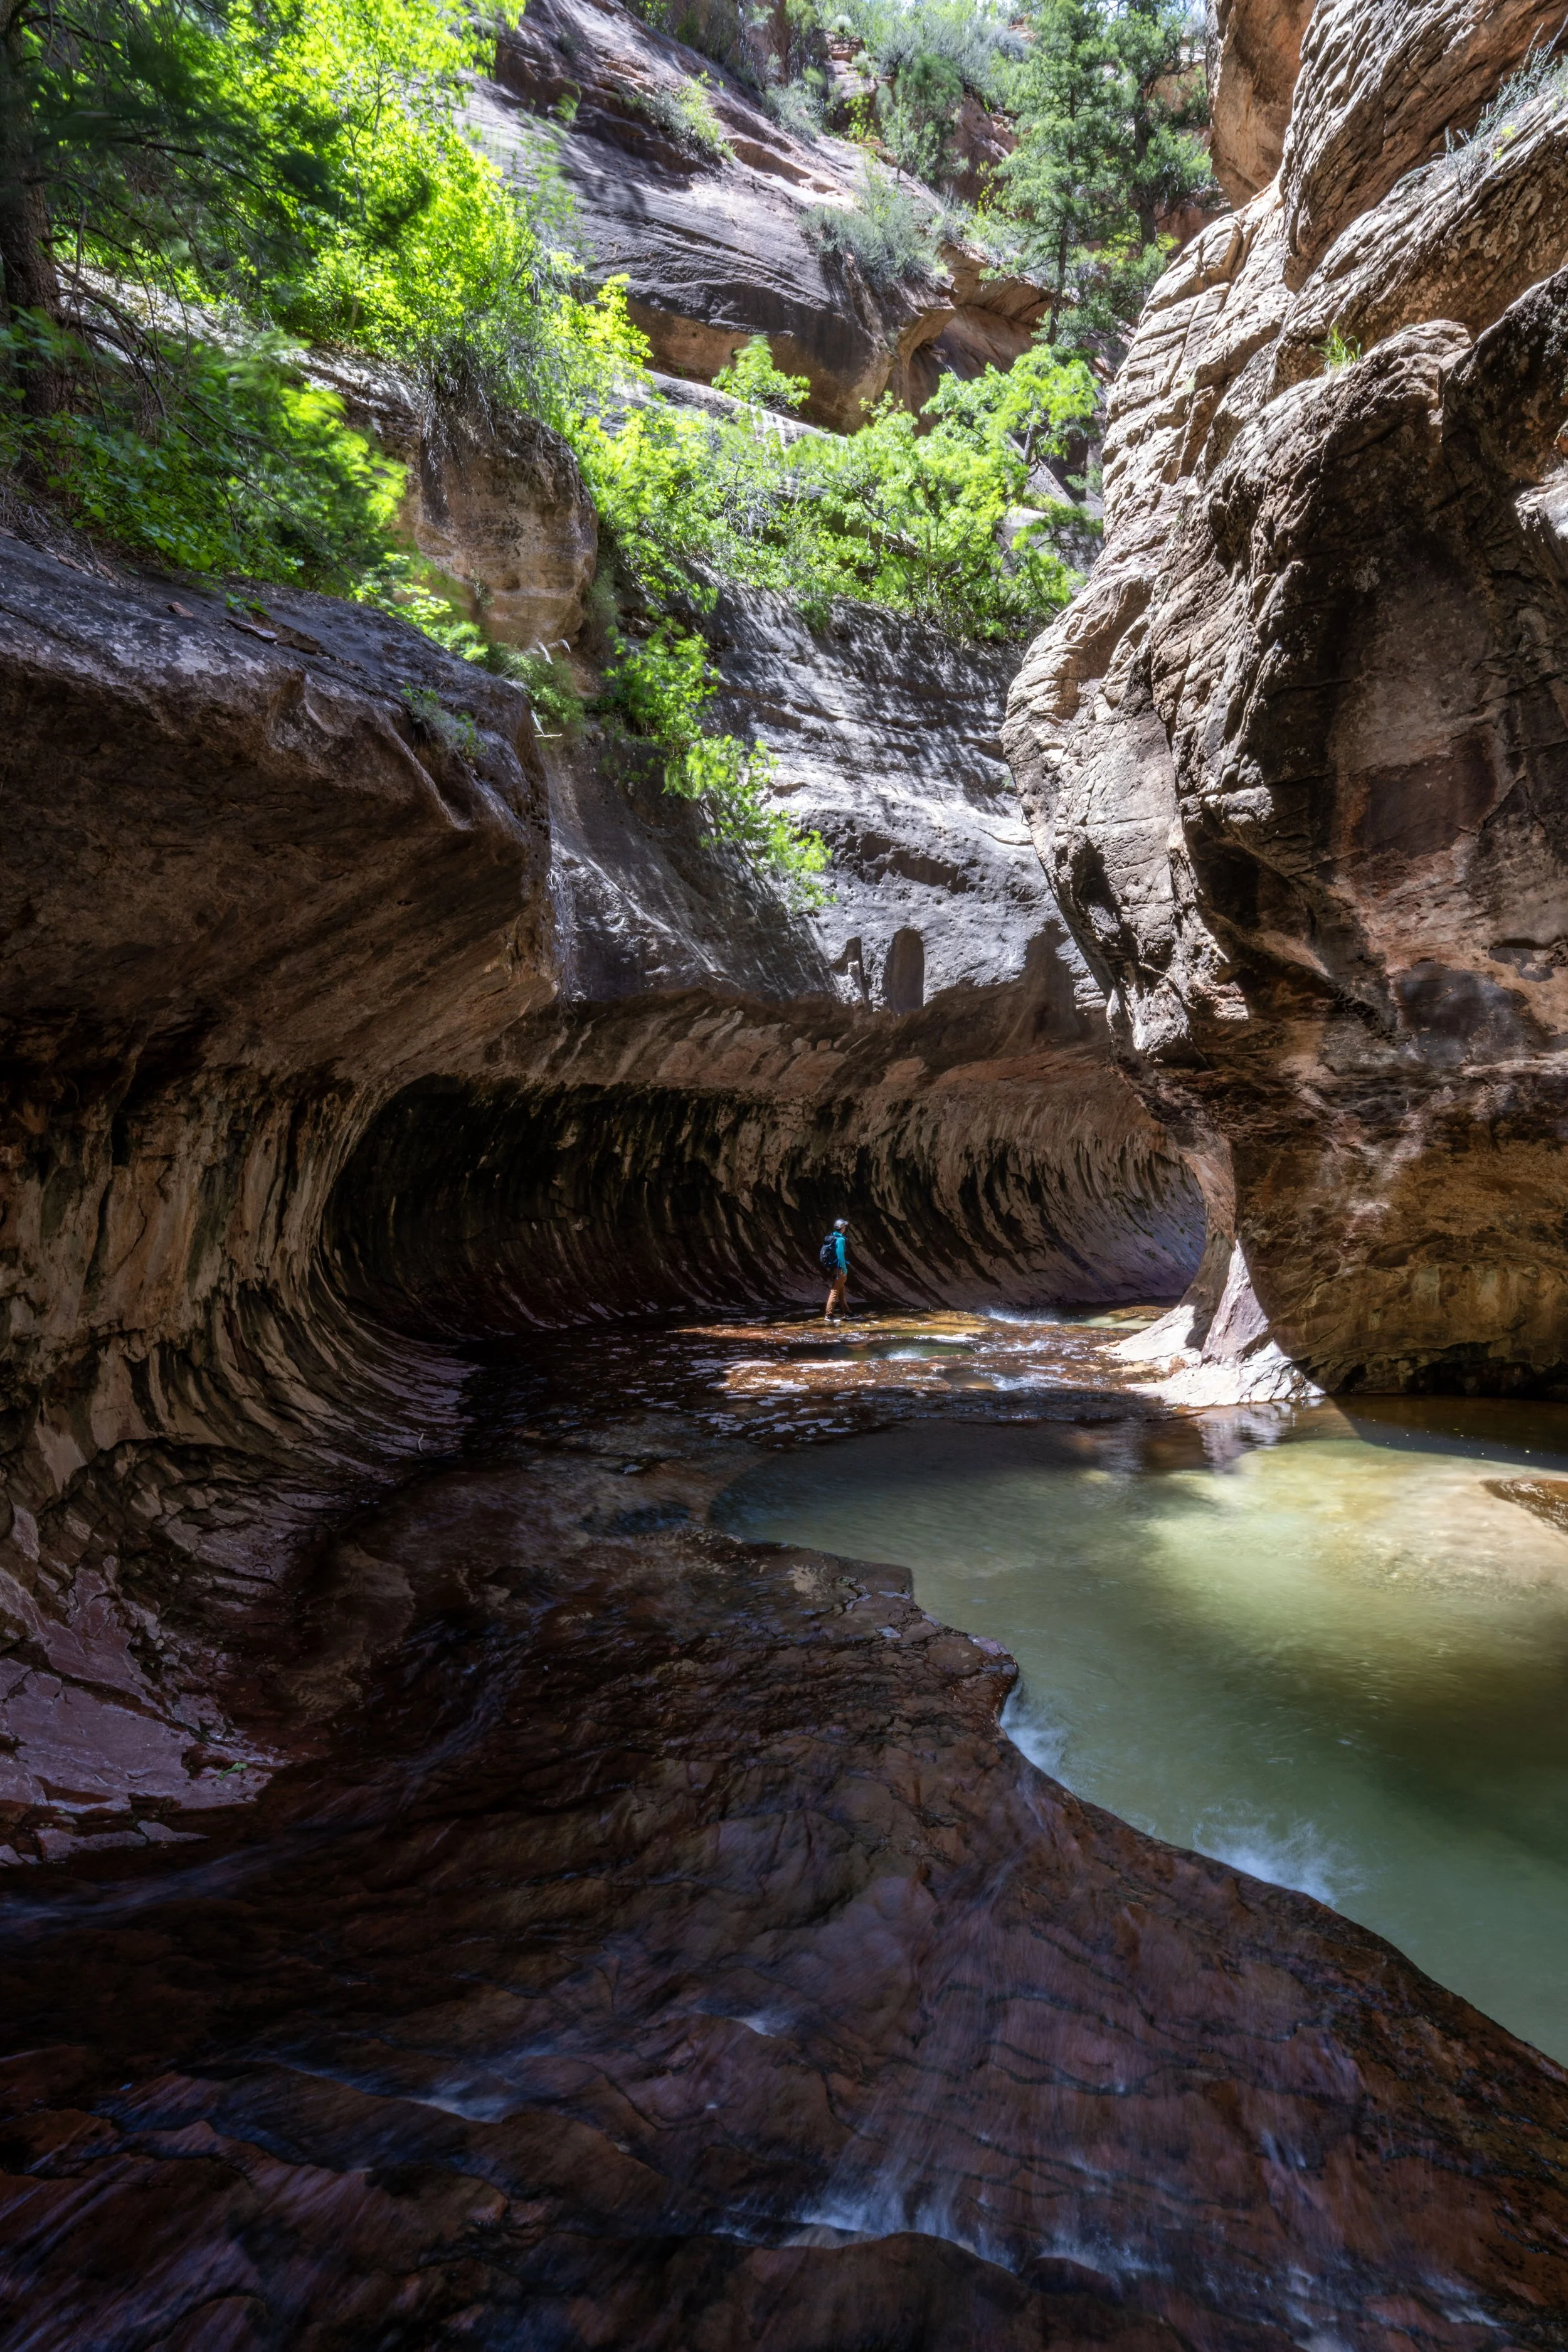
This ominous, dark section is The Chute, and it is arguably the most beautiful stretch through Wall Street, as the walls are incredibly close together—in some places just 16 ft. (4.9 m) wide—which, in turn, means this stretch rarely sees daylight throughout much of the year.
That said, this stunning corridor can be one of the best places to take photos in The Narrows, but phones and other low-quality cameras will not do well in the low light.
Sections like this require a camera capable of long-exposure photos, as well as a tripod.
If you’re looking for a good hiking tripod, the one linked below has been my go-to lightweight tripod for both day hiking and backcountry trips for many years!
This is the narrowest section of the entire 15.8-mile (25.4 km) Virgin River Narrows!
This stunning corridor through The Chute is truly something to see!
When the Narrows turns back to the north, the canyon exits The Chute and widens slightly.
That said, the Wall Street Narrows still continue for a little while longer, until just past the second very deep section, which requires hikers to swim a short distance to get across.
This is the first unavoidable deep section on the hike to Big Springs, and for those who don’t feel like making the short swim across, it is often the turnaround point following The Chute.
What I can say is that both deep sections on the hike to Big Springs are very short. For most people, it’s really just one big lunge and a few kicks before the ground starts to get higher again, so I really wouldn’t look at either swim as anything to be intimidated by.
They are more a matter of personal preference as to whether you want to do them or not, but they are exactly why dry bags and dry packs are necessary to hike all the way to Big Springs.
By this point, the first deep swimming section is over.
After the first swim, The Narrows simply continues up Wall Street for a very short distance until it reaches the second unavoidable deep section ahead.
This is the second deep section, which cannot be avoided on either side of the big rock.
However, it is again nothing more than a very short lunge forward, typically with your dry pack held overhead.
Boulder Pair (End of Wall Street)
Immediately after the second swim, The Narrows reaches the Boulder Pair, the indicator that the Wall Street Narrows are over.
Immediately past the Boulder Pair, The Narrows simply continues straight up the Virgin River.
There is nothing particular to note about this section, as The Obstacles—the next notable section before Big Springs—doesn’t really begin until the river turns the next corner.
The Obstacles
This massive boulder is the start of The Obstacles, and it is the final notable named section prior to Big Springs!
That said, The Obstacles isn’t one landmark. Rather, it’s the name given for this section because of all the scattered, chaotic boulders from this point to the end, none of which are particularly difficult to navigate around or scramble over.
This is a perfect example of some of the many boulders hikers must navigate between the end of Wall Street and Big Springs.
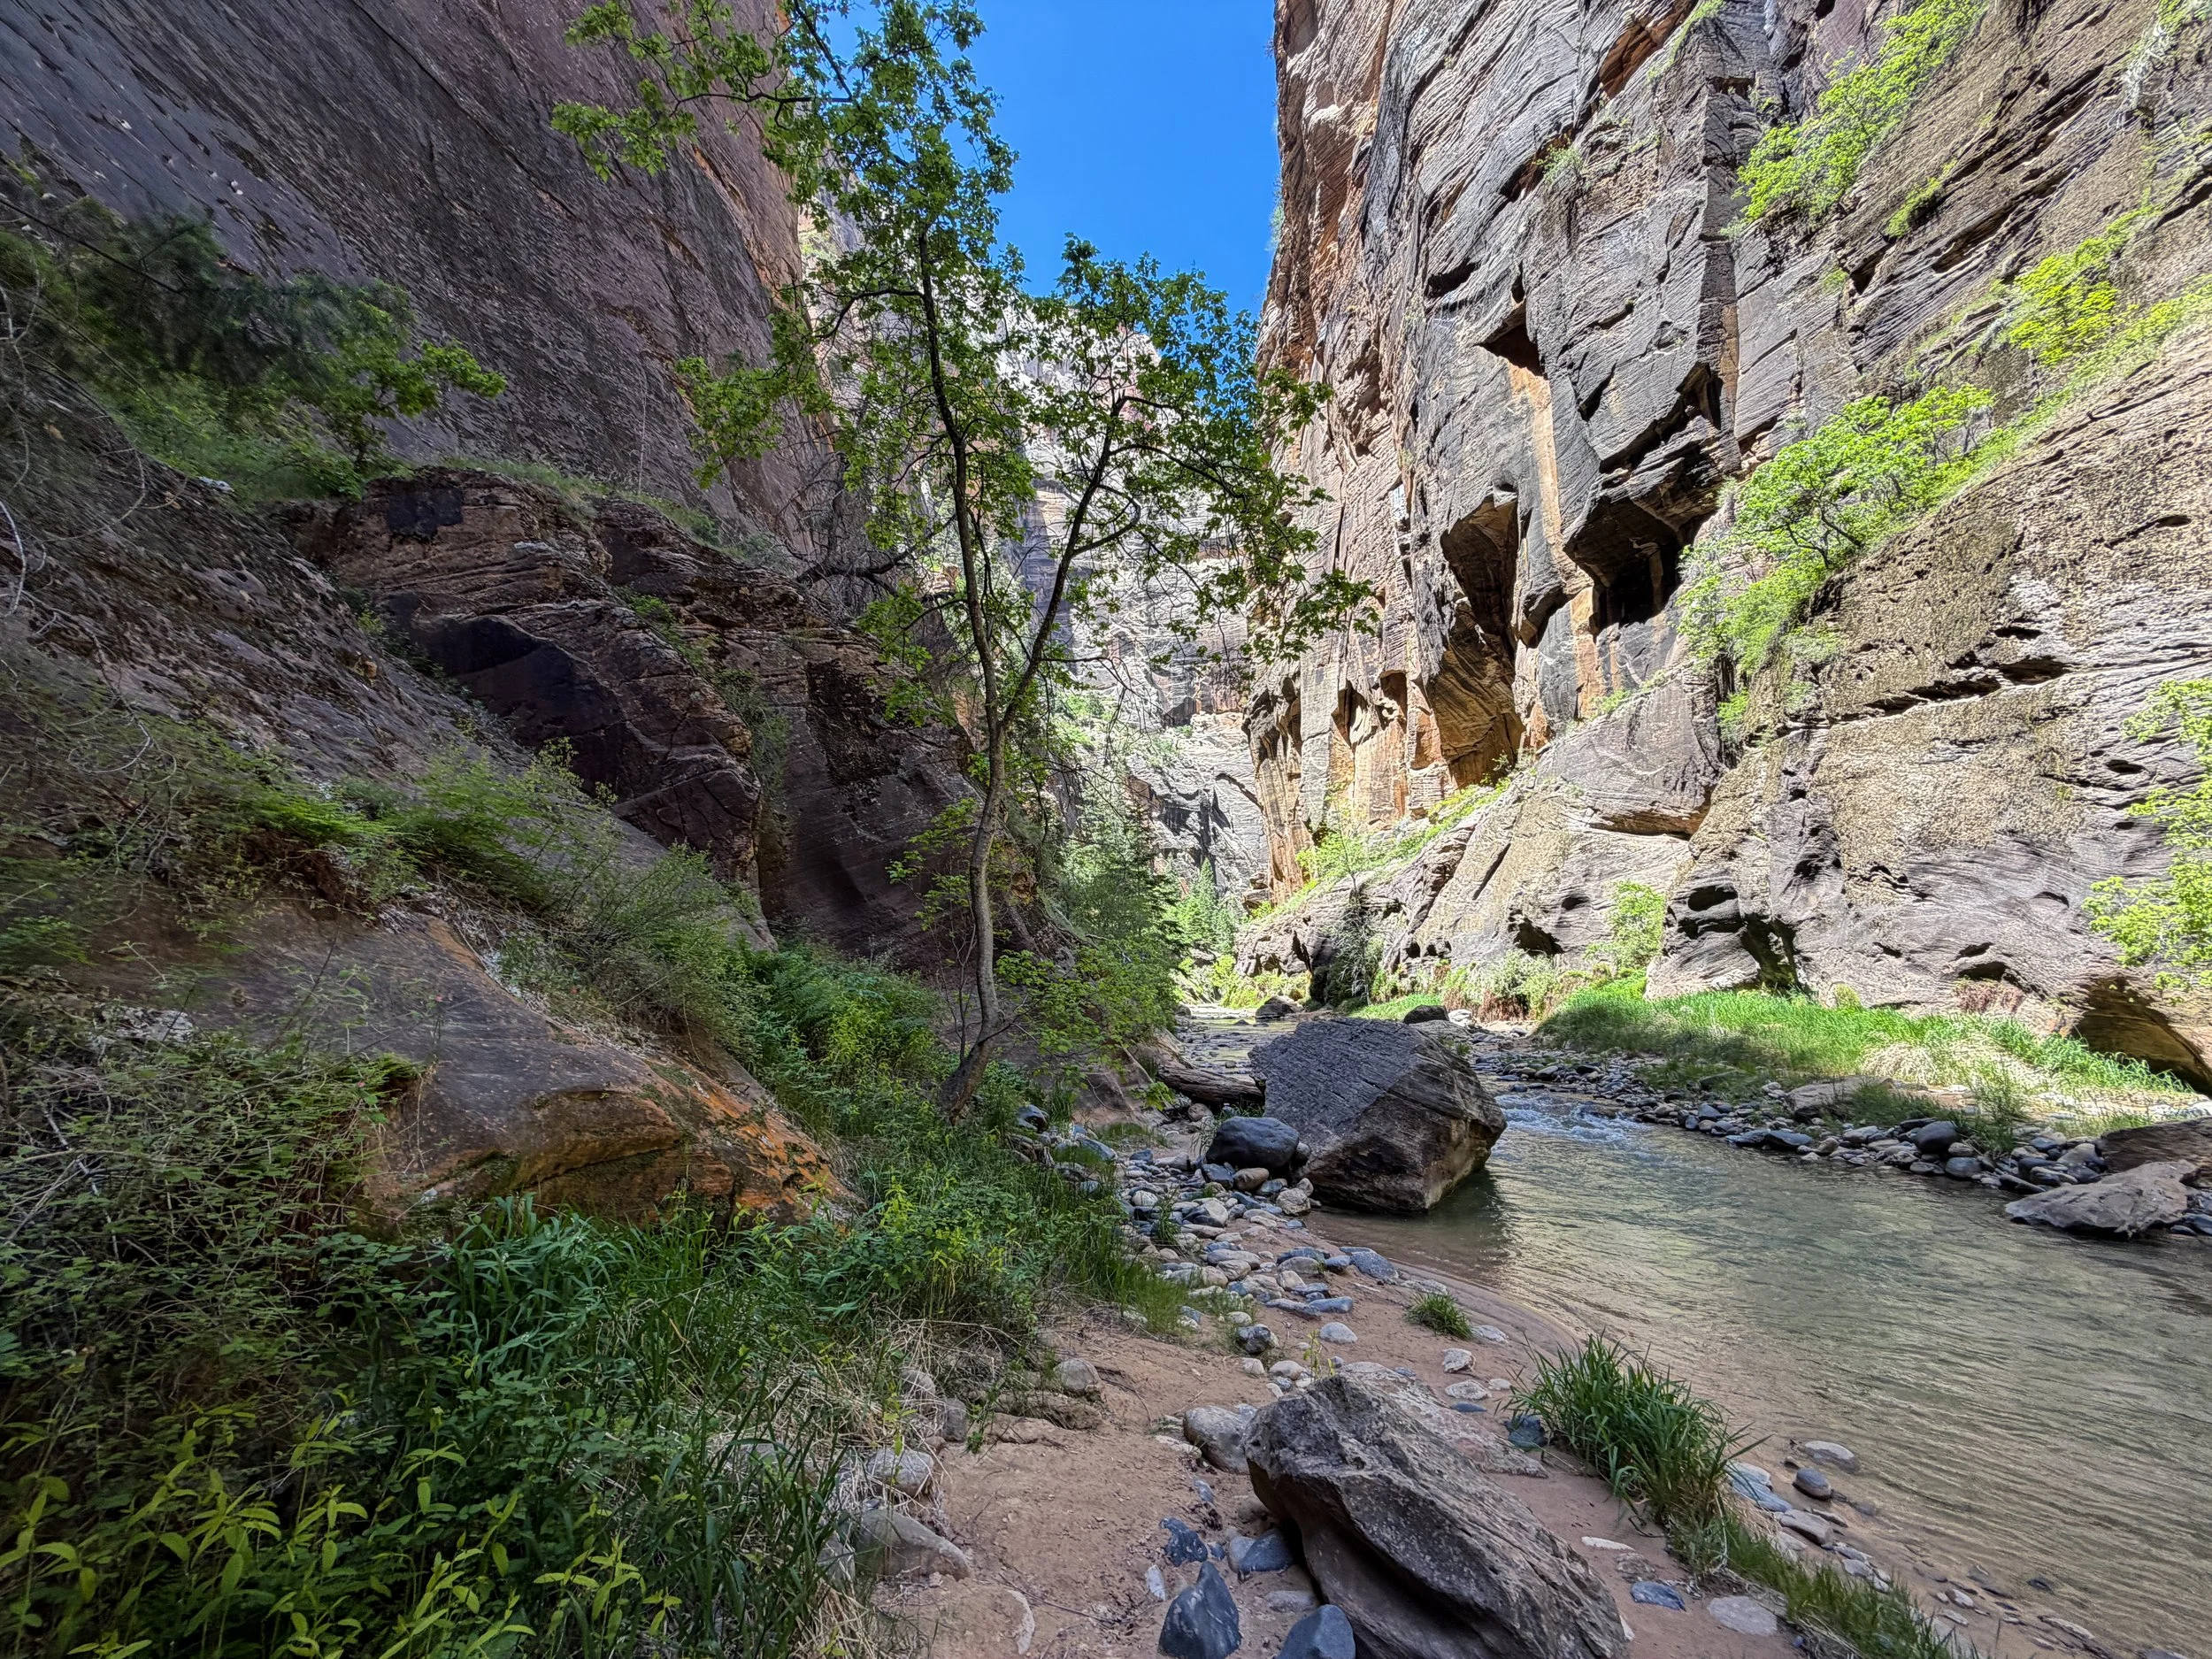
The Narrows (Bottom-Up)
After Wall Street, many sources will say The Narrows widen considerably, but that is only partially true.
I say this because there is yet one more very narrow stretch that closely resembles Wall Street, and once there, it’s a nice sign that Big Springs is not far ahead!
Once again, I hope these photos show how, even among the steep canyon walls, spending a lot of time in the sun is quite unavoidable throughout the hottest midday hours, which again is why I recommend hiking The Narrows in a hooded sun shirt.
These boulders are very easy to scramble through!
When the Virgin River is pushing its upper limit in terms of when the National Park Service opens and closes the hike, some hikers turn around at these rapids, as they are somewhat unavoidable and must be crossed.
However, in all of my experiences, I have never had any trouble getting across this section, but keep in mind that I am 6' 4".
Immediately after the rapids, the easiest path forward is to follow the trail up and over the big boulders on the left-hand side.
This side trail will drop back to the river on the other side.
More than the distance itself, The Obstacles are what make this final stretch to Big Springs very tedious!
This is where The Narrows enters the very narrow section that I mentioned closely resembles Wall Street, which is a nice sign that Big Springs is not far ahead!
In many regards, this final corridor feels no different from Wall Street!
Since there are far fewer people this far up The Narrows, this final stretch can also be one of the best places to get great photos, which is typically best either two hours before or after solar noon.
This section is most similar to Wall to Wall from the beginning of the hike.
The bend that can be seen in the distance is the final turn before Big Springs!
At the very end, there is yet one more side trail to follow on the left-hand side before reaching Big Springs.
Big Springs
After a very long and tedious 4.7-mile (7.6 km) hike from the Temple of Sinawava, or 3.7 miles (6.0 km) from the end of the Riverside Walk, The Narrows finally reaches Big Springs and the end of the bottom-up, unpermitted day hike!
There really is no mistaking where Big Springs is once you’re here, as no other spring between the end of the Riverside Walk and here is as noticeable!
Typically speaking, most fit hikers would make it to Big Springs around noon if they got on the first shuttle leaving the Zion Visitor Center in the morning, but these photos were taken in the mid-afternoon hours.
I wouldn’t necessarily recommend starting as late as I did on this day, unless you know yourself to be a very quick hiker. However, I started late on purpose so I could time the late-afternoon light for photos at several bends in the river!
How to Take Great Photos in The Narrows?
To try to put it into words, the best time to take photos in The Narrows, or any narrow canyon for that matter, is typically within two and a half hours on either side of solar noon. The trick is to look for an S-shaped corridor where the sun, on either side of solar noon, will hit one canyon wall directly, while the albedo light from that wall will reflect down the corridor and softly light up the opposite bend in the "S." This is where you want to take your photos.
This can be done at Floating Rock in the late-afternoon hours, or at a number of other bends, depending on the time of day you reach them. It could be in the morning or afternoon, but either way, a good hiking tripod is really a non-negotiable gear item for such low-light photos.
Backcountry Permits Required
Past Big Springs, backcountry permits are required, which is largely so that the National Park Service can maintain accountability in the event of an emergency.
That said, Chamberlain’s Ranch is roughly 11.1 miles (17.9 km) from this point, which is why The Narrows are most commonly treated as a multi-day, top-down adventure in order to hike with the current.
Book Here: The Narrows Wilderness Permits