Hiking the South Ariel Peak Trail in Zion National Park
Distance: 1.1 miles / 1.8 km
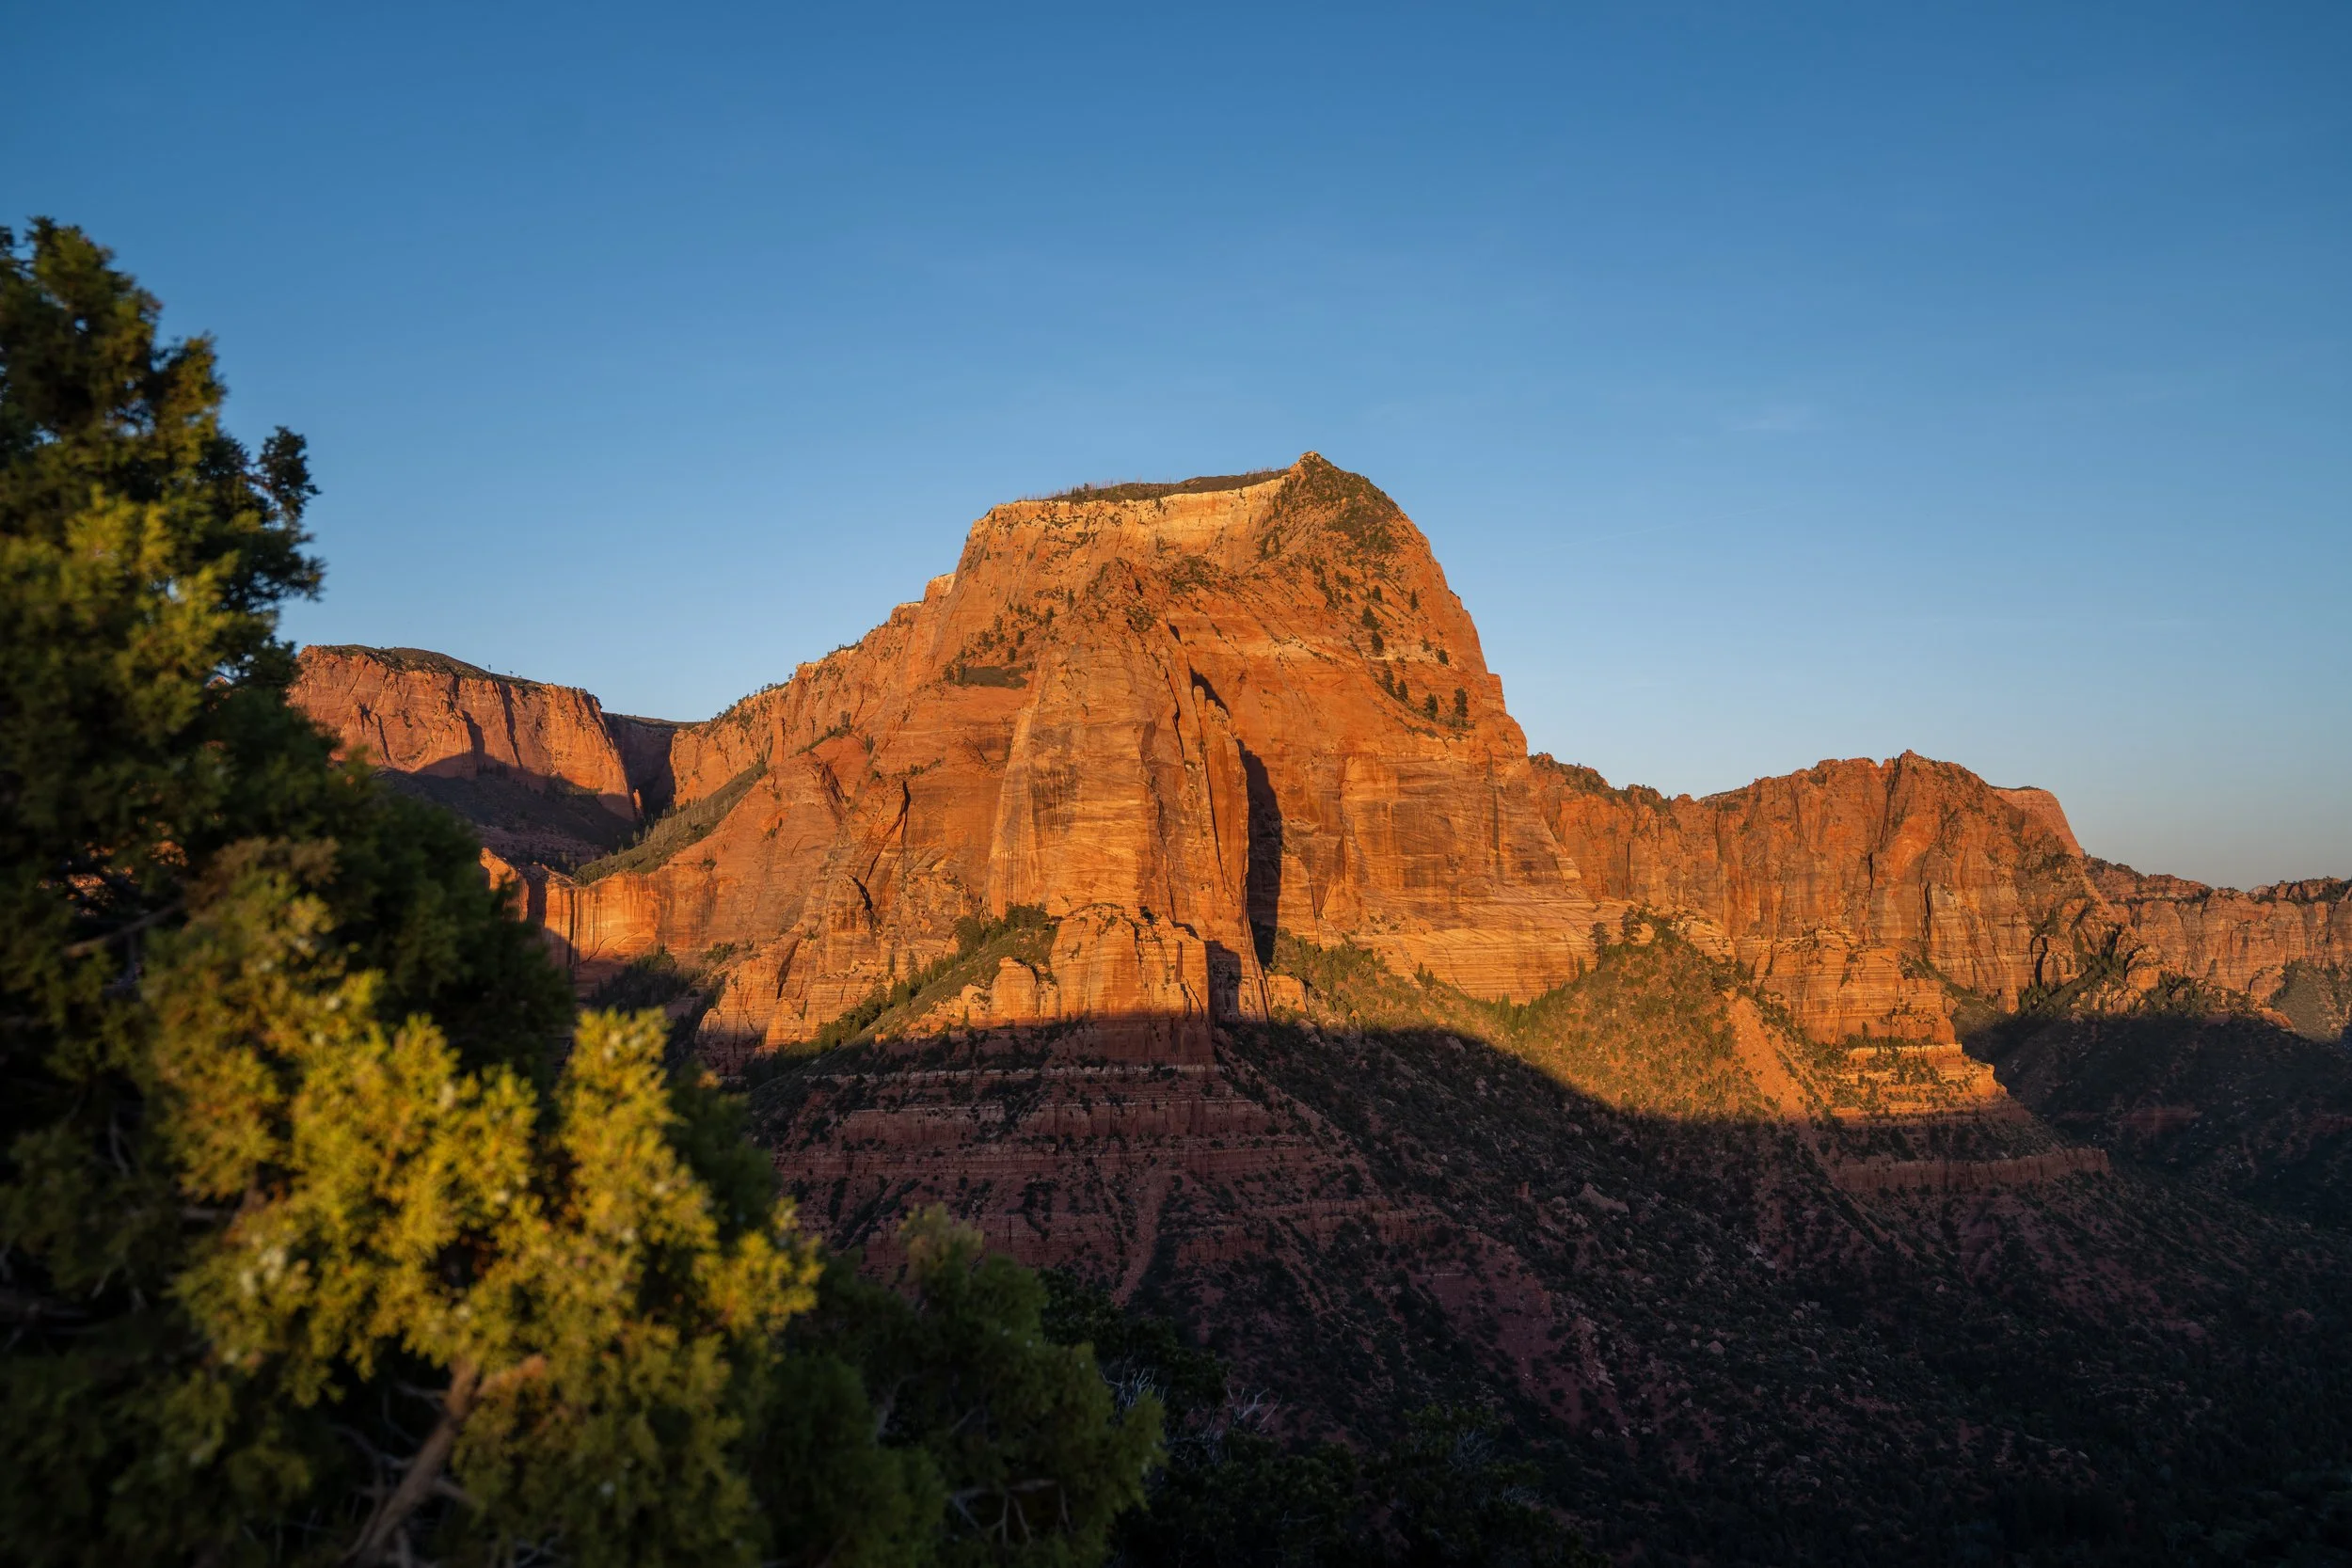
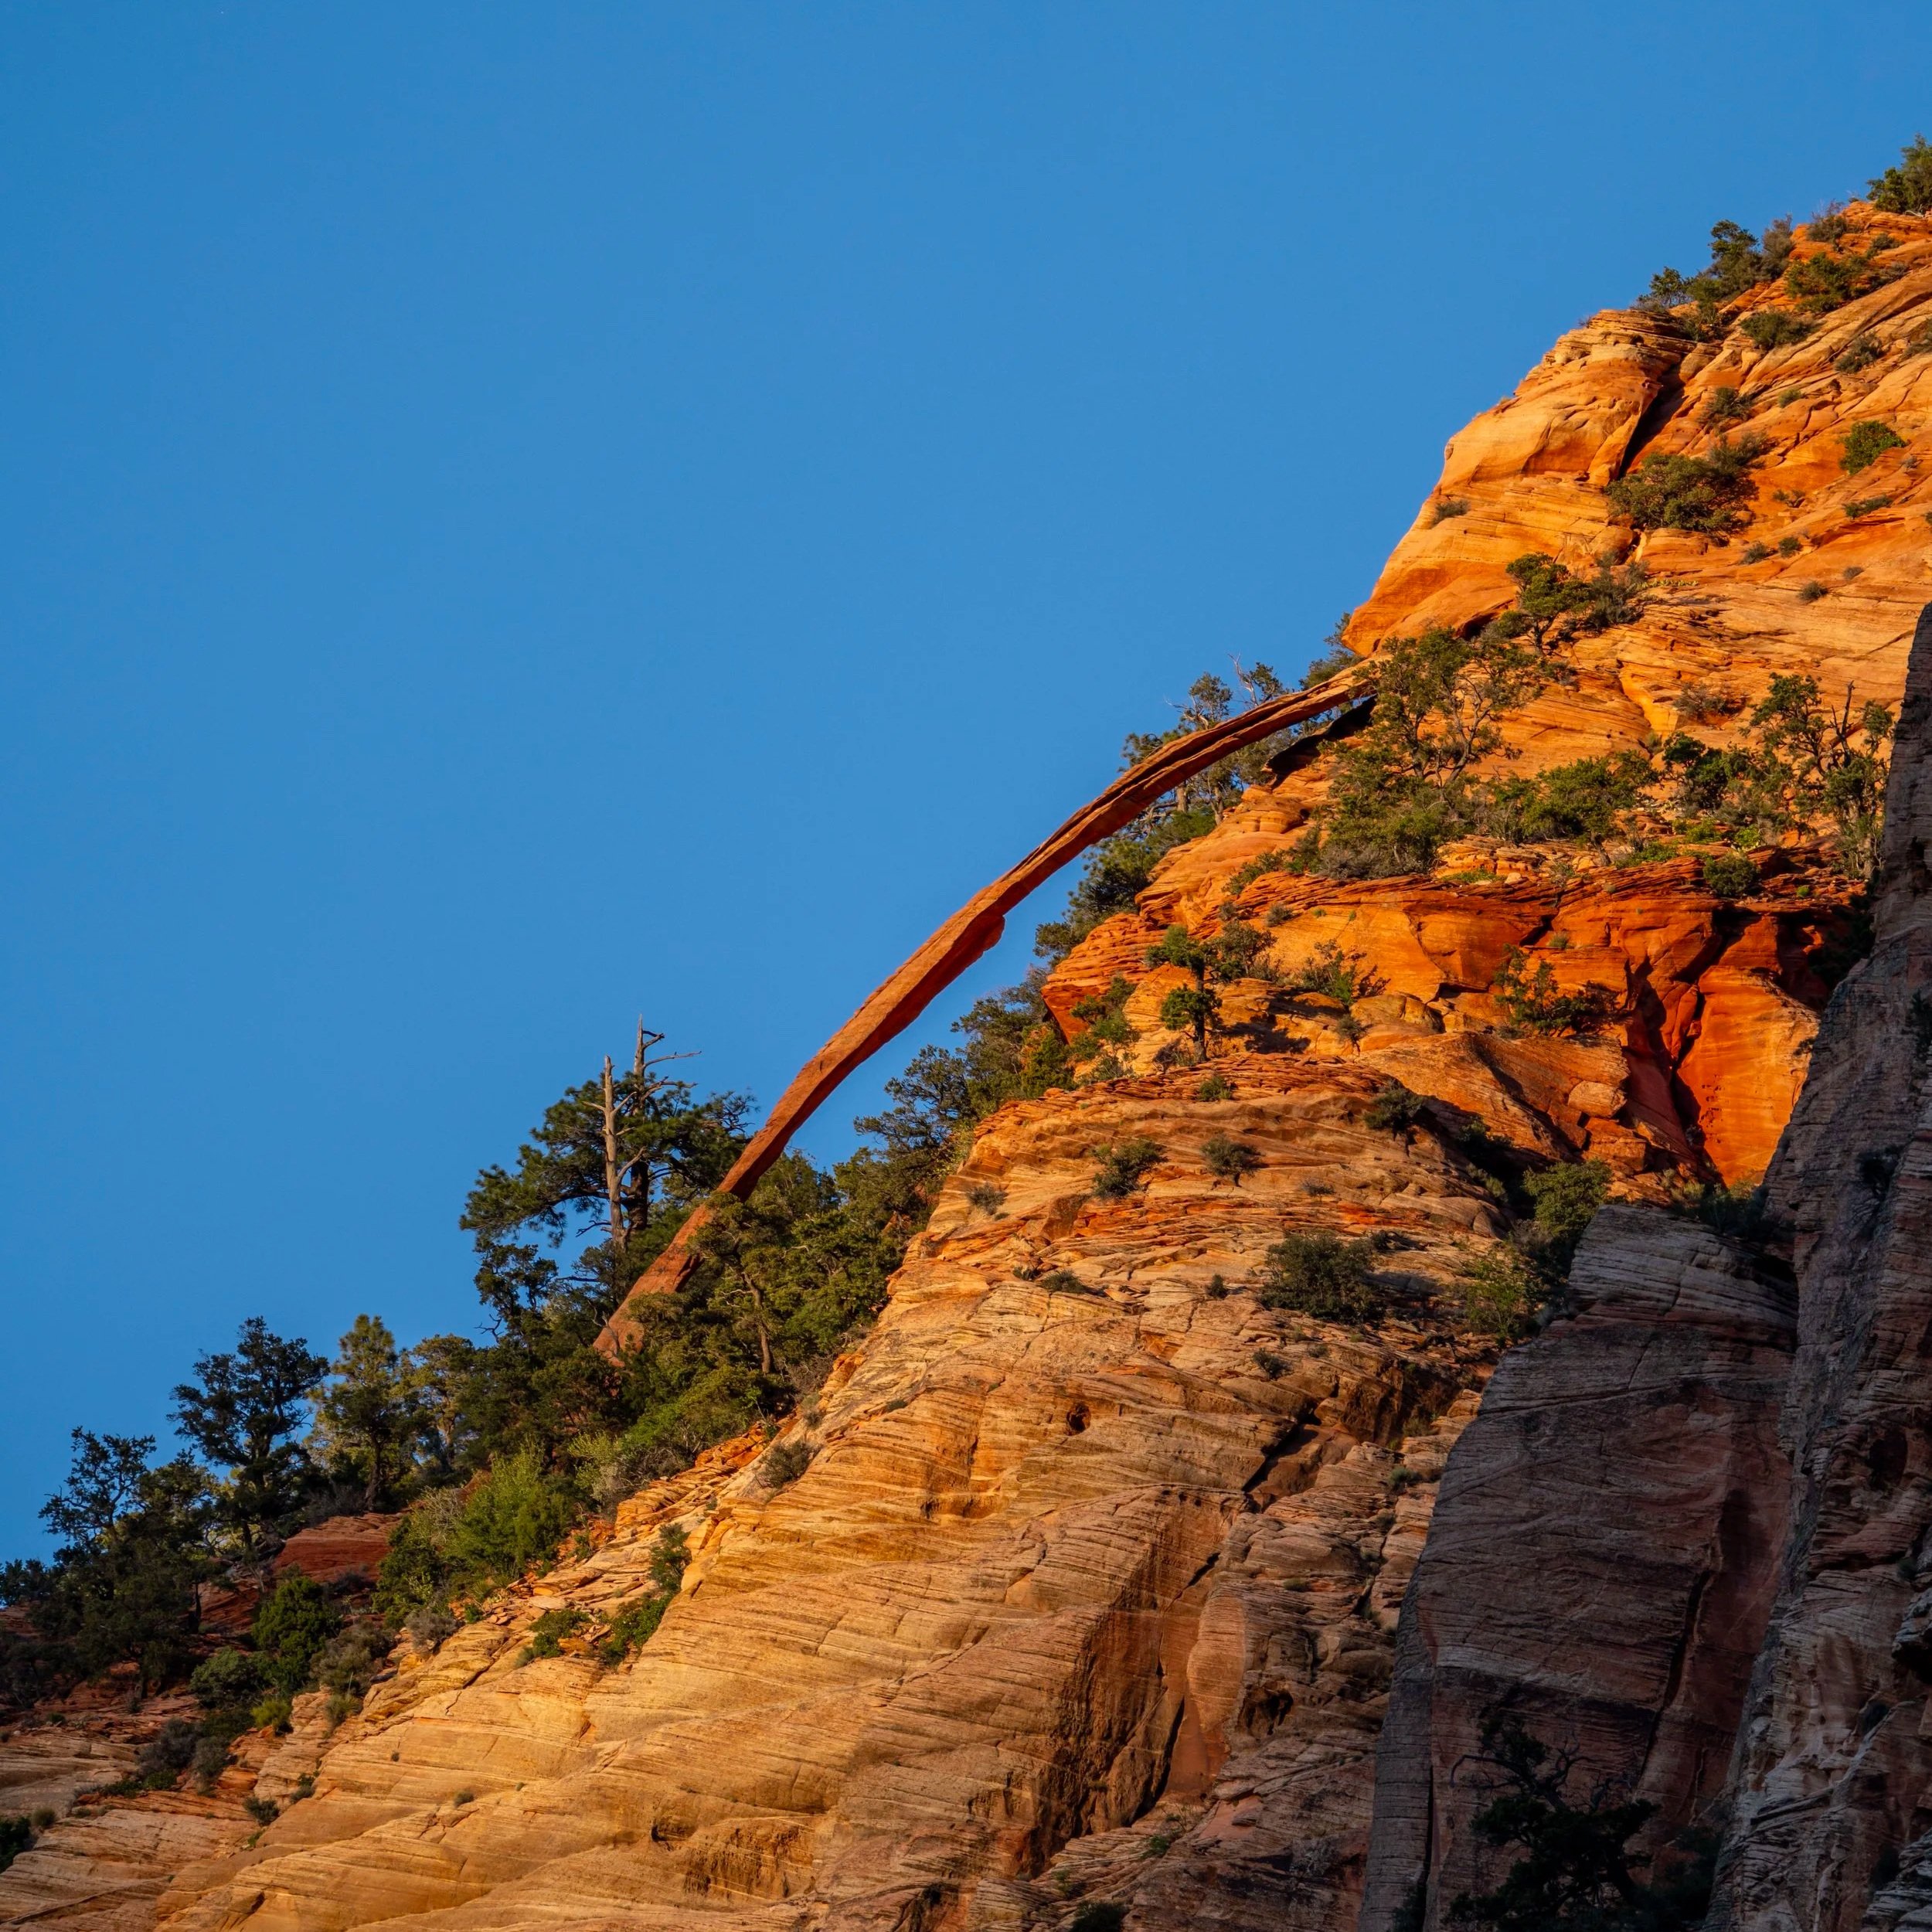
The South Ariel Peak Trail in Zion National Park is a very short, yet very challenging Class 4 scramble off Zion–Mount Carmel Highway that leads to the summit of a beautiful panoramic peak near Zion’s East Entrance!
That said, if you don’t know what Class 4 means, then South Ariel Peak is not for you!
I say this because South Ariel Peak is not only one of the most challenging Class 4 summits I’ve ever attempted, but after two hikes on two separate occasions, I’ve still never successfully made it to the top—and keep in mind I look at other Class 4 peaks, like Capitol Peak in Colorado, like they’re a walk in the park! However, there’s something much more challenging about scrambling up sandstone.
In any case, there are at least two different routes that lead to the summit, but the most obvious and direct route is very sketchy, as the consequences of falling are very severe. This is why, after my first attempt, I retried with the idea of finding an alternative route.
This is all to say that South Ariel Peak is not an established National Park trail. Rather, it’s what is commonly referred to as a 'social trail.' Some other notable social trails across the National Park system include hikes like the Delta Lake Trail in Grand Teton National Park and the Bar Island Loop Trail in Acadia National Park.
What I hope all this says is that even though the trail starts off light and easy just above the road, this quickly changes and only becomes more and more dangerous—especially on the uppermost portions of South Ariel Peak!
South Ariel Peak Trailhead Parking
Parking for South Ariel Peak is located in one of a few a small, unmarked turnouts off Zion–Mount Carmel Highway, about 2.1 miles (3.4 km) west of the East Entrance.
When arriving from either direction, there are small pullouts on either side of the main pullout at the base of the peak, but it’s certainly easiest to park directly across the road from the beginning of the hike.
Google Maps Directions: South Ariel Peak Trailhead
Hiking Checklist - Zion
Here is a complete list of must-have things that you will want for any hike in Zion National Park.
Hiking the South Ariel Peak Trail
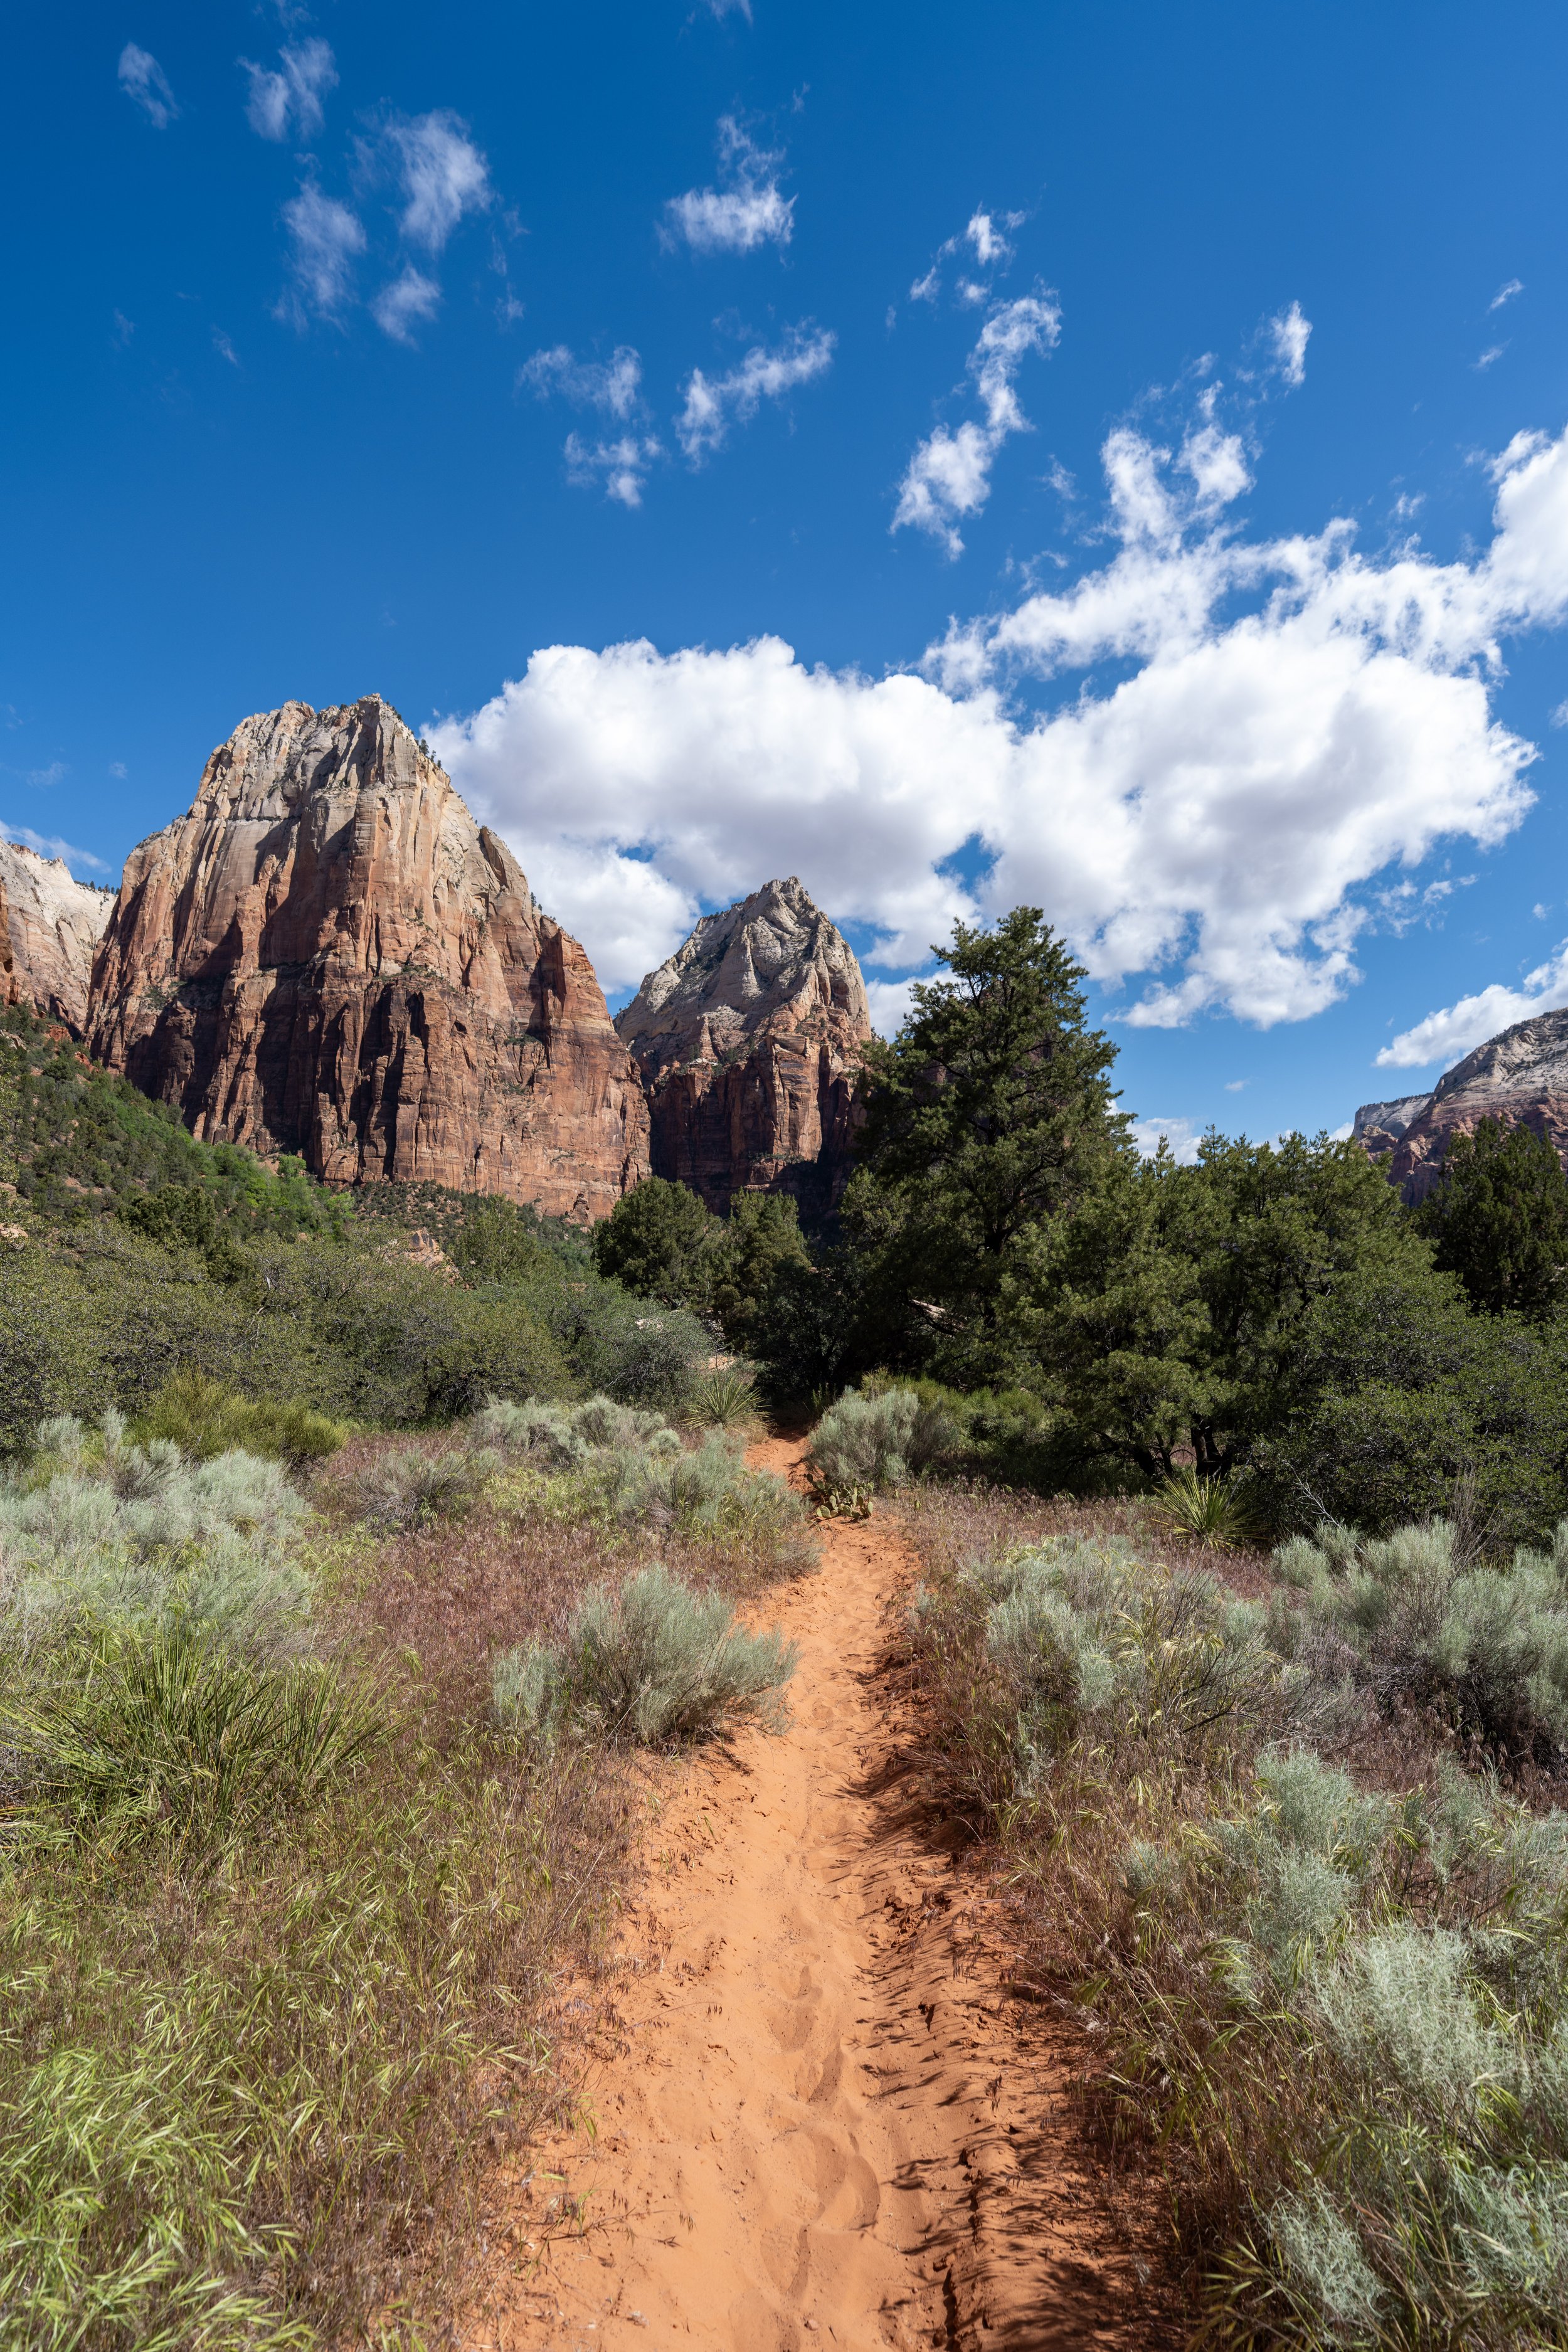
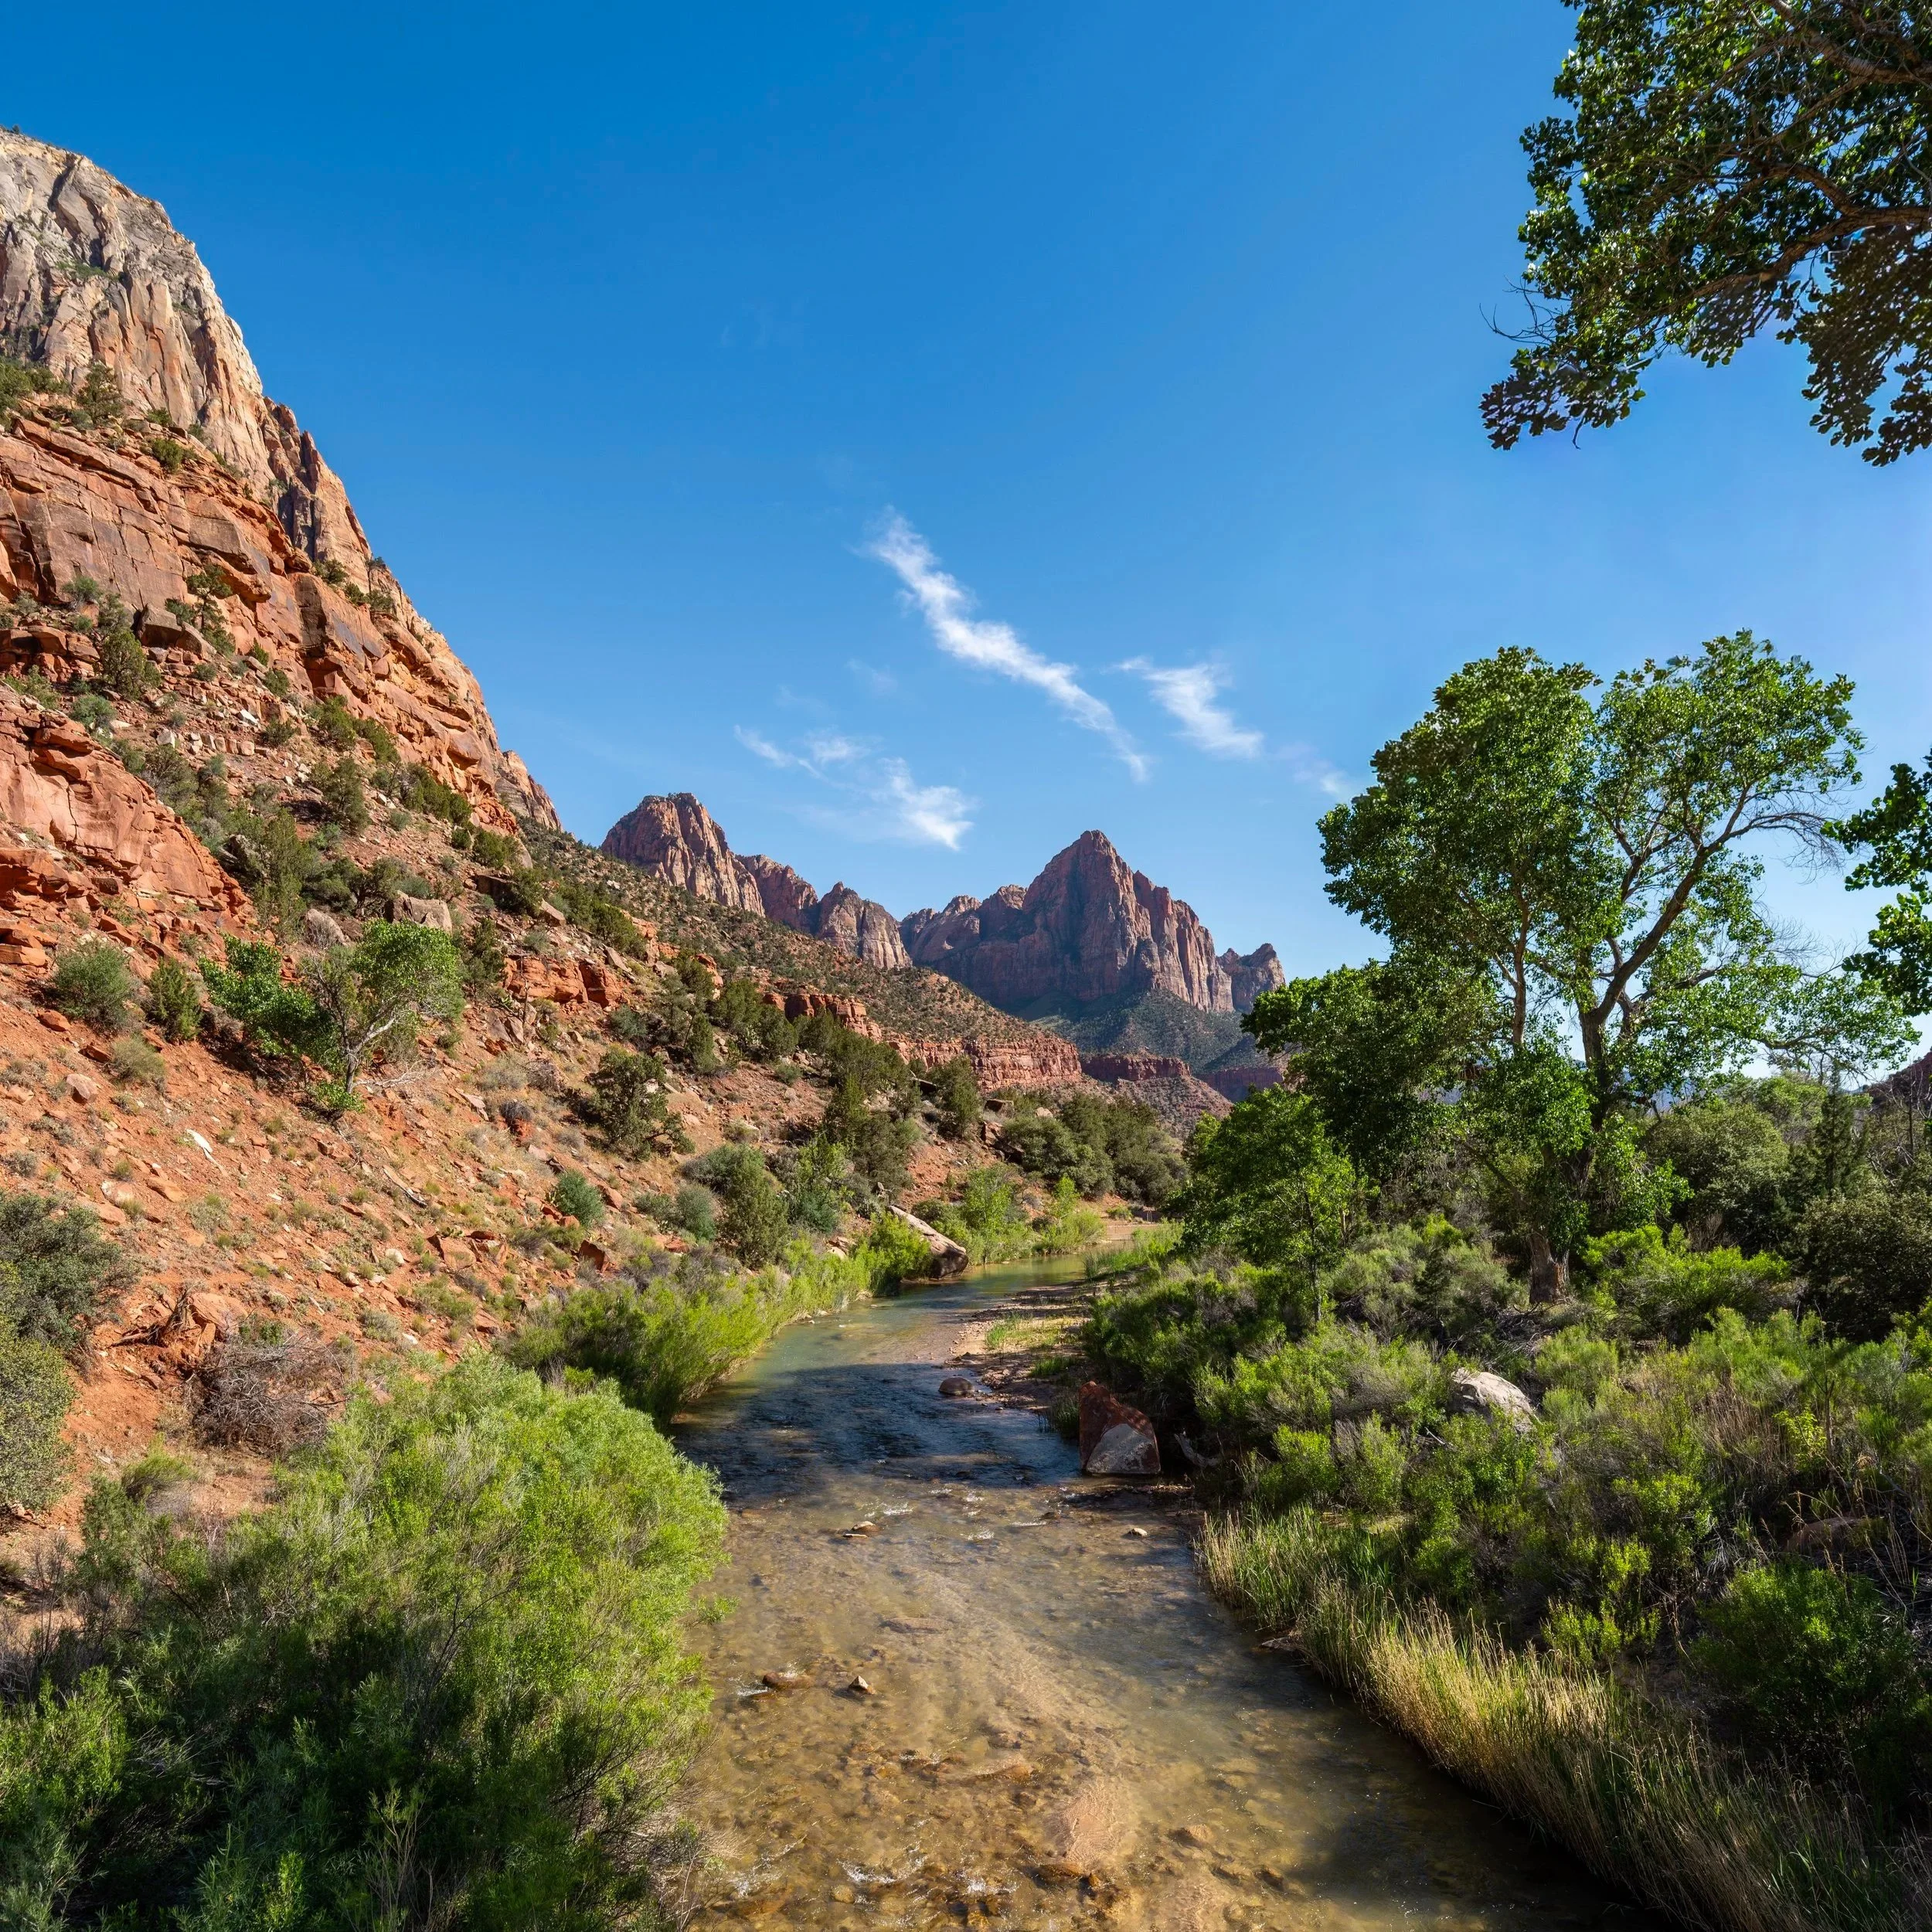
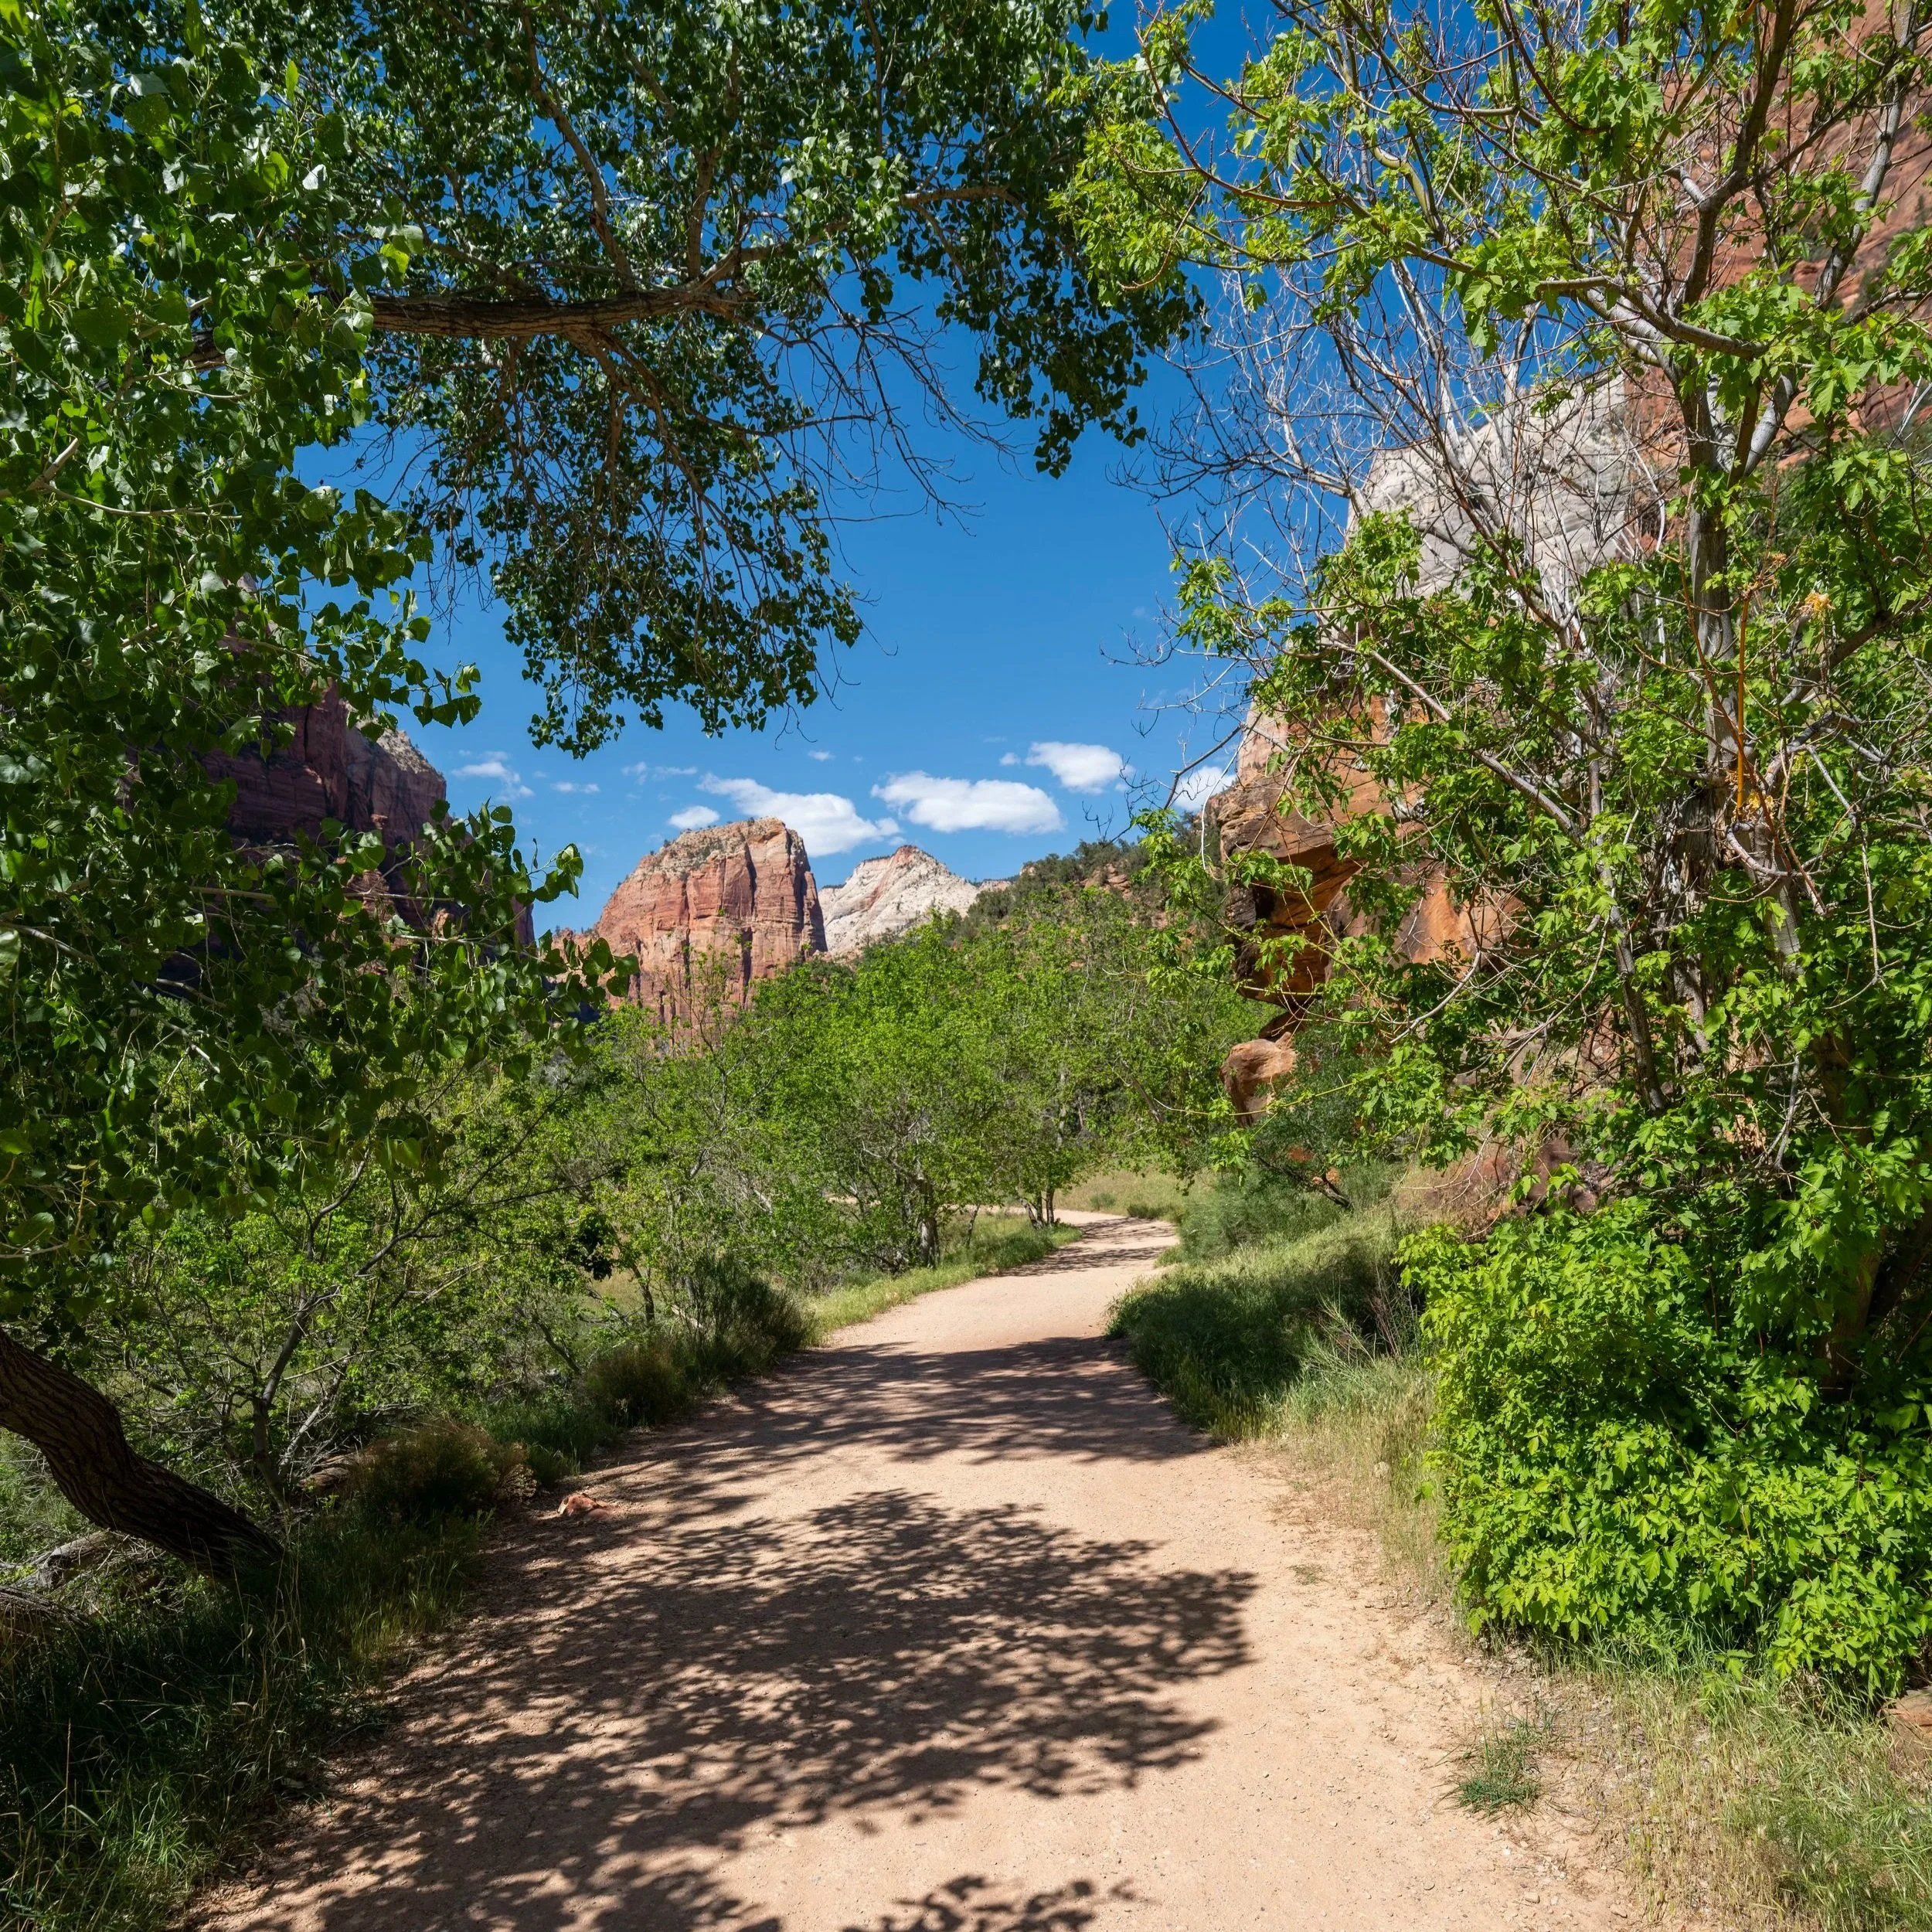
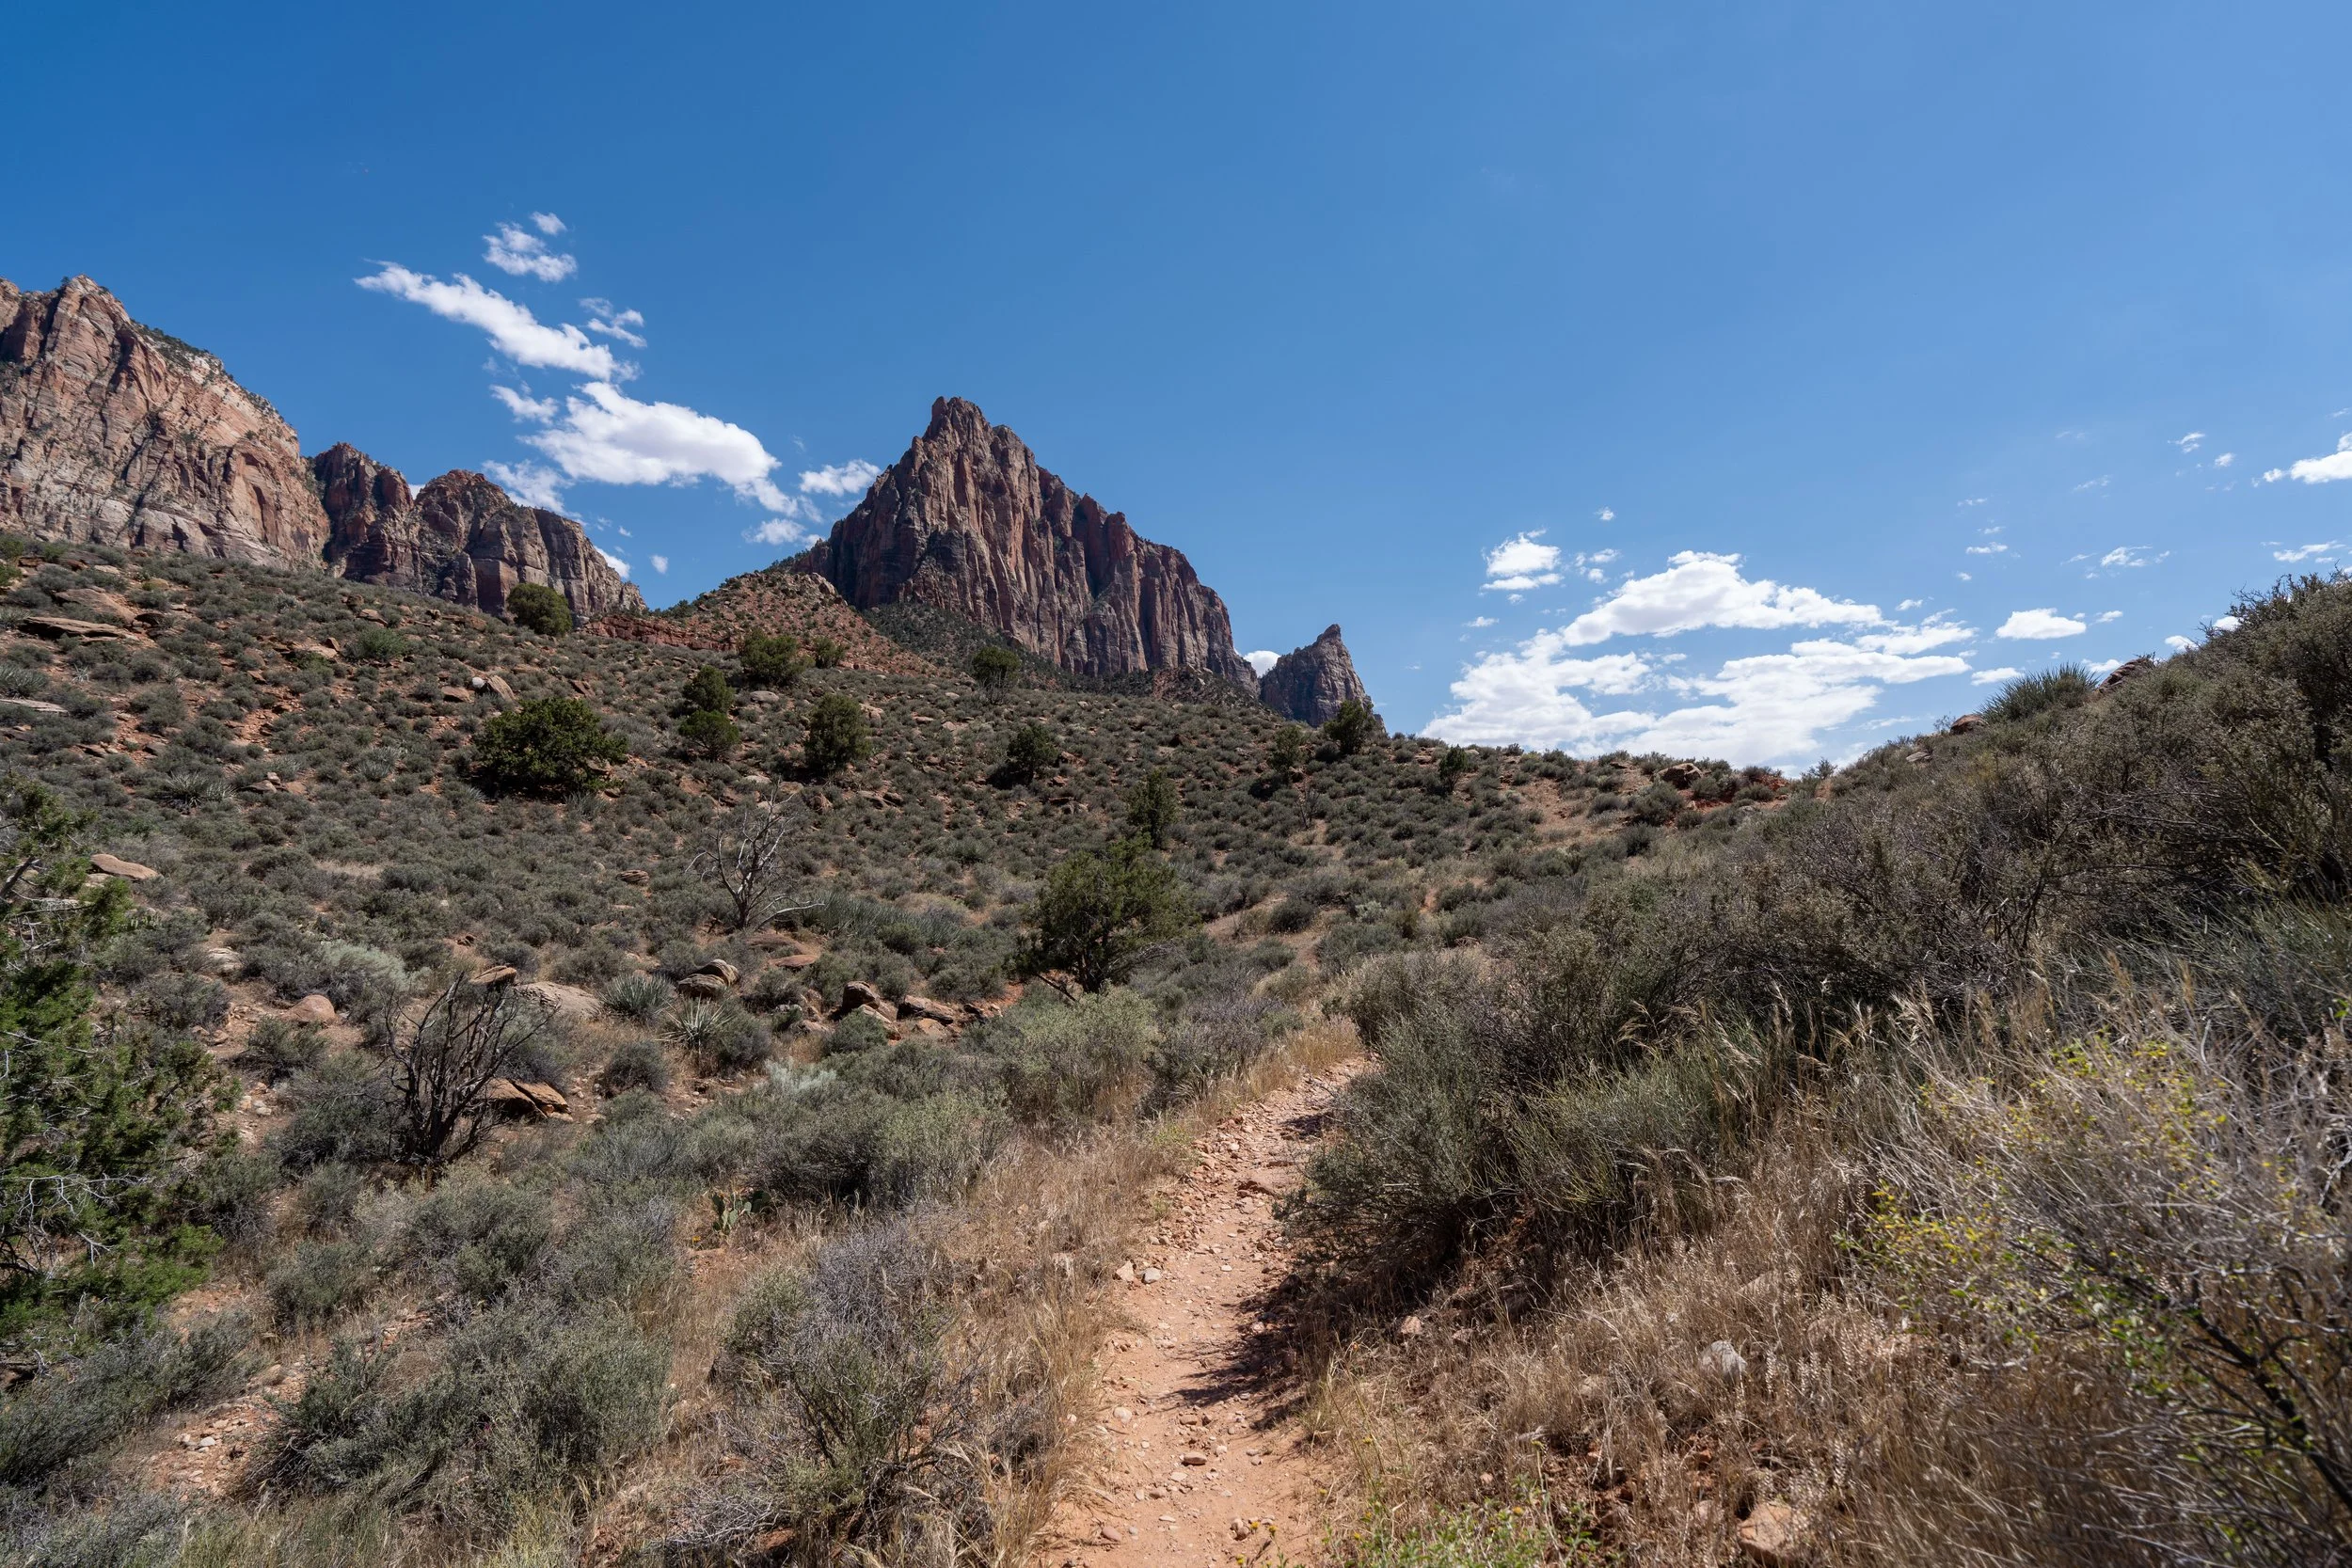
The hike up South Ariel Peak begins directly across from the closest pull-off where the sandstone meets the road.
It doesn’t take long for South Ariel Peak to start getting steep, but even so, these lower elevations are fairly easy to navigate with good shoes.
From the road, it might seem like there are multiple routes up South Ariel Peak, but the smooth sandstone is very deceptive.
By this, I mean that prior to this second attempt, I sat on the road for about 20 minutes to try to look for an alternative route.
However, it really doesn’t become apparent until hiking up the peak, but all routes come together, or at least follow this general direction up the southeast side between these two small peaks.
My path up the southeast side of South Ariel Peak might differ slightly from yours, but in the end, they will all converge at the base of the cliff mentioned below.
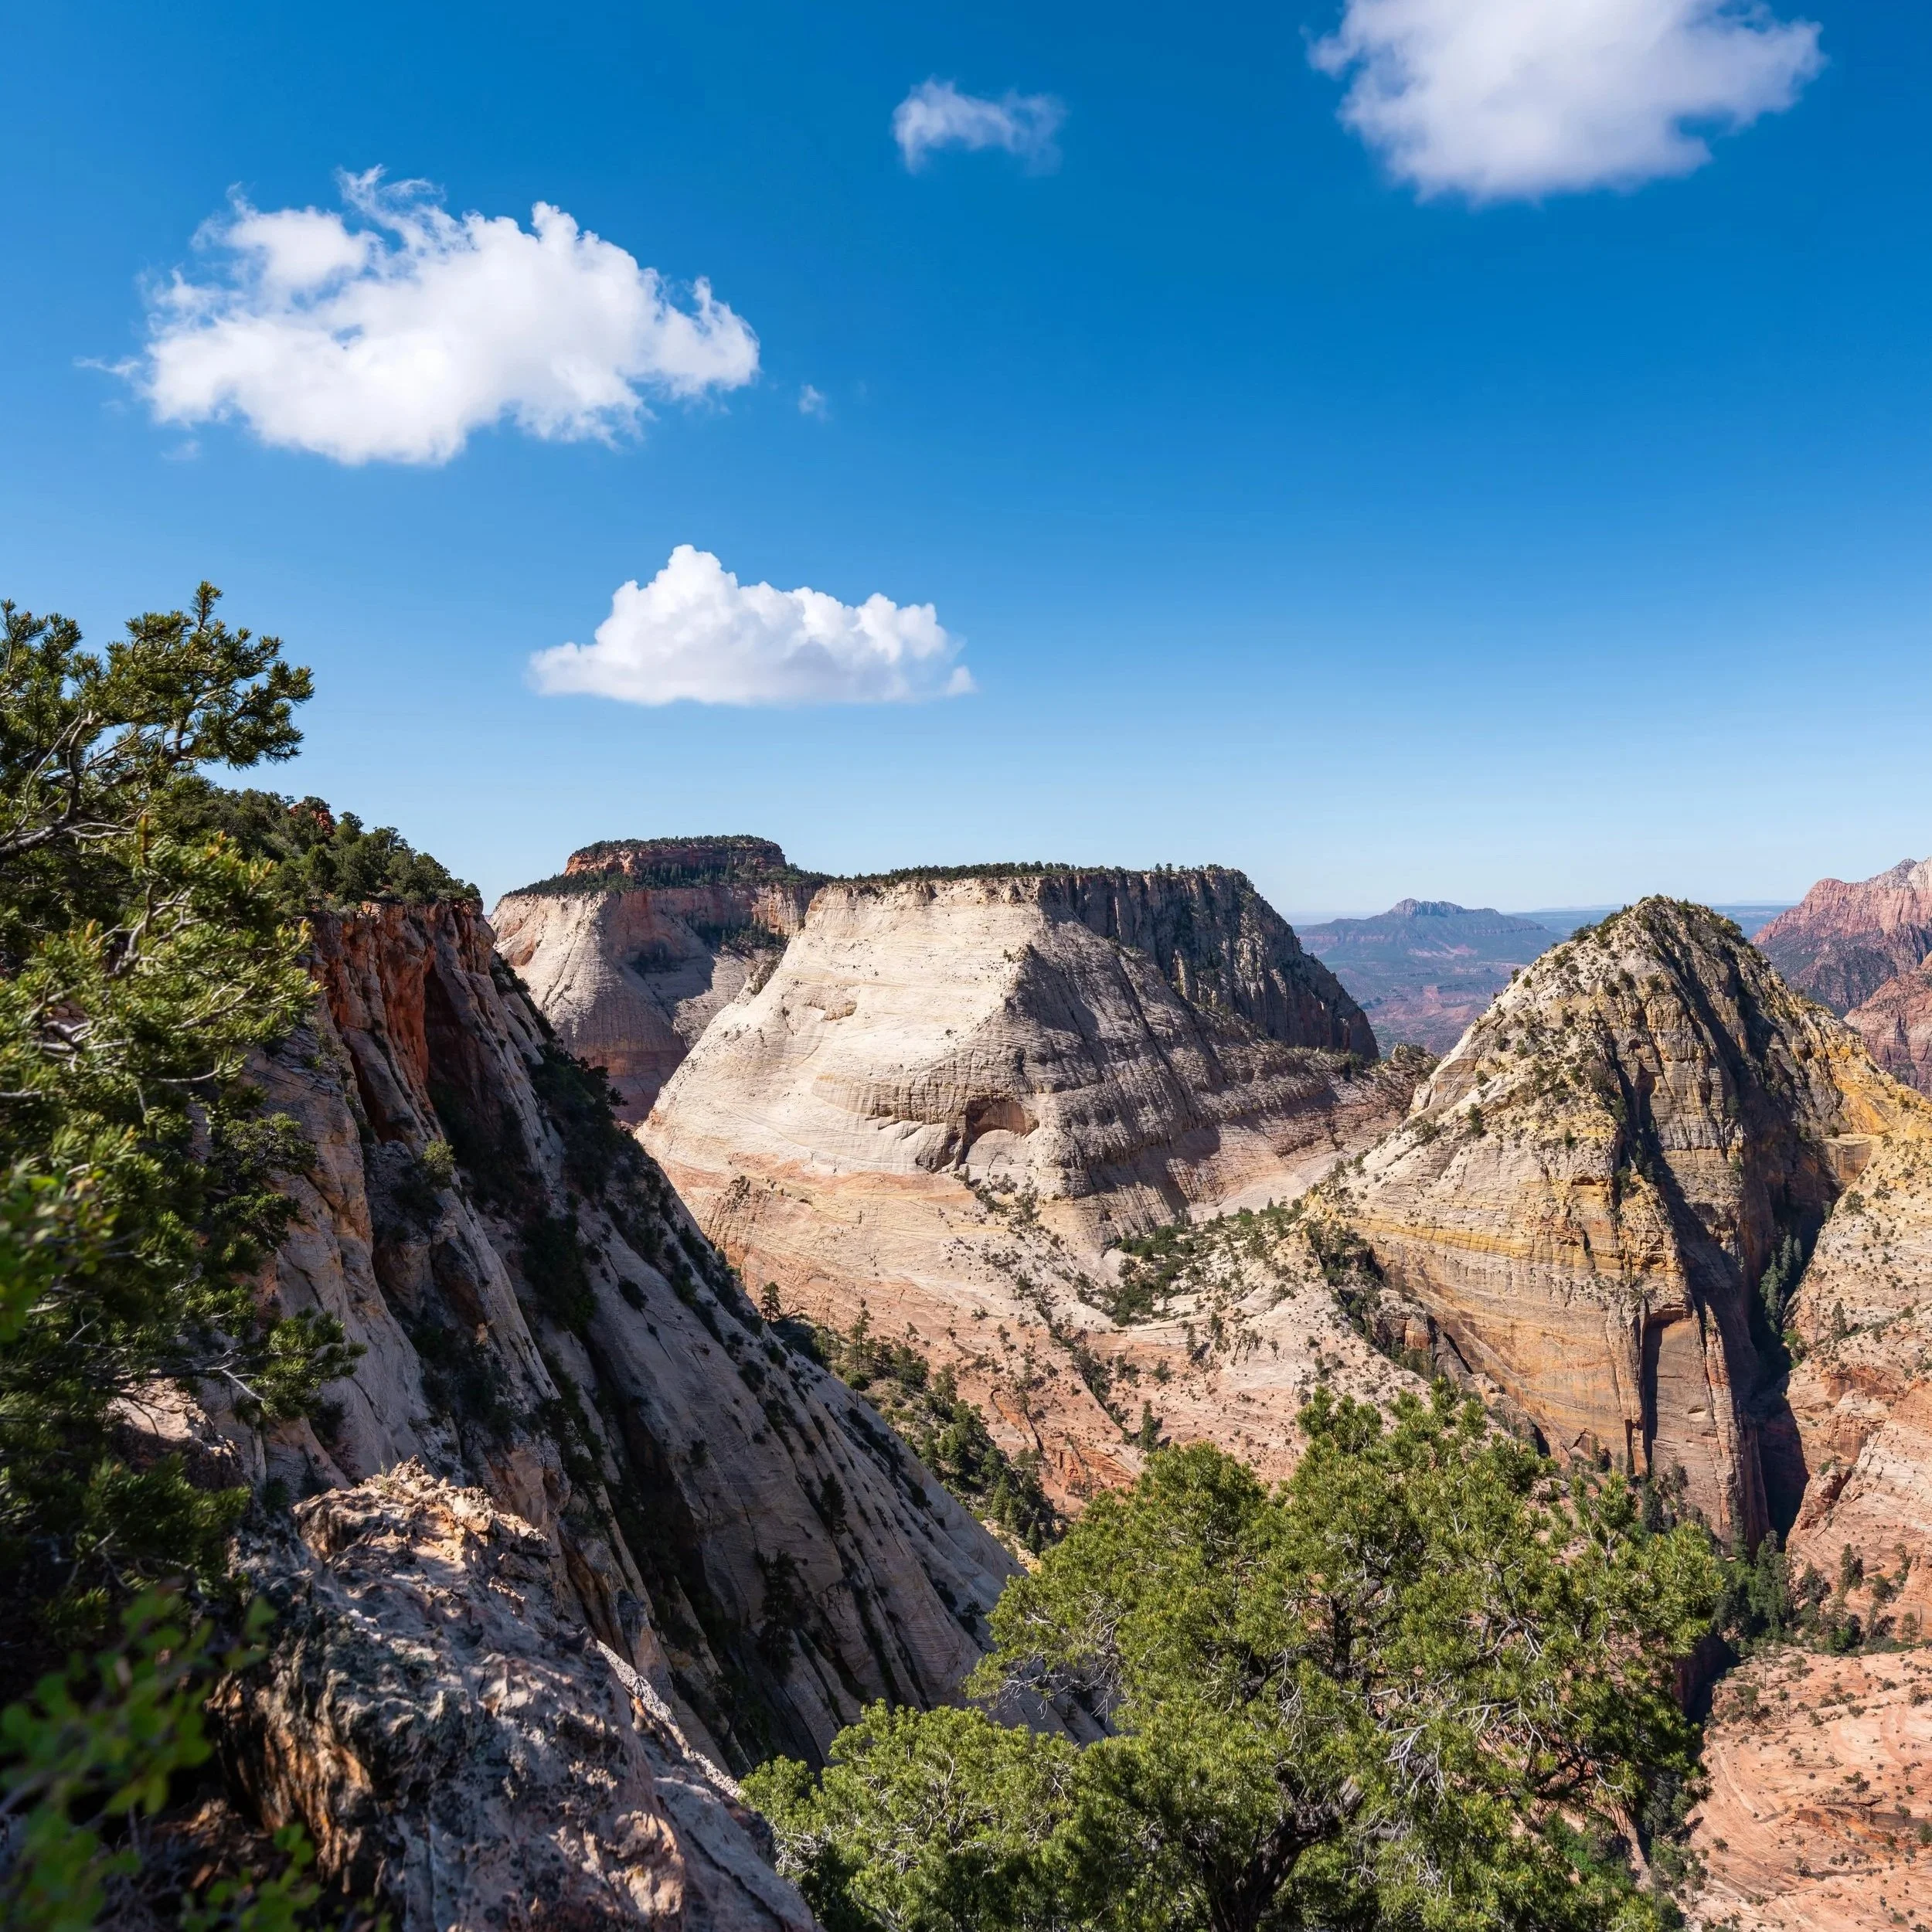
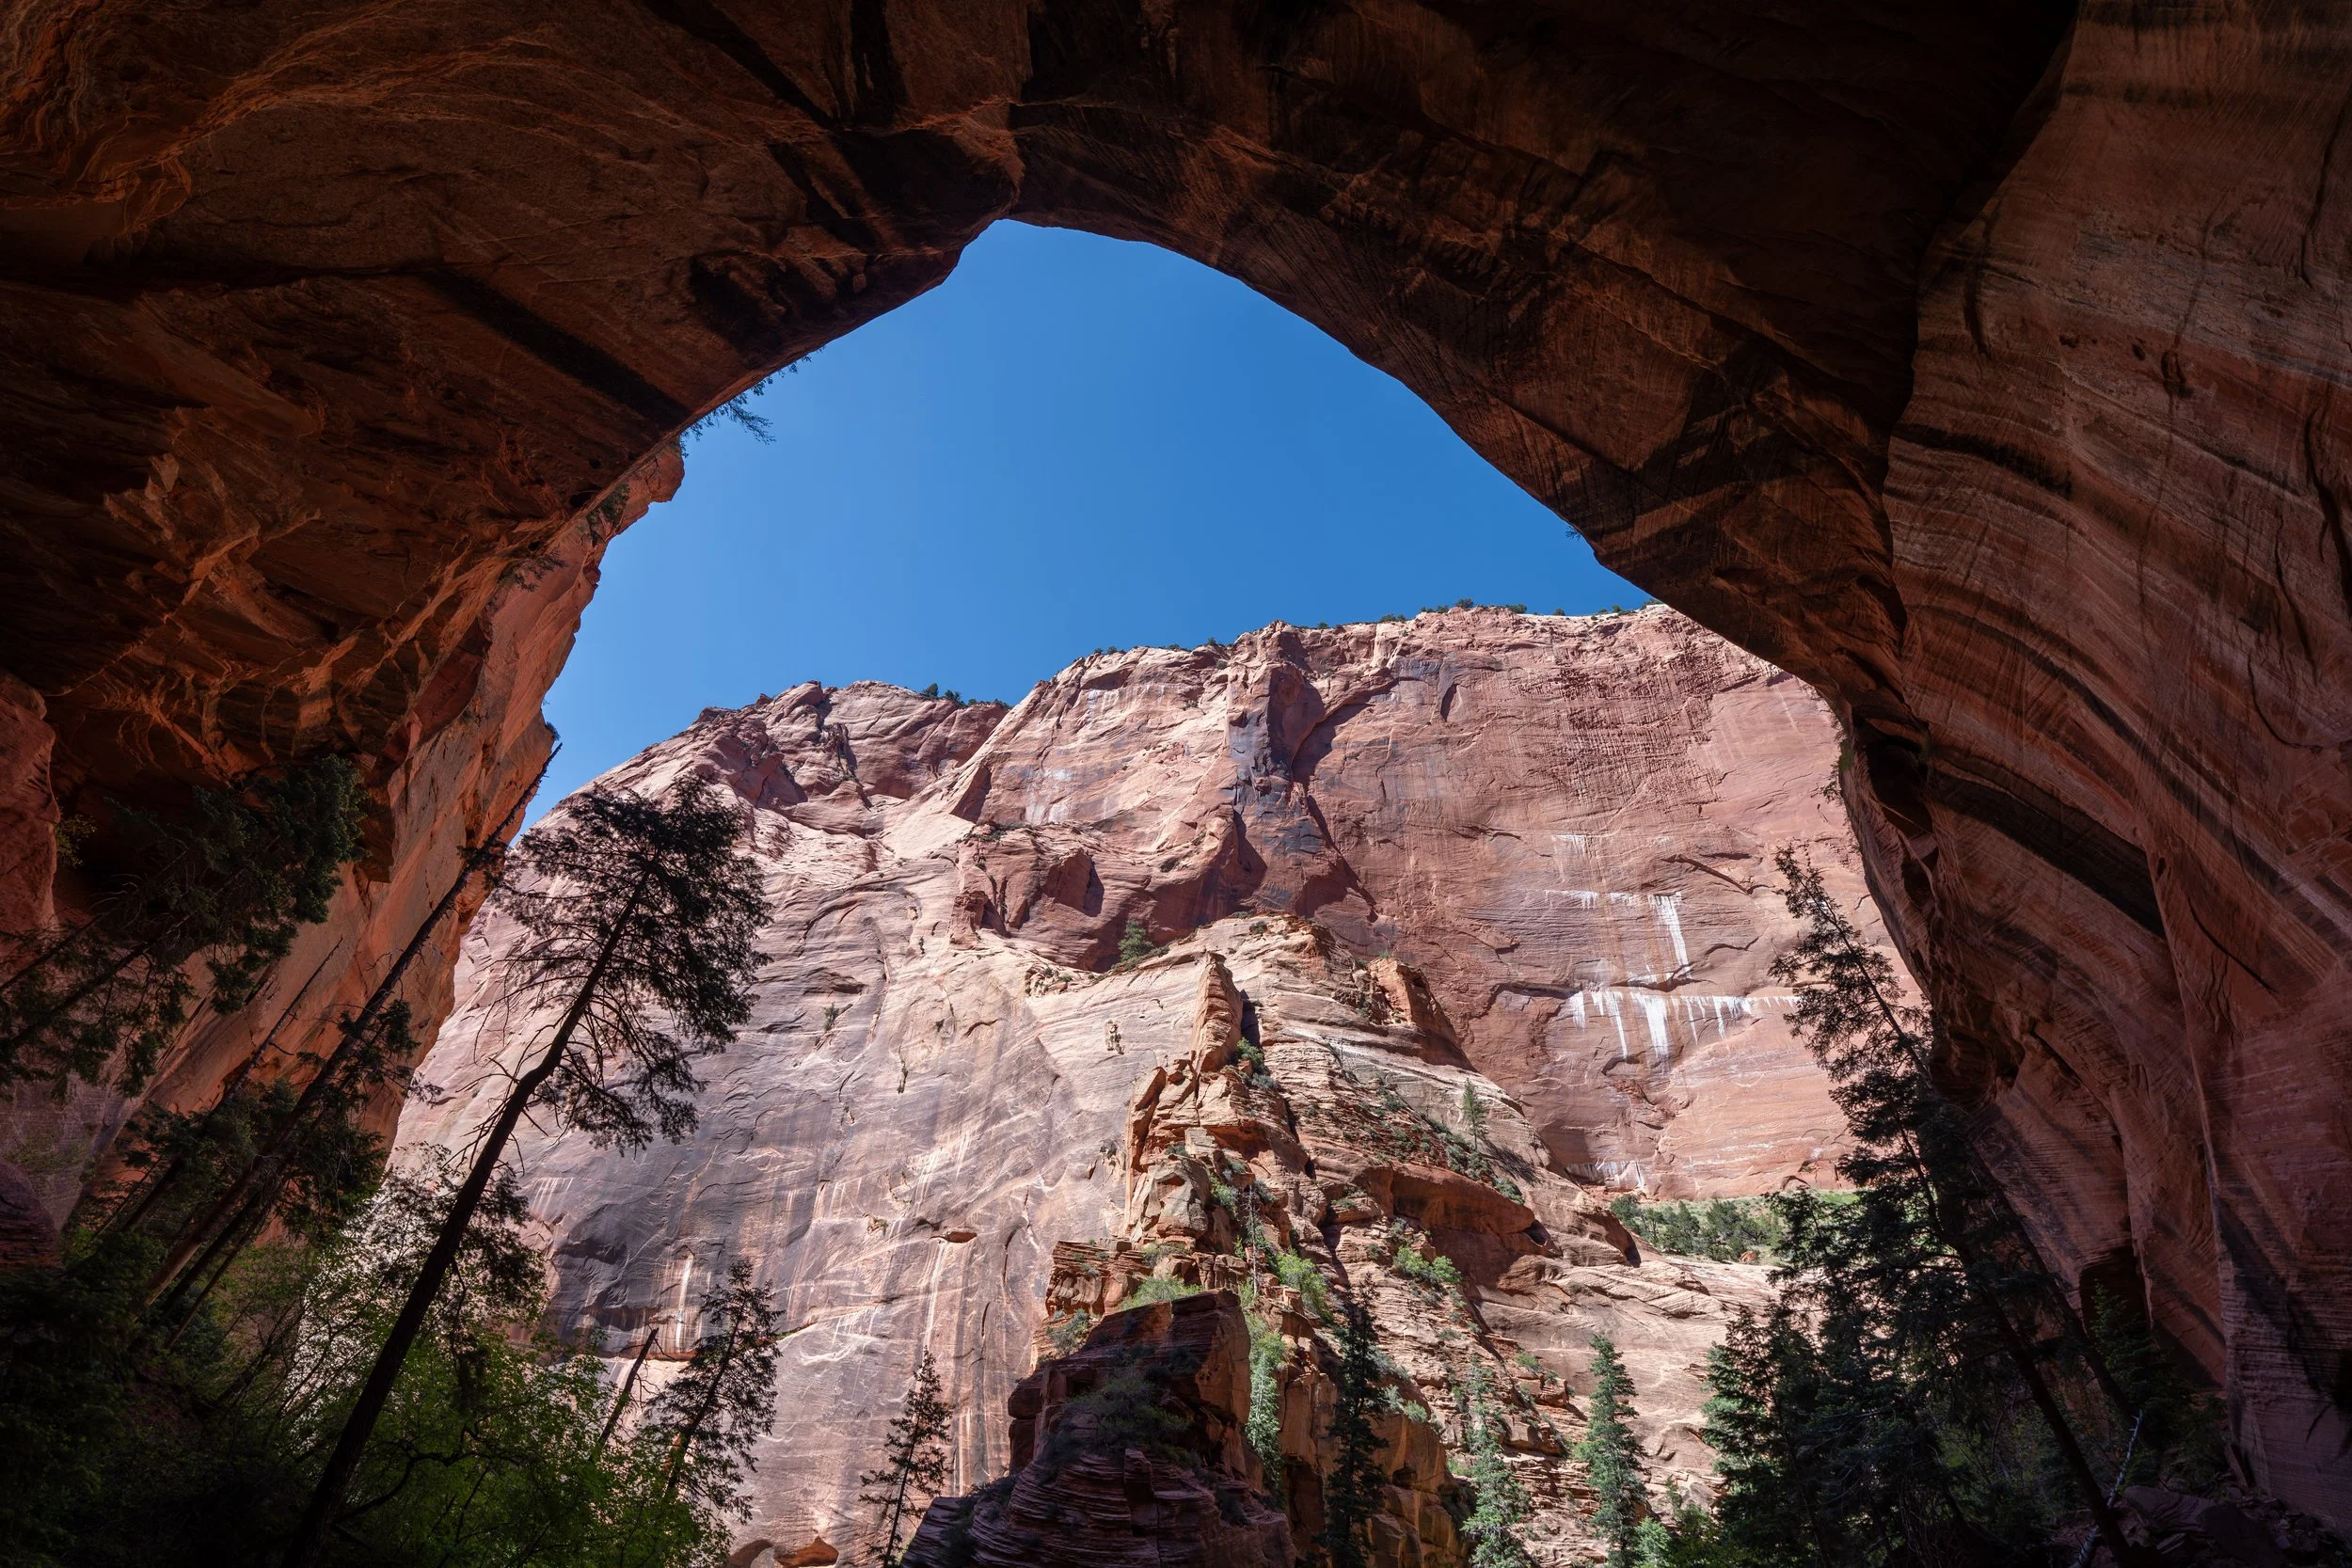
The one thing that should be very obvious from these photos is that there is essentially no shade on South Ariel Peak, which is why I highly recommend wearing a hooded sun shirt before setting off, especially if you plan to spend time looking for alternative routes like I did on this day.
This is a perfect example of what I meant when I said all routes come together, as the slope on the left-hand side of the photo below funnels hikers up to the base of the cliff just a few steps ahead.
Warning
If you wanted to hike up South Ariel Peak to the point where it transitions into a Class 4 climb, stop here!
The base of the cliff to the left of the photo below is where the hike up South Ariel Peak very abruptly gets more dangerous, and only those who are prepared for such a challenging and exposed scramble should continue higher.
At this point, it’s best to make a decision about whether or not to attempt the most direct but highly exposed Standard Route to the right of the crack, or to climb up the crack in an attempt to find an alternative route around the left side.
That said, this is not quite where the most direct route gets challenging, as this photo was taken at the base of the roughly 30-ft. (9.1 m) cliff—a cliff that would almost certainly mean falling over if you slipped by trying the Standard Route to the right of the crack.
What I can say is that I have attempted to climb both straight up the Standard Route and have explored just about every possible route in the area above the cliff.
I will show the Standard Route to the right of the crack first, but if you want to avoid the very exposed direct route shown below, I recommend climbing directly up the crack. In my opinion, the crack is the safest route to continue higher—that is, if there aren’t any snakes in the bushes.
Standard Route (Right)
This is the view looking toward the start of the crack and the middle of the cliff.
This is the view looking left toward the top of the crack and the top of the cliff.
This is the view looking up from the base of the very steep and exposed Standard Route.
This is exactly where I said I tried multiple angles to make it happen on my first and second attempt and never felt comfortable fully committing.
To be fair, what this photo doesn’t show is that I’m standing on the top of the 30-ft. (9.1 m) cliff. I have also stood on the small rock band in the center of the photo below, and I can confidently say that it’s not a good feeling!
Even if I had been hiking with a friend on either attempt, I’m not sure I would have committed, and keep in mind that what can be seen in this photo from the bottom is only a very small portion of the largely featureless sandstone face.
That said, you don’t have to take my word for it. Watch the video below to see how challenging and sketchy this section really is—especially on the hike back down!
The Crack (Alternative Route)
If you decide to go left, this is the hike up the crack from the base of the cliff.
This is the top of the crack, where the alternative route starts to traverse some very narrow ledges at the top of the 30-ft. (9.1 m) cliff.
This traverse might not look like much, but there is essentially no room for error across the top of the cliff.
This is the view looking out over the deceptively tall cliff.
Once across the first ledge, there is a second, slightly more challenging traverse across another.
I personally like walking the lower of the two ledges because I think it’s slightly easier.
This is the view looking back across the second traverse.
After the second traverse, the hiking gets a little easier below and around the peak, but all I can say is that making it this far opens up options.
I’m not sure if there are any viable routes on the southeast side of the peak, because I’m not sure what else I could attempt without more serious gear.
The first route I attempted was to check the backside of the peak.
This is the back side (west) of South Ariel Peak.
Hiking around the back side didn’t last long, as the peak looking up toward the summit is a near-vertical cliff, while the ledges continuing north get very exposed, which is why I didn’t try to go any farther.
After returning from the back side of the peak, I attempted to climb the southeast side of the ridge leading up to the summit.
If there is a route on this side, I believe this is the only place it could possibly be.
This is a close-up view of the southeast side of South Ariel Peak, and on my attempt shown below, I essentially climbed up to the left of the biggest bush below the smooth face on the left side of the peak.
I went this way because the areas to the right and left of this center route overhang quite a bit, and yet, I still ended up at an overhanging section on my attempt shown below.
For context, this is what the left side of this cliff face looks like.
I’m showing this because it is much more vertical than some photos may make it seem.
This is where I started my scramble after returning from the back side of South Ariel Peak.
When I made it here, I ended up turning back down because it was too featureless and too exposed to make it worth trying.
After the spot shown above, I hiked down slightly, where I found this zig-zagging crack that I used to make it up to the bush.
I thought this route was easier than the spot above, but keep in mind, the photos are quite deceptive as to what is actually smooth and steep and what is not.
After all that, I still didn’t make it too far up the southeast side before the route became very exposed, very steep, and even overhanging, like the left and right of the peak.
For the purposes of showing everything I attempted, I tried one final route on the hike back.
This scree line is located just past the second traverse after the crack, but, needless to say, I didn’t make it far before turning back.
This is where I decided to turn back.
However, even if I successfully navigated around the bushes, I’m not convinced I would have made it much higher.
The consequences of falling here are pretty dire, which is why I decided this route wasn’t worth it.
I’m very aware that all my attempts to climb South Ariel Peak were probably much more challenging than it actually is.
That said, I don’t ever see myself attempting the Standard Route again. If I didn’t make it the first time and second time, I’m not sure what would change, and that video linked above confirms my suspicions about climbing higher above the cliff.
However, I am aware that there is an easier route beyond the Standard Route, which must not be any of the lines I attempted in this article. I’m just not sure where I should have looked, but if you have any thoughts, please leave a comment below!
I have ideas about what I will try when I return, and hopefully then my third attempt will be the one!