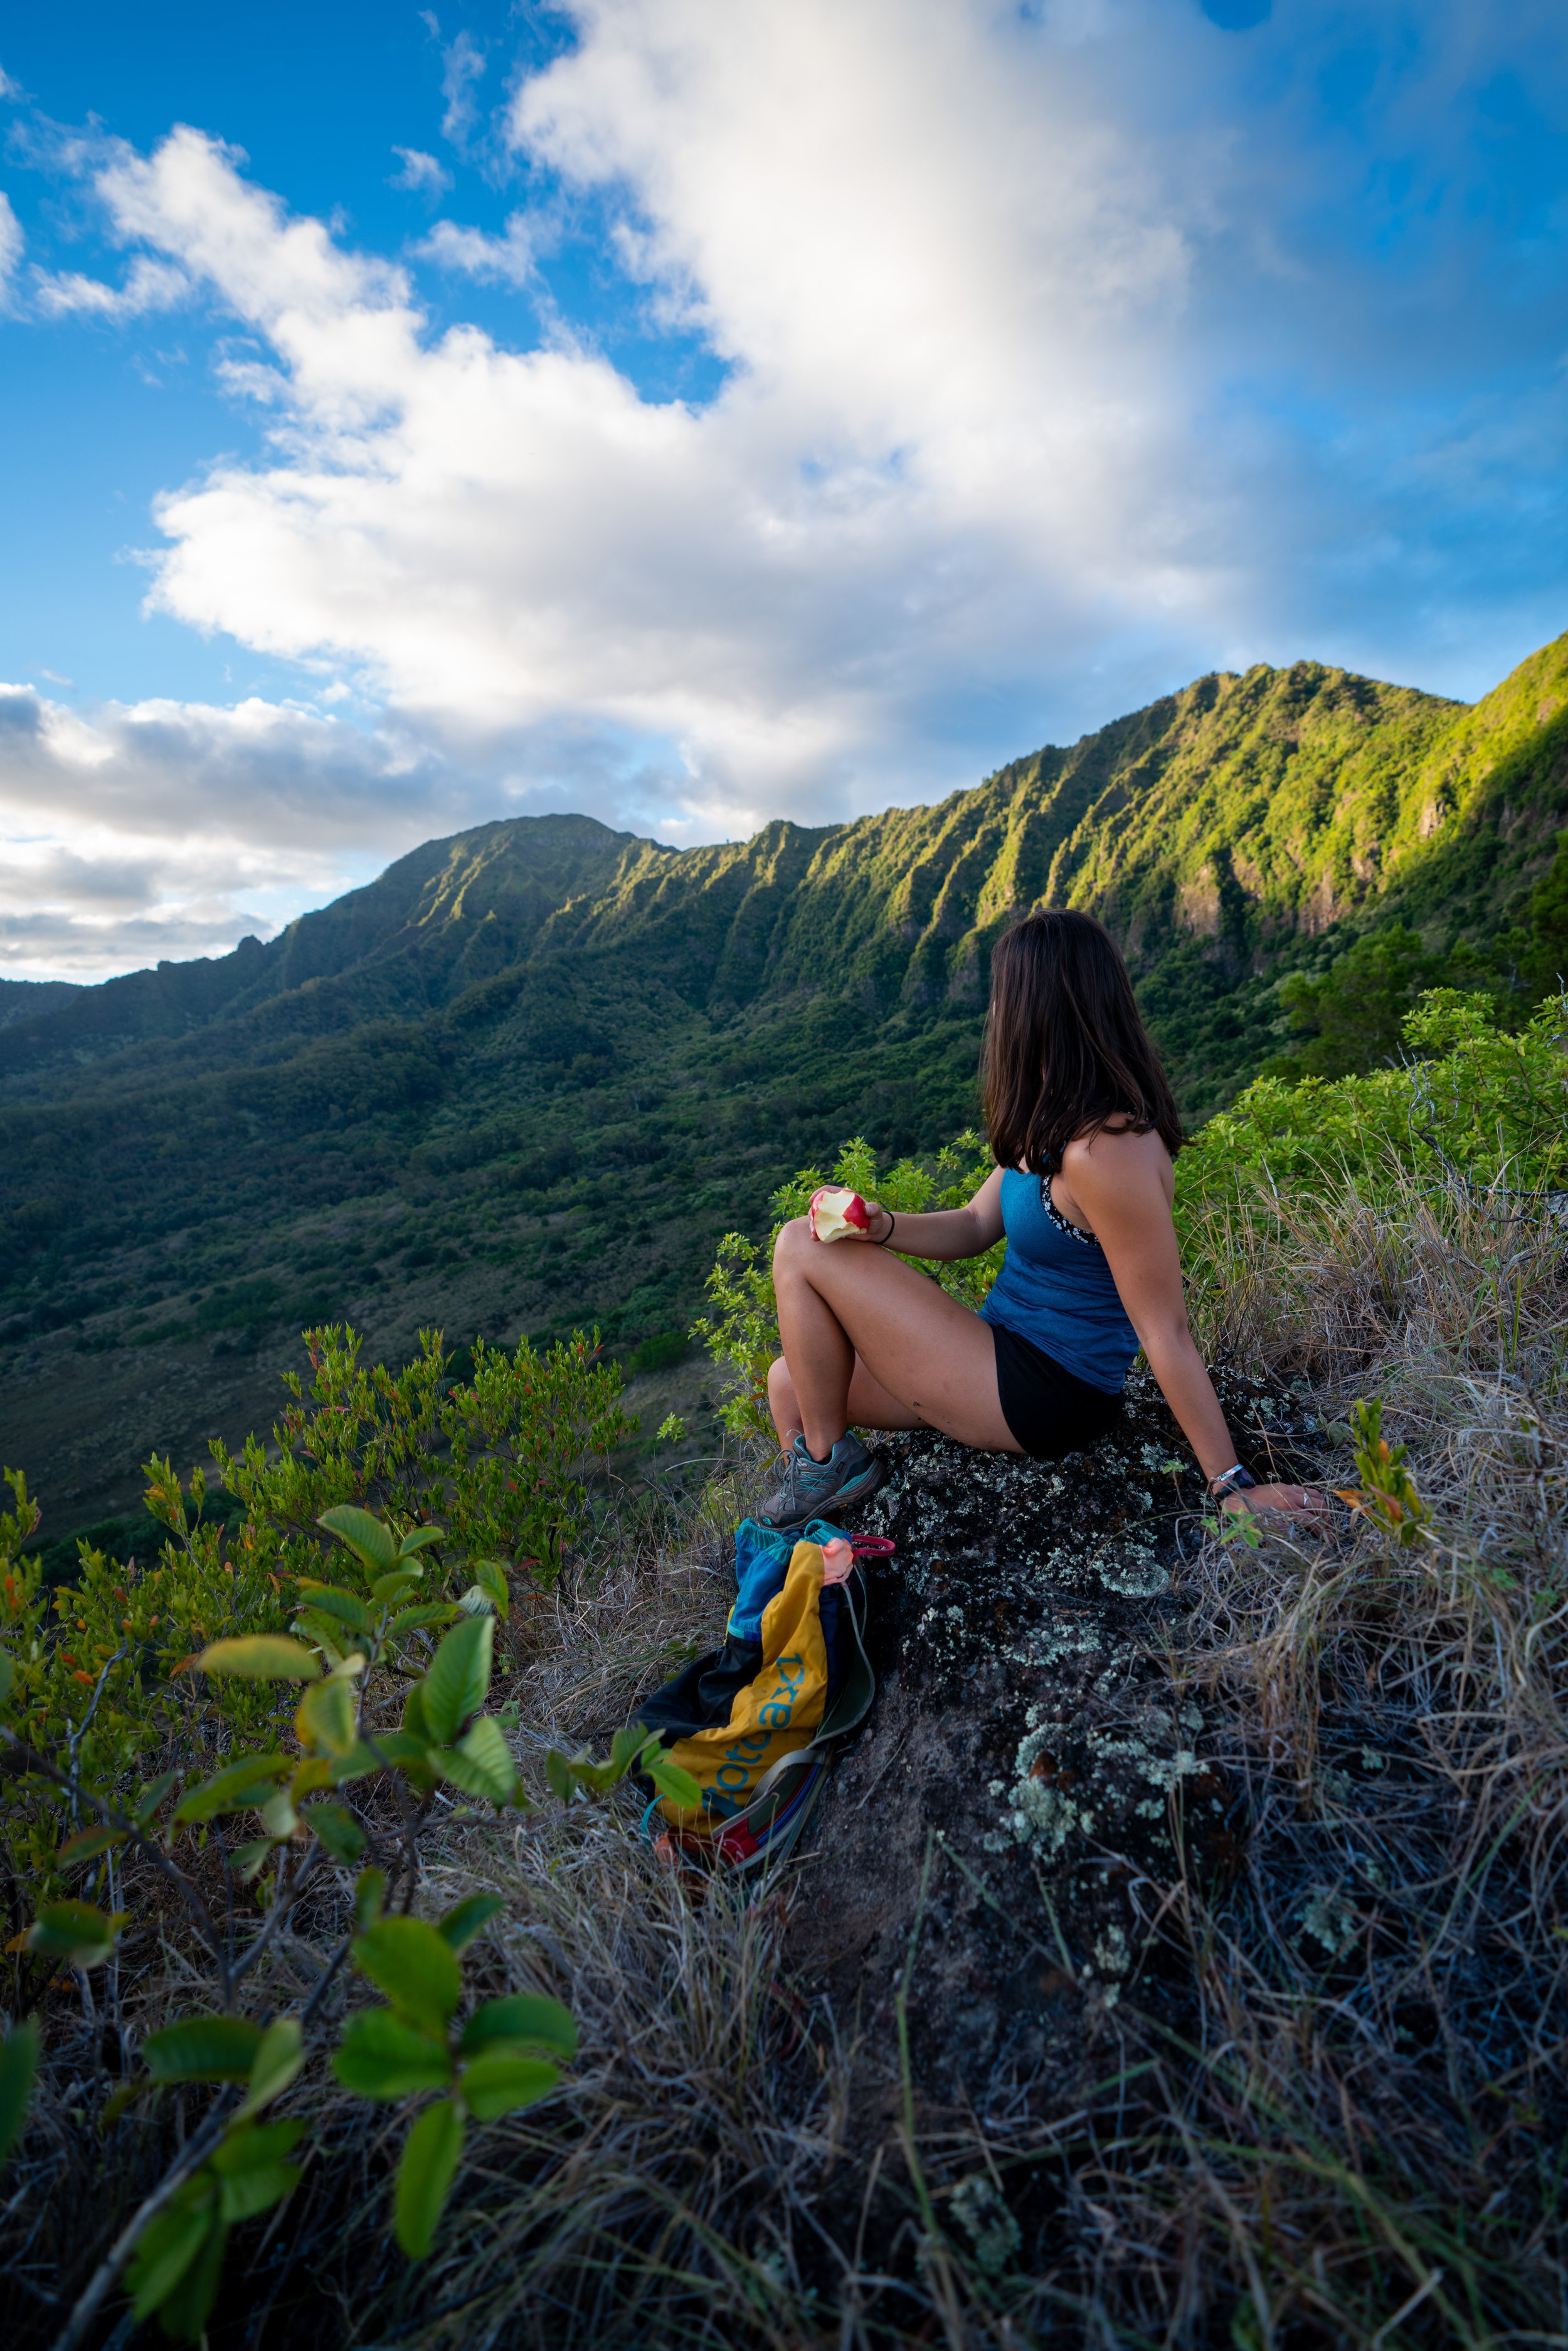
Hiking the Koko Crater Rim Trail on Oʻahu, Hawaiʻi
Distance: 2.5 miles / 4.0 km
The Koko Crater Rim Trail, also called the Koko Head Rim Trail, on Oʻahu is a short but challenging day hike that traverses the volcanic rim of Koko Crater across numerous sections that involve scrambling and some route finding to complete the full loop.
By this I mean that, compared to the Koko Crater Stairs, the Koko Crater Rim is an easier hike to the summit in terms of cardio, but harder in terms of terrain. This is because the trail follows a fairly gradual slope for 'most' of the loop around Koko Crater, but on the north side specifically, there is quite a bit of Class 2/ 3 scrambling required to reach the summit—not to mention, it can become Class 4 if you get off route.
That is to say, there are countless no-fall zones on the Koko Crater Rim Trail, which is why I do not believe the loop is meant for all people of all abilities.
However, if you think you’re up for a fun alternative scramble to the summit of Puʻu Mai, consider the Koko Crater Rim Trail, as the loop can be a fairly quick adventure compared to everything more involved across the adjacent Koʻolau Mountains.
Koko Crater Rim Trailhead Parking
Parking for the Koko Crater Rim Trail is located in the Koko Crater Botanical Garden parking lot at the end of Kokonani Street in Hawaiʻi Kai.
That said, the botanical garden is open from sunrise to sunset daily, except for specific holidays. This is important to keep in mind because it means that you need to return to the trailhead prior to sunset, or you risk having your car towed or locked behind the gate until the next morning.
Google Maps Directions: Koko Crater Rim Trailhead
Hiking the Koko Crater Rim Trail
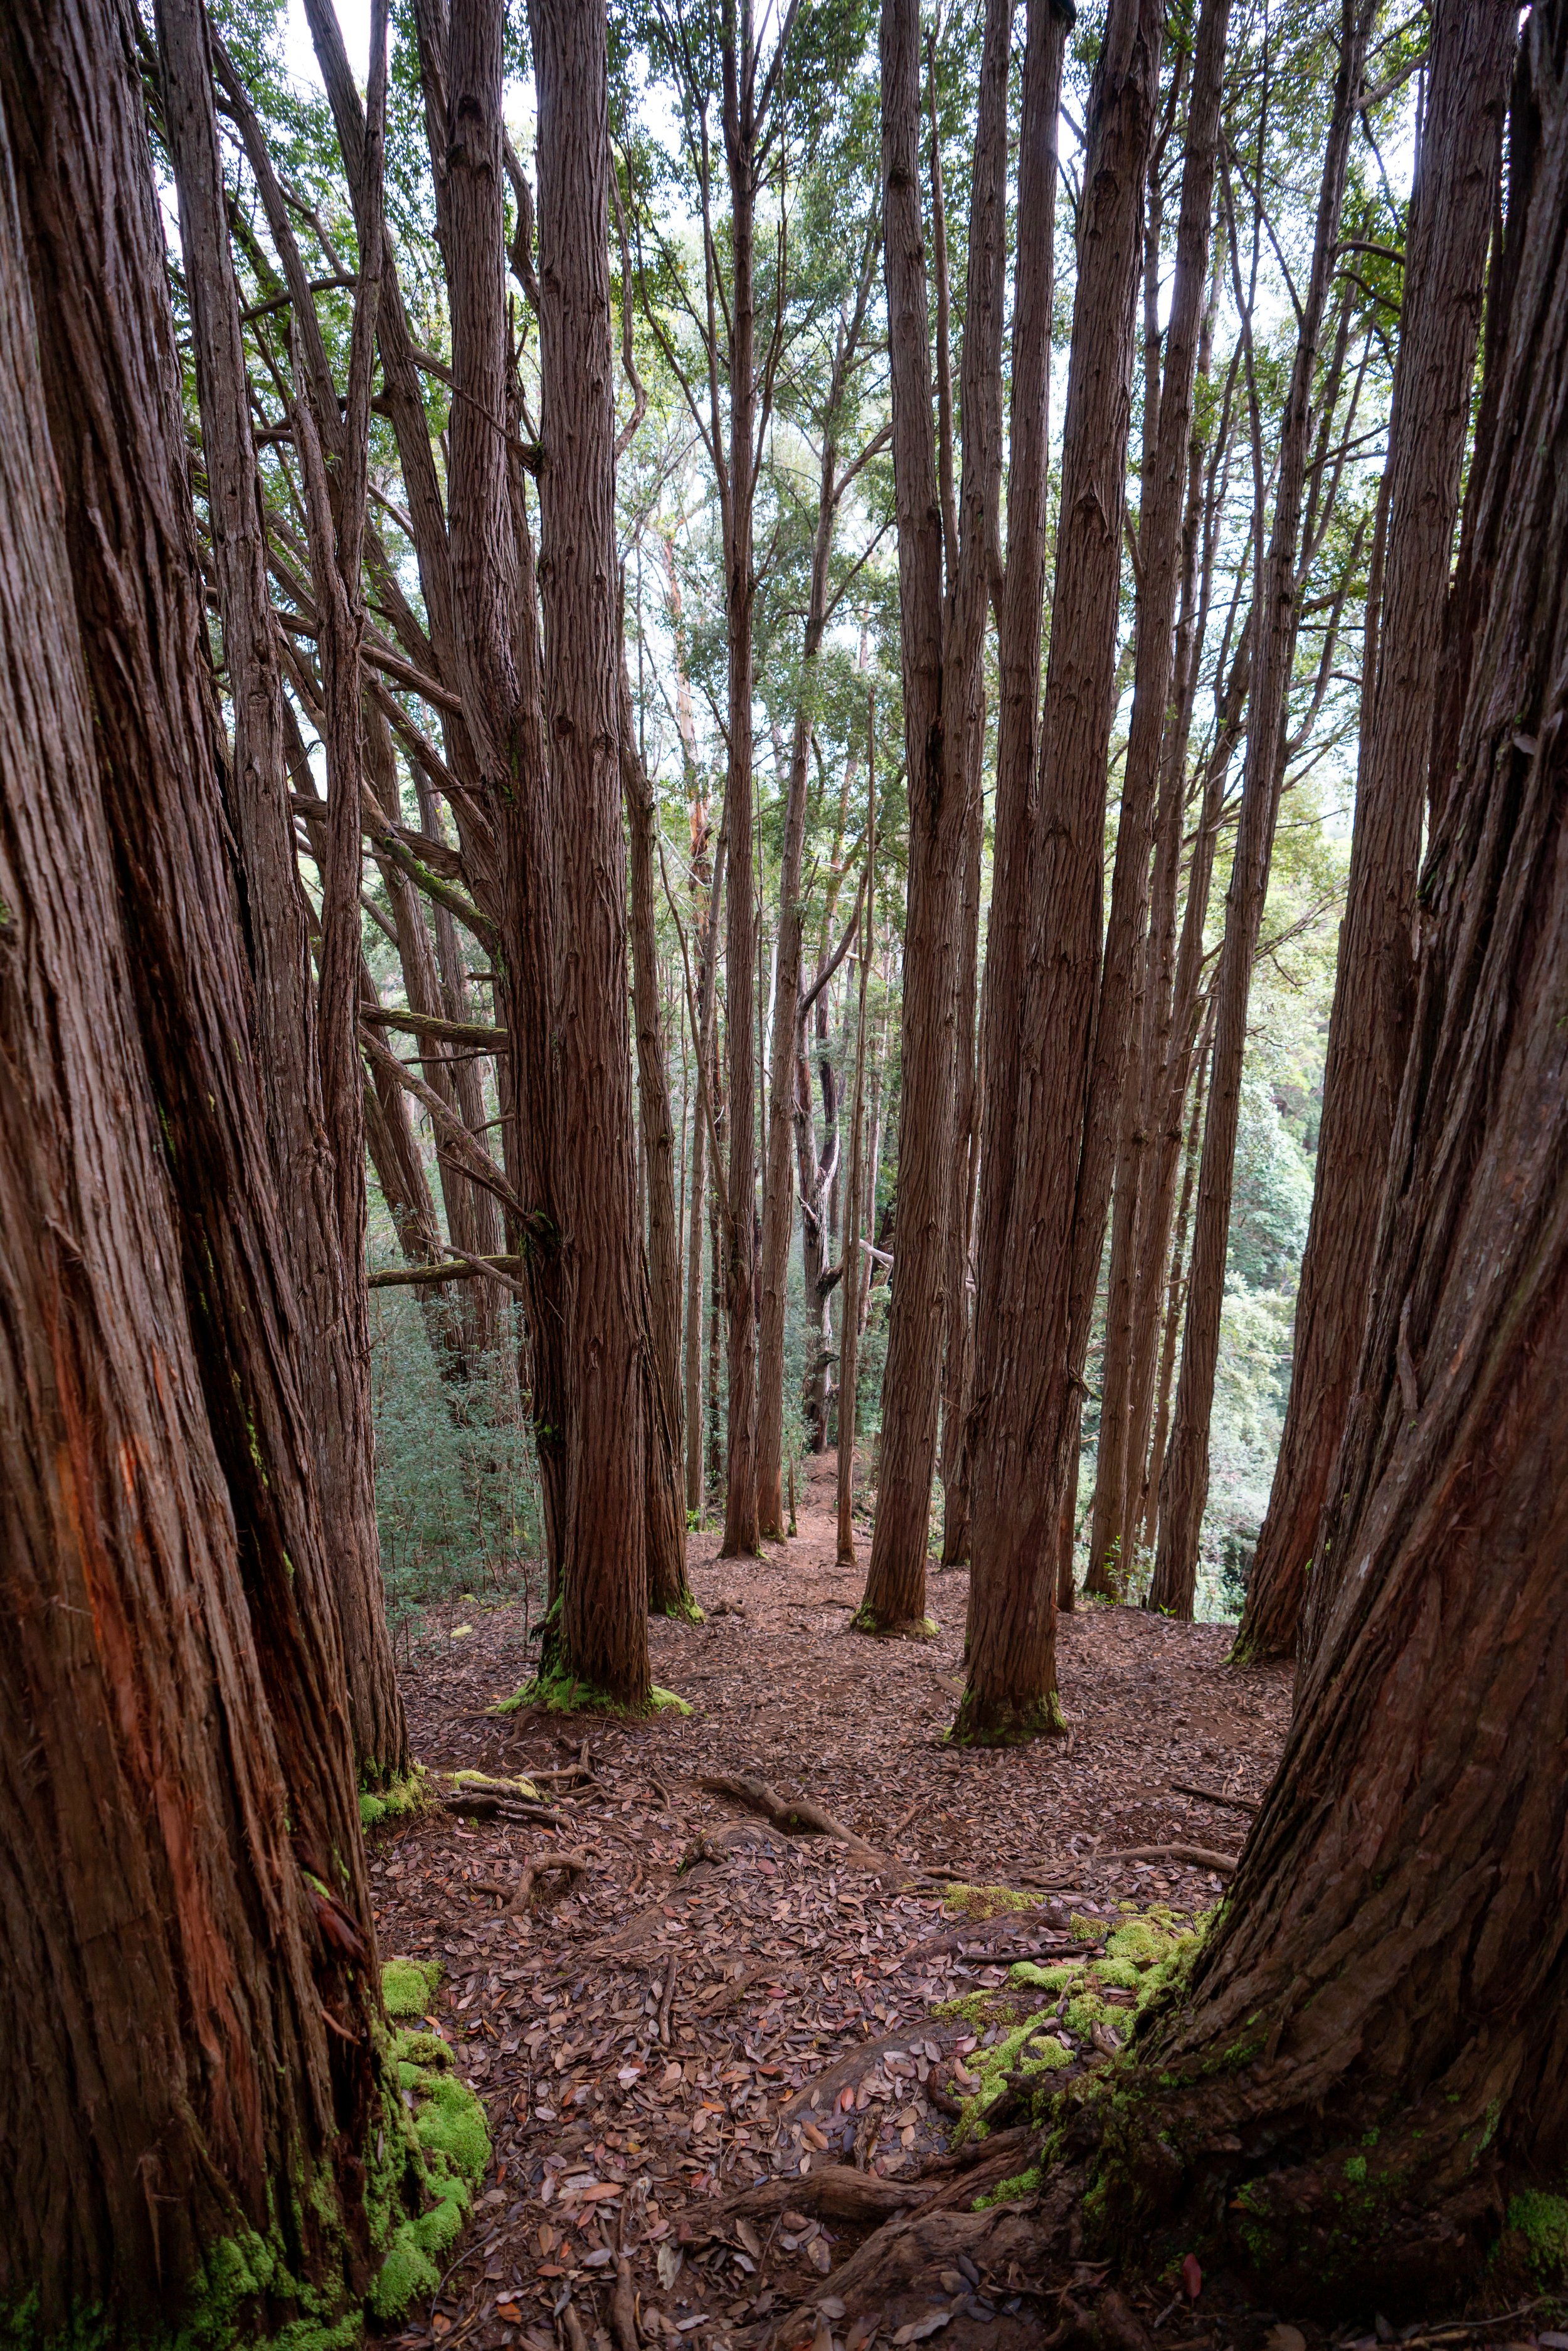
The Koko Crater Rim Trail begins at the Koko Crater Botanical Garden Trailhead, where it follows the Botanical Garden Trail for less than 0.1 miles (0.2 km) before branching away.
At the beginning of the Plumeria Grove Loop, go right to begin hiking up to the rim.
Koko Crater Rim-Koko Crater Botanical Garden Loop Junction
Almost immediately after the first right turn, the Koko Crater Botanical Garden Trail will reach an unmarked service road, which is the route to continue hiking up to the rim.
Once here, go right, and the road will lead to the top of the Koko Crater Rim, about 0.1 miles (0.2 km) up the hill.
Read My Separate Post: Koko Crater Botanical Garden Loop Trail
Koko Crater Rim
At this inconspicuous split, go left, then left again immediately to begin hiking up the rim of Koko Crater.
This junction is the point where the service road meets the rim of Koko Crater, but following the correct route is a little trickier than it may seem, because the most obvious trail after this turn is not along the rim. Rather, it goes left, then straight instead of left, then left, as I recommend.
Either way, there is the option to cut up toward the ridgeline a short distance after taking the incorrect path, but for obvious reasons, I recommend finding the ridgeline right from the start.
This is the start of the Koko Crater Rim at the second left turn.
It’s not hard to know if you’re on the correct trail because the true Koko Crater Rim Trail follows the crest of the ridge.
The path coming up from the right-hand side in this photo is one of a few short connectors between the incorrect route and the true Koko Crater Rim Trail.
About 0.1 miles (0.2 km) up the ridge, the Koko Crater Rim Trail becomes much more straightforward, as there are really no incorrect turns to make, apart from getting off route on the scrambling sections ahead.
These lower elevations on the north side of the loop are as easy as it gets, meaning that about a third of the way up, the Koko Crater Rim Trail becomes much more challenging until it reaches the summit of Puʻu Mai.
The base of the first peak in the distance is the start of the scrambling on the North Koko Crater Rim Trail.
ʻAʻaliʻi is one of the few common native Hawaiian plants in a landscape otherwise dominated by invasive species.
This is the start of the scrambling on the north side of the Koko Crater Rim Trail.
That said, I recommend turning back if you have any difficulty with this first section, as it only becomes more difficult and more exposed in the sections leading up to the summit.
At this spot, I personally find it easiest to take the path down on the right, but you can also get across by walking directly along the ridgeline.
This is where the drops on either side of the ridge start to become steeper and steeper—which is to say, there are countless no-fall zones to watch out for on the entire loop.
After the first scramble, the Koko Crater Rim Trail follows the ridgeline for a short distance, but this doesn’t last long as there are a few areas ahead where the easiest path is off to one side or the other.
On a different note, there is essentially no shade on the entire Koko Crater Rim Trail—apart from the very beginning and end—which is why I recommend hiking the loop in a hooded sun shirt.
This is one of many areas with steep, near-vertical drops on either side of the ridge.
This short, exposed section is one of the 'trickier' spots on the north side of Koko Crater Rim.
This is the view looking back at everything shown in the previous photos, which are some of the most exposed sections on the entire hike.
In my opinion, the narrow, exposed section shown above is the most challenging part of the entire Koko Crater Rim Trail, but that doesn’t mean there aren’t more exposed sections to navigate up ahead.
At this rock face, the trail leaves the ridgeline and contours along the side of the ridge.
Even a 10–15-ft. (3.0–4.6 m) drop can have serious consequences on the Koko Crater Rim Trail.
This rock is a little taller and trickier to get up than it may appear in the photo.
After the round rock, the Koko Crater Rim Trail will leave the ridgeline once again, as the ridge cliffs out a short distance ahead.
The gap in the ridge on the right is exactly why it’s easiest to take the lower path across this section.
This is one of the few places on the north side of the Koko Crater Rim Trail where hikers can take one of two routes.
Personally, I like to climb up to the ridgeline because I think it’s easier, but there is also the option to bypass the ridge and follow the path around on the left-hand side.
Either way, both routes meet again about 0.1 miles (0.2 km) ahead.
This is the view looking back toward the Makapuʻu Lighthouse Trail.
This is where both the trail along the ridgeline and the trail that cuts around to the left meet back up.
That said, the Koko Crater Rim from this point to the summit becomes much easier to navigate, even though there are a few final sections to scramble before reaching Puʻu Mai.
Apart from one short section just below the summit, the Koko Crater Rim Trail will follow the crest of the ridgeline.
This is the final time the Koko Crater Rim Trail drops off the crest of the ridge on the north side, and it’s a nice sign that the summit is just a few steps ahead!
The steep section straight is ahead is the final scramble to the summit of Puʻu Mai!
In my opinion, this final scramble is one of the easier ones to navigate on the North Koko Crater Rim Trail.
Puʻu Mai (Koko Crater Summit)
This is the summit of Puʻu Mai, more commonly known as Koko Head or Koko Crater, which will almost certainly be the busiest section of the entire loop!
In any case, simply follow along the rim of Koko Crater, past all the most popular viewpoints, to find where the South Koko Crater Rim Trail leaves the summit.
Read My Separate Post: Koko Crater Stairs
This is where the Koko Crater Rim Trail leaves the summit and the vast majority of other hikers behind.
It doesn’t take long to leave the busy Koko Head Summit behind, as most who climb the Koko Head Stairs only ever explore a few steps in either direction off the top.
I’ve always thought the view from the south side of the Koko Crater Rim Trail is better than the north!
This is the point where the South Koko Crater Rim Trail leaves the ridgeline for the first time, as the ridge will cliff out at a number of different points in the sections to come.
That said, the correct route is usually easier to find when hiking up the south side than down, although I always like to start on the North Rim because that’s where the more exposed scrambling is.
This short descent is easier than the photos may make it appear.
Almost immediately after regaining the ridgeline, the Koko Crater Rim Trail leaves the ridge for a second time, as it again cliffs out at the point straight ahead in the distance.
The cliff on the ridge straight ahead is the second-to-last place where the Koko Crater Rim Trail leaves the ridgeline.
After regaining the ridgeline for the third time, there’s either the option to leave the ridge once again on the path that leads around to the right, but at this point, I usually prefer to stay on the ridge and scramble down because it’s much more straightforward.
These short scrambling sections on the south side are nowhere near as exposed as those on the North Rim.
This is the last steep scrambling section on the south side of the Koko Crater Rim Trail, but there is one more hidden steep descent just out of view before the very end.
Koko Crater Rim-Koko Crater Arch Junction
At the bottom of the final scramble, the Koko Crater Rim Trail passes an inconspicuous junction with the Koko Crater Arch Trail that begins off Kalanianaʻole Highway below.
That said, the section between the arch and the ridgeline is quite steep, which is why, if you weren’t planning on connecting the two, I recommend going straight here to stay on the Koko Crater Rim Trail.
Read My Separate Post: Koko Crater Arch Trail
The ridgeline on the right-hand side of the photo below is the ridge off Kalanianaʻole Highway that leads to the Koko Crater Arch.
Hālona Beach, better known as Cockroach Cove, can also be seen from the rim of Koko Crater!
When the ridgeline levels out, the Koko Crater Rim Trail becomes much easier and flatter until it reaches the farthest point on the ridge—the area in the shadow in the distance.
It is there that the Koko Crater Rim Trail begins a final, steep descent to return to the Koko Crater Botanical Garden, which is notably steeper than the beginning of the loop on the north side.
This stretch that parallels Kalanianaʻole Highway tends to move fairly quickly!
This is the view looking down toward Wāwāmalu Beach (Sandy Beach), which is a nice sign that the final steep descent is not far ahead!
ʻIlima is another of the few native plants that can be seen along the Koko Crater Rim Trail, along with Maʻo during the wetter winter months.
This is where the Koko Crater Rim Trail reaches the top of the final steep descent back to the beginning.
That said, I recommend taking it slow on the hike down, as the dry, loose soil can make it easy to slip.
This is the bottom of the short but steep descent, meaning that from this point on, the Koko Crater Rim Trail will gradually slope back down to the beginning.
This is where the Koko Crater Rim Trail turns away from the ridgeline and heads directly down to Kokonani Street.
When the Koko Crater Rim Trail breaks out of the trees, go left to walk up the road toward the Koko Crater Botanical Garden.
Native Plants on the Koko Crater Rim Trail
Outside the Koko Crater Botanical Garden Loop on the inside of Koko Crater, the vast majority of the landscape is dominated by invasive grasses and Koa Haole trees.
This is why there are very few native plants to be found on the Koko Crater Rim Trail, but hikers can still find a few, including ʻAʻaliʻi, ʻIlima, ʻUhaloa, and the Hoary Abutilon.
If you would like to learn more about these and many other native Hawaiian plants from across the islands, I encourage you to check out my separate post linked below.
Read My Separate Post: Native Hawaiian Plant Guide