
Hiking the Castle Rock Trail in Lake Tahoe, Nevada
Distance (RT Not Including Loop): 2.0 miles / 3.2 km
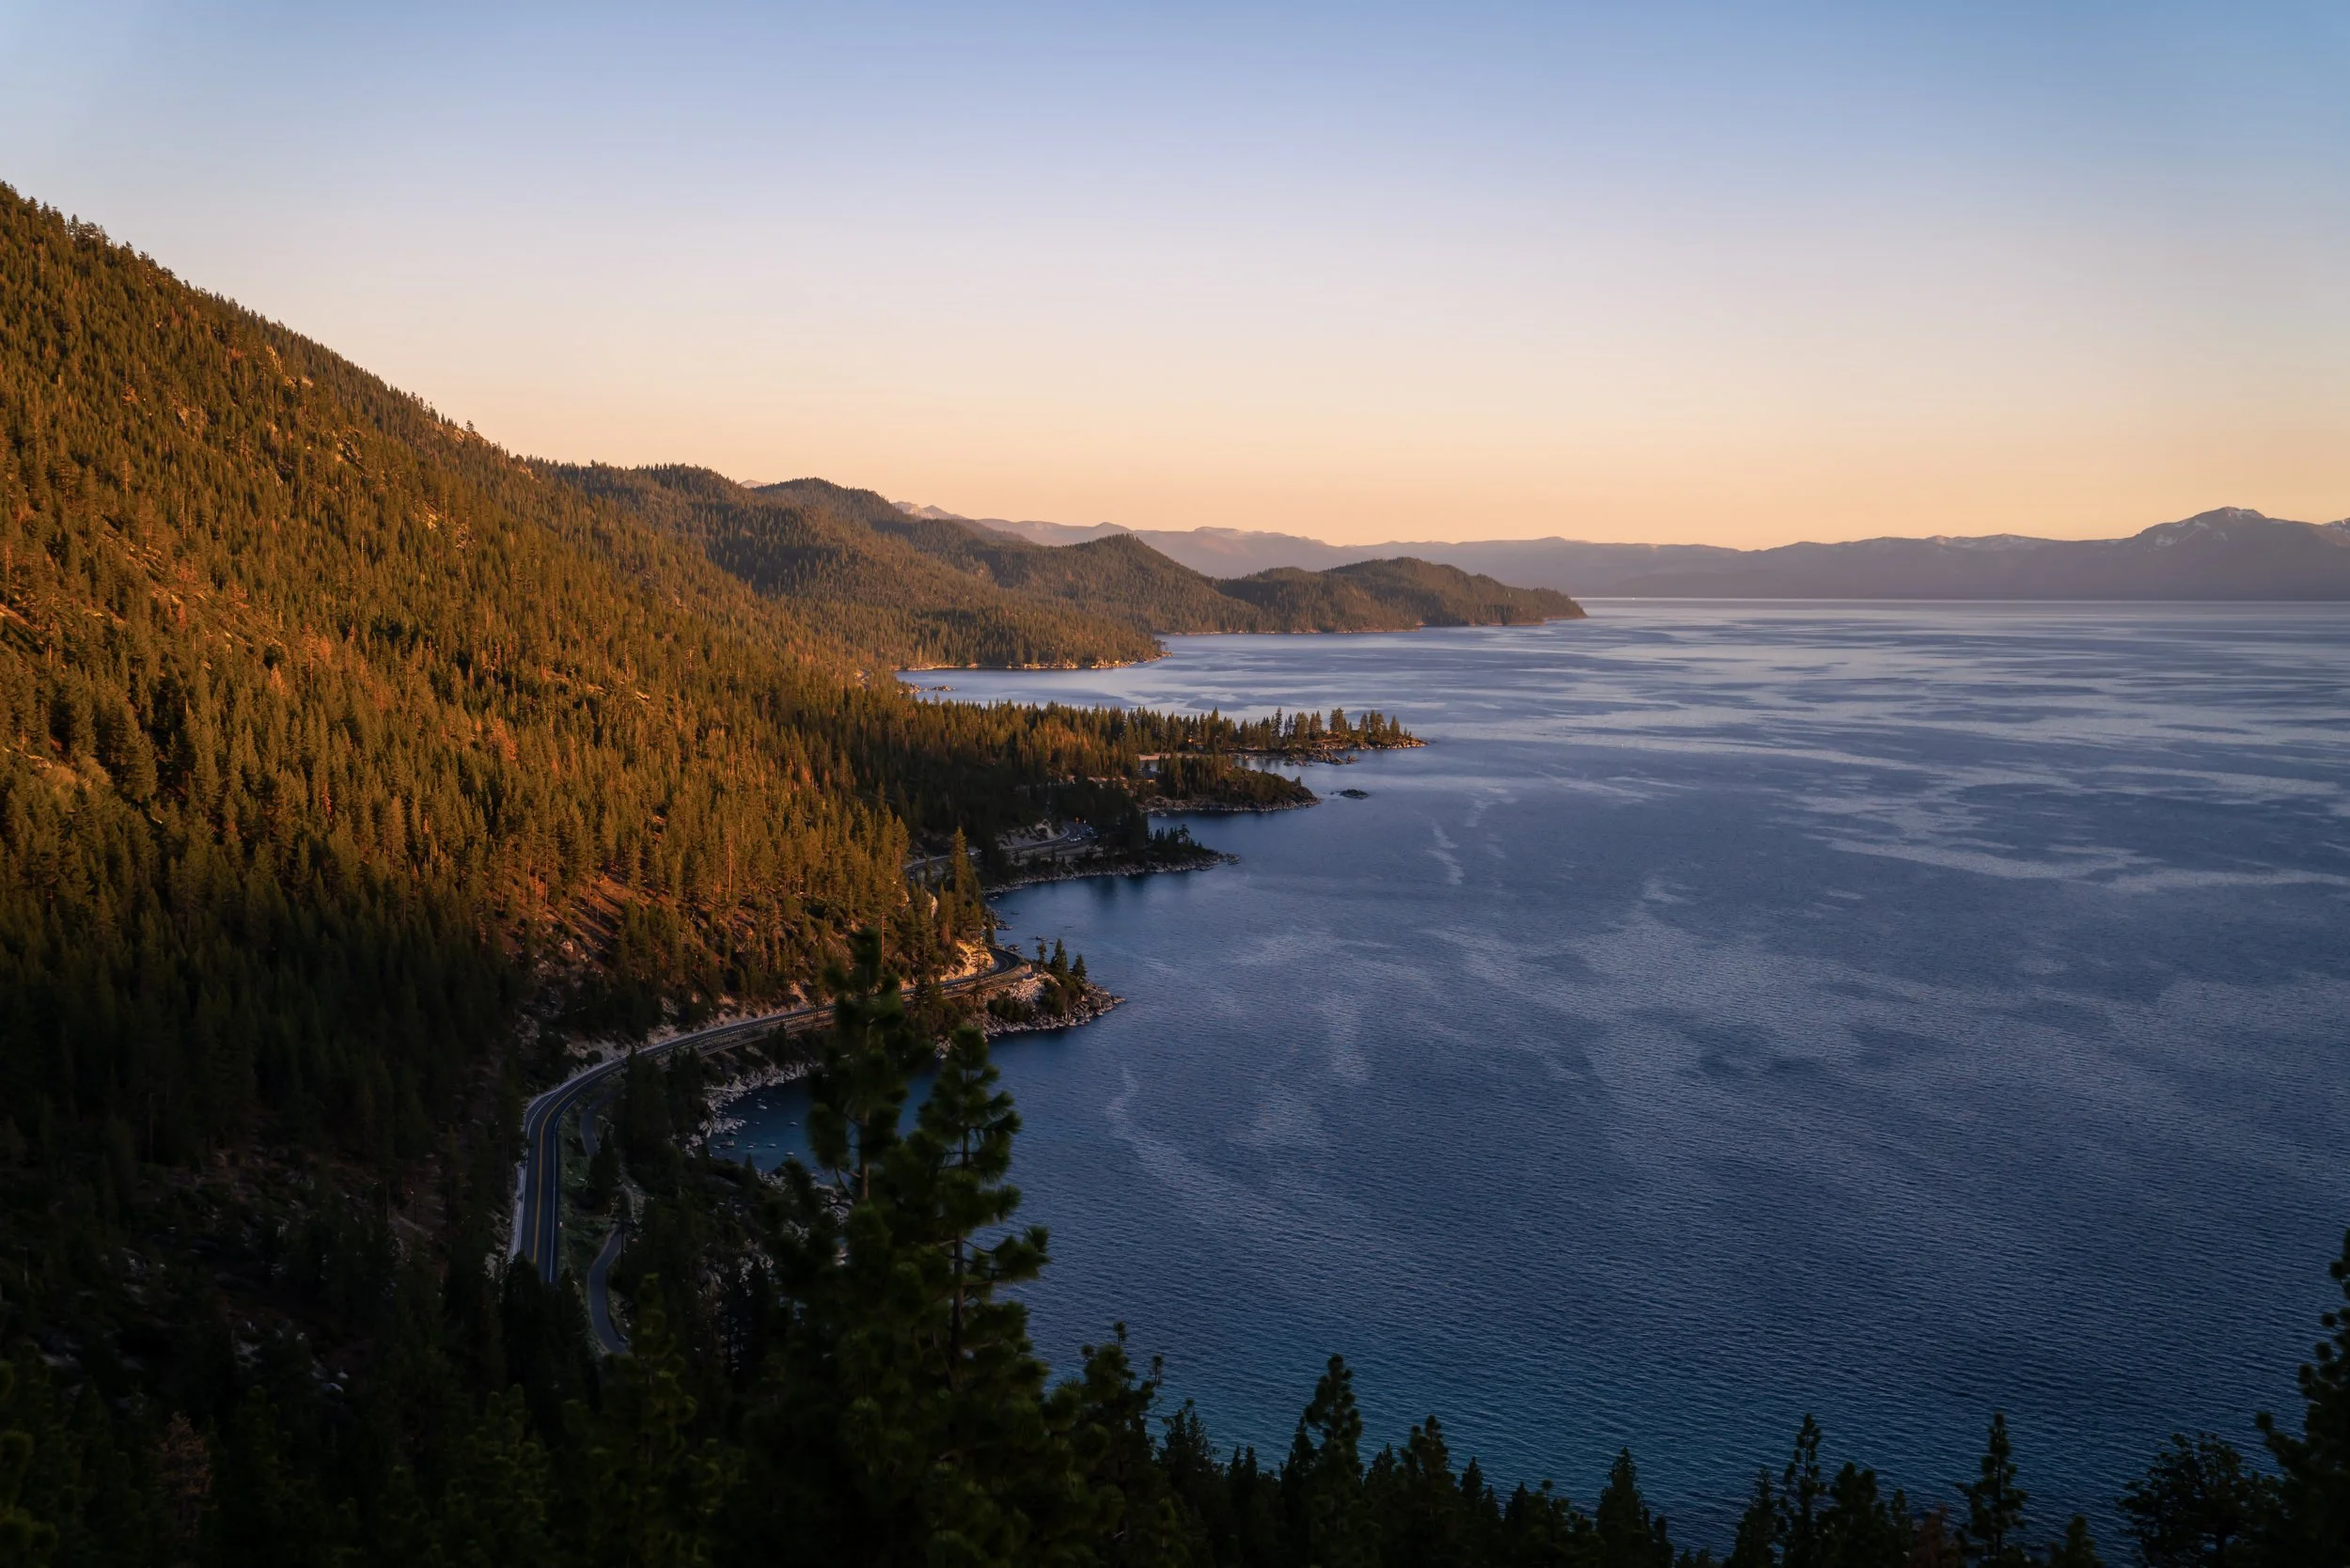
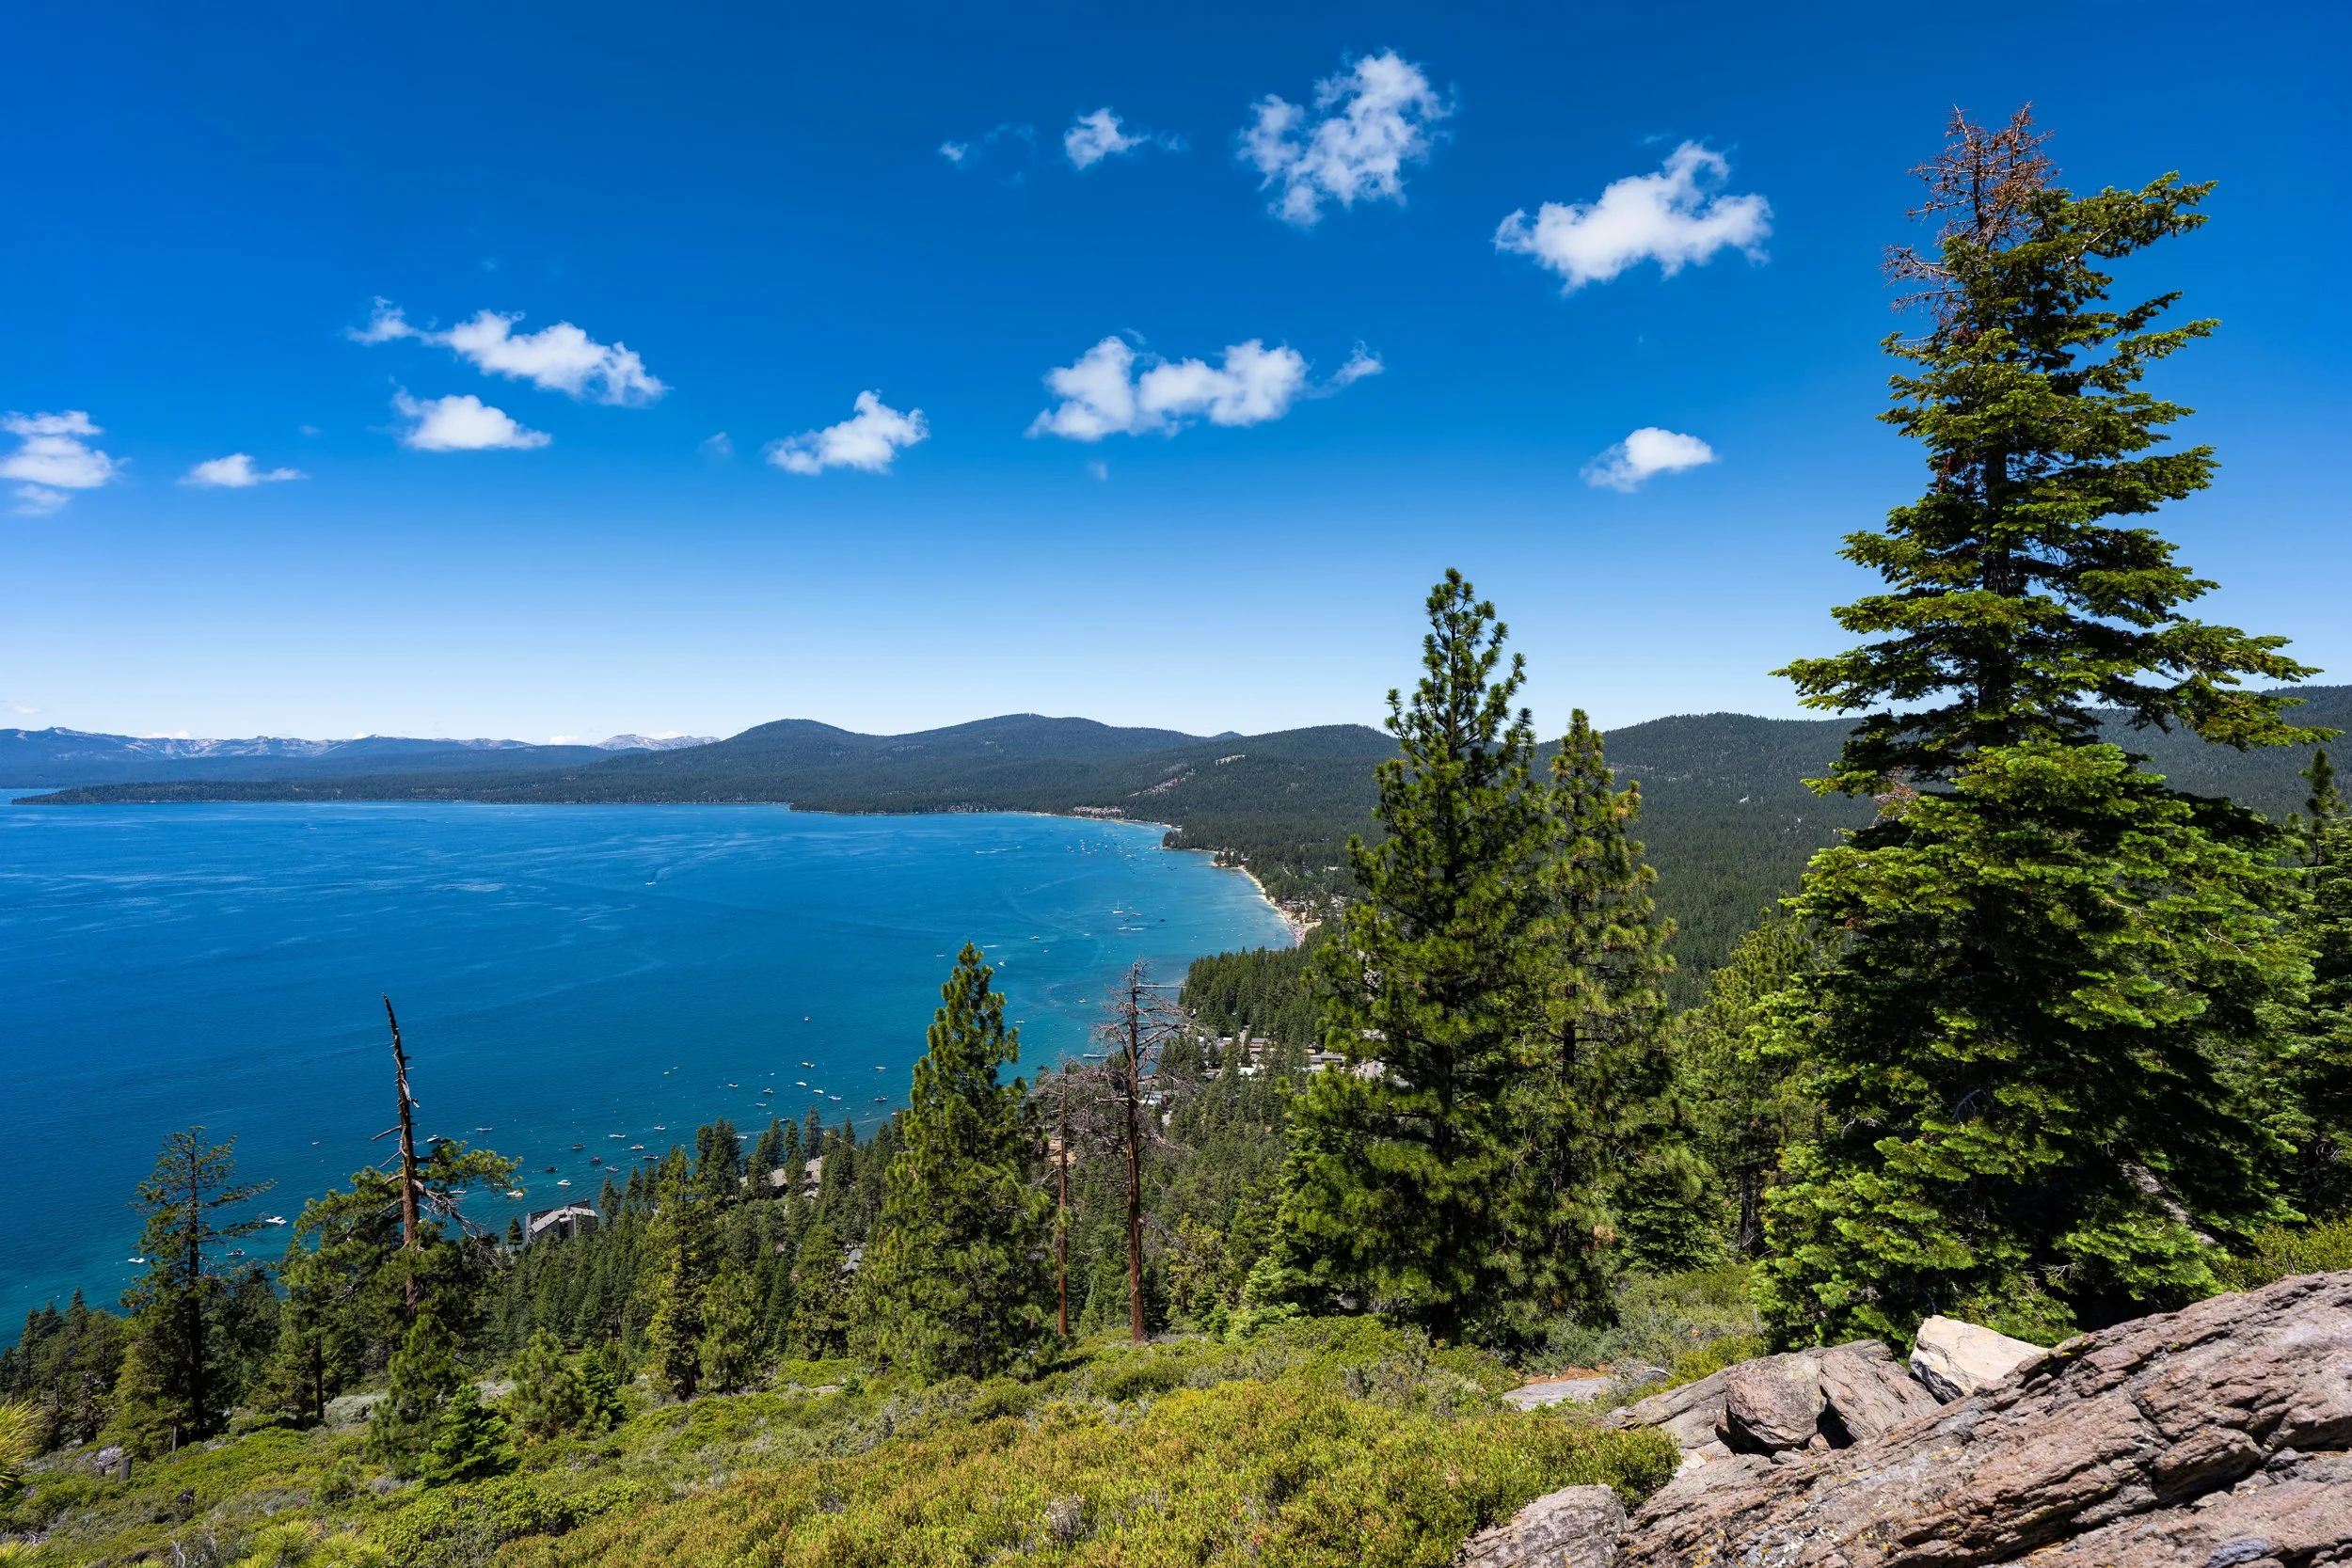
The Castle Rock Trail, on the Nevada side of Lake Tahoe, is a fun and easy day hike that leads to a prominent rock formation with beautiful west-facing views above South Lake Tahoe, which is one of a few reasons I believe Castle Rock is one of the best sunset hikes on the Nevada side of the state line!
I say this because Castle Rock is not nearly as busy as the Monkey Rock Trail, just outside of Incline Village, but even when it is busy, the vast majority of those who hike the trail visit during the day—not for sunset!
Now, it must be said that the end of the Castle Rock Trail is not a great place to actually see the sun setting, as the main viewpoint is partially blocked by trees. This means that to get to one of the two best places to watch the sunset on Castle Rock, hikers must scramble a very short distance around the loop shown at the end, which I discuss in more detail below.
Castle Rock Trailhead Parking
Parking for the Castle Rock Trail is located in a large National Forest parking lot in Kingsbury, just outside of South Lake Tahoe, about 5.2 miles (8.4 km) up the hill from the state line.
The Castle Rock Trailhead also serves as access to countless other hiking and biking trails, most notably the Tahoe Rim Trail, which is why the parking lot can get busy from about mid-morning through much of the afternoon.
Google Maps Directions: Castle Rock Trailhead
Hiking Checklist - Lake Tahoe
The Lake Tahoe Basin is Black Bear country, and, as with any area that is home to Black Bears, hiking with or without bear spray is up to your own discretion and comfort level.
With that in mind, here is a complete list of must-have things that you will want for any hike in the Lake Tahoe Basin.
Hiking the Castle Rock Trail
The Castle Rock Trail begins on a very light and easy, all-downhill path for the first 0.5 miles (0.8 km) until it reaches the first of two junctions with the Tahoe Rim Trail.
That said, the descent is only 200 ft. (61 m) to the first Tahoe Rim junction, which is fairly mild over this distance.
Throughout the Castle Rock Trail, there are constant reminders about the Peregrine Falcons that nest on Castle Rock.
Peregrine Falcons are falcons that can fly at speeds of up to 240 mph (386 km) and are considered to be the fastest animals on Earth!
I mention all of this because Peregrine Falcons are a federally listed endangered species, and as a result, climbing to the top of Castle Rock is not allowed.
However, this really only applies to those hiking the Castle Rock Trail with the intent of climbing, because the summit is quite vertical and not feasible for most without the proper gear.
Over the first 0.25 miles (0.4 km), the Castle Rock Trail passes behind a few residential houses.
I mention this as a reminder to please be quiet and respectful along this stretch, especially when returning late in the day after sunset.
This is where the Castle Rock Trail leaves the residential areas along the first part of the hike behind.
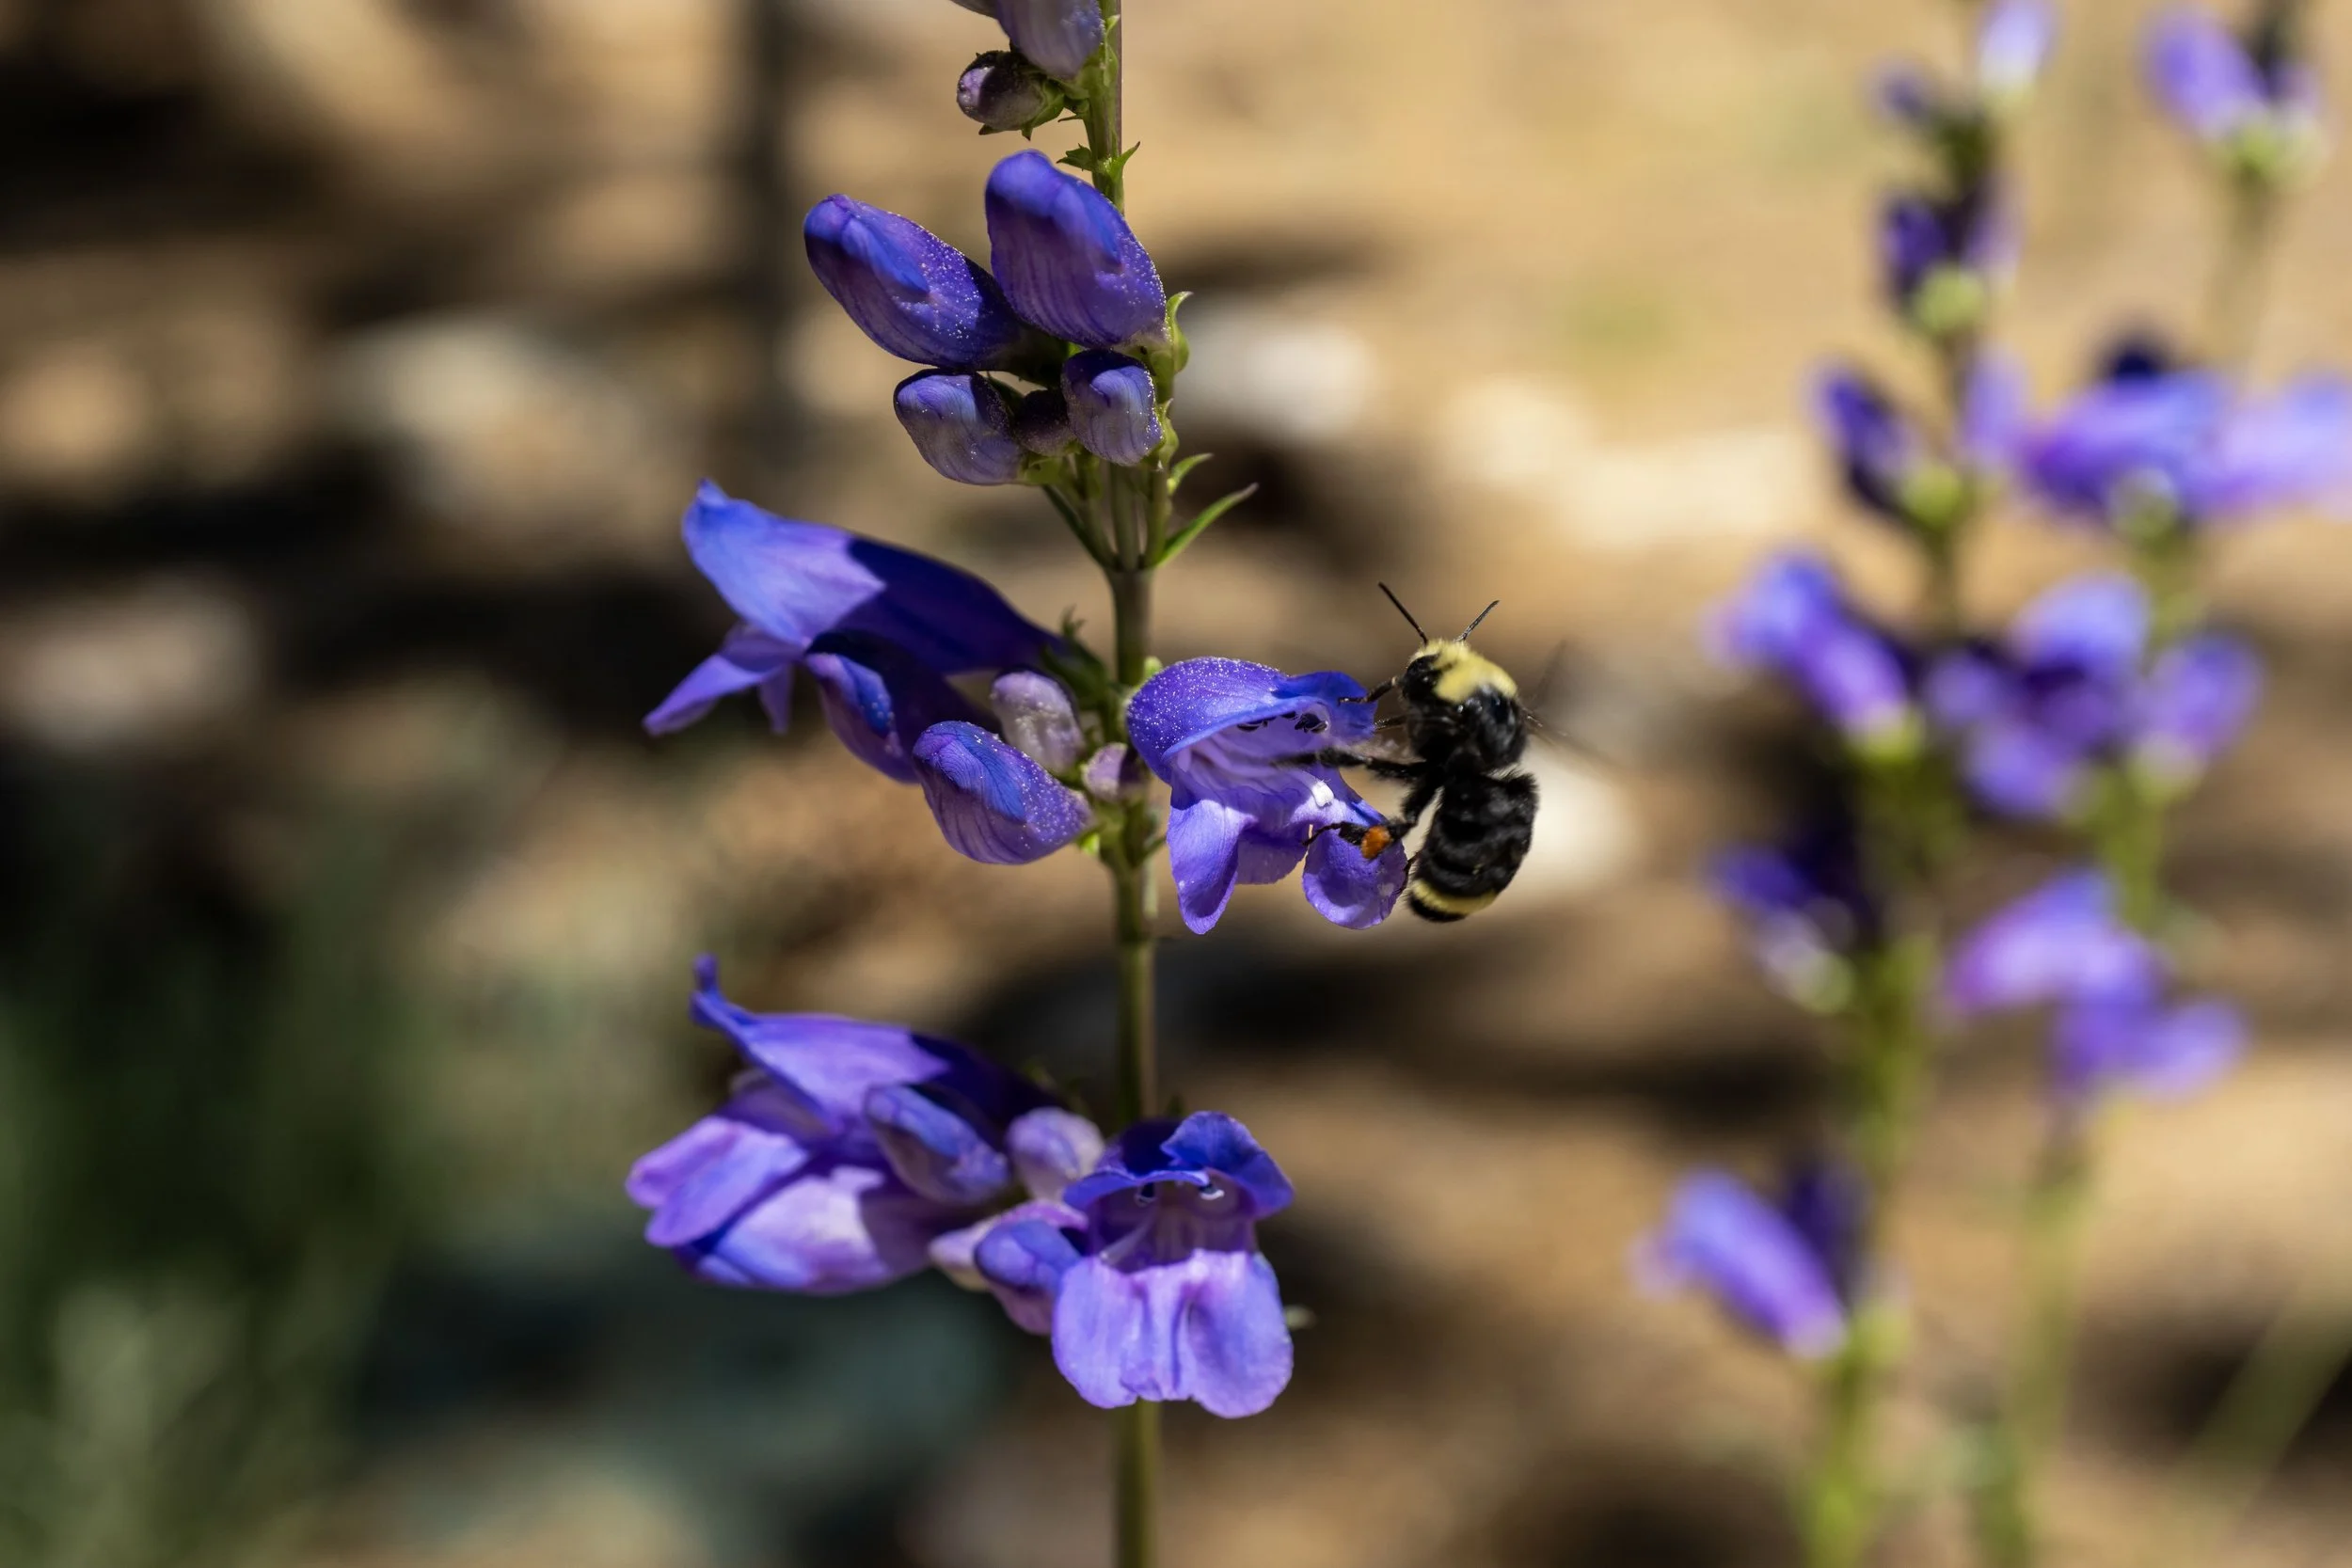
It’s always great to come across Lupine in the Mountain West!
South Castle Rock-Tahoe Rim Junction
After 0.5 miles (0.8 km), the Castle Rock Trail reaches the first of two junctions with the Tahoe Rim Trail, both located about 0.1 miles (0.2 km) apart from one another.
That said, go right at this first split to begin hiking a very short portion of the Tahoe Rim Trail until the Castle Rock Trail branches away on the left a few steps ahead.
North Castle Rock-Tahoe Rim Junction
This is the second back-to-back junction with the Tahoe Rim Trail, and it’s the point where the Castle Rock Trail leaves the long 168-mile (270 km) loop around Lake Tahoe to continue toward the prominent formation.
Once here, go left, and the Castle Rock Trail will noticeably get steeper as it starts climbing from this point to the base of the rock.
These signs are another reminder of the Peregrine Falcons on Castle Rock, which are actually easier to spot than you might think!
I discuss this in more detail below.
This is about as steep as the Castle Rock Trail gets, which is considerably more gradual than the much more popular Monkey Rock Trail on the north side of the lake.
That said, the final 0.5 miles (0.8 km) to the viewpoint at the end of the maintained trail gains about 290 ft. (88 m), but there is a little bit more to climb if you opt to continue around the loop after the main viewpoint.
As the Castle Rock Trail nears the end, the main trail will pass a number of side trails for different climbing routes on and around Castle Rock.
At each, the Castle Rock Trail is generally the more obvious path and is clearly marked as the hiking route to the main viewpoint.
This next split is again nothing more than one of the many side trails for the different climbing routes on Castle Rock.
That said, go straight, and the Castle Rock Trail will reach the start of the loop around the rock just a few steps ahead.
Castle Rock Loop Trail
After 0.9 miles (1.4 km), the Castle Rock Trail reaches the start of the loop around Castle Rock.
Once at this point, there’s either the option to go straight to continue on the Castle Rock Trail toward the main viewpoint, or left around the much less trafficked side of the loop, which is the route I have shown at the end.
In this article, I chose to go straight in the counterclockwise direction around the loop.
Castle Rock-Castle Rock Loop Junction
This final junction is where both the loop around Castle Rock and the trail to the main viewpoint split from one another.
Once here, go left to finish hiking the maintained trail, but if you are curious about the scrambling route around Castle Rock, keep reading to the end.
End of the Castle Rock Trail
This is the view at the end of the maintained Castle Rock Trail, which, as previously mentioned, is partially blocked by the trees.
This is exactly why I said in the beginning that the best views are only reached by scrambling around the loop, as shown below.
Castle Rock-Castle Rock Loop Junction
If you decide to go right at the final junction before the official viewpoint, the loop around Castle Rock quickly turns the corner on the west side of the rock, just before the steep scrambling sections that lead to the best viewpoint on the hike!
This is where the Castle Rock Loop Trail turns the corner and begins to traverse the west side of the formation.
Once the loop reaches the base of this steep scramble, climb up and then cut right before the second tree, as shown below.
This is the base of the second and final scramble, located just before the best viewpoint on the entire hike!
This is the top of the second scramble, which is exactly where I recommend catching sunset on a clear night when visiting South Lake Tahoe!
That said, be sure to come prepared with a good headlamp for the scramble around the rest of the loop or the hike back down the same way, not to mention the roughly 0.9-mile (1.4 km) hike from the beginning of the loop to the trailhead.
This really is one of my personal Lake Tahoe favorites!
This is the view looking toward the top of Castle Rock, which I wanted to show because I previously mentioned that the summit is very vertical.
This is true from just about every side of Castle Rock, and it’s why I previously said that the rules surrounding the summit pertain more to climbers than hikers.
How to Spot Peregrine Falcons at Castle Rock?
The truth is, you actually might hear one even before you see one! They really are that loud!
That said, nesting season for the Peregrine Falcons in the Sierras begins in the spring and runs through the summer, roughly March – August.
These are your best months of the year to see one on Castle Rock, and know that they blend in well with the rocks, so take your time and look closely!
After the main viewpoint, the Castle Rock Loop does a quick traverse, which I believe looks more challenging in these photos than it actually is in person.
To that point, there is no highly exposed Class 4 scrambling on the Castle Rock Loop, but if I have to put a label on it, the hike is Class 3 or lower.
On the south side of Castle Rock, go right, at which point the loop begins a steep descent down a few gullies, which are fairly easy to navigate by sitting and scooting on the steepest parts.
This is the view looking back up the short downclimb, which I believe looks harder, or rather, taller than it actually is.
At this point, there is no more scrambling, as the Castle Rock Loop Trail simply winds its way down a few steep sections until it reaches the base of the formation.
At these final two spots, go right then left to complete the short loop.
Castle Rock Loop Junction
This is where the Castle Rock Loop Trail completes the short 0.2-mile (0.3 km) loop around the towering Castle Rock formation.
Once at this point, go right to begin the 0.9-mile (1.4 km) hike from this back to the trailhead in Kingsbury.
California
Nevada