Hiking the Cave Spring Trail in Canyonlands National Park
Distance: 0.6 miles / 1.0 km
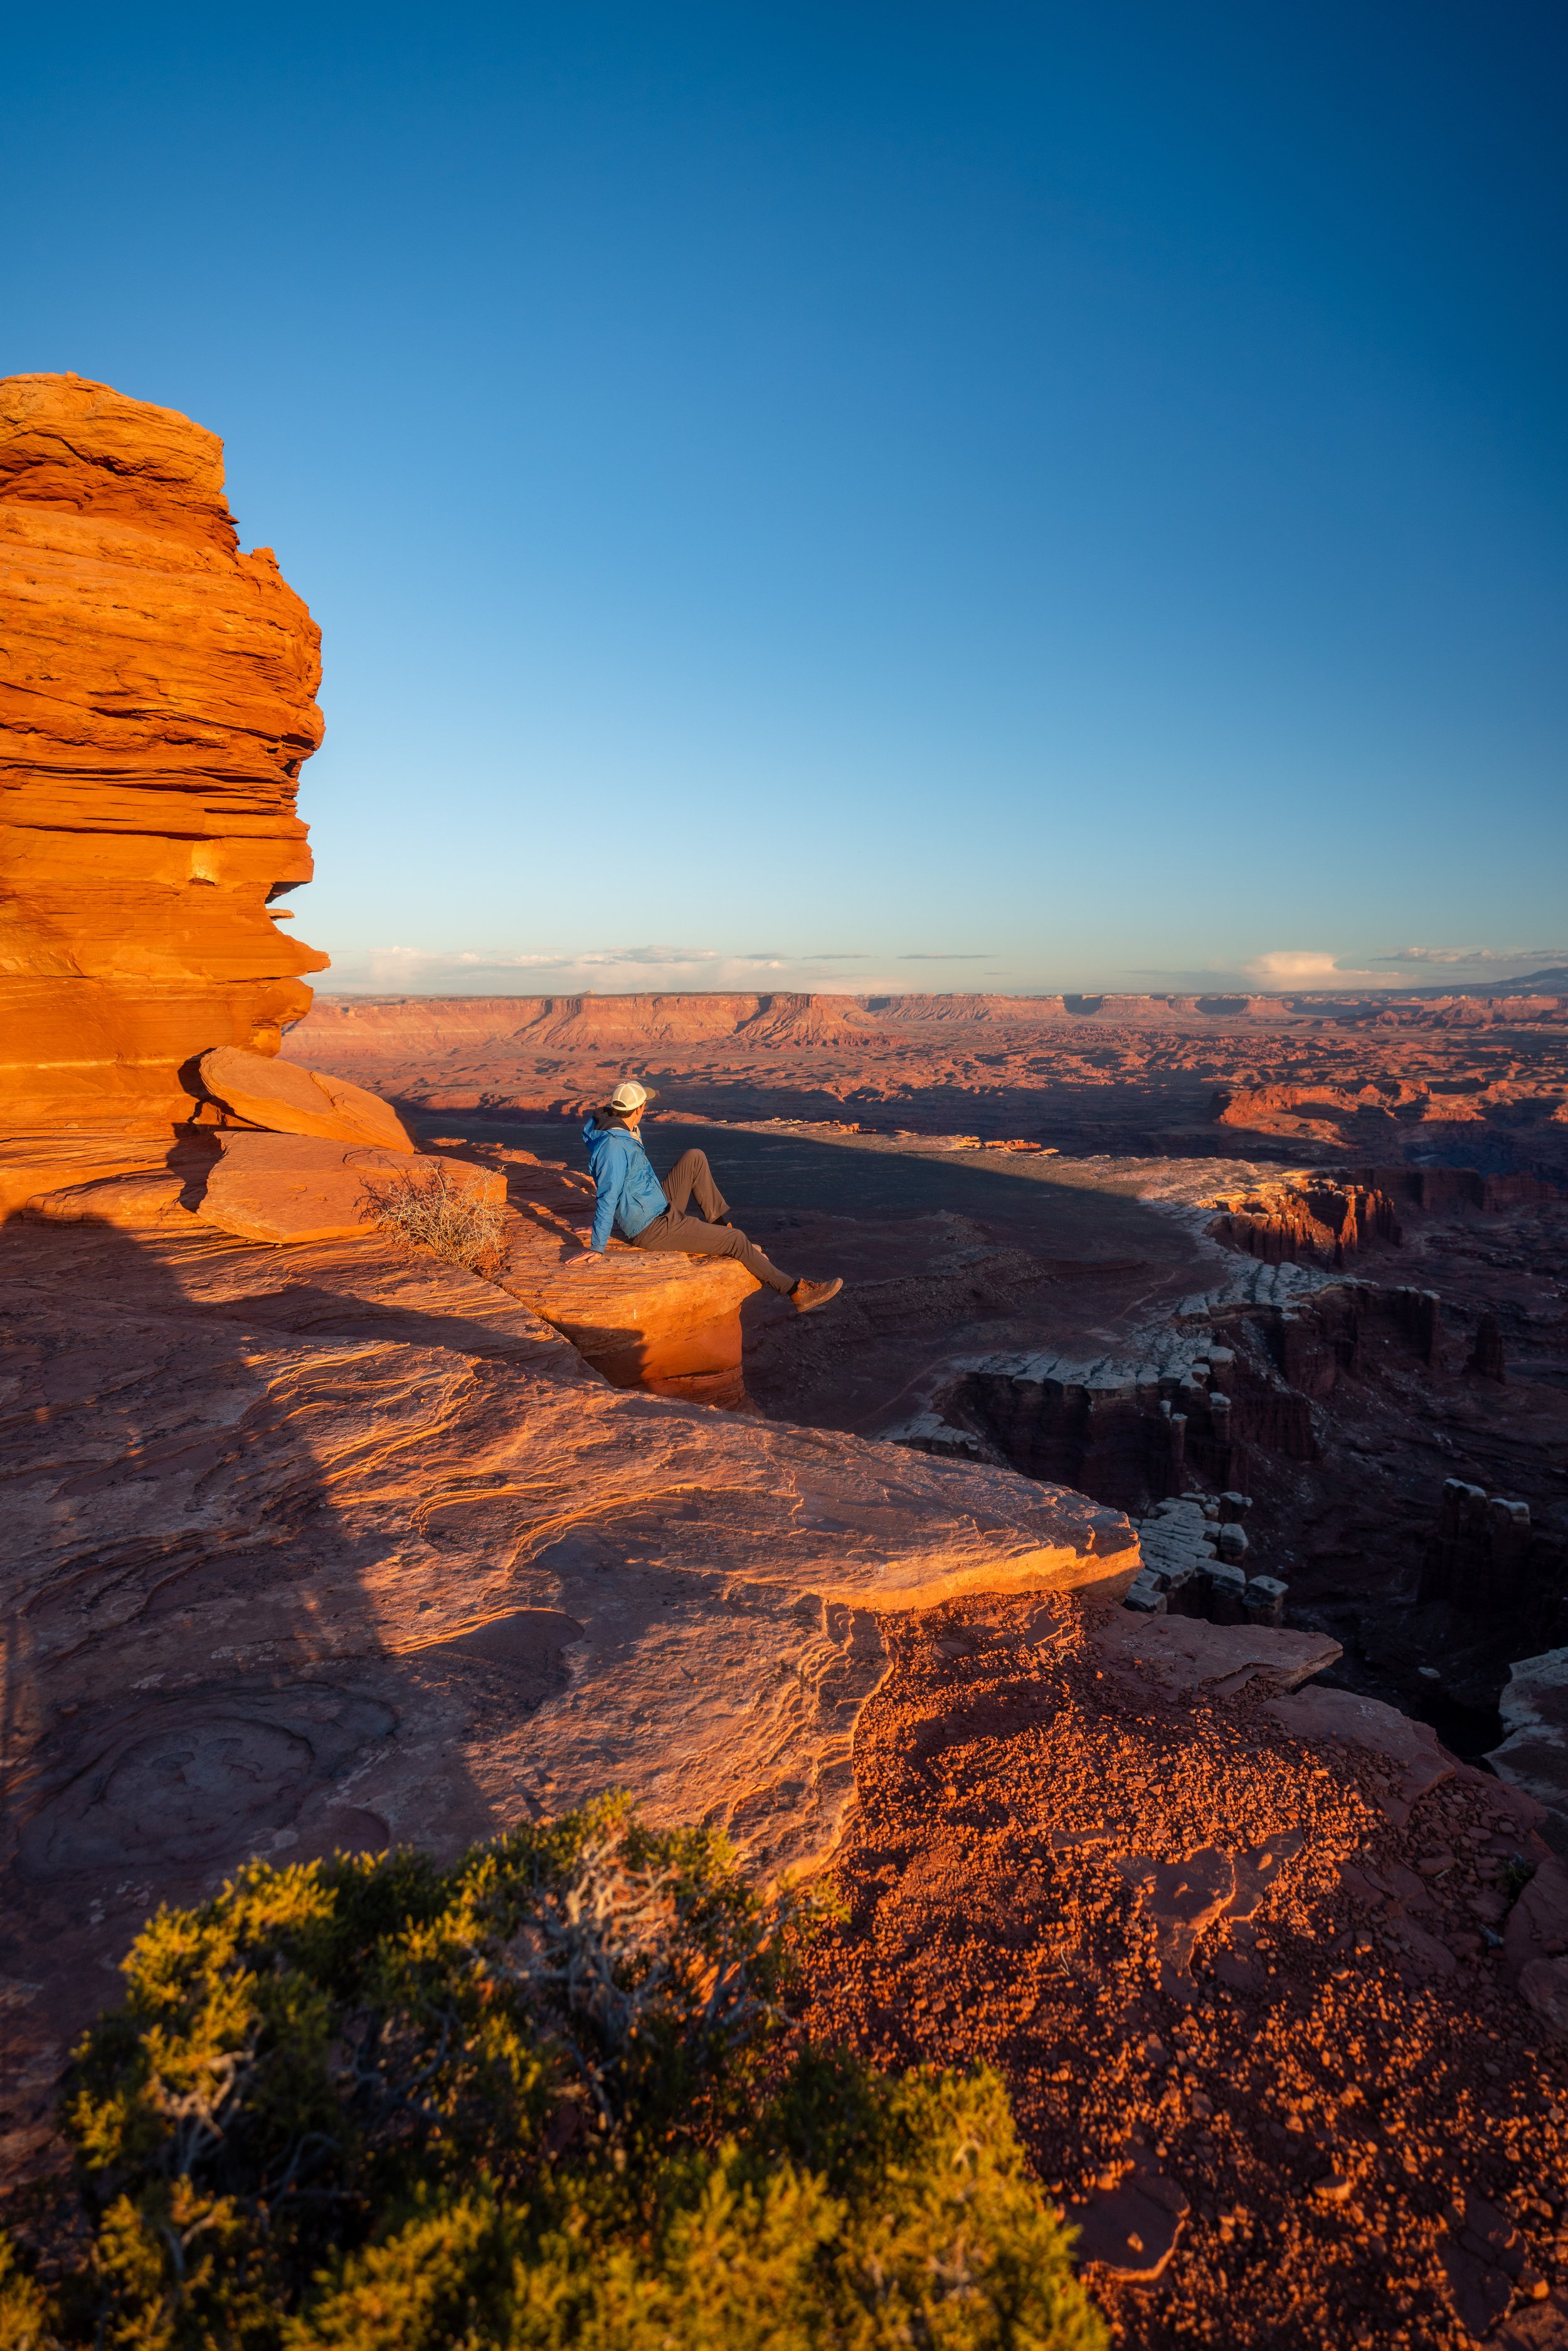
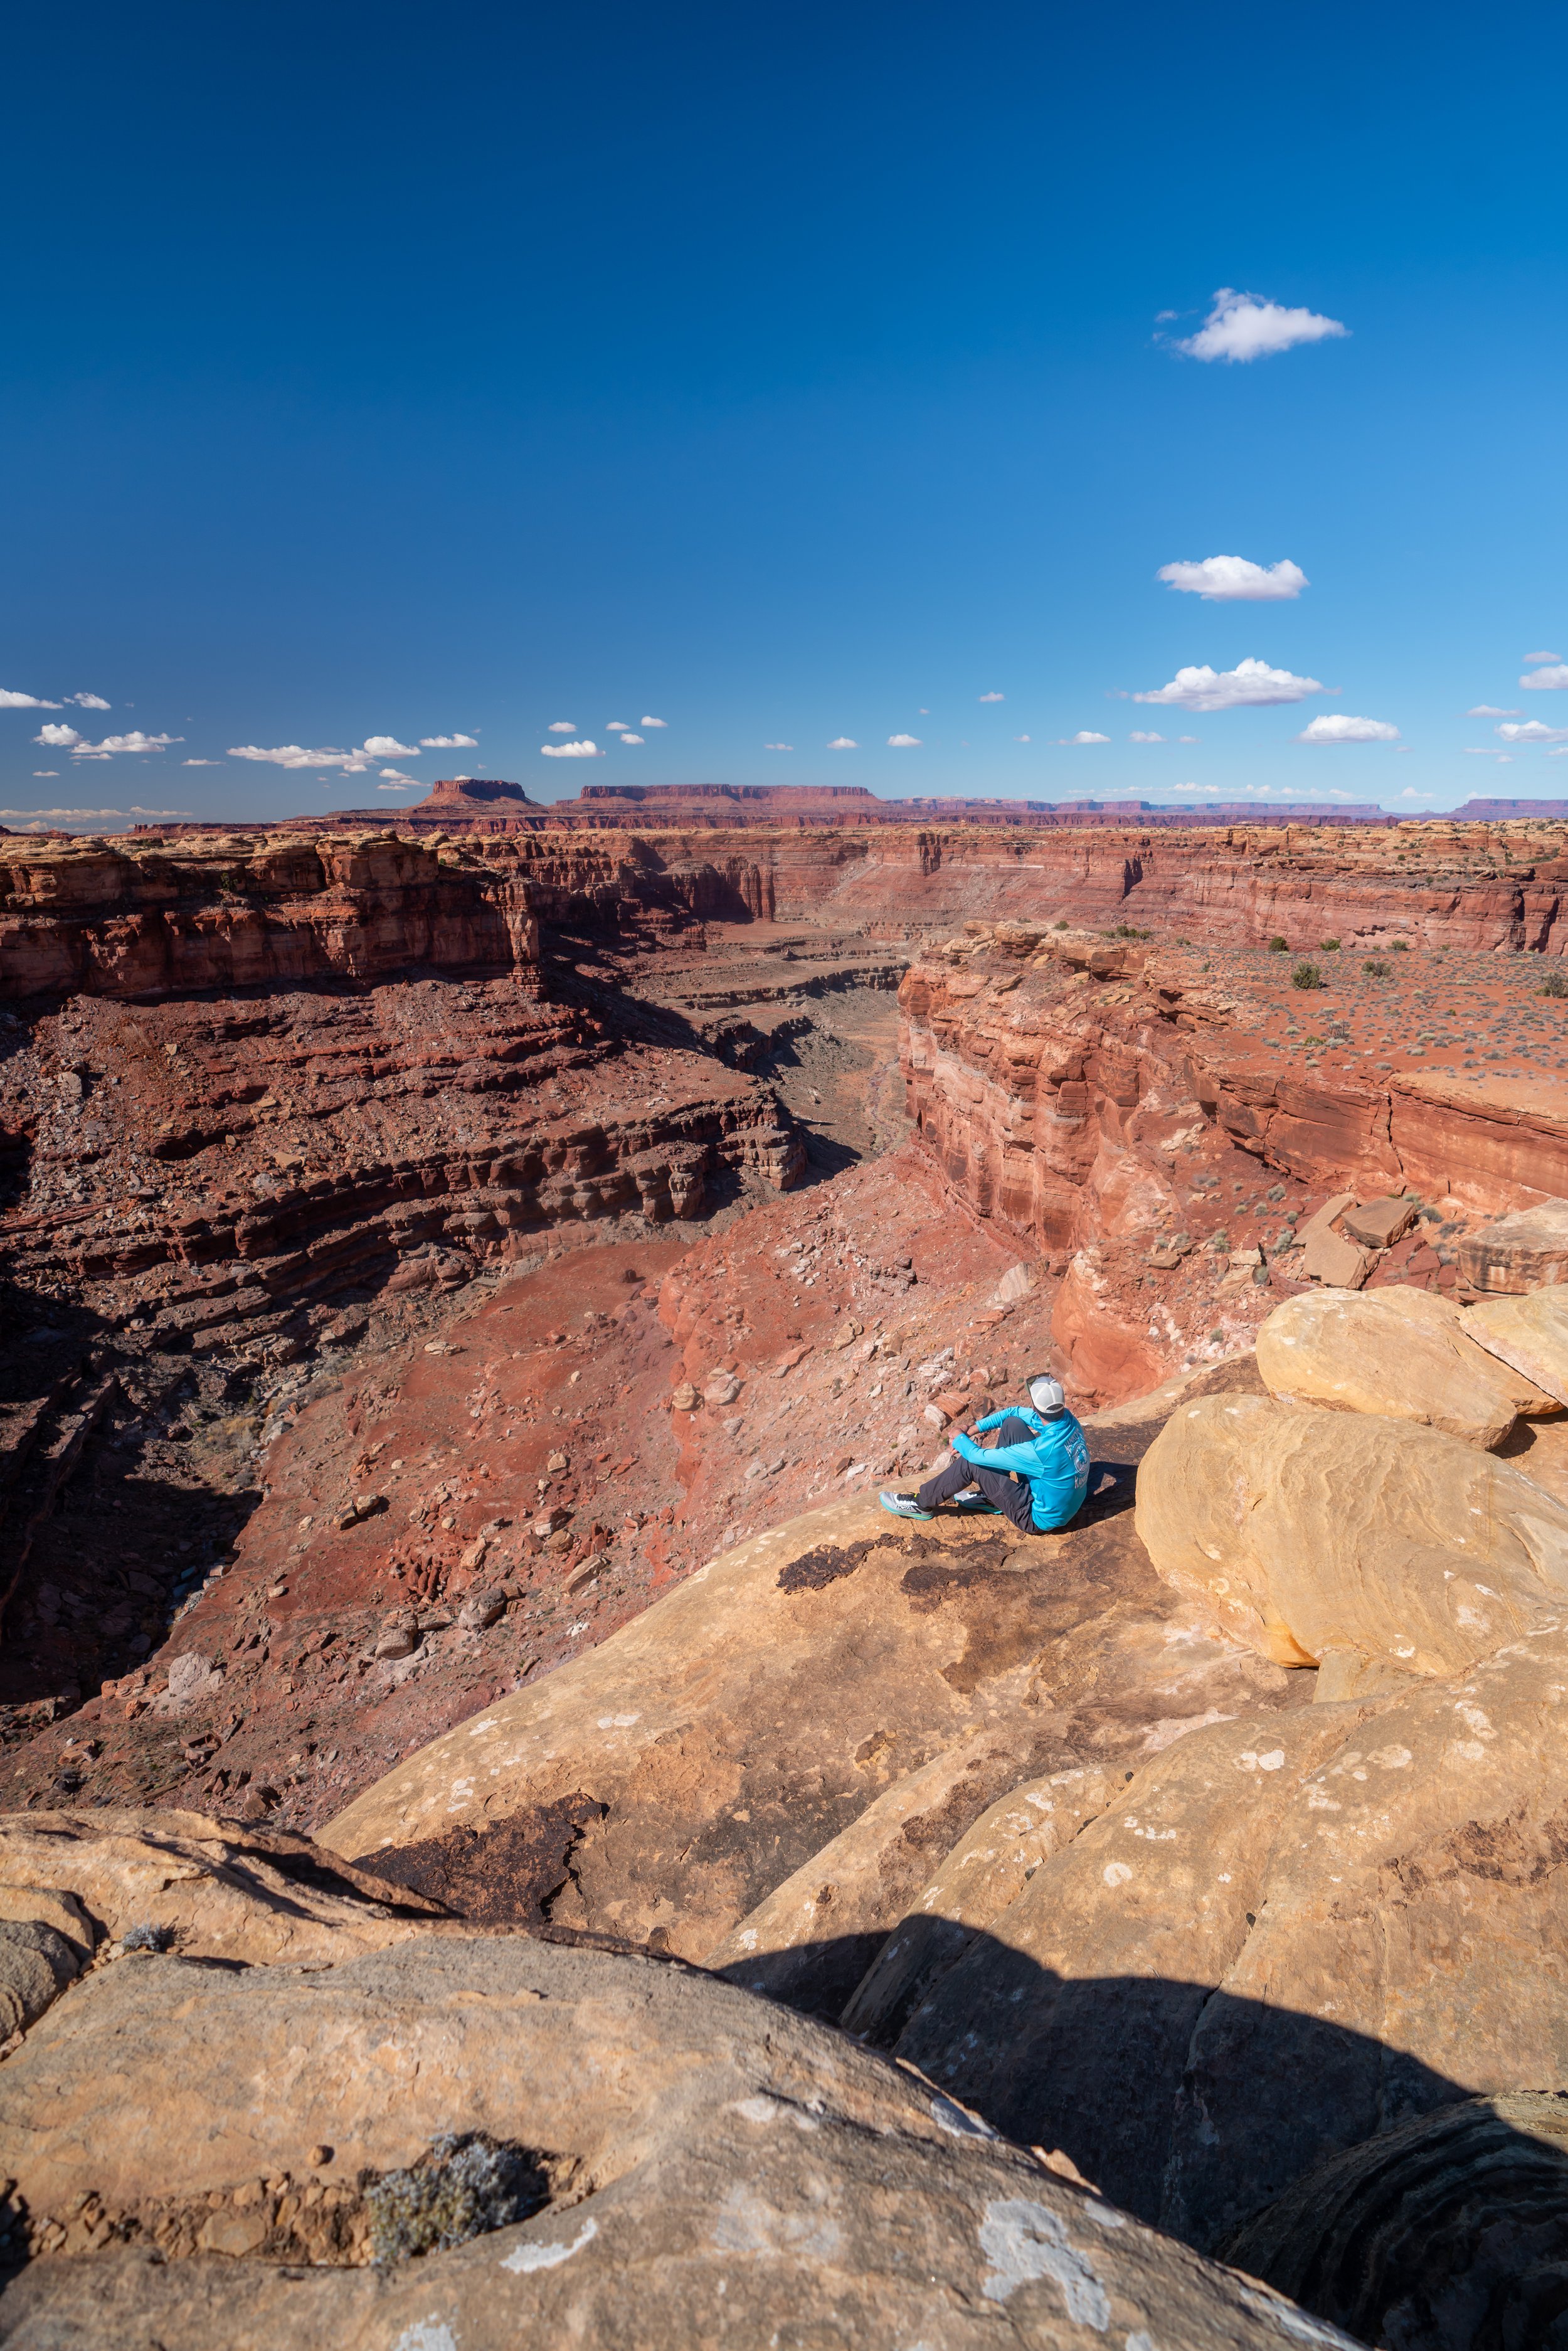
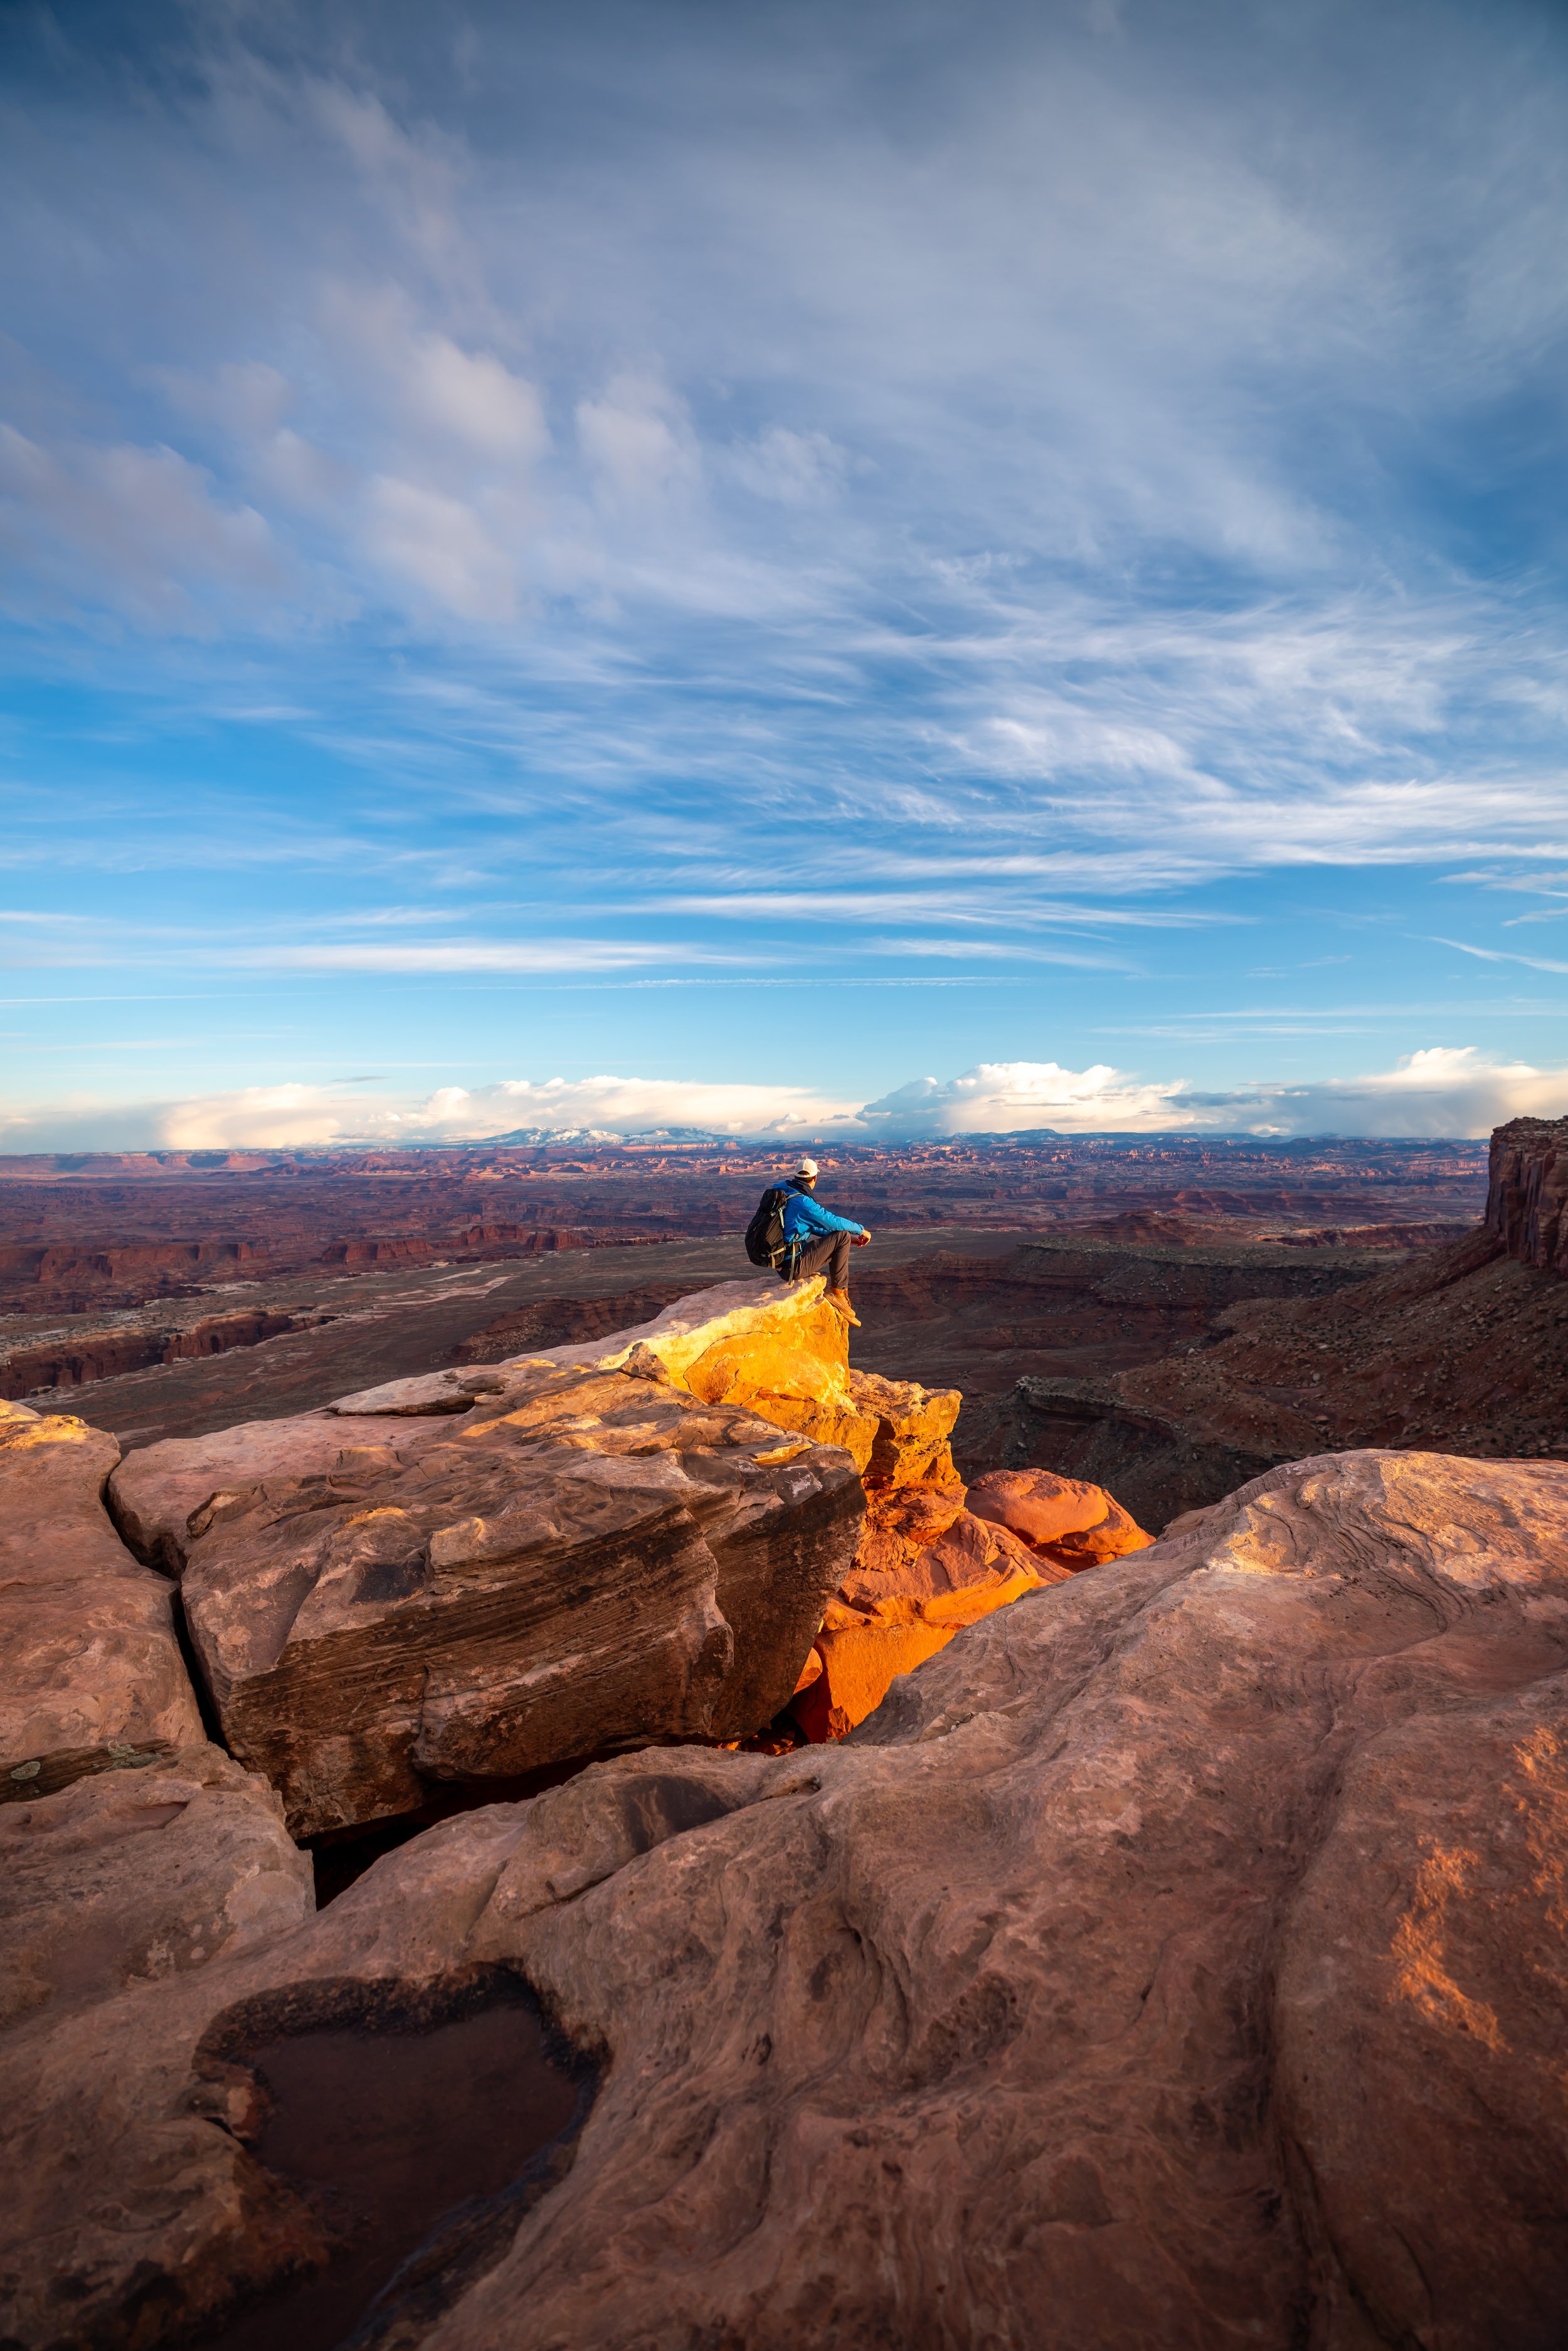
The Cave Spring Trail in Canyonlands National Park is a fun, short loop trail along the cliffs of a beautiful desert mesa, and it’s one of the best trails to see and learn about the park’s long cattle ranching history—an industry that once dominated Canyonlands and the greater area for many decades!
That said, this all does not go without saying that the full Cave Spring Loop Trail is more 'challenging' than the short 0.6-mile (1.0 km) distance may make it seem.
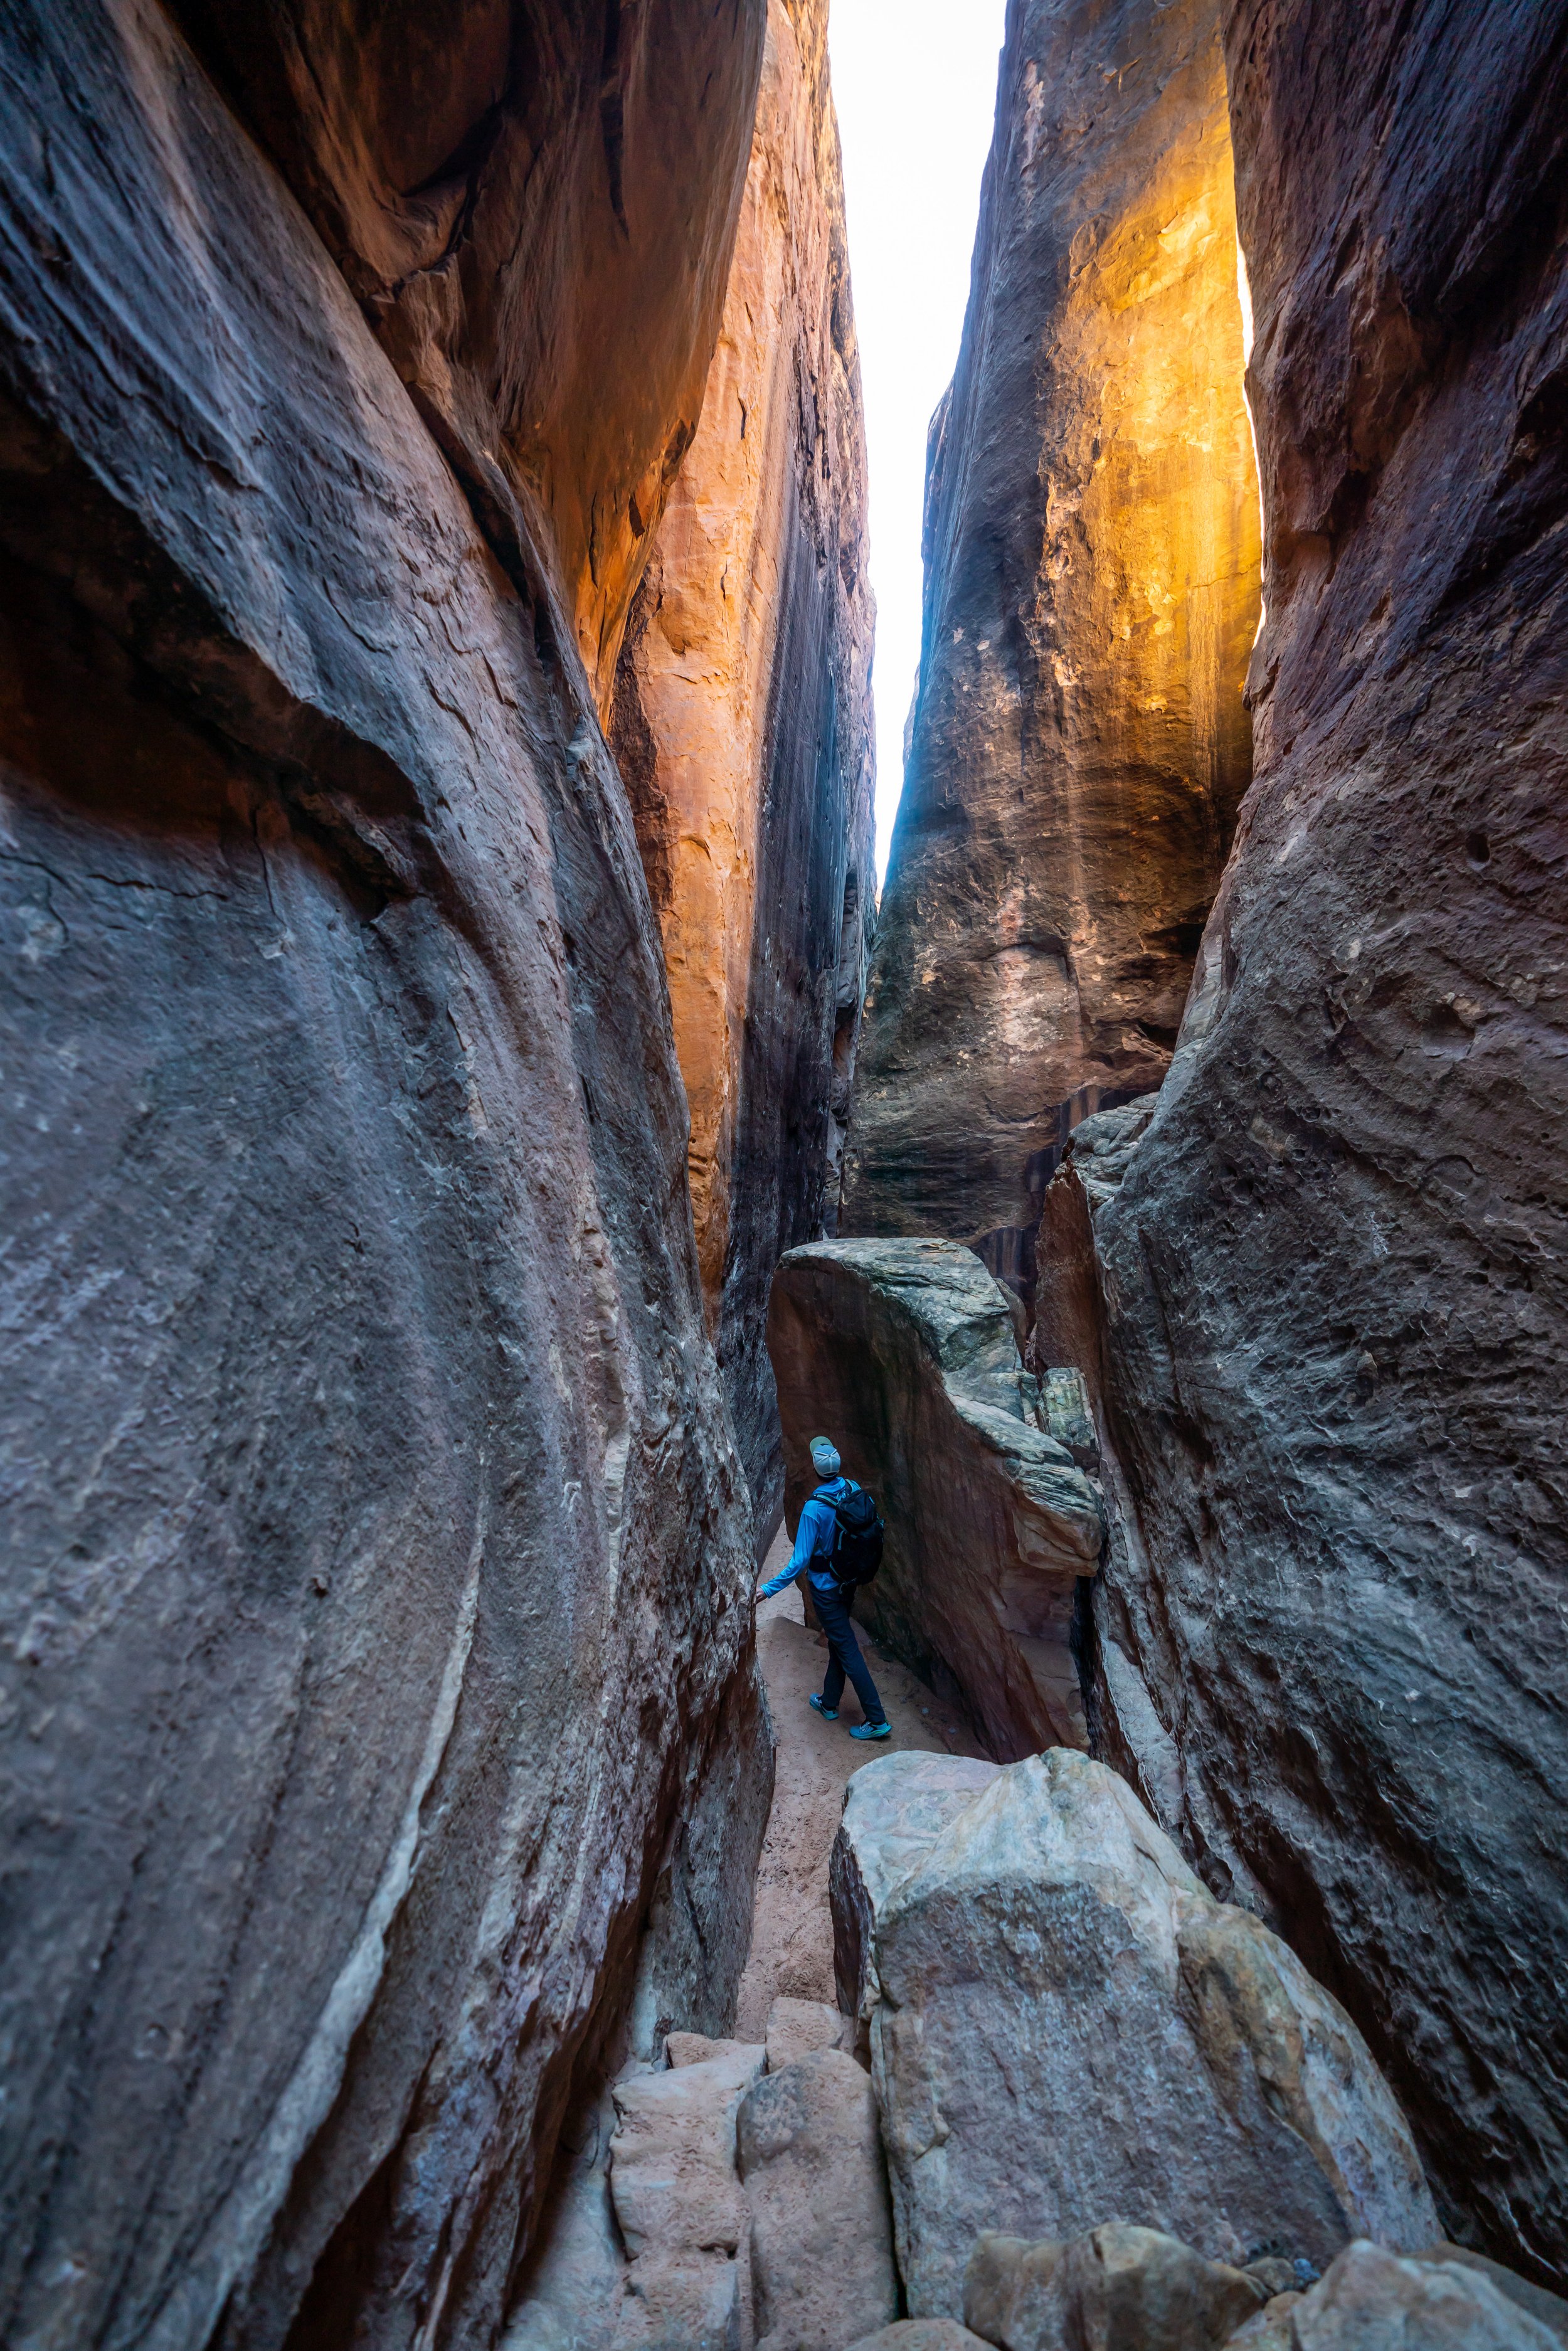
By this, I mean that the Cave Spring Trail climbs a series of fun but fairly steep ladders, with one being more exposed than even my photos show.
This is why, if climbing with exposure is something that concerns you, I highly recommend hiking the loop in the direction shown in this article, as this is the best way to see Cave Spring and the historic artifacts of Canyonlands’ long cattle history without the ladders up the mesa that immediately follow!
Cave Spring Trailhead Parking
Parking for the Cave Spring Trailhead is located at the very end of Cave Springs Road, found a short distance down the first left-hand turn past the visitor center.
In my experience, the Cave Spring Trail is one of the least-visited hikes in The Needles District of Canyonlands, meaning that finding a place to park should never be a concern.
Google Maps Directions: Cave Spring Trailhead
Hiking Checklist - Canyonlands
Here is a complete list of must-have things that you will want for any hike in Canyonlands National Park.
Hiking the Cave Spring Trail
As previously mentioned, the Cave Spring Trail can be deceiving regarding how challenging of a hike it can be for some visitors, especially if exposure is something that makes you uncomfortable.
With that in mind, Cave Spring and the historical remnants from the ranching era can be visited without hiking the full Cave Spring Loop Trail, as shown below.
Cave Spring Loop Trail
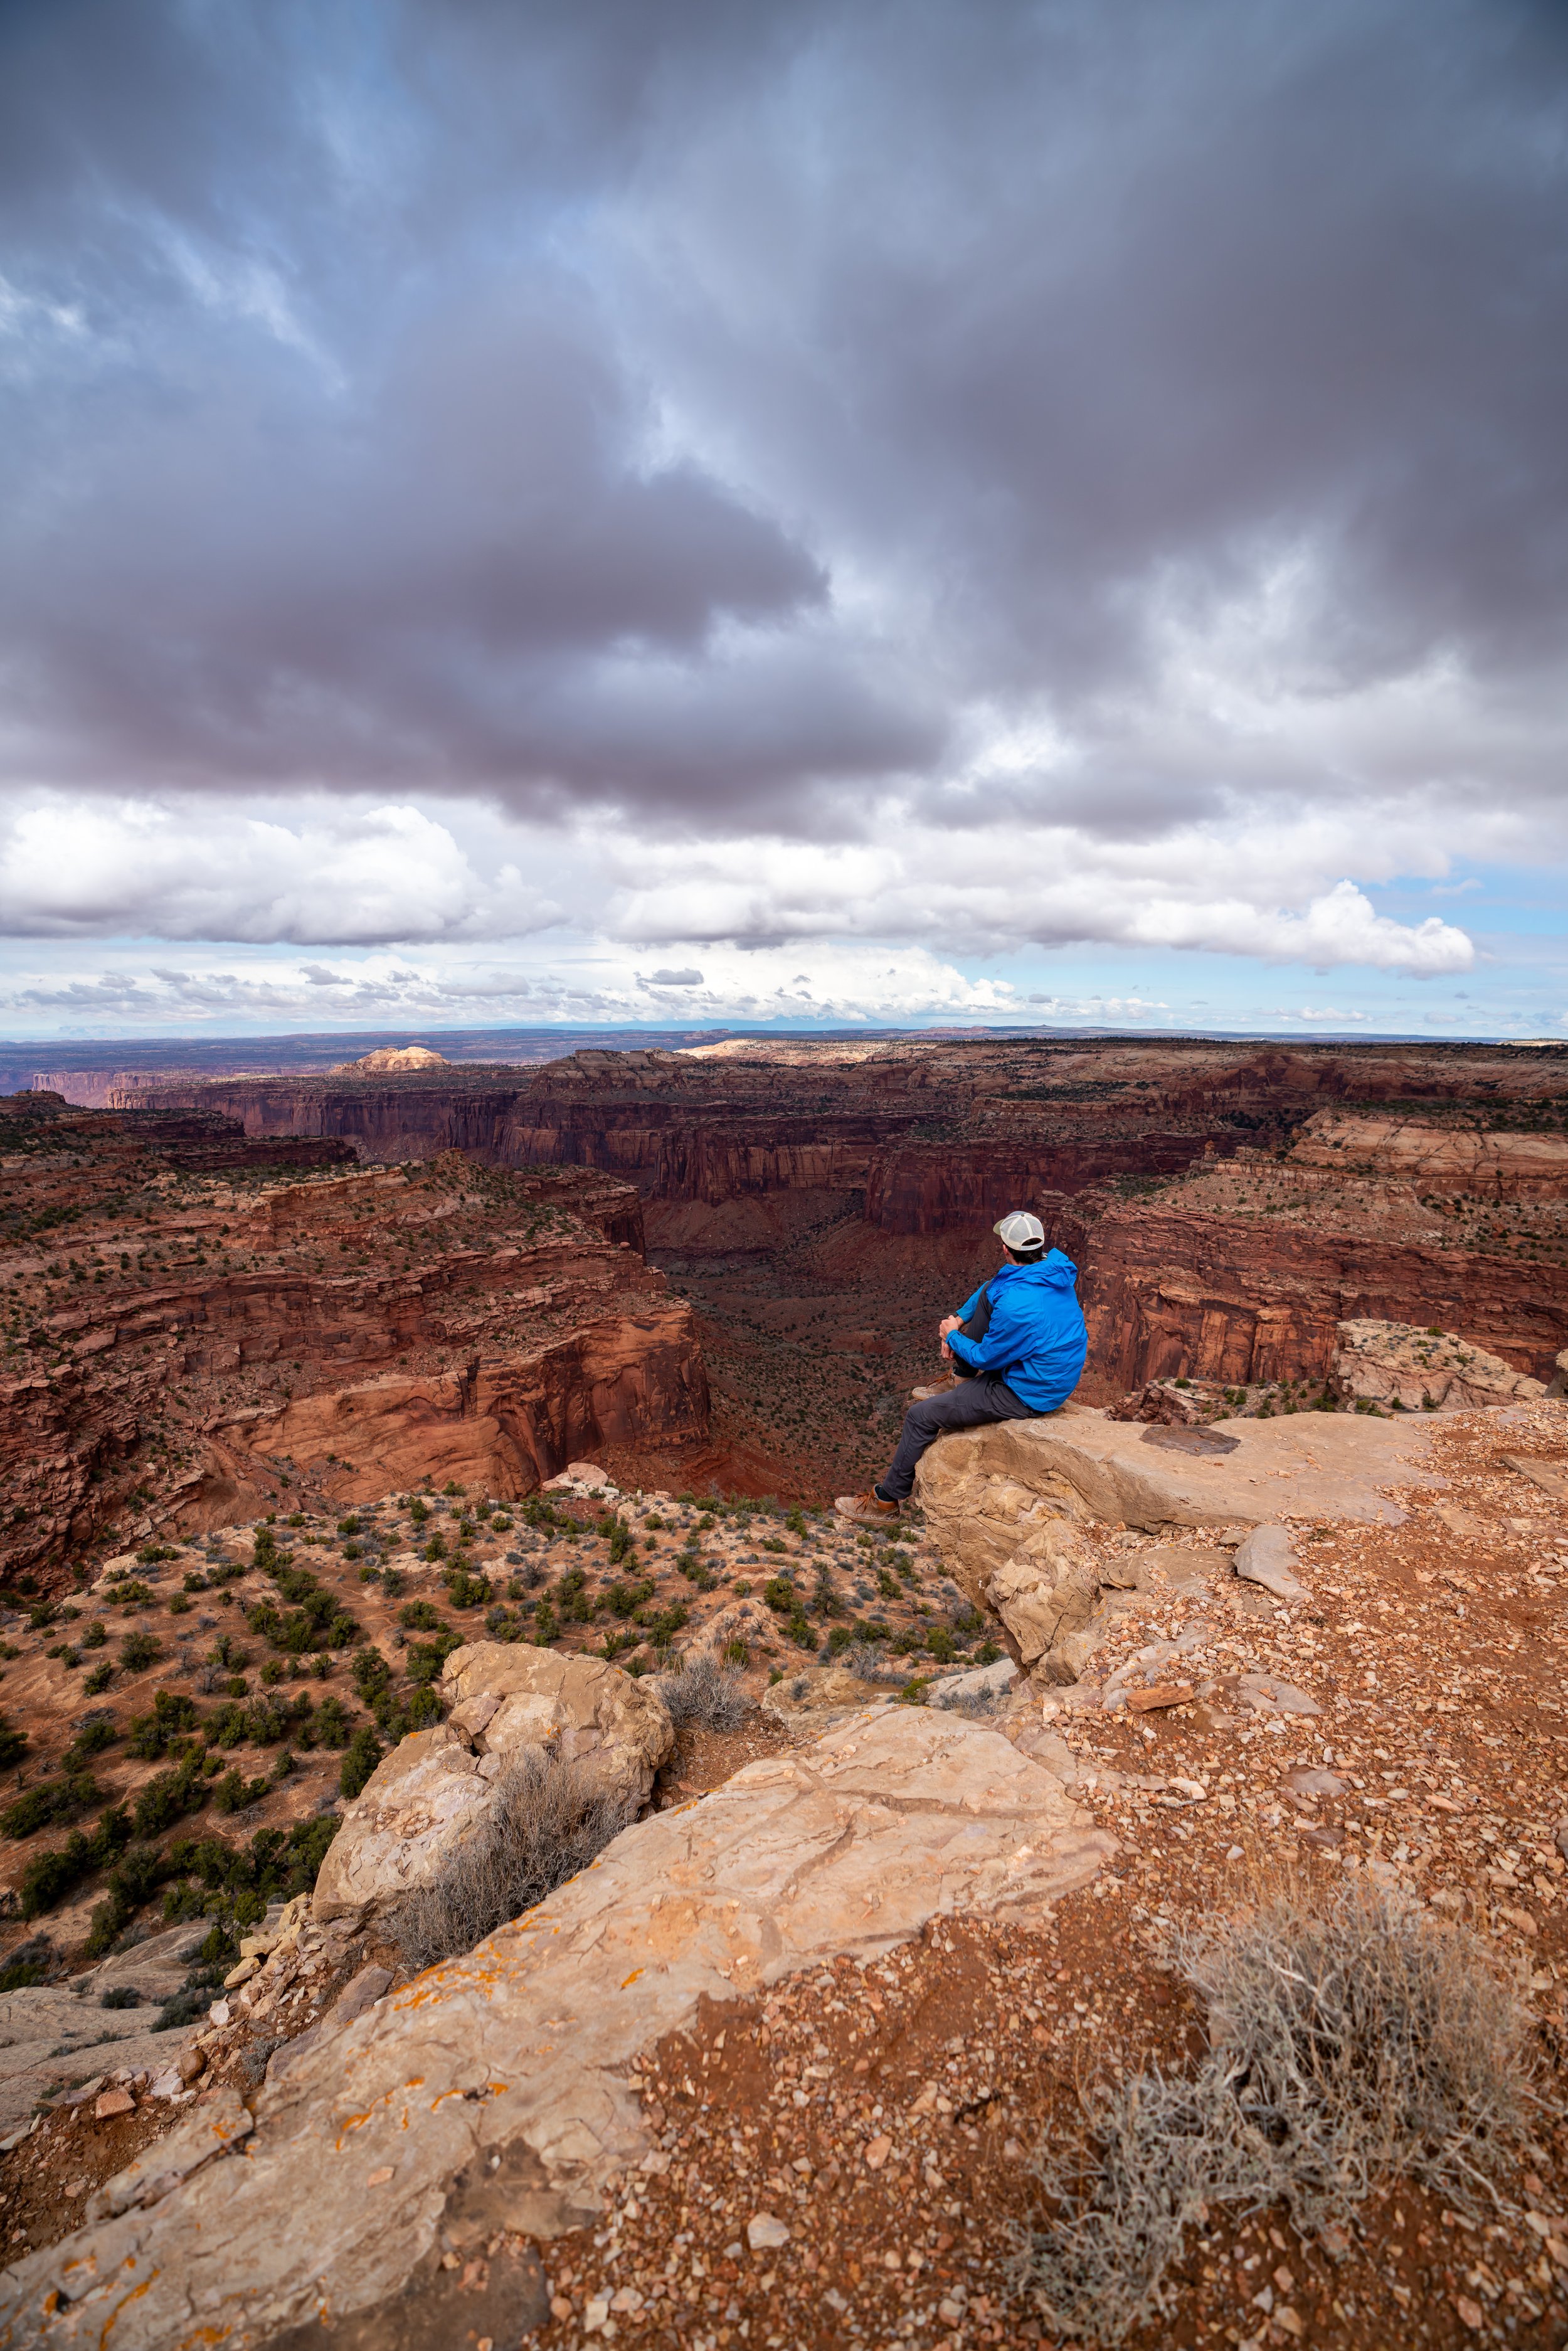
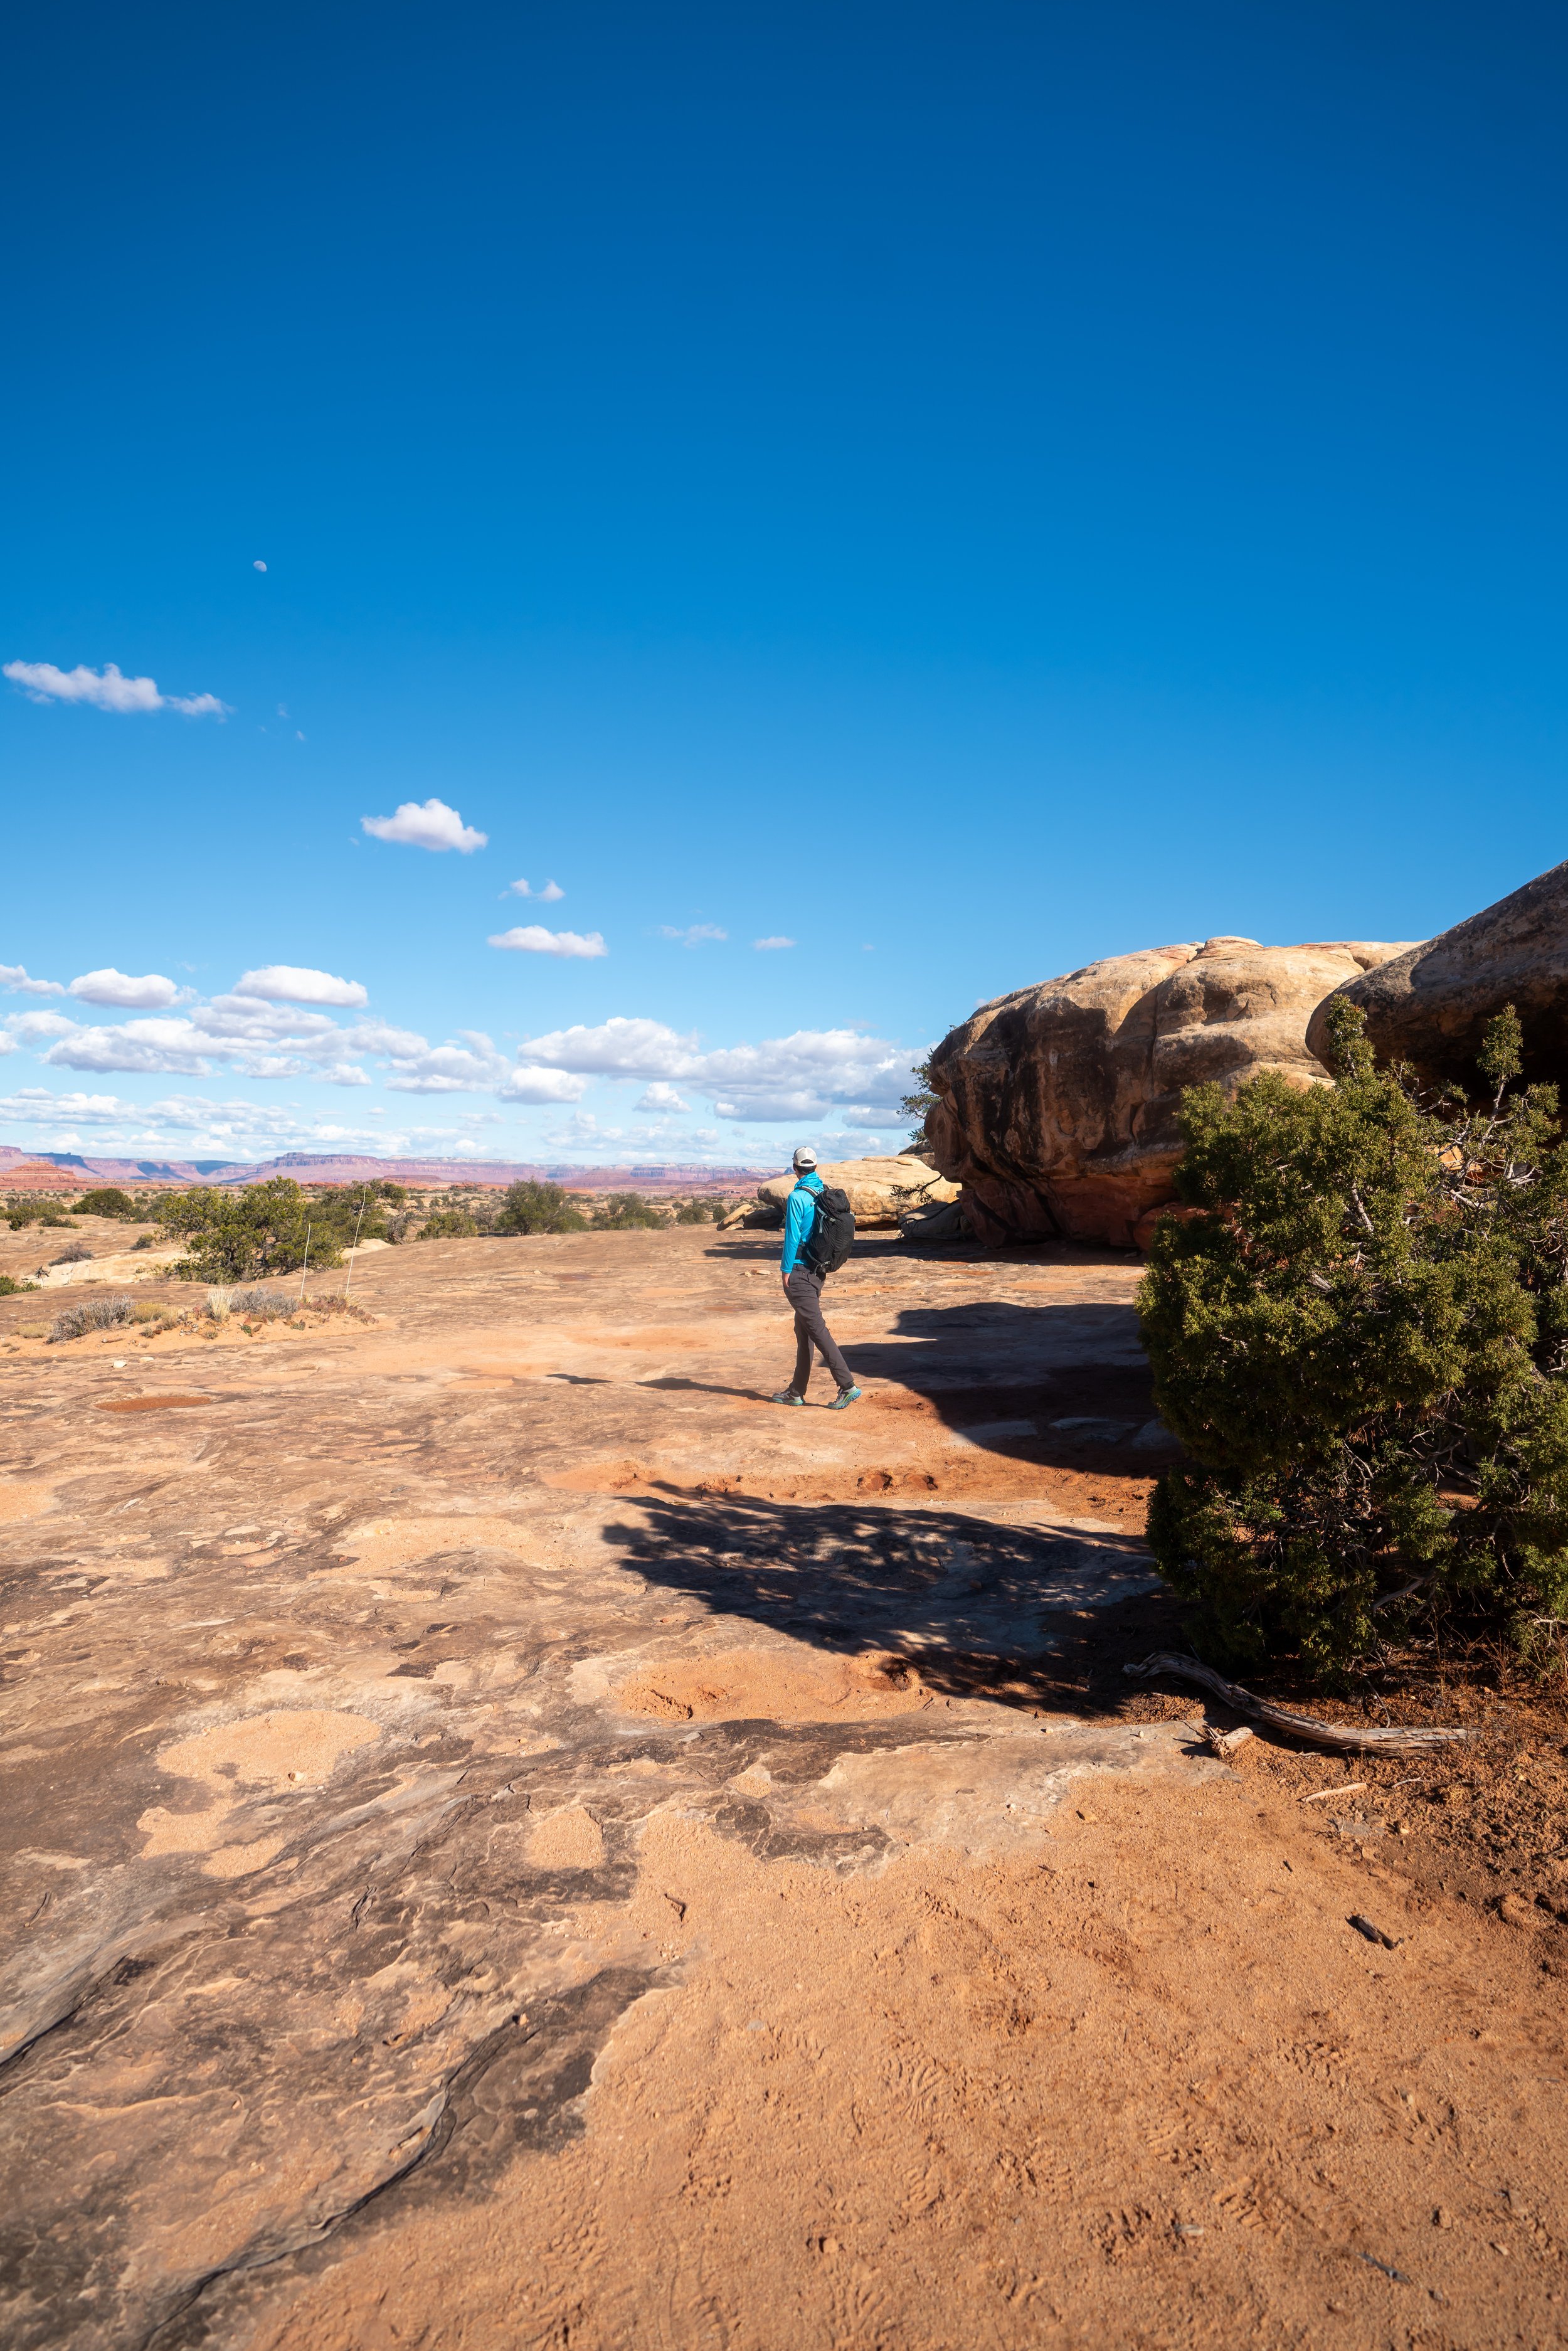
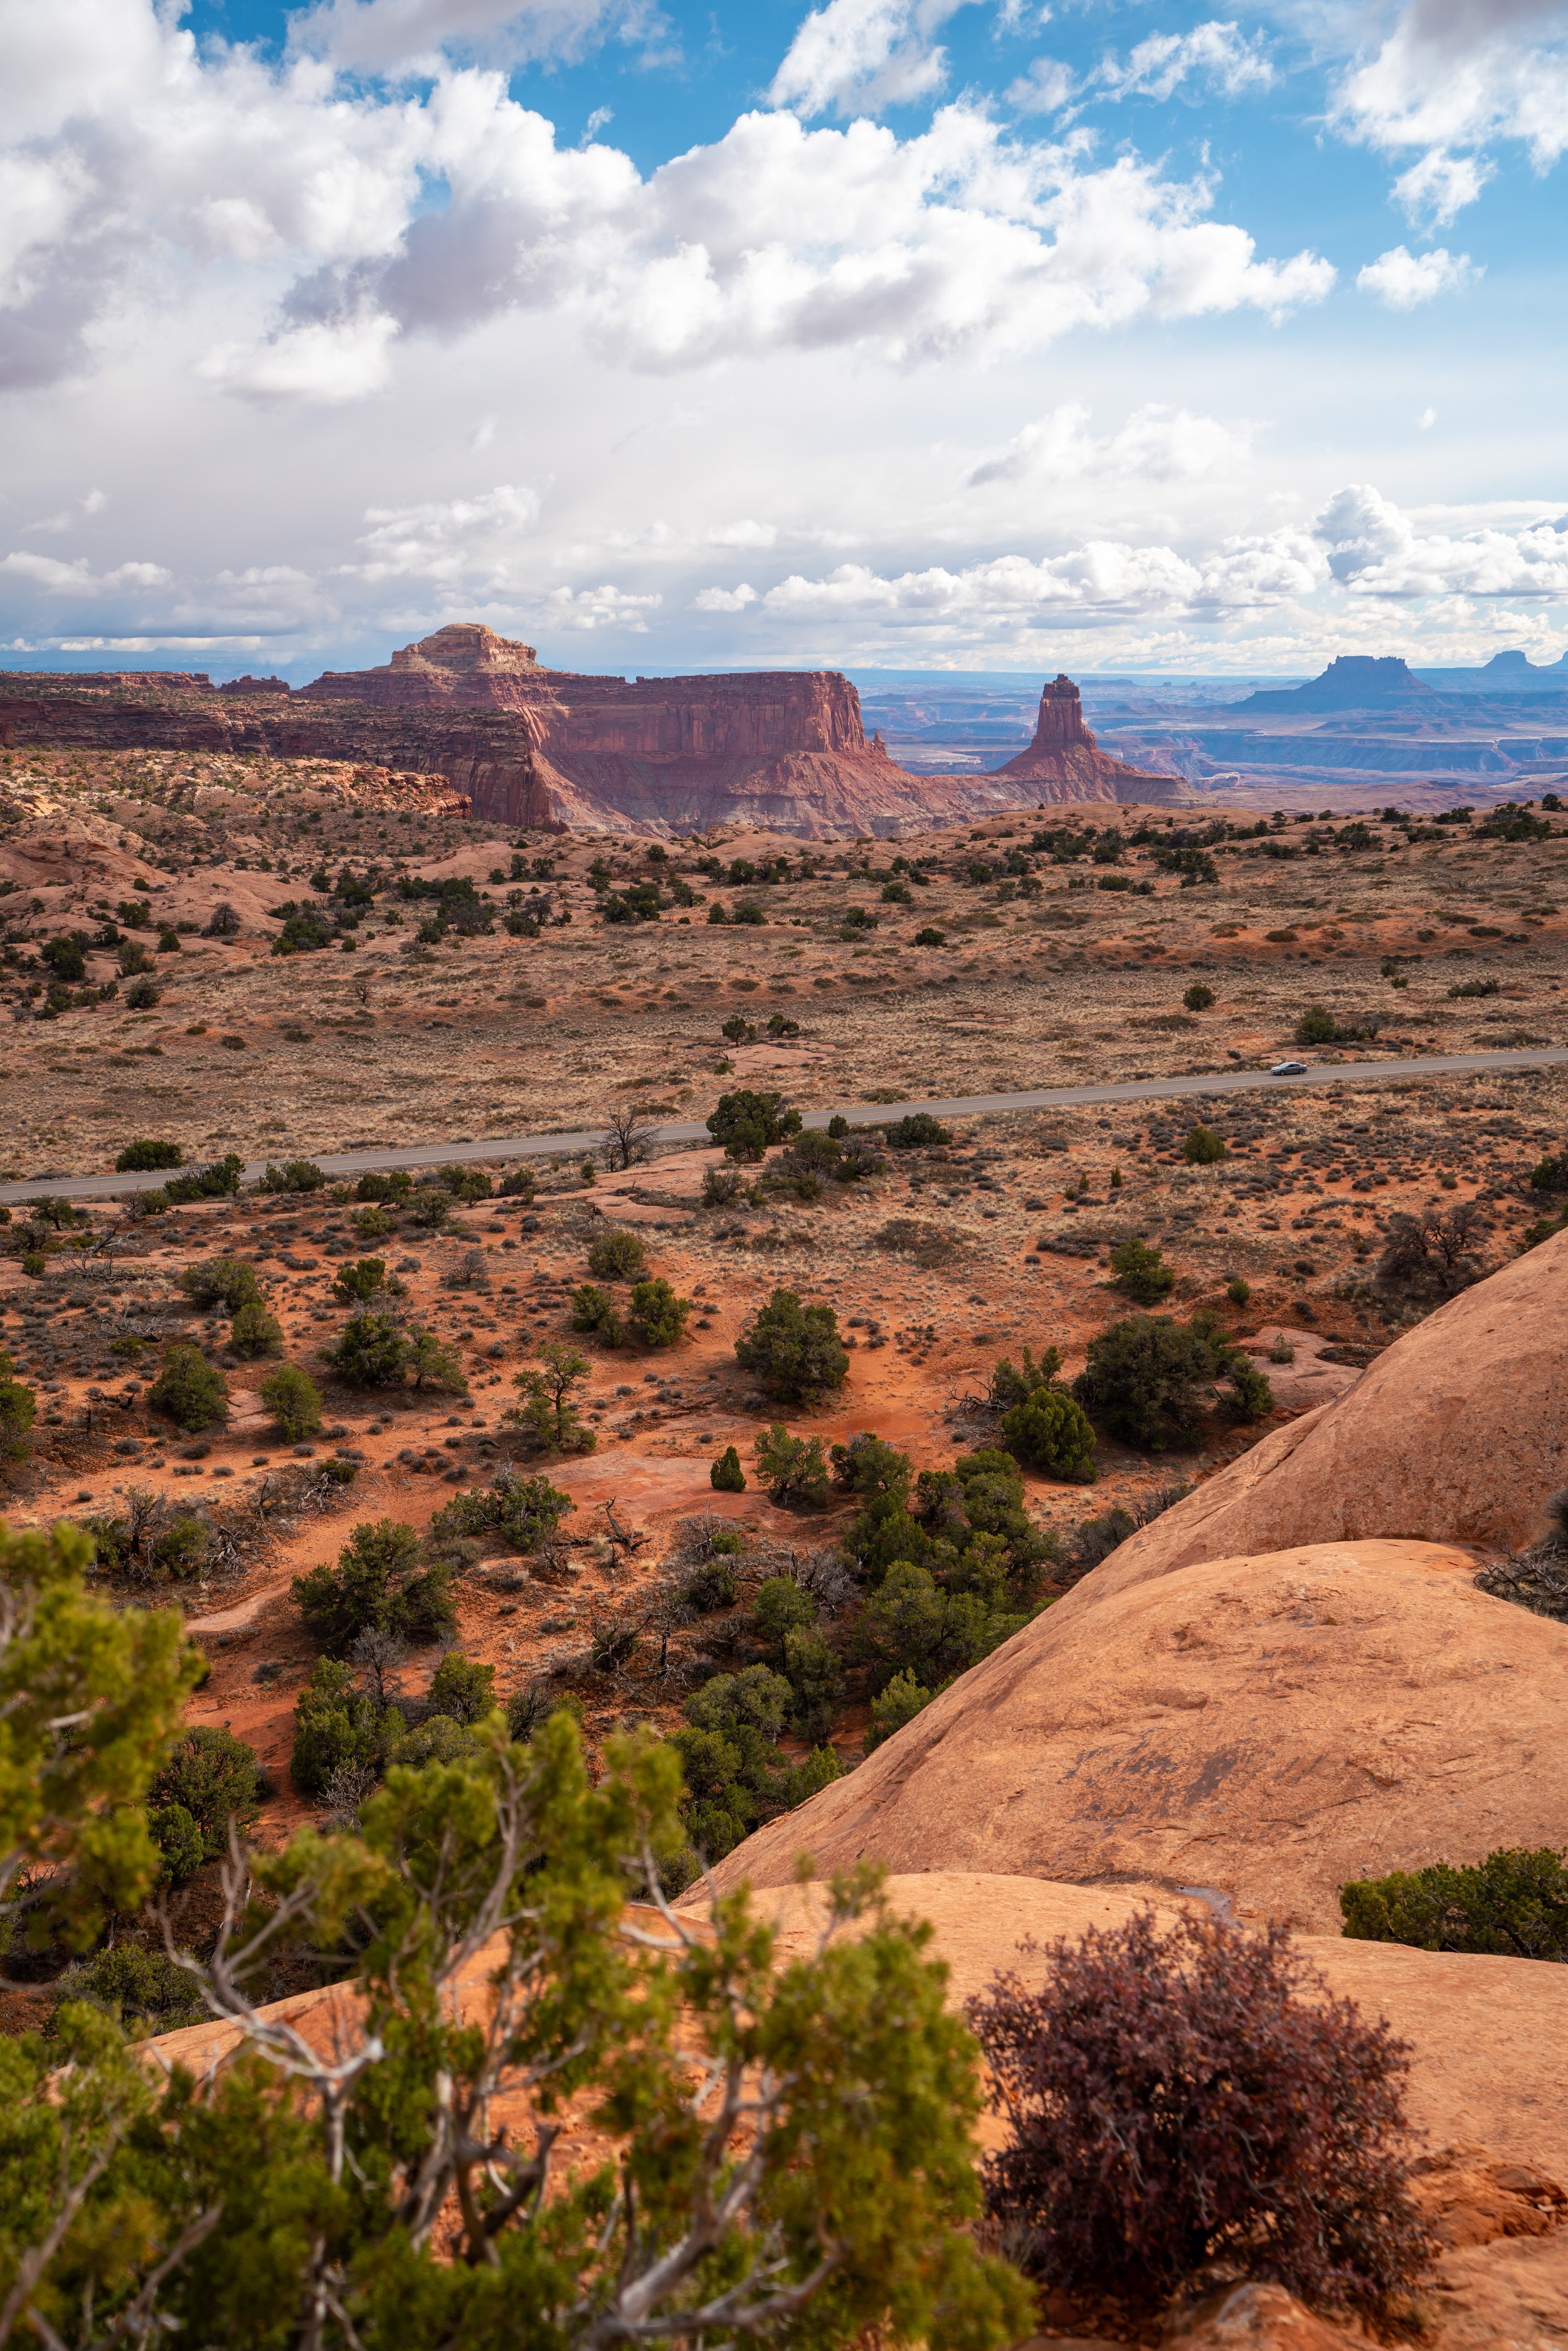
Immediately after beginning the hike, the Cave Spring Trail splits into a loop that not only passes by Cave Spring but also climbs atop the mesa ahead to enjoy some upper views of the surrounding area.
That said, I recommend going left at the split for a few reasons.
First, it’s always easier to climb up sections that are more difficult, as opposed to down, and second, if completing the full loop isn’t something that you’re interested in, then the best of the trail—including Cave Spring and the historical structures—can be seen by hiking just a short distance in the clockwise direction.
Cowboy Camp
After just 0.1 miles (0.2 km), the Cave Spring Trail reaches the main Cowboy Camp, with the natural spring located a short distance ahead.

Looking Back
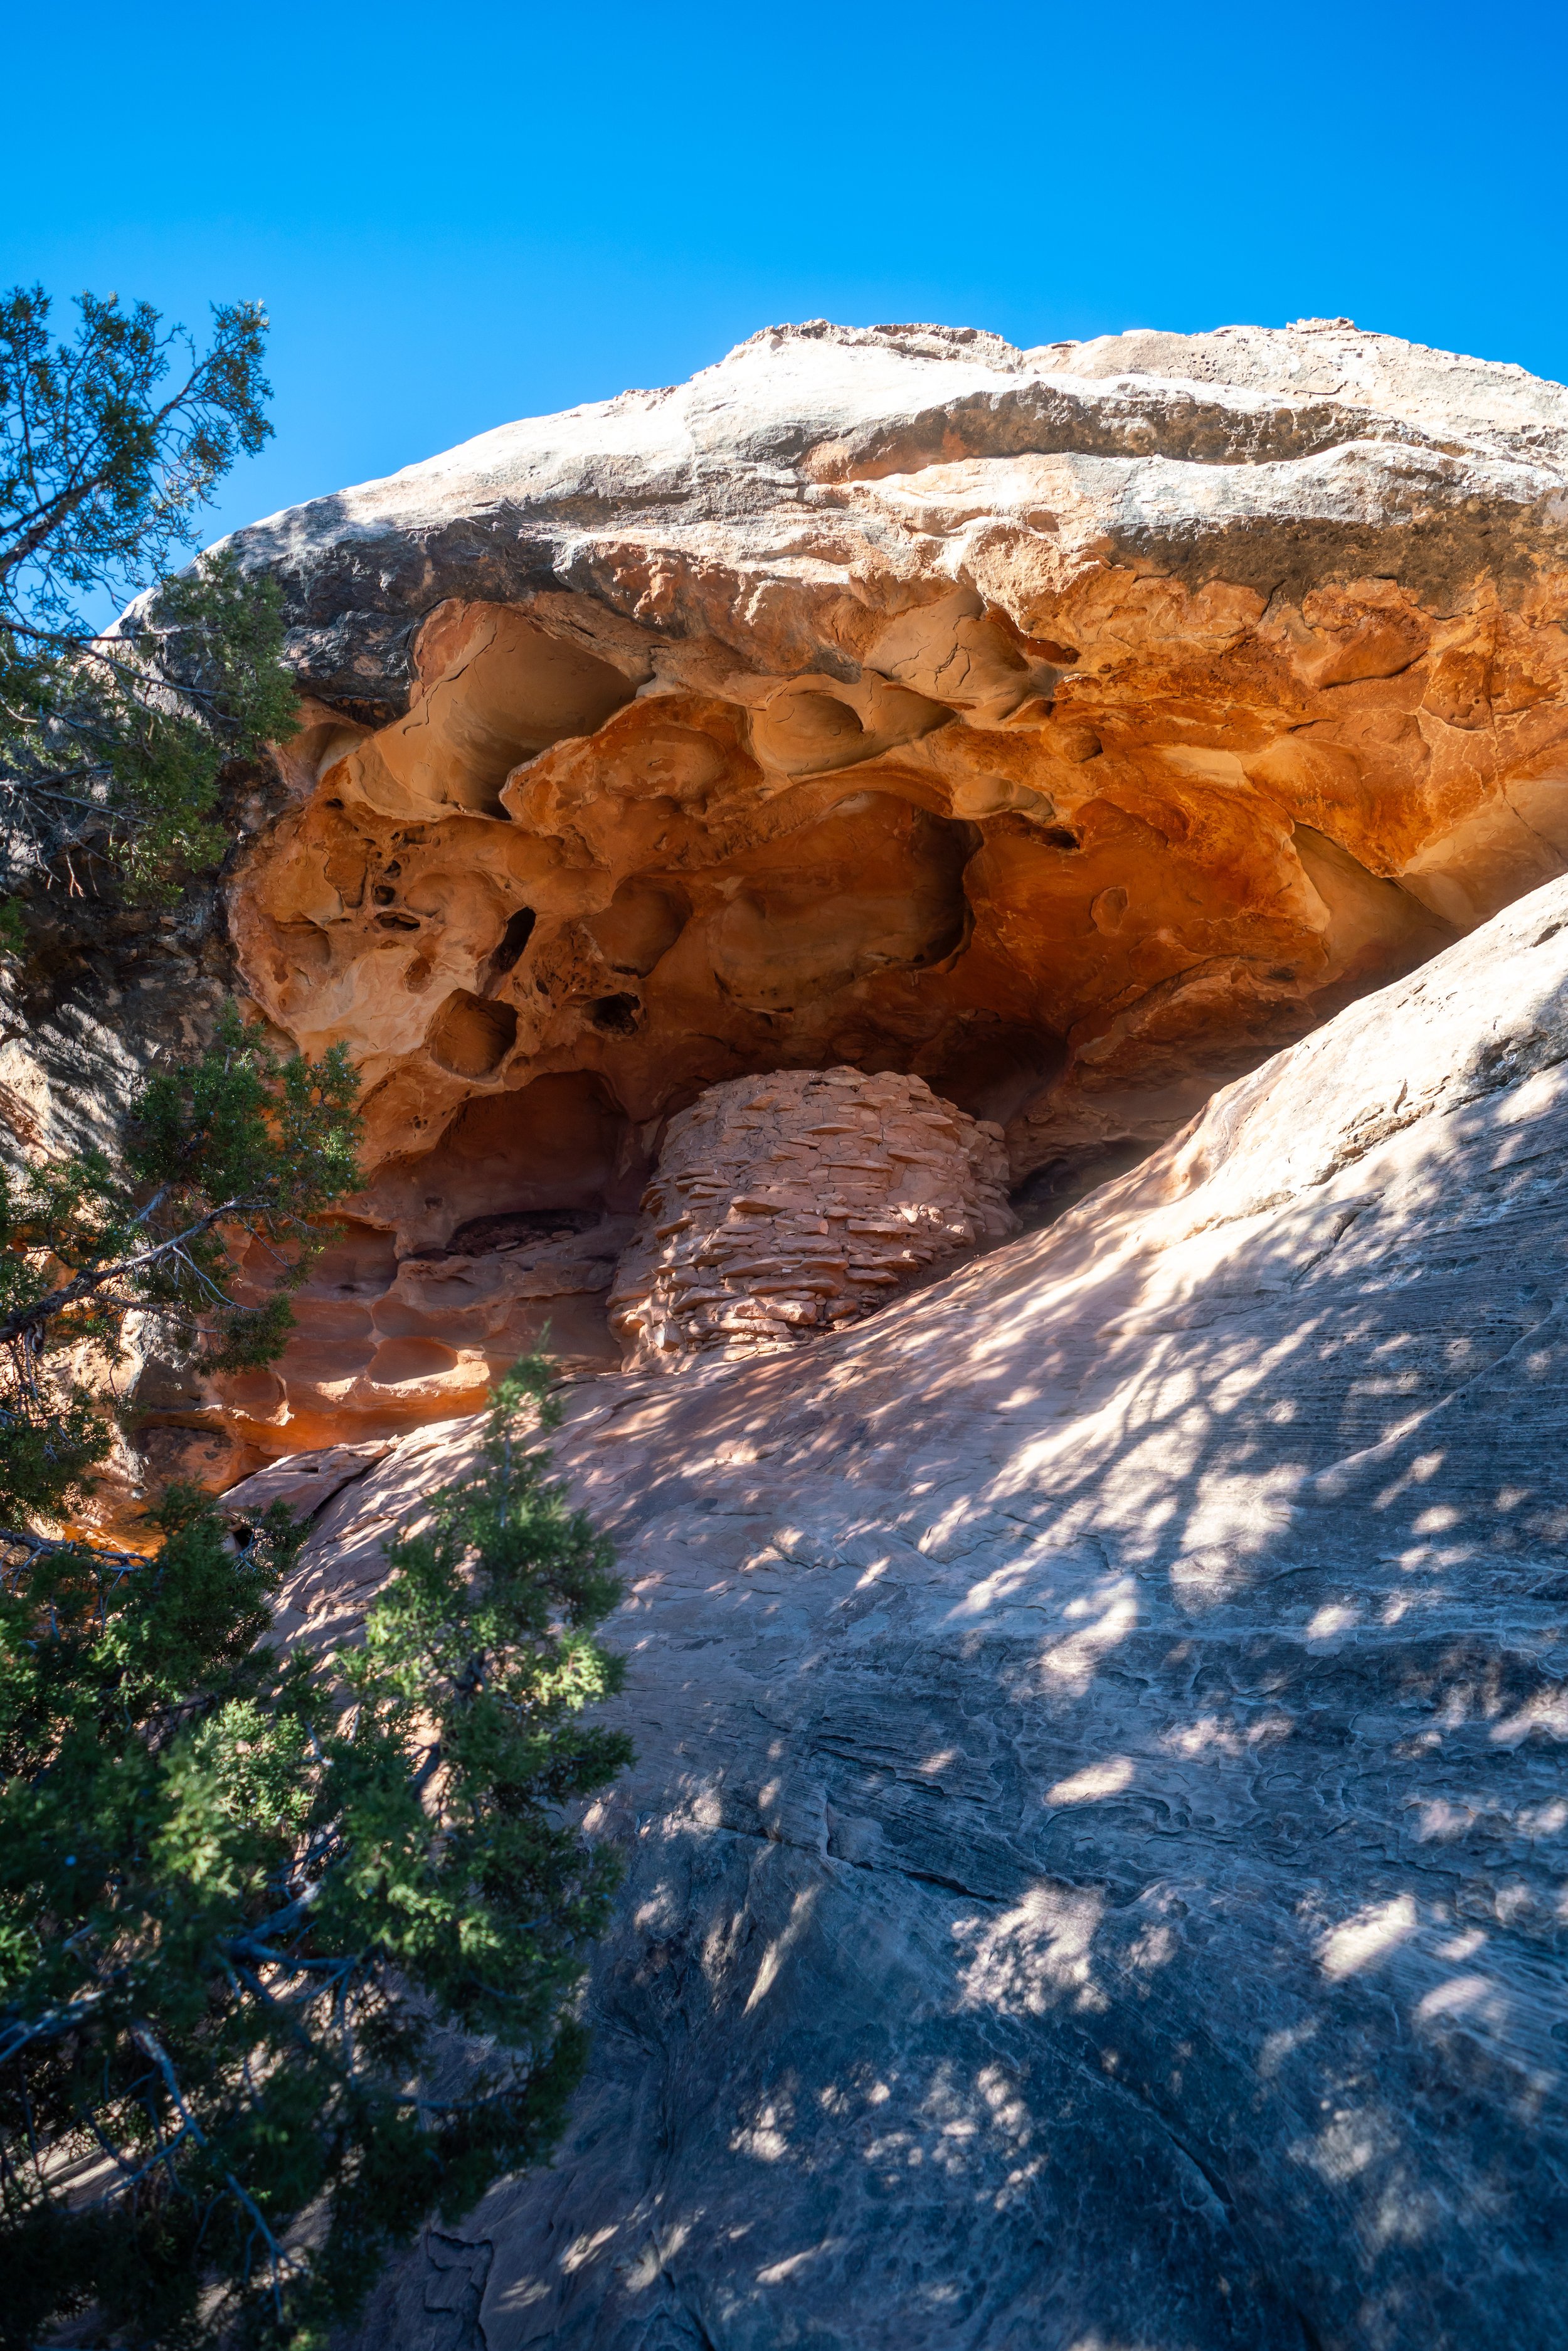
Cave Spring
Next, Cave Spring can be found at the base of the wall, beneath this natural alcove.
Here, you can learn about how this water naturally occurs in an otherwise arid landscape, all without hiking the most difficult sections of the full loop trail.
First Ladder
This is the first of two ladders on the Cave Spring Trail, and while I may have made them sound more difficult than they will be for most hikers, the top of this first ladder is more exposed than it initially appears.
This short traverse at the top of the first ladder is the most dangerous part of the entire Cave Spring Trail.
That said, most fit hikers will have no difficulties navigating this section, but it should be considered a no-fall zone.
Second Ladder
This is the second ladder, and it is considerably easier than the first.
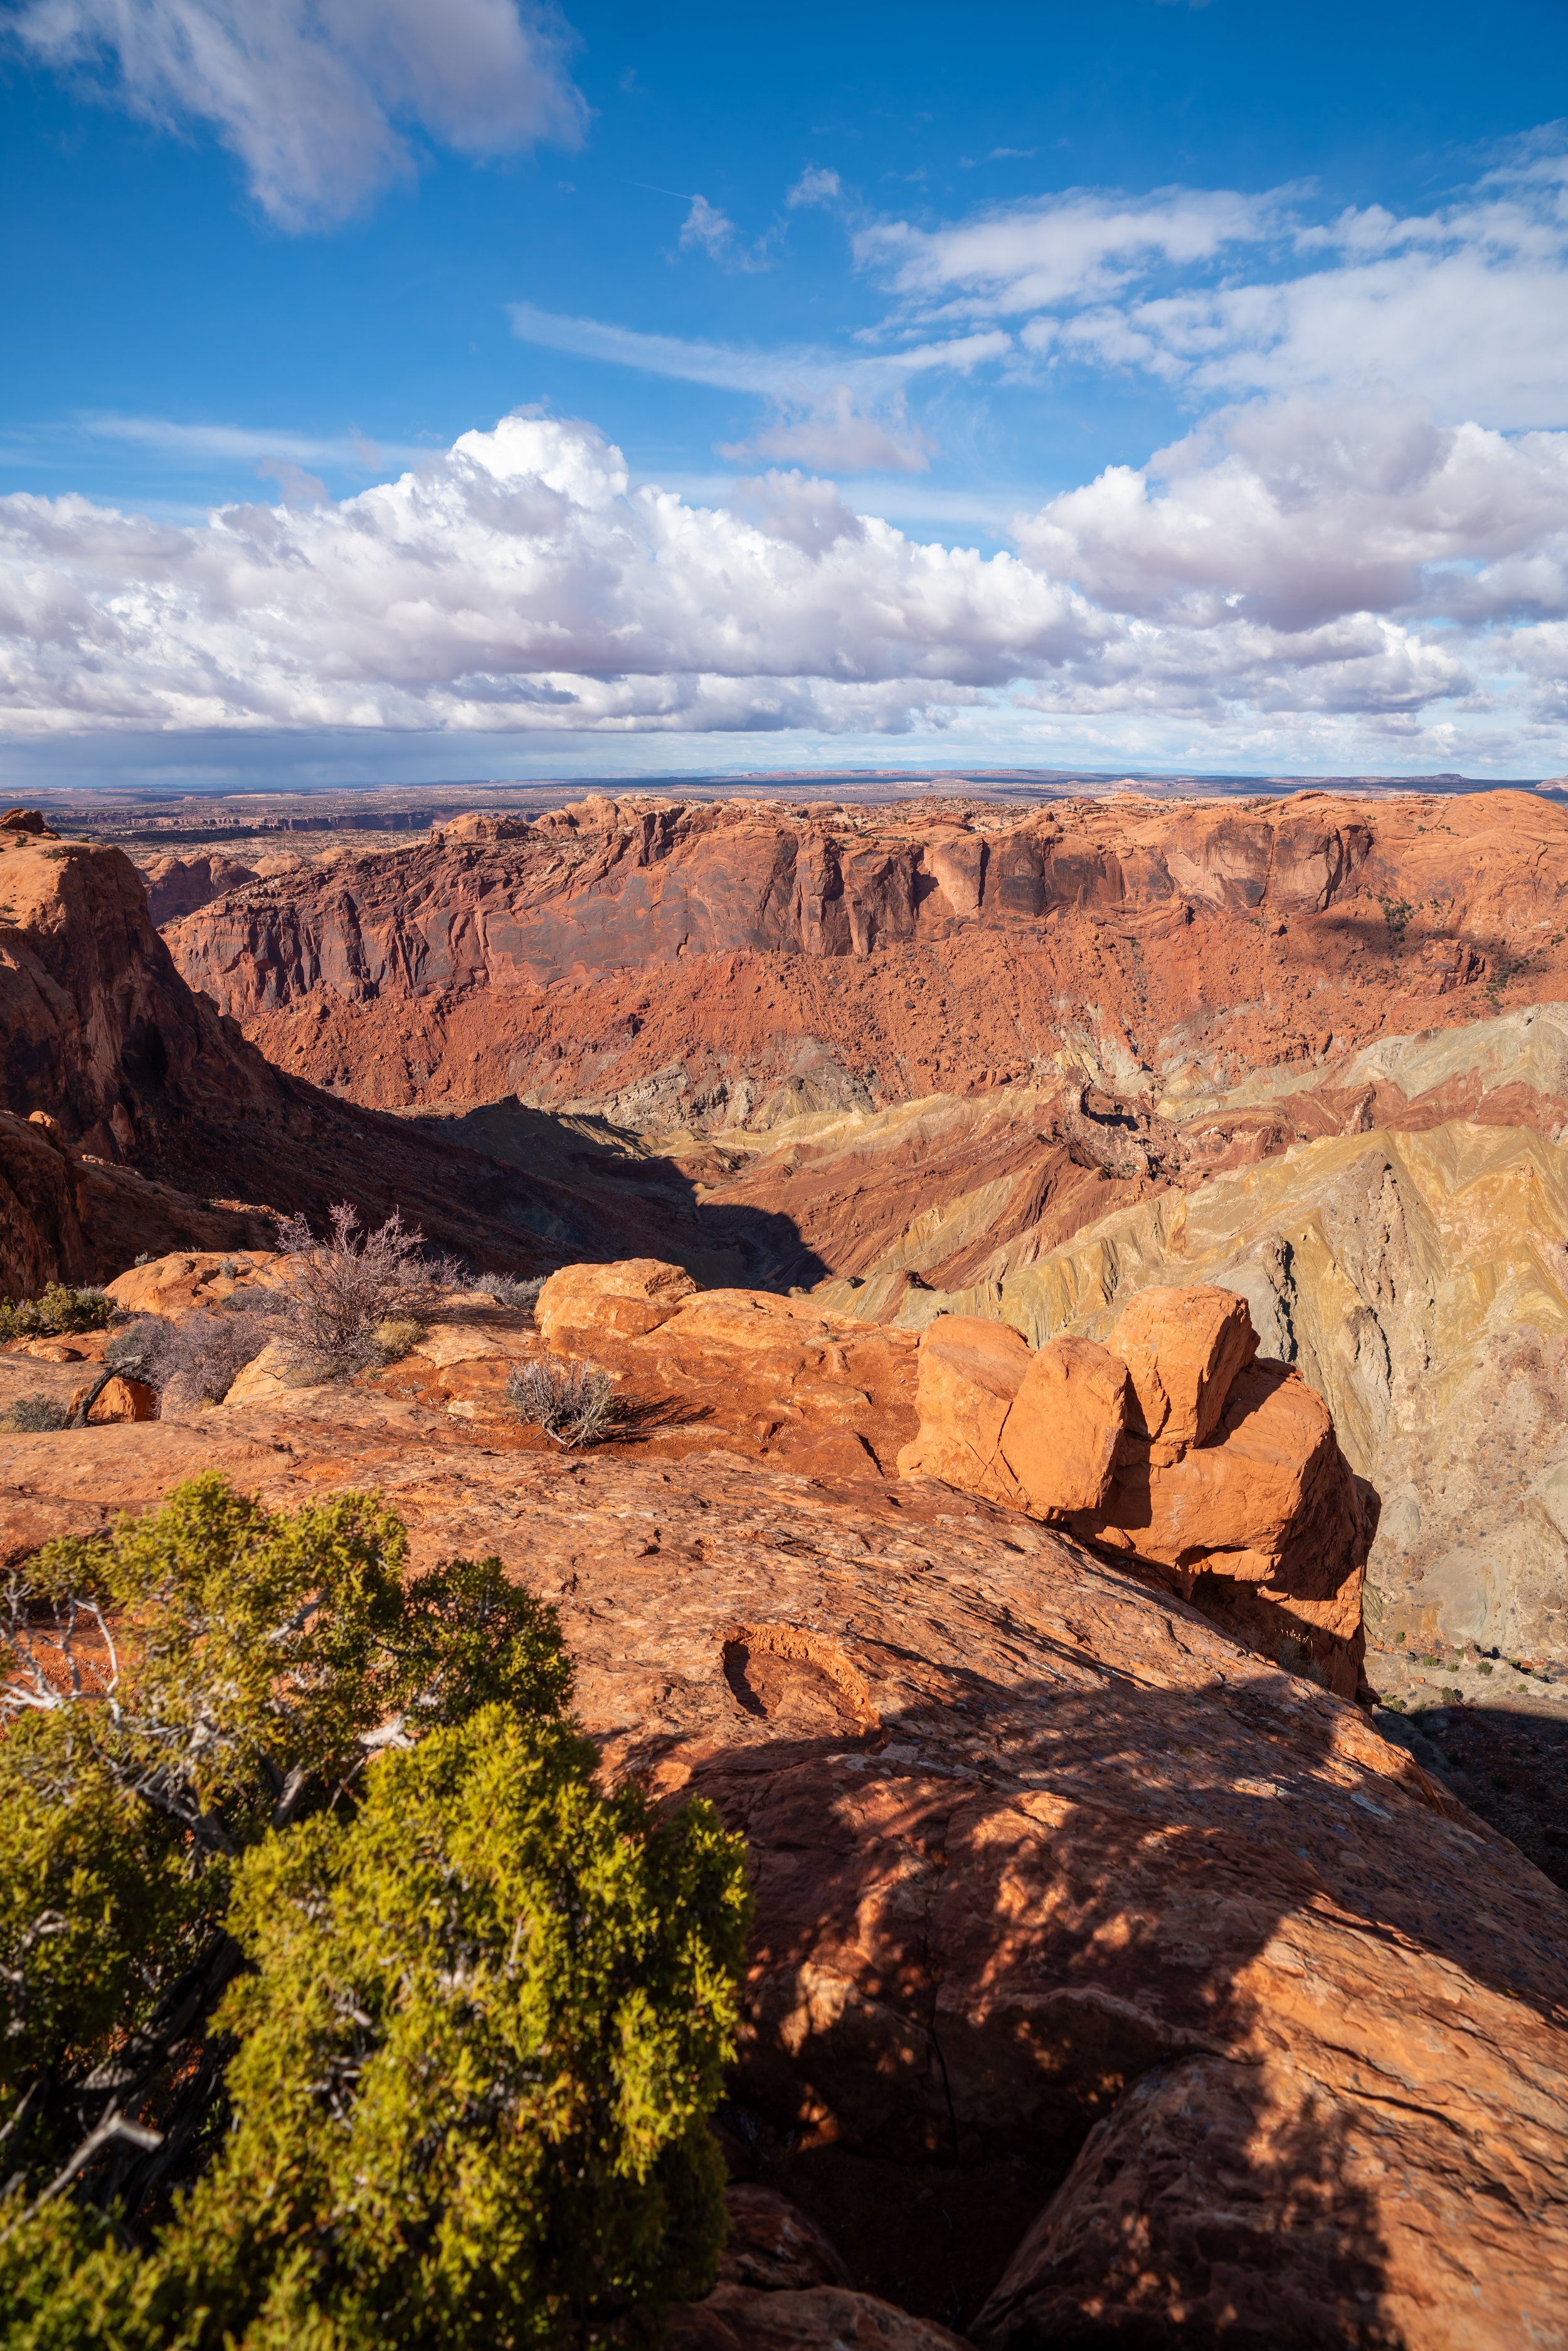
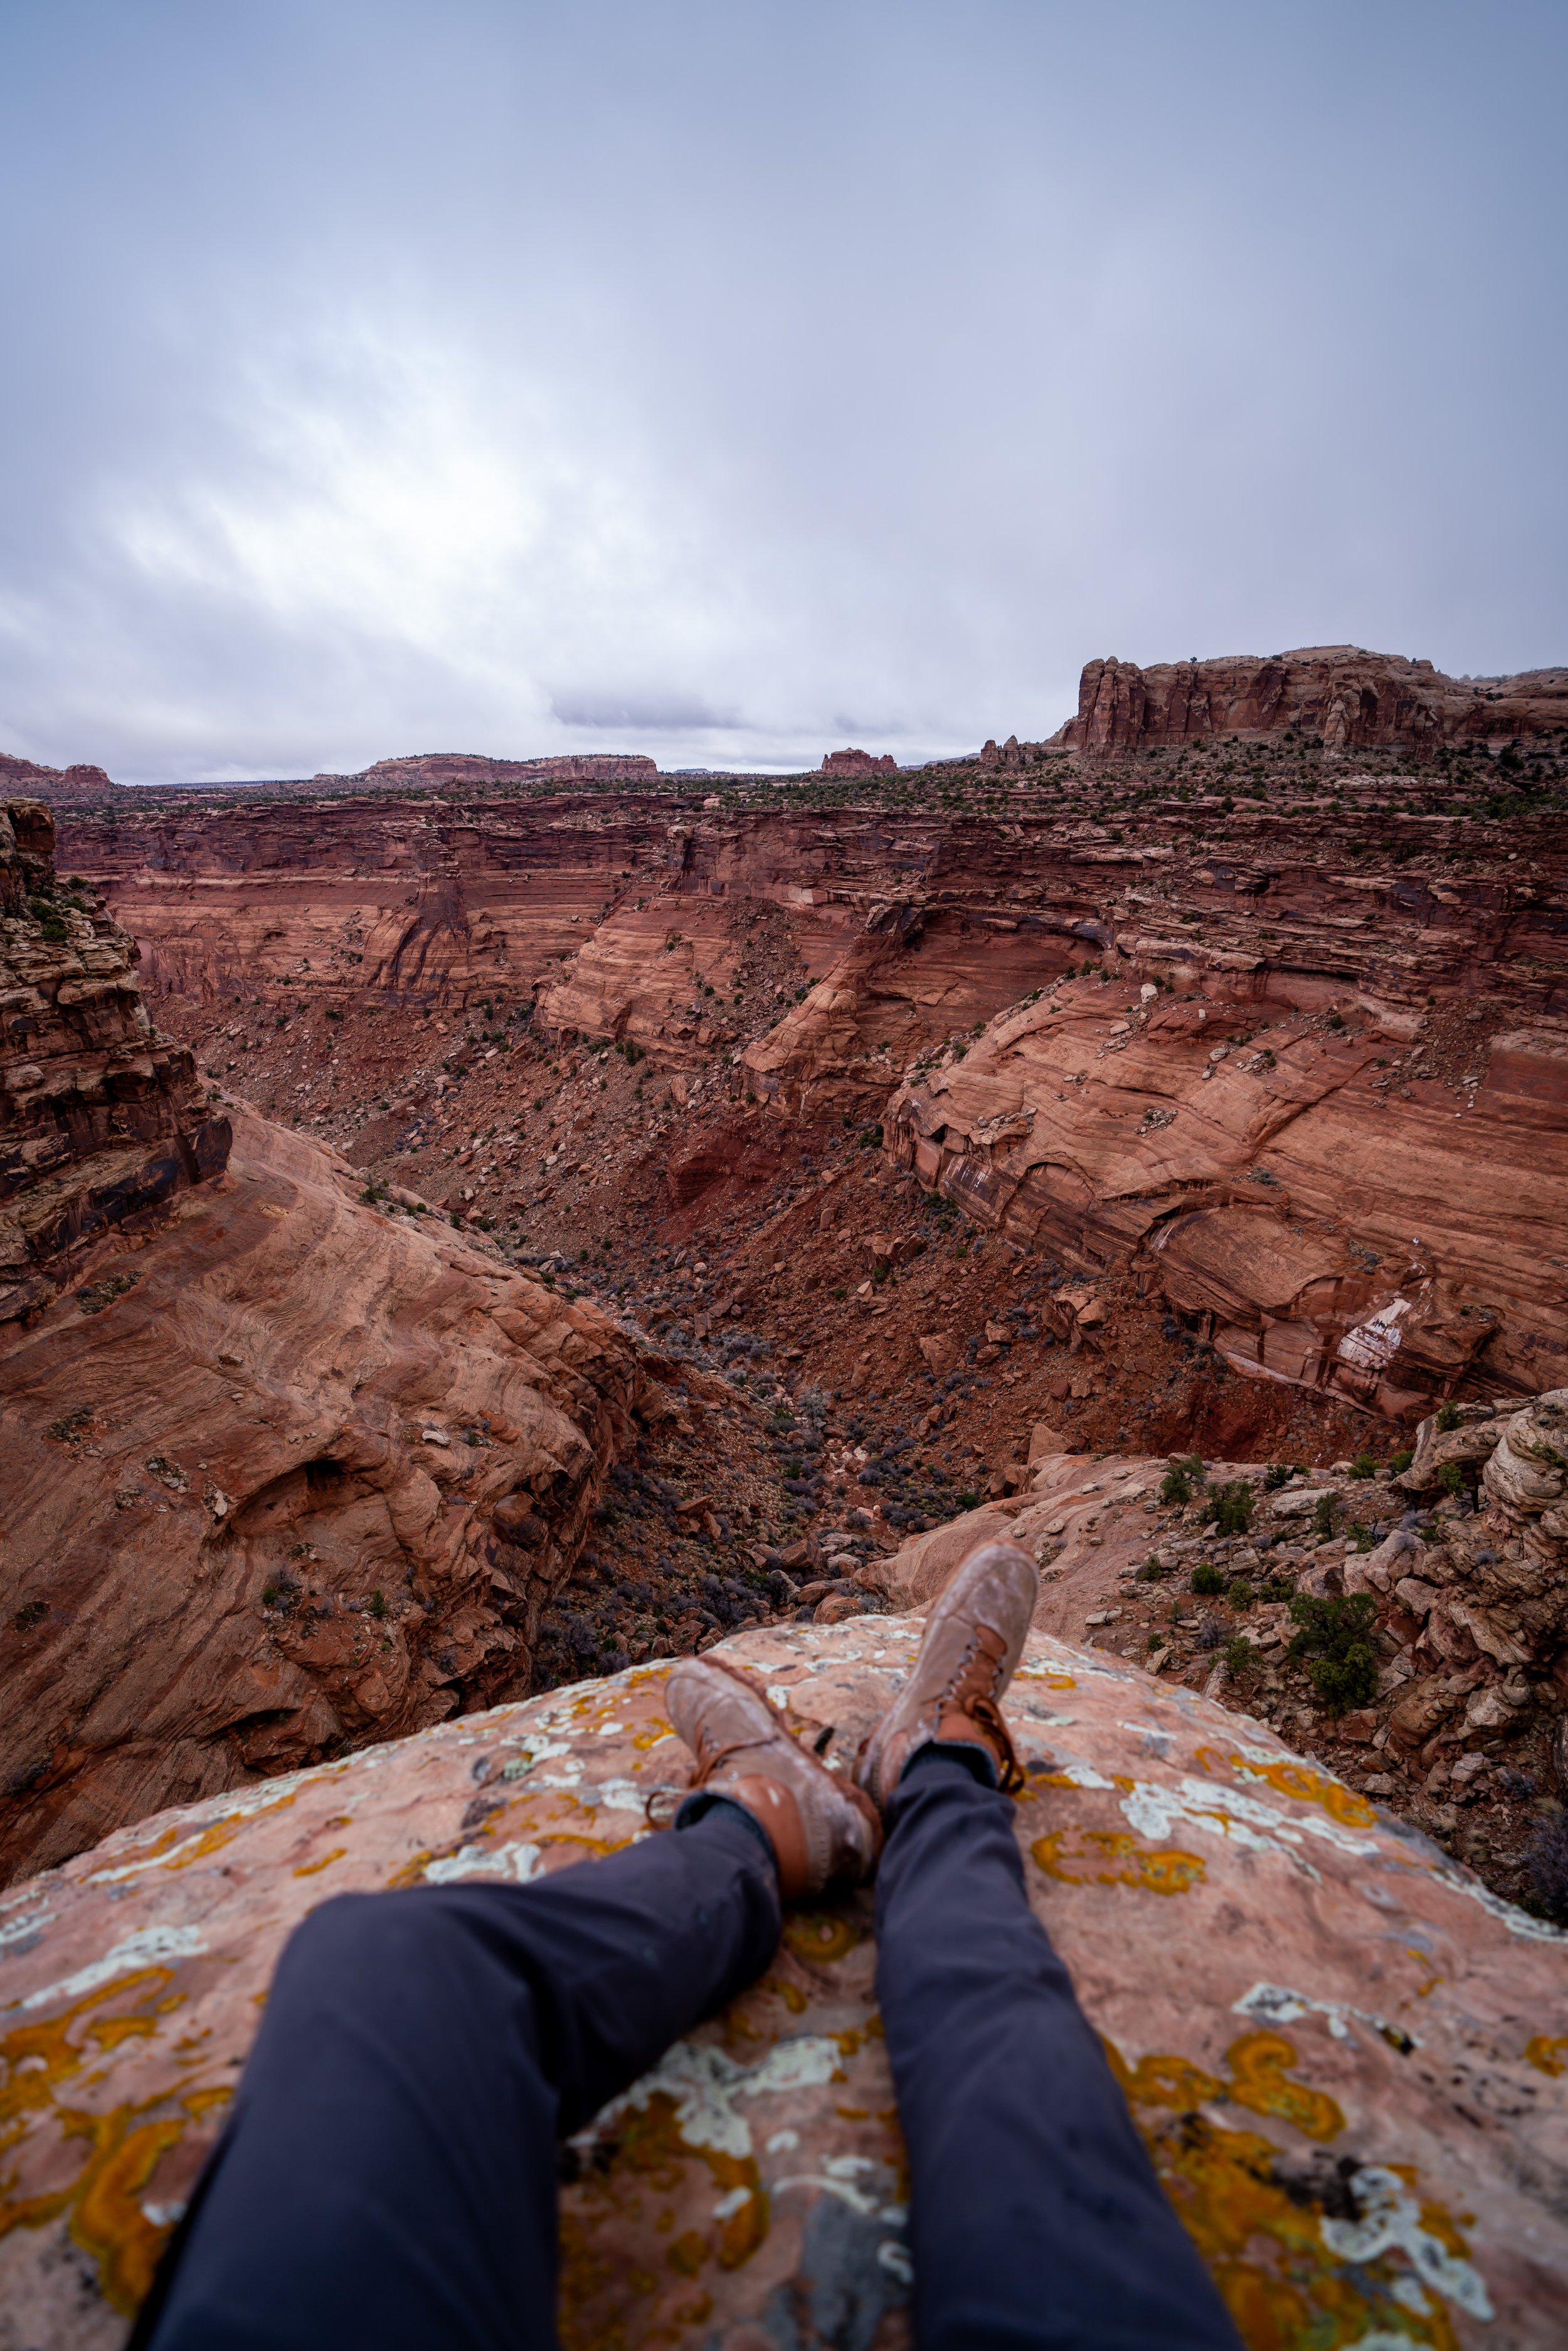
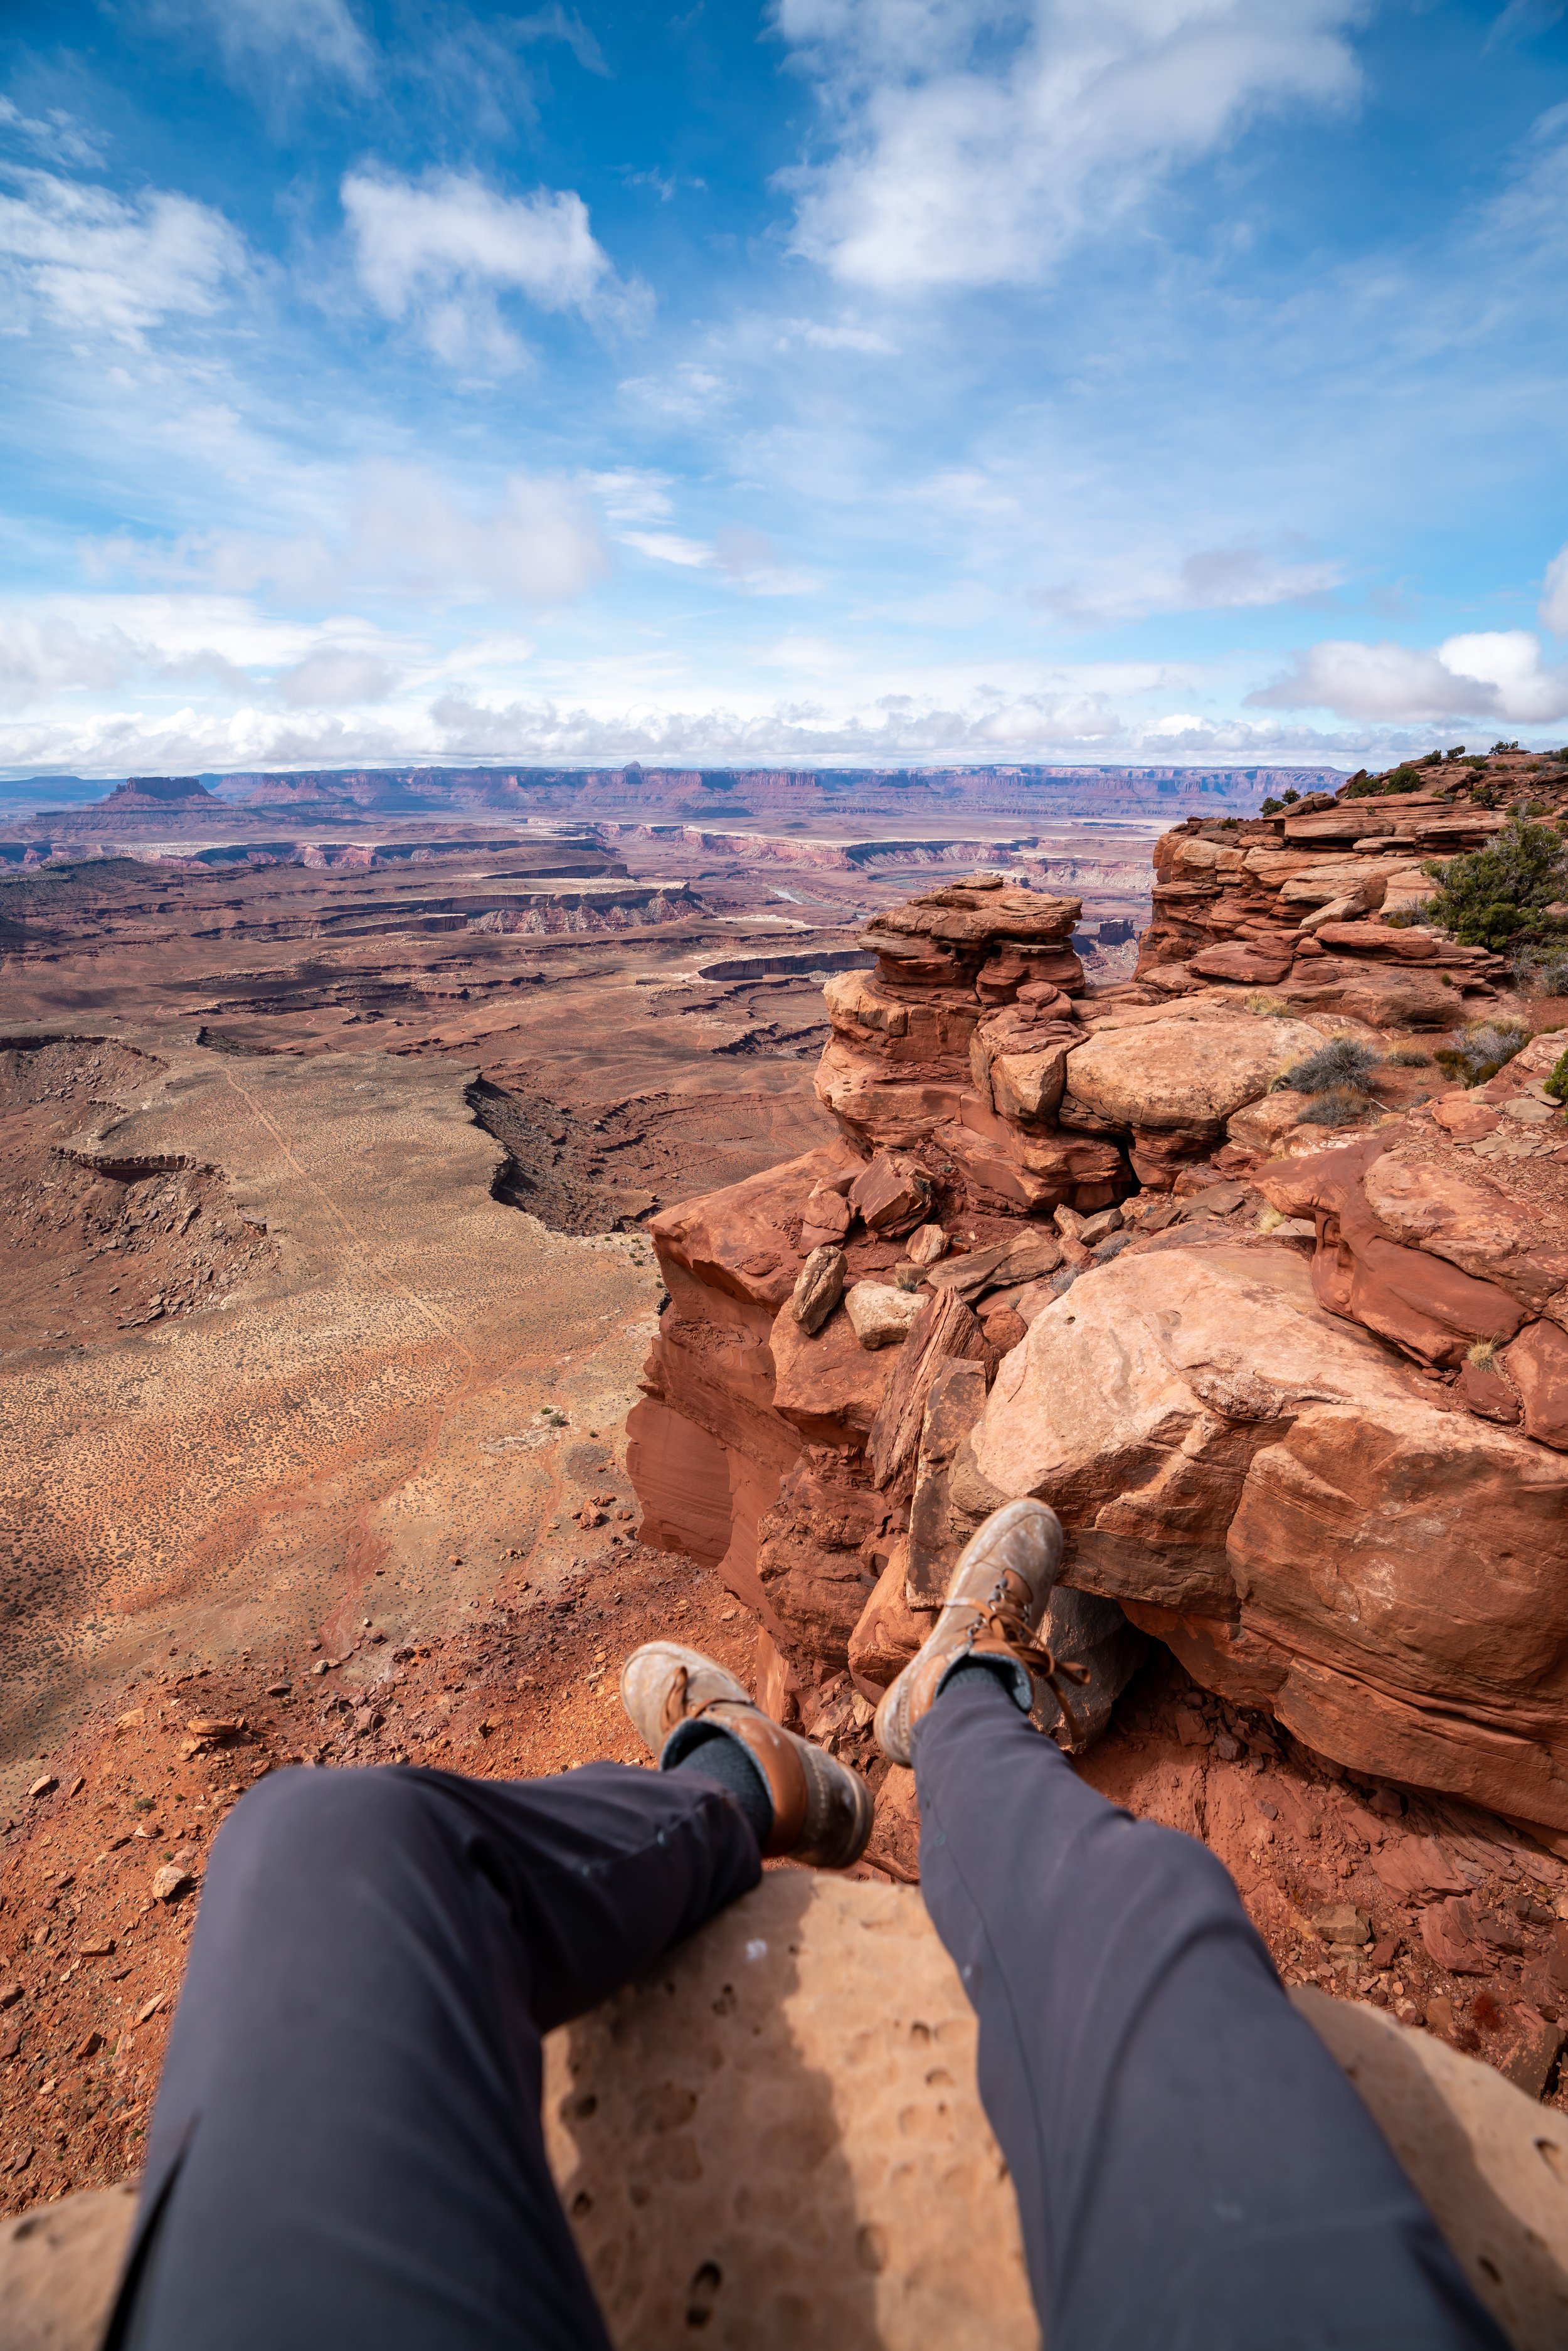
Once on top of the mesa, the Cave Spring Loop Trail simply follows a series of rock cairns placed by the National Park Service before descending on the far side.
This is where the loop begins to descend back to the Cave Spring Trailhead.
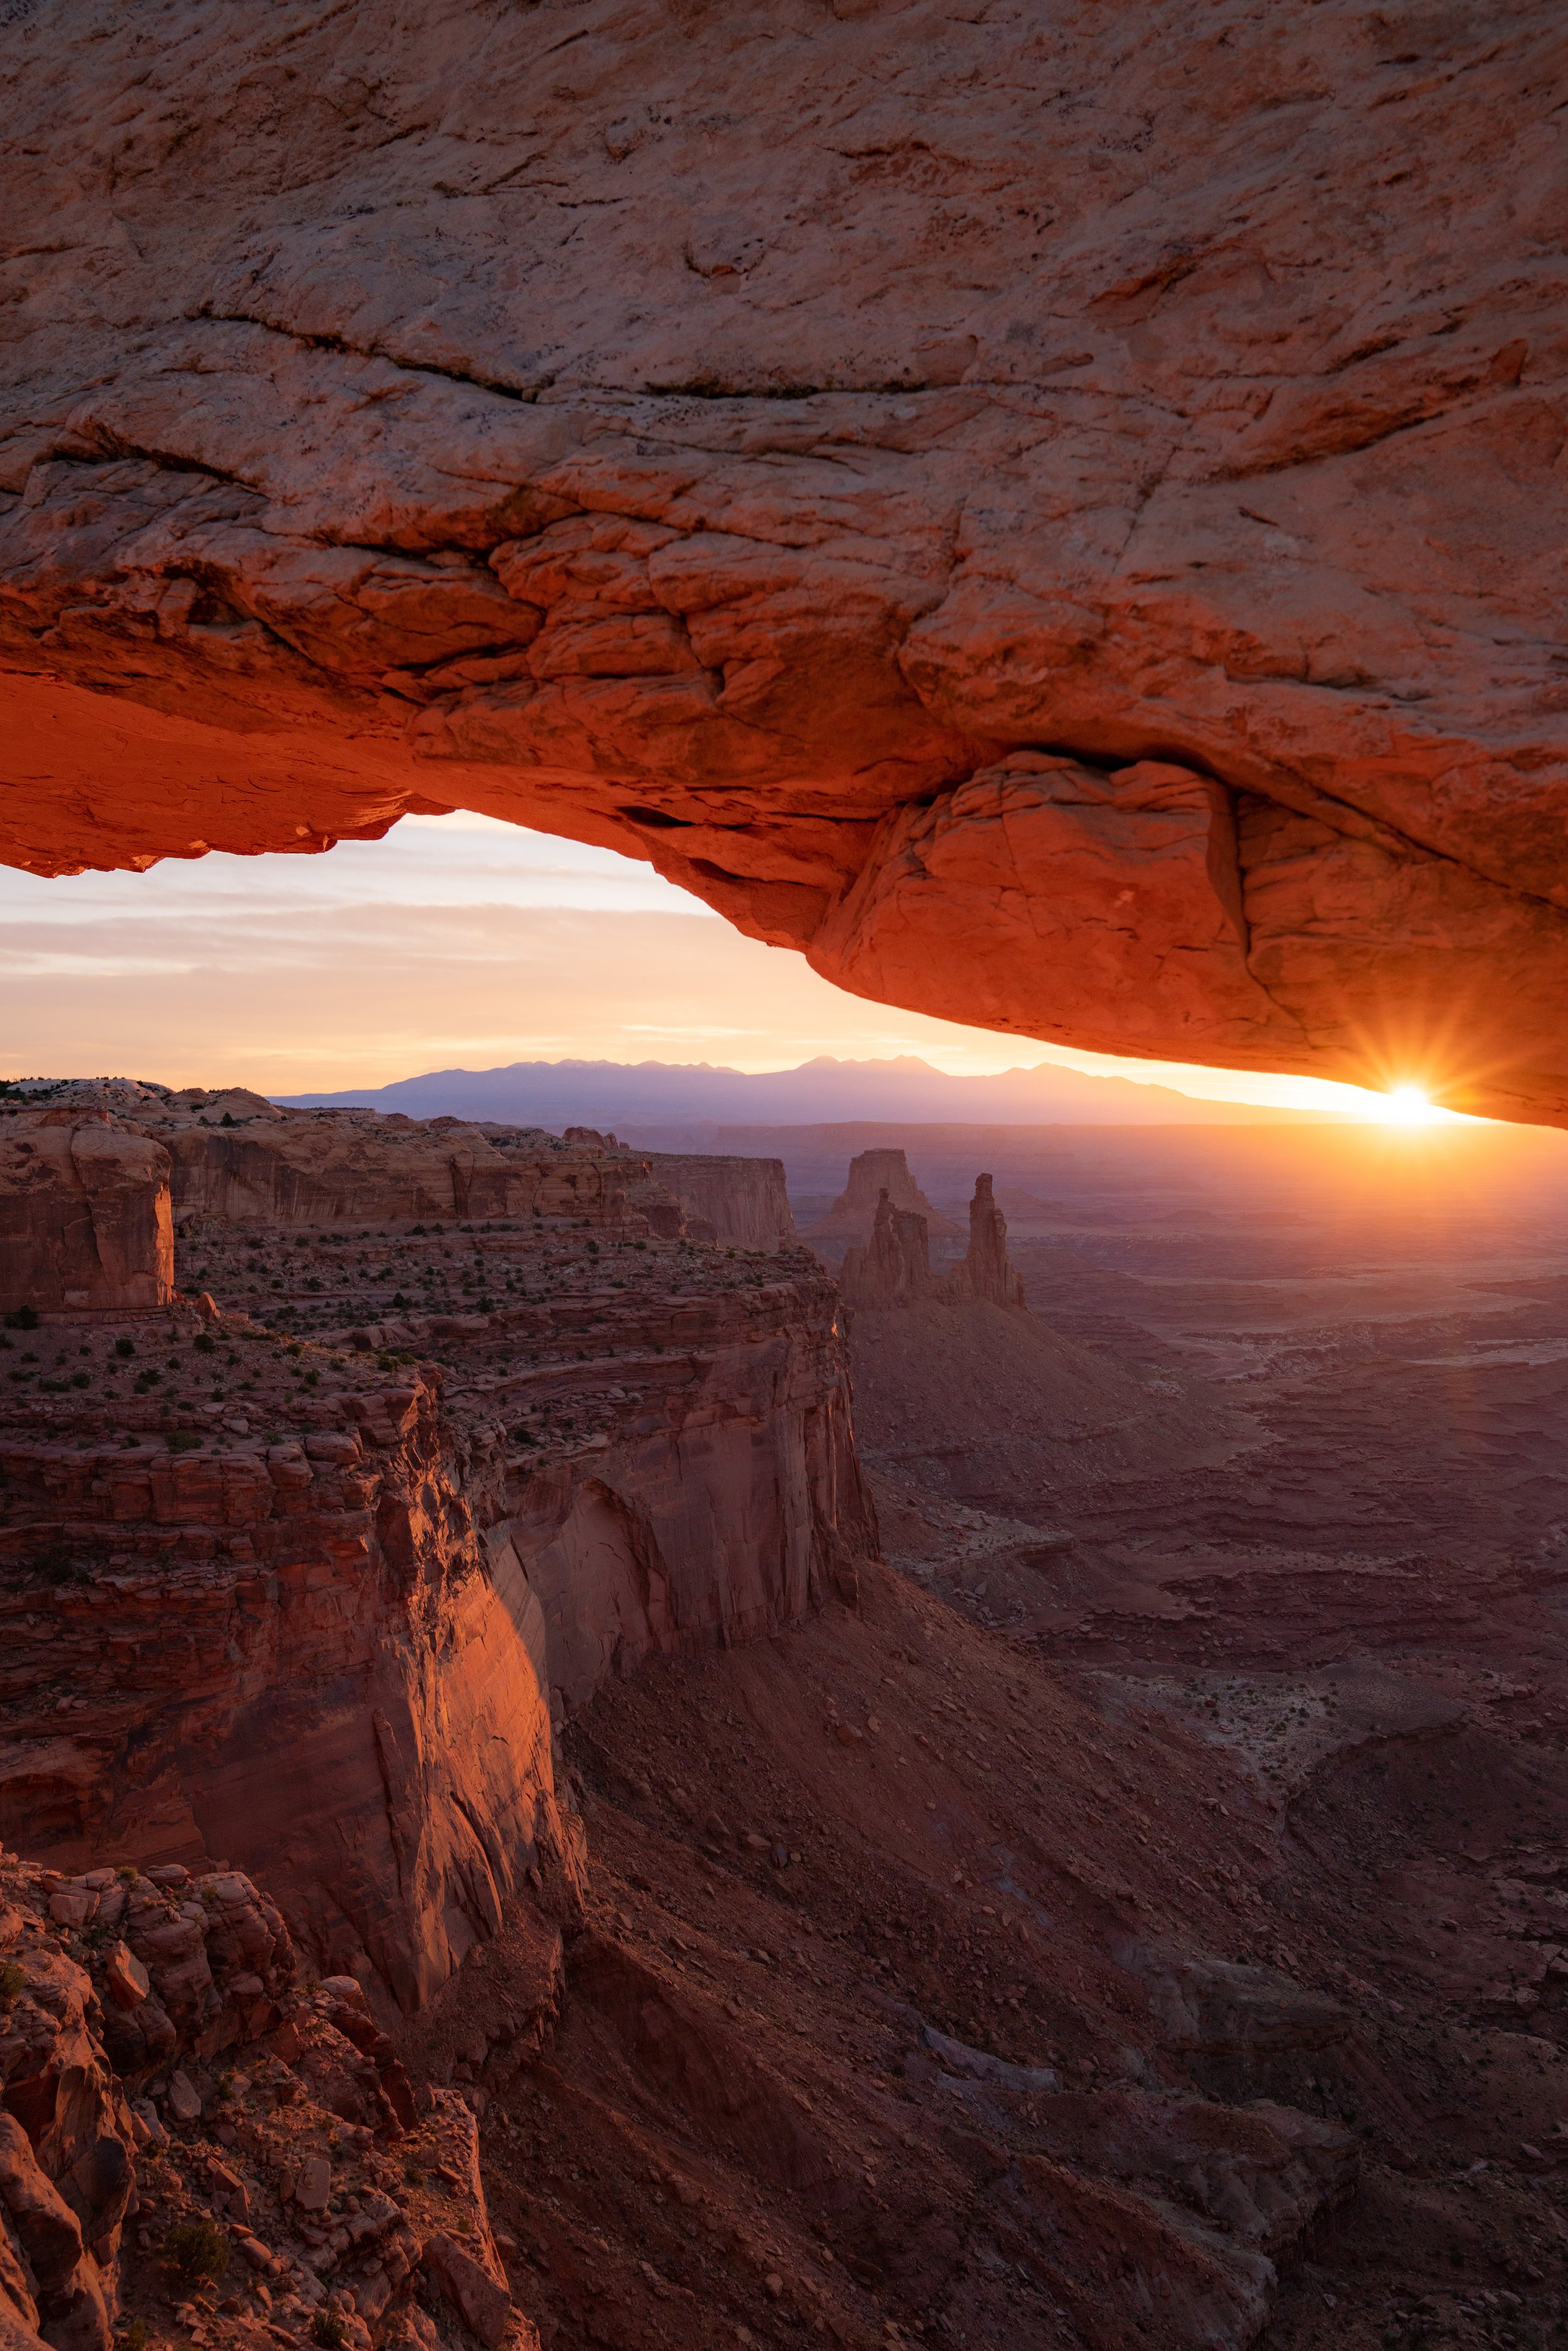
In my opinion, these final sections beneath the overhang were among the most beautiful parts of the Cave Spring Trail, especially late in the evening when the softer light makes the red rock glow!
Cave Spring Loop Junction
This is where the Cave Spring Trail returns back to the beginning.
Overall, the full Cave Spring Trail is a relatively quick and easy adventure, granted that you don’t have any difficulty with the two climbs.
In any case, I recommend the short Cave Spring Loop Trail over other alternative hikes, like the Neck Spring Trail, if you are interested in seeing some of the best and most beautifully preserved artifacts from the ranching era that once dominated much of Canyonlands National Park.