Hiking the Devil’s Bridge Trail via Mescal Trailhead in Sedona, Arizona
Distance (One Way): 2.0 miles / 3.2 km
The Devil’s Bridge Trail in northern Arizona is a renowned favorite in the red rock country of the Coconino National Forest, and for a number of reasons, I believe the hike to the Devil’s Bridge is one of the best things to do in Sedona!
The first is that the Devil’s Bridge Trail is fairly easy, with a number of different routes to consider depending on how long or short you’re looking to hike. However, the second—and perhaps more important—reason is that the Devil’s Bridge Trail is one of the best sunrise and sunset hikes in Sedona! I discuss this in more detail later in the article, but the unique angle of the stunning natural bridge makes it a great hike for golden hour, as the light brings out the best of the red rock formations across the northern Verde Valley!
That said, there are several routes to reach the popular Devil’s Bridge Trail. The three most popular are the Mescal Trailhead, the Chuck Wagon Trail, and Dry Creek Road, with the latter two beginning from the same trailhead.
To learn more about these different routes, I highly recommend reading my detailed breakdown below, as distance alone is not the only factor to consider when deciding which route to hike the Devil’s Bridge Trail.
Dry Creek vs. Mescal Trailhead
As mentioned previously, the Devil’s Bridge Trail is most commonly accessed from one of two trailheads just north of Sedona: the Dry Creek Trailhead and the Mescal Trailhead, with both being nearly the exact same distance when comparing the Mescal Trailhead to Dry Creek Road—not the Chuck Wagon Trail.
Devil’s Bridge via Dry Creek
The Dry Creek Trailhead is the closest trailhead to Sedona, but it is also the most popular access point to get to Devil’s Bridge.
That said, parking is very limited at Dry Creek, and there are strictly enforced parking laws for leaving a vehicle anywhere outside one of the designated stalls—even on the road before the trailhead. Therefore, my personal recommendation is to check the Dry Creek Trailhead first to see if you can get lucky with a parking spot. If not, drive down the road to the Mescal Trailhead, where it is generally a bit easier to find parking.
As for the hike itself, there are two different routes from the Dry Creek Trailhead to reach the Devil’s Bridge Trail. First, there is Dry Creek Road—the off-roading trail that begins where the pavement ends at the main parking lot—and second, there’s the Chuck Wagon Trail, which follows a more scenic but slightly longer route to Devil’s Bridge. Both of these can make for a great loop by taking one route on the way there and the other on the way back, which only adds about 0.9 miles (1.4 km) to the overall hike.
Read My Separate Post:Devil’s Bridge Trail via Dry Creek Road
Devil’s Bridge via Mescal Trailhead
The Mescal Trailhead is truly just a different and easier access point to the Chuck Wagon Trail, as the hike to Devil’s Bridge shares a roughly 0.9-mile (1.4 km) portion with the route that begins from Dry Creek.
This means that only 0.25 miles (0.4 km) from the Mescal Trailhead to the Chuck Wagon Trail junction is unique to this route, and it’s the reason why I think beginning from the Mescal Trailhead comes down to finding a place to park more than anything else—especially since it’s the exact same distance as Dry Creek Road.
However, the main difference between the Mescal Trailhead and Dry Creek Road is shade, which certainly cannot be overstated during the hotter summer months in Sedona. This is to say: yes, there are significantly more places to find shade on the Mescal and Chuck Wagon Trails compared to Dry Creek Road, which can make it a better option if you are visiting Sedona from mid-May to mid-September.
Devil’s Bridge Trailhead Parking
Parking for the Devil’s Bridge Trail via the Mescal Trailhead is located directly off Long Canyon Road, about 3.1 miles (5.0 km) north of Sedona.
That said, parking is generally considered to be easier to come by at the Mescal Trailhead compared to Dry Creek, but that’s not to say it will be easy, as hikers have been known to park and walk long distances just to reach the trailhead. This is especially true during busy times of the year, like spring break season.
Before arriving, be aware that the most trailheads in Sedona are considered U.S. Fee Areas, meaning that hikers are required to pay to park or leave a valid federal recreation pass—like the ones commonly used for National Park entry—in the dash of your vehicle.
Google Maps Directions: Devil’s Bridge Trailhead (Mescal Trailhead)
Southwest Hiking Checklist
Here is a complete list of must-have things that you will want for any hike in the Southwest U.S.
Hiking the Devil’s Bridge Trail via Mescal
The Devil’s Bridge Trail, via the Mescal Trailhead, begins on the east side of Long Canyon Road, where the Mescal Trail stretches for just 0.25 miles (0.4 km) before it meets the Chuck Wagon Trail that continues the hike further.
Dry Creek
This is Dry Creek, and throughout much of the year, it mostly holds true to its name.
However, these photos were taken following a long, rainy/ snowy day, which is why the creek has so much water compared to the warmer months.
Mescal-Chuck Wagon Junction
After just 0.25 miles (0.4 km), the Mescal Trail meets the Chuck Wagon Trail.
From this point on, both this and my separate Devil’s Bridge article via Chuck Wagon (Dry Creek) will mirror one another.
To learn more about beginning from the Dry Creek Trailhead—and why the hike is significantly slower to reach this same point—I recommend checking out my separate post linked below.
Read My Separate Post: Devil’s Bridge Trail via Dry Creek Road
This section of the Chuck Wagon Trail, from the Mescal junction to Dry Creek Road, stretches for roughly 0.9 miles (1.4 km).
This is the view looking out toward Soldier Heights, the peak in the distance, which will continue to get closer and closer until the Devil’s Bridge Trail begins to parallel the peak just below the arch.
This is not a split in the Chuck Wagon Trail.
Rather, it’s a very sharp turn following the short drainage that can be 'easy' to miss for hikers returning to either the Mescal Trailhead or Dry Creek Road Trailhead via Chuck Wagon.
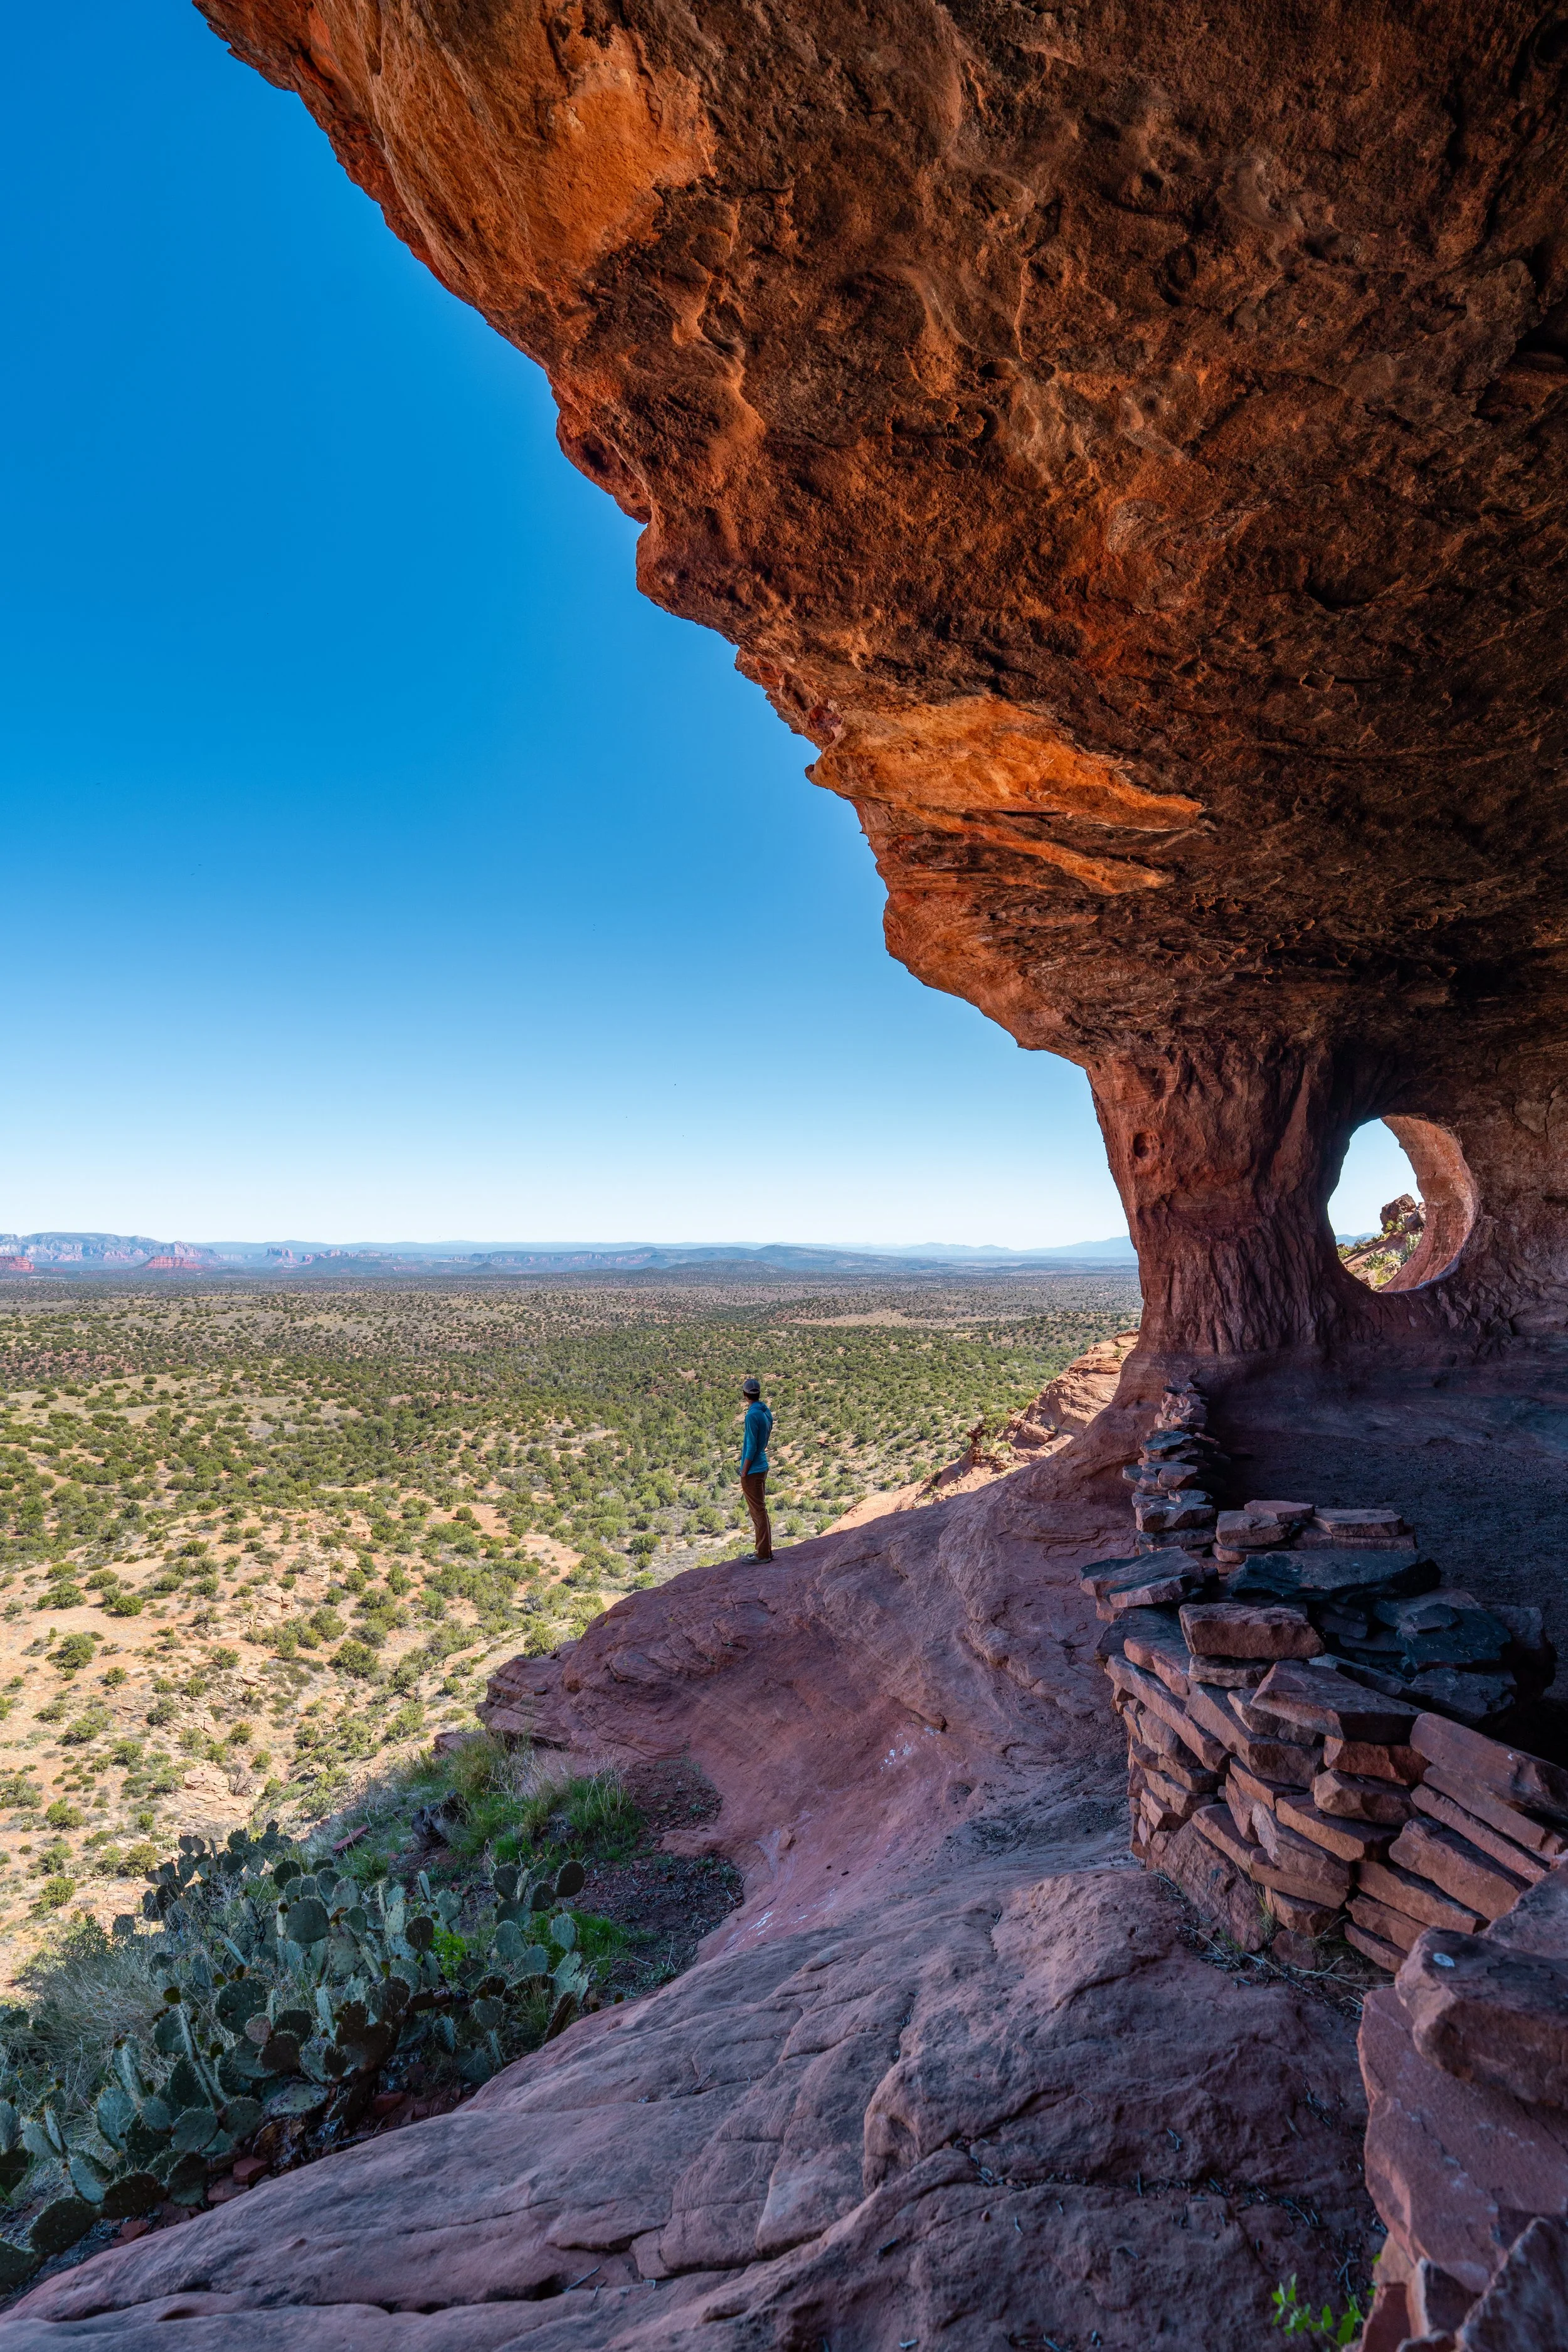
I like this elevated spot above the trees because it’s one of the best places to see the area in all directions, which is nice because it allows for a great perspective on how far you’ve hiked and how much more there is to come!
Devil’s Bridge-Chuck Wagon Junction
Just prior to Dry Creek Road, the Chuck Wagon Trail officially meets the beginning of the Devil’s Bridge Trail, with the off-road parking area and main trailhead located shortly ahead on the far side of Dry Creek Road.
That said, go right (straight) here to reach Dry Creek Road, just 0.1 miles (0.2 km) away.
Devil’s Bridge-Dry Creek Road Junction
This junction at Dry Creek Road is where all three routes—from Dry Creek Road, the Chuck Wagon Trail, and the Mescal Trailhead—become one for the rest of the hike to Devil’s Bridge.
Here, go straight to continue to the off-road parking area and the main Devil’s Bridge Trailhead, just up the hill.
If you are curious to learn more about the Devil’s Bridge Trail via Dry Creek Road, I recommend checking out this route at the end of my separate Devil’s Bridge article. In addition, I think it’s important to mention that Dry Creek Road—among many other off-road trails around Sedona—can be enjoyed with a local guide, which you can learn more about in the tours linked below.
Read My Separate Post: Devil’s Bridge Trail via Dry Creek Road
Devil’s Bridge Trail
From the off-road Devil’s Bridge parking lot, the true Devil’s Bridge Trail begins, gaining roughly 375 ft. (114 m) over 0.9 miles (1.4 km) to the natural arch at the end of the hike.
This final section of the hike to Devil’s Bridge will likely be the busiest portion of the entire trail, with sunrise being the least busy time overall.
This is one reason I mentioned at the beginning that the Devil’s Bridge Trail is one of the best sunrise and sunset hikes in Sedona, but what’s even more important is the beautiful colors at this time of day.
I’ll talk more about this below, but for either, be sure to bring a quality headlamp, which will certainly be useful here at Devil’s Bridge and on countless day hikes across Sedona, like the Cathedral Rock Trail.
This is Soldier Heights, the peak that I previously mentioned, which makes for a good landmark regarding how much further there is to hike to Devil’s Bridge.
I say this because once the Devil’s Bridge Trail reaches Soldier Heights, then turns away from it, the hike begins its final ascent up to the arch, with the steepest sections located at the very end.
This is where the final ascent up to Devil’s Bridge starts to become more significant.
Red Rock-Secret Mountain Wilderness Boundary
Just before the end of the hike, the trail enters the Red Rock-Secret Mountain Wilderness.
This is important to highlight because wilderness areas in the United States carry specific regulations, which most commonly applies to hikers when it comes to drones.
Yes, drones are banned here and in all wilderness areas across the country, and those caught flying drones may be cited at Devil’s Bridge.
These steps just below Devil’s Bridge mark the beginning of the steepest part of the hike, where the trail climbs about 115 ft. (35 m) in only 0.1 miles (0.2 km) to the top.
This open area, about halfway up, is a great place to take a break before continuing on to the next steep section.
Finally, the steep ascent levels out significantly for the rest of the hike to Devil’s Bridge.
Devil’s Bridge
The end of the Devil’s Bridge Trail is the point where the trail meets the top of the 54-ft. (16.5 m) natural sandstone arch that is the Devil’s Bridge!
Here, hikers can make their way out onto the bridge, which makes for some of the most iconic photos in all of Sedona—especially at sunrise and sunset!
That said, I often consider Devil’s Bridge as a sunrise and sunset hike only, as this is when the surrounding landscape lights up best for photos—not to mention the trail is significantly less busy!
Now, all this goes without mentioning that the Devil’s Bridge—from both the trail side and the bridge itself—features some very dangerous and exposed cliffs that have unfortunately taken the lives of hikers in the past. I don’t say this to discourage anyone from walking out on the bridge, but to encourage safety—especially when hiking with young kids! This becomes even more true during the colder winter months, when micro-spikes may be necessary to safely make it to the end of the trail.
What is the Best Time of Day to Hike the Devil’s Bridge Trail?
The answer to this question is easy: sunrise or sunset, with my personal preference leaning toward sunset.
I’m strictly saying this in terms of what I think makes for the best photos, as sunrise will always be the least crowded time to enjoy Devil’s Bridge and take photos without having to be courteous of other visitors.
As for golden hour itself, sunrise is beautiful because the light comes from the right side of the bridge, from where photos are most commonly taken, which lights up the arch beneath the bridge much better than sunset.
However, sunset is my preferred time to hike to the Devil’s Bridge Trail overall, because the entire scene, including the greater valley behind the arch, is best lit up at this hour, creating a sort of dreamy effect as the sun sets to the far left from where most photos are taken.
All this to say, neither sunrise nor sunset is best seen directly from the end of the Devil’s Bridge Trail, but what makes both times such a favorite is how the bridge and the landscape uniquely light up compared to other times throughout the day!