Hiking the Delicate Arch Trail in Arches National Park
Distance: 3.4 miles / 5.5 km
The Delicate Arch Trail in Arches National Park is, without a doubt, the most popular and most iconic day hike in the park, as the renowned Delicate Arch is Utah’s most recognizable natural landmark, much like the Grand Canyon is to Arizona!
That said, this all means that the Delicate Arch Trail is inevitably the most popular day hike in Arches National Park and the Moab area!
This is why navigating the crowds and deciding what time of day to visit should, in my opinion, vary depending on the time of the year that you’re visiting Arches—especially considering that the Delicate Arch Trail is an all-uphill hike.
By this, I mean that during the hot summer months, an early morning or even a sunrise hike may be best to avoid the heat and crowds. However, during the cooler off-season, temperatures and crowds can be much more mild, making the hike more enjoyable throughout the day, especially toward sunset!
How to Get Milky Way Photos Under the Delicate Arch?
In southern Utah, the core of the Milky Way is visible from March – November, with some variability regarding the best times to see the core, depending on the season. That said, June – August is generally seen as the best time of year to enjoy the Milky Way in southern Utah, as it becomes visible shortly after sunset and stays in the sky throughout the night.
This is exactly when the photo below was taken, and after sunset during the summer season, most of the crowds typically dwindle from their peak, as most visitors hike back down to the trailhead. However, there are usually a few groups that stick around after dark for the stars, but I would say that I’ve been fairly lucky in my experiences, as there have only been few, if any, other photographers shooting astrophotography when I’ve tried for Milky Way photos!
My experiences aside, I could imagine the Delicate Arch being like the Mesa Arch, described in my separate article, with photographers and rude people on the wrong night because there is truly a limited window of time that the Milky Way lines up best through the hole in the arch.
If you are interested in taking a similar photo at the Delicate Arch, follow these steps:
Plan out what time the Milky Way is going to rise. This shot is taken facing southeast, which in July was about one to two hours after sunset. Apps like Sky Guide, Google Earth, or PhotoPills can help to line up the shot.
Get down low and close to the arch. If this shot was framed any higher or further away, I would have gotten the Delicate Arch Viewpoint ridge in the background, meaning myself as the subject wouldn’t stand out as the sole subject against the sky.
Use a wide lens. I took this shot at 16mm because I was so close to the arch.
Set your camera to infinity focus. This is how most astrophotography shots are taken. Adjust your focus using a single star for reference.
The settings I used: 16mm, 400 ISO, f/2.8, 20 sec.
Delicate Arch Trailhead Parking
Parking for the Delicate Arch Trail is located in a large, paved parking lot off Delicate Arch Road, about 12.8 miles (20.6 km) away from the visitor center.
As previously mentioned, the Delicate Arch Trail is the most popular hike in Arches National Park, meaning that parking may be difficult during the peak hours of the day but tends to be less busy around sunrise and sunset.
Google Maps Directions: Delicate Arch Trailhead
Hiking Checklist - Arches
Here is a complete list of must-have things that you will want for any hike in Arches National Park.
Hiking the Delicate Arch Trail
Over the course of 1.6 miles (2.6 km), the Delicate Arch Trail gains about 525 ft. (160 m) from the trailhead to the Delicate Arch.
That said, the Delicate Arch Trail begins on a relatively flat path, leaving the majority of the elevation gain in the last mile of the hike.
Delicate Arch-Wolfe Ranch Junction
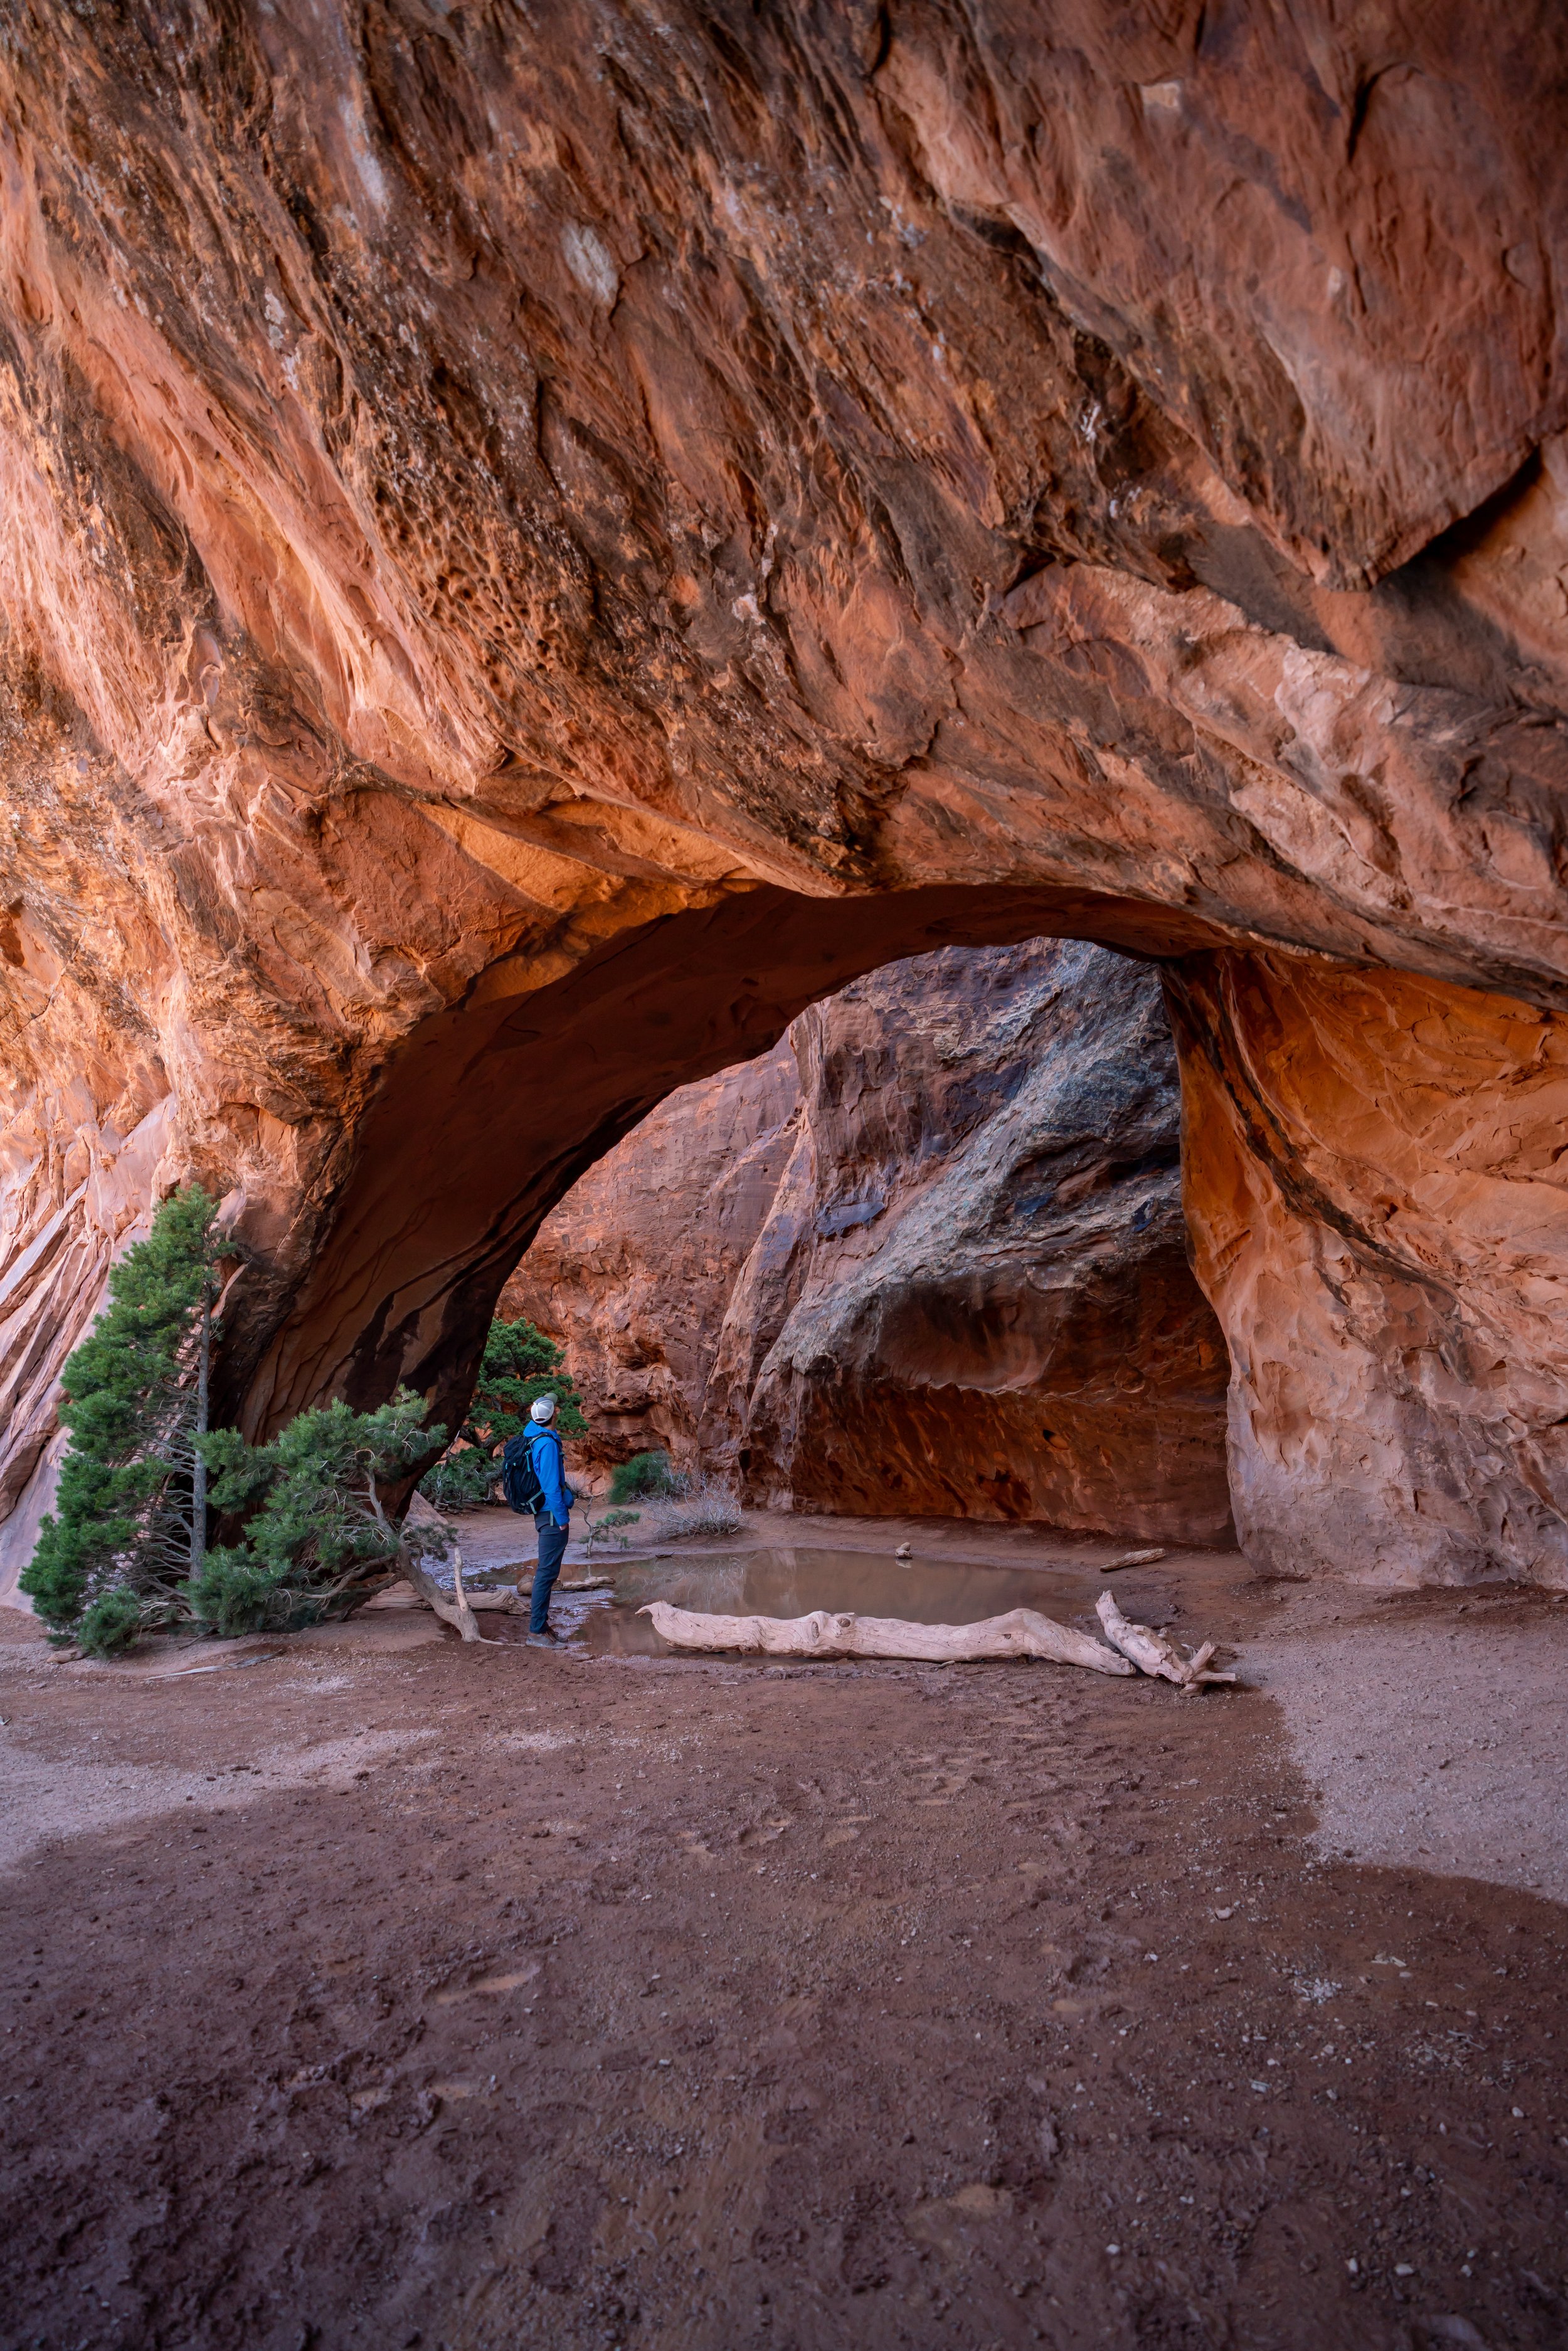
Almost immediately, the Delicate Arch Trail comes to the first of three junctions off the trail, the first being the Wolfe Ranch junction.
Whether on the way up or down, I recommend checking out the Wolfe Ranch and the Petroglyphs, as they only add a few minutes onto the overall adventure.
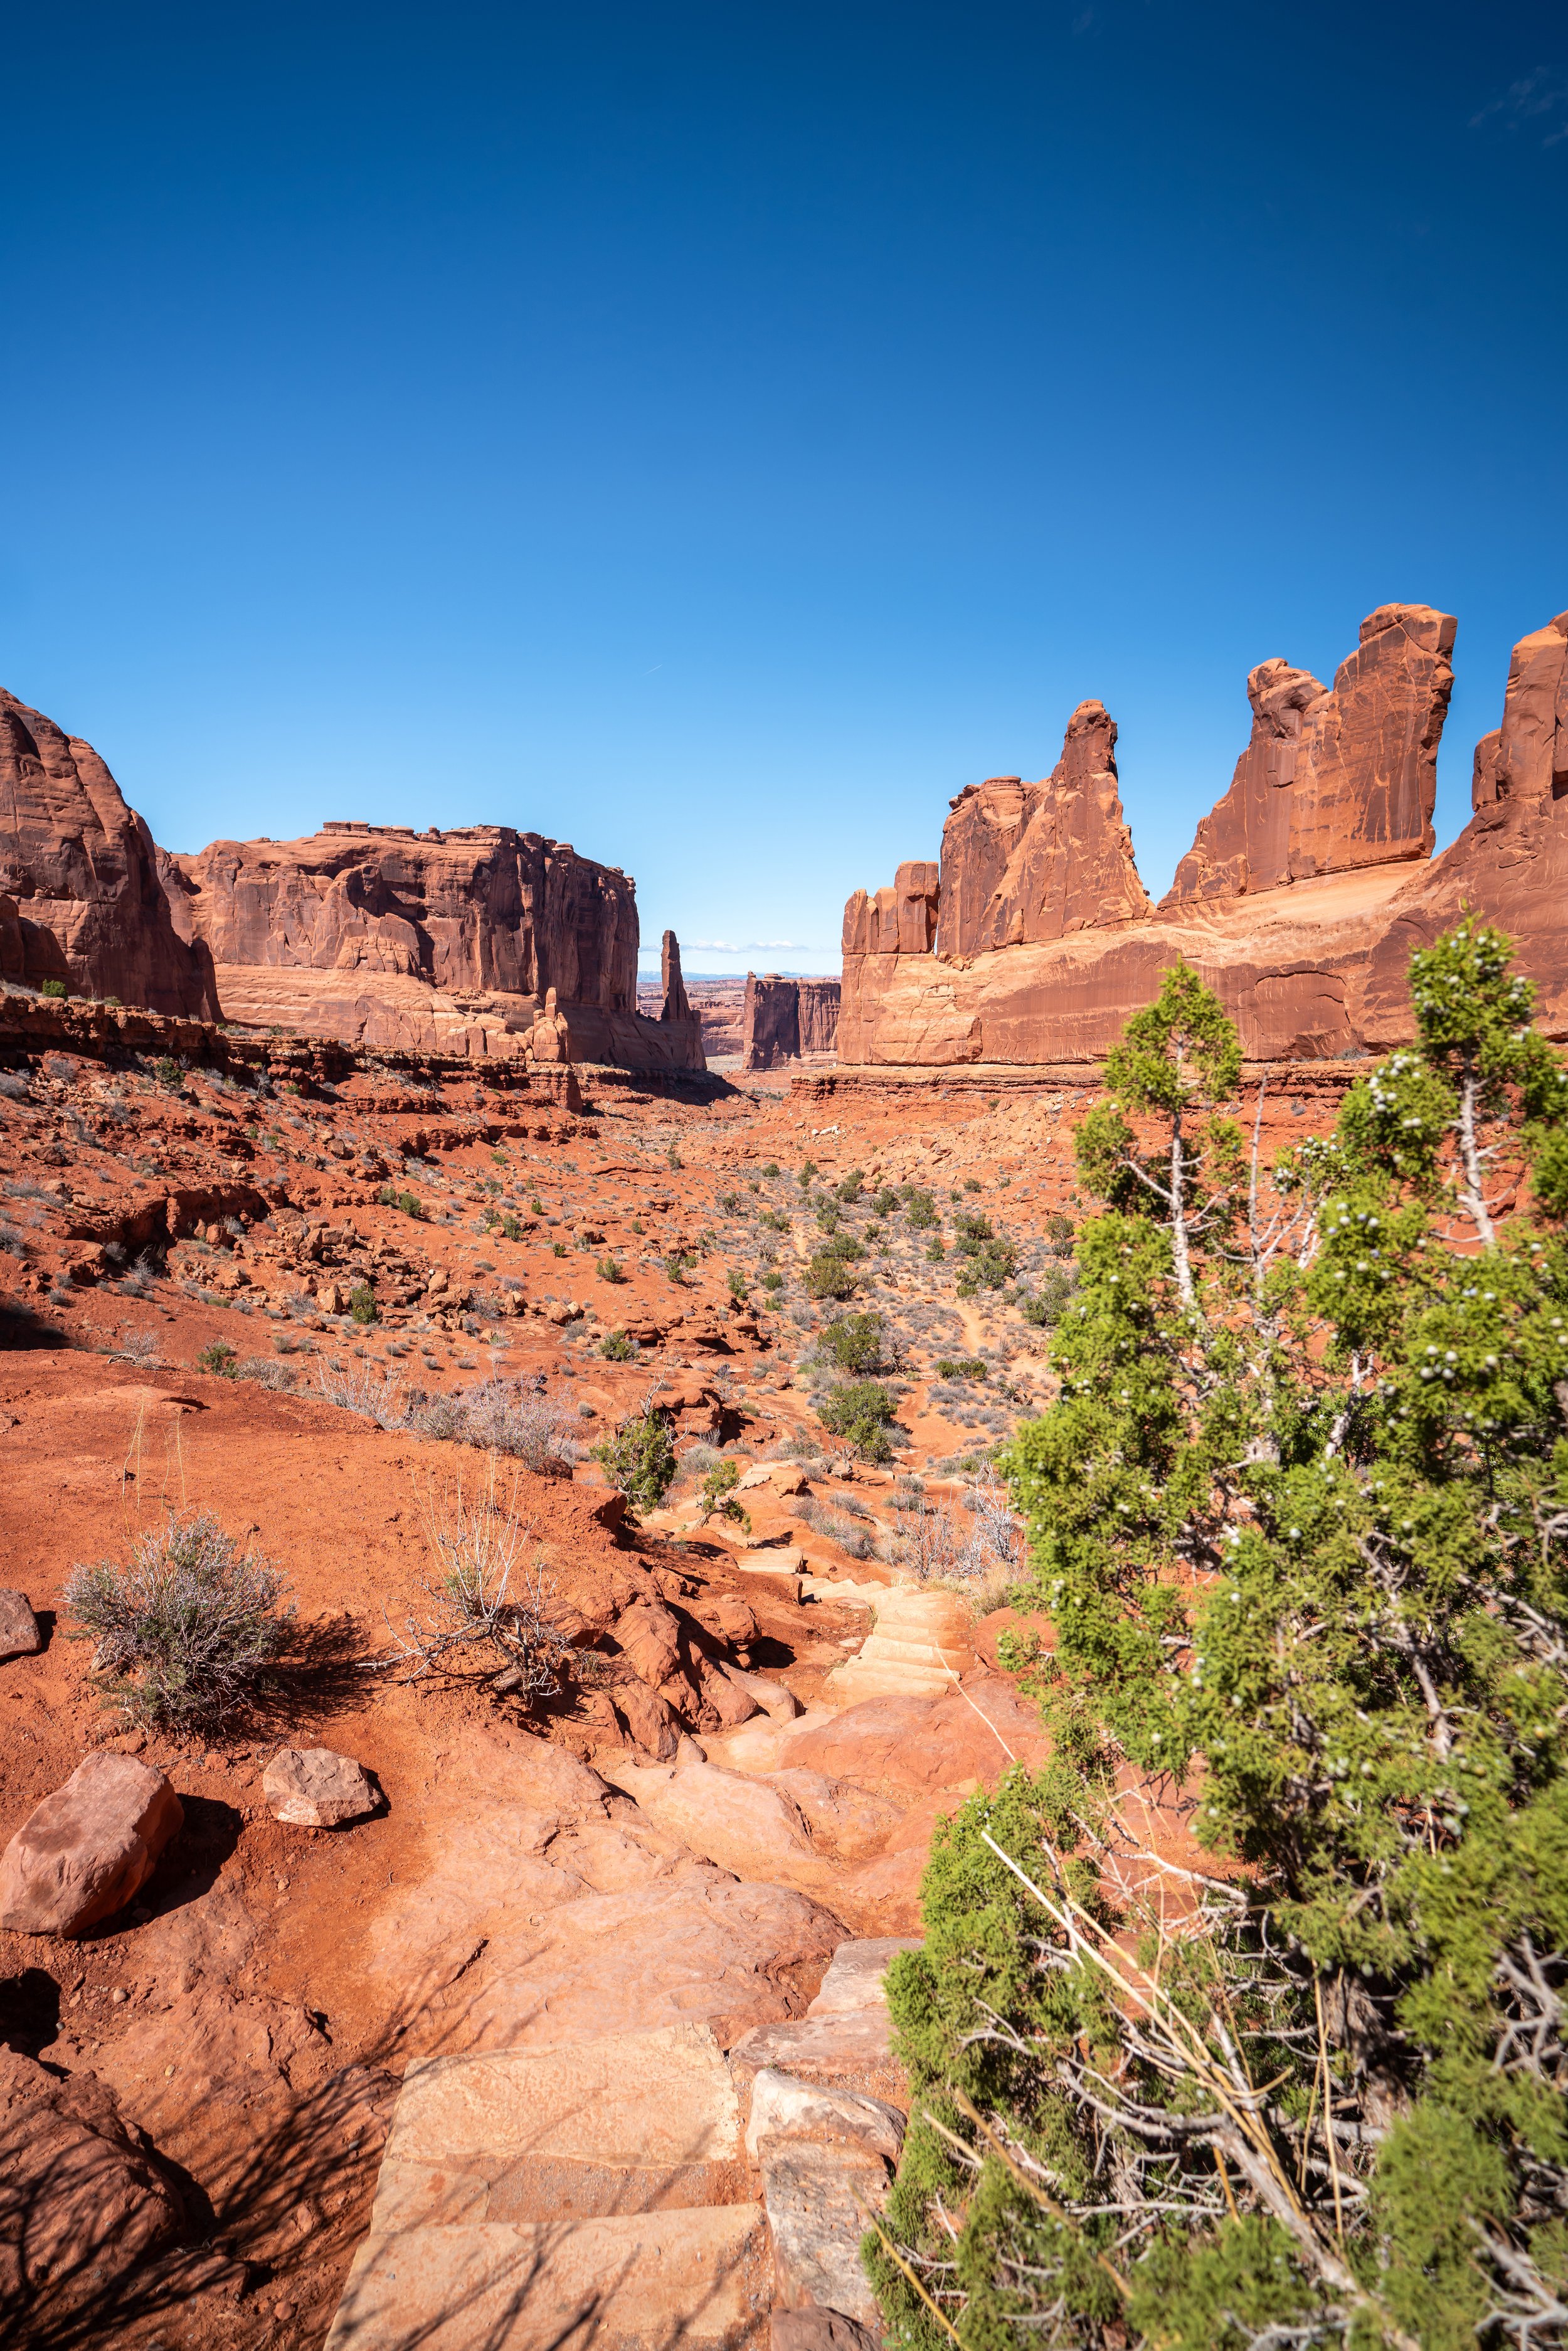
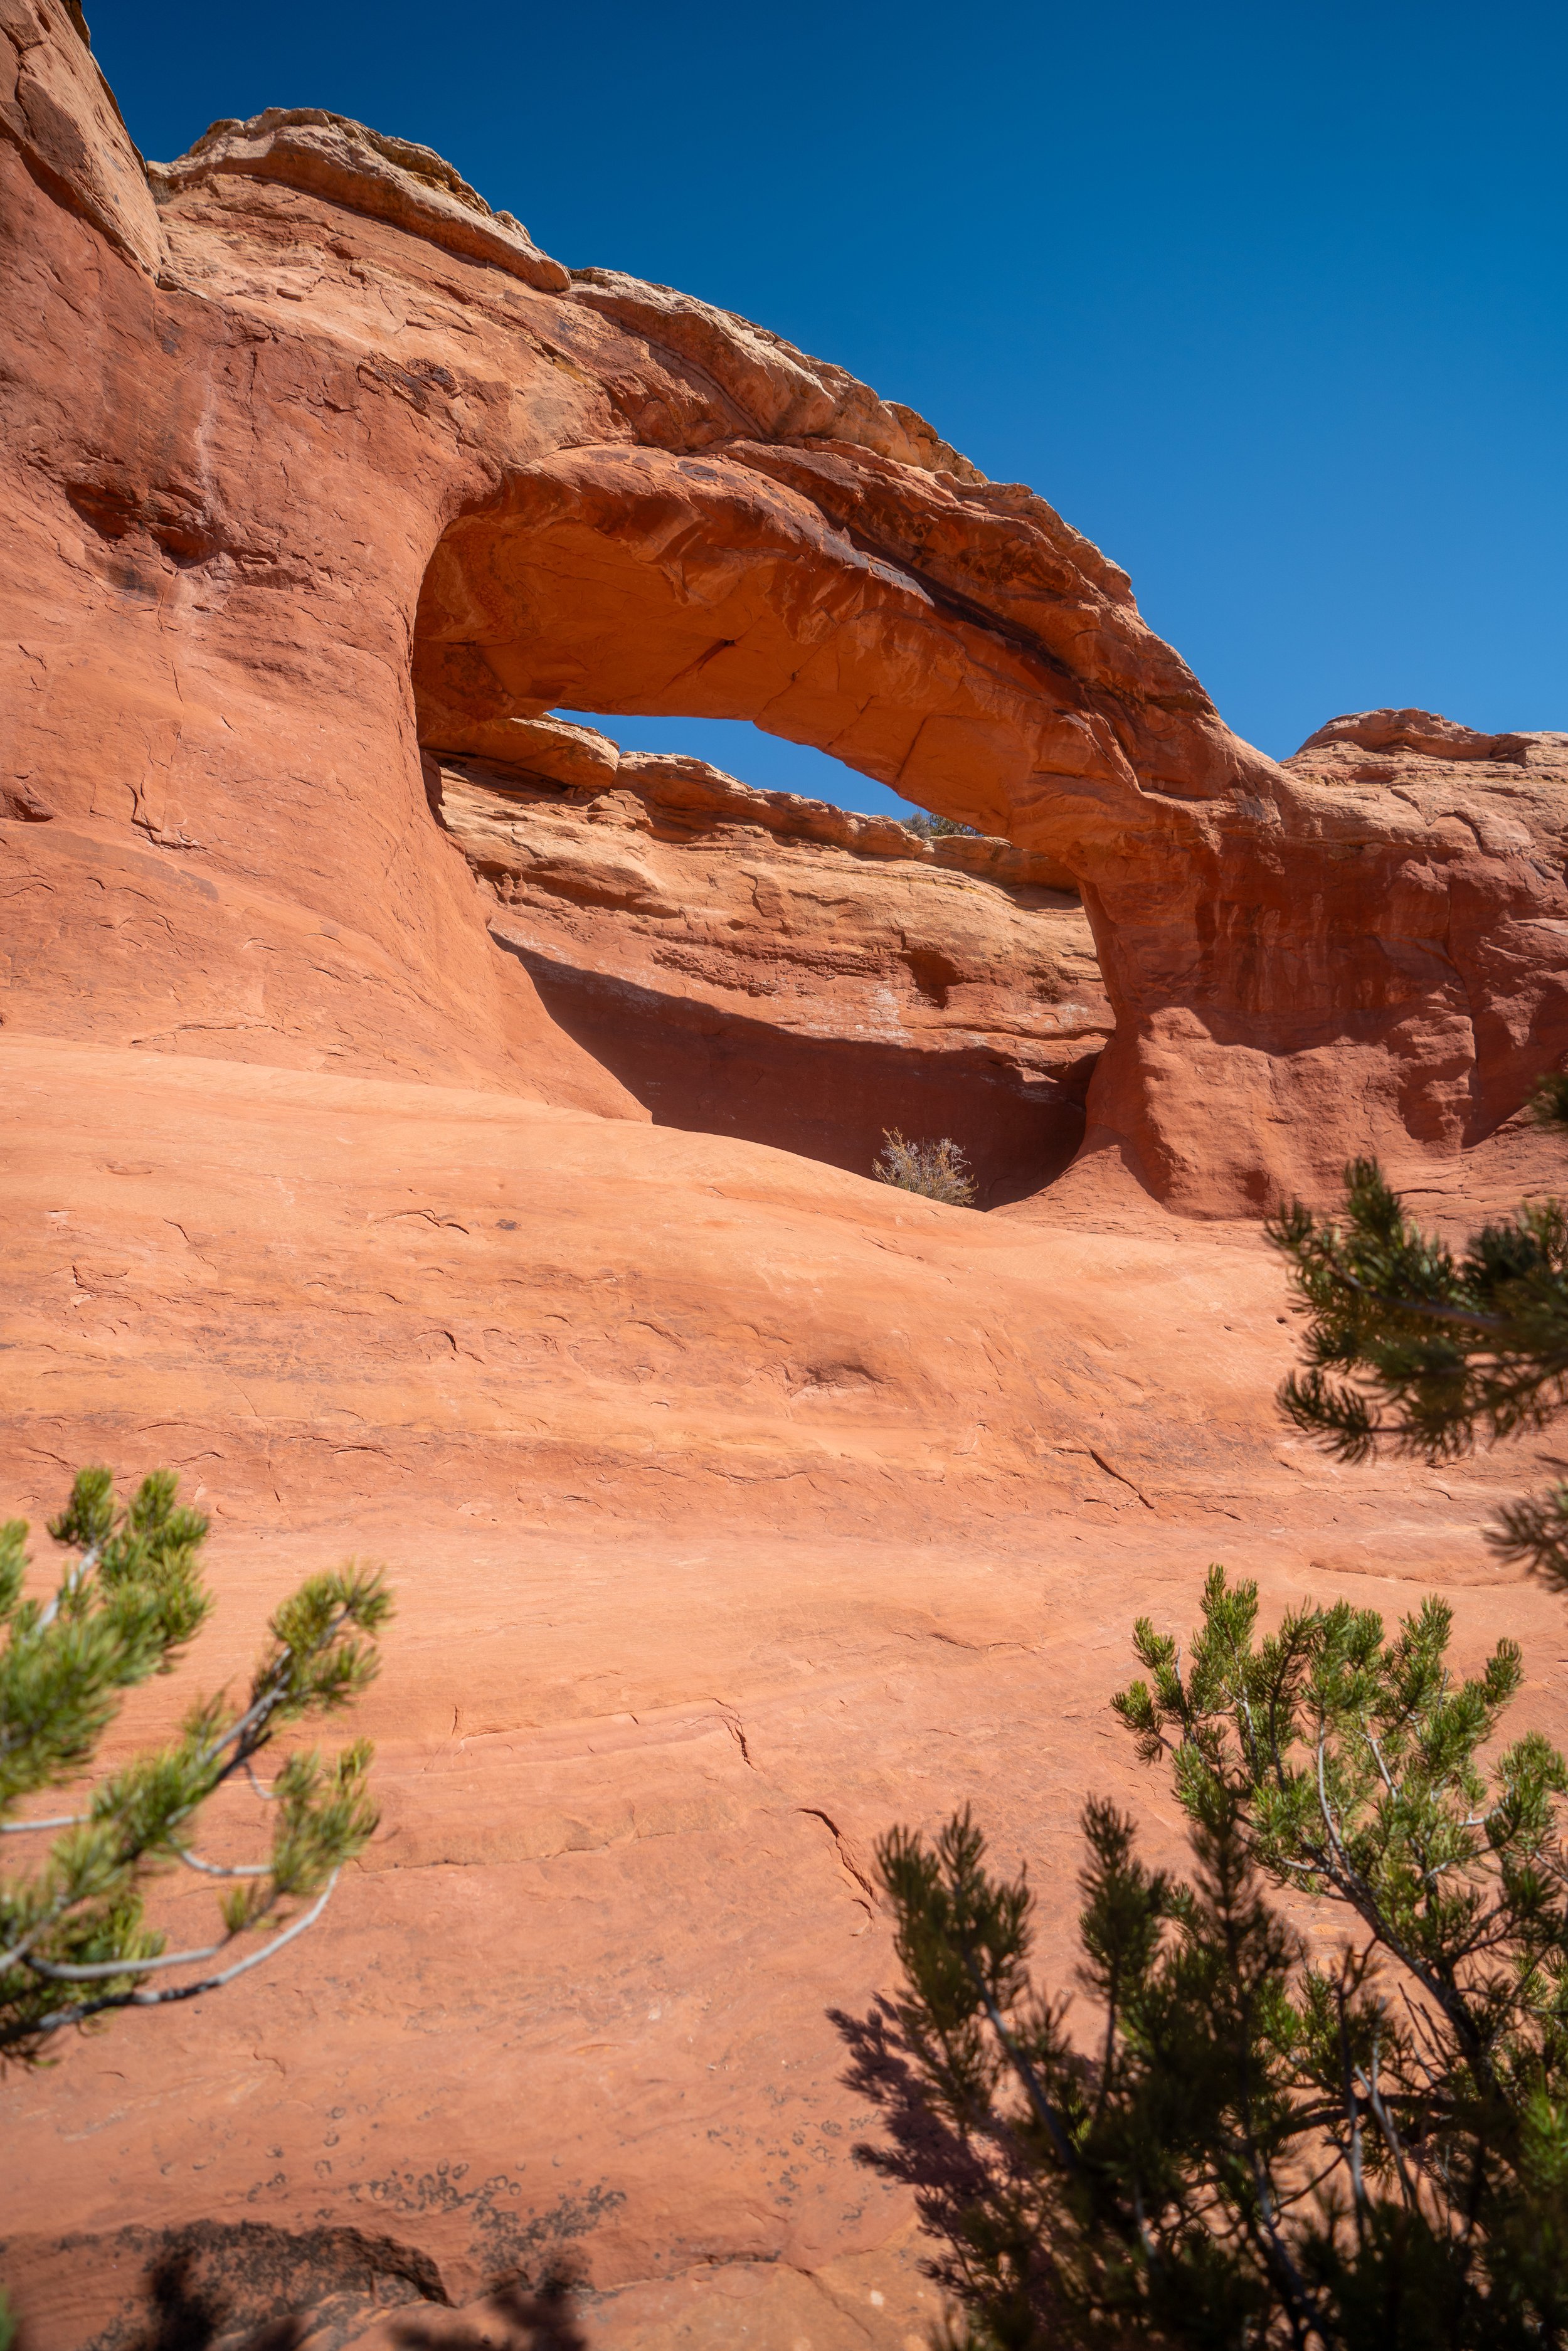
Delicate Arch-Petroglyphs Loop Junction
This is the first of two junctions for the Petroglyphs Loop off the Delicate Arch Trail.
Should you choose to go left here, the Petroglyphs Loop meets back up with the Delicate Arch Trail shortly ahead.
Second Delicate Arch-Petroglyphs Junction
After 0.2 miles (0.3 km), the Delicate Arch Trail passes by the second Petroglyphs junction, which is where the first uphill section on the hike is located.
At about the 0.6-mile (1.0 km) mark, the 'true' elevation gain begins, which continues for most of the remaining distance to the Delicate Arch.
The exposed, uphill sections on the open sandstone shown below are generally regarded as the most challenging parts of the entire hike.
This is especially true in the hot summer months, as there are few, if any, places to get out of the sun.
As the Delicate Arch Trail nears the top of the sandstone rock face, several arrows should begin guiding the trail to the left.
In my experience, some of these sections can be particularly confusing after dark, such as the times I’ve stuck around for the Milky Way.
If this is something that you’re considering, be sure to take photos or good mental notes of the trail because it can be considerably harder to navigate by headlamp only.
Compared to the sections prior, the uphill on the Delicate Arch Trail begins to level off considerably, from the open rock face shown above.
Within the last 0.25 miles (0.4 km), the Delicate Arch Trail traverses a number of narrow ledges around the back side of the steep basin below the arch.
These final sections, just prior to the Delicate Arch, are among the most dangerous and exposed on the entire trail.
I only emphasize this again to inform that visitors have taken fatal falls at the Delicate Arch before.
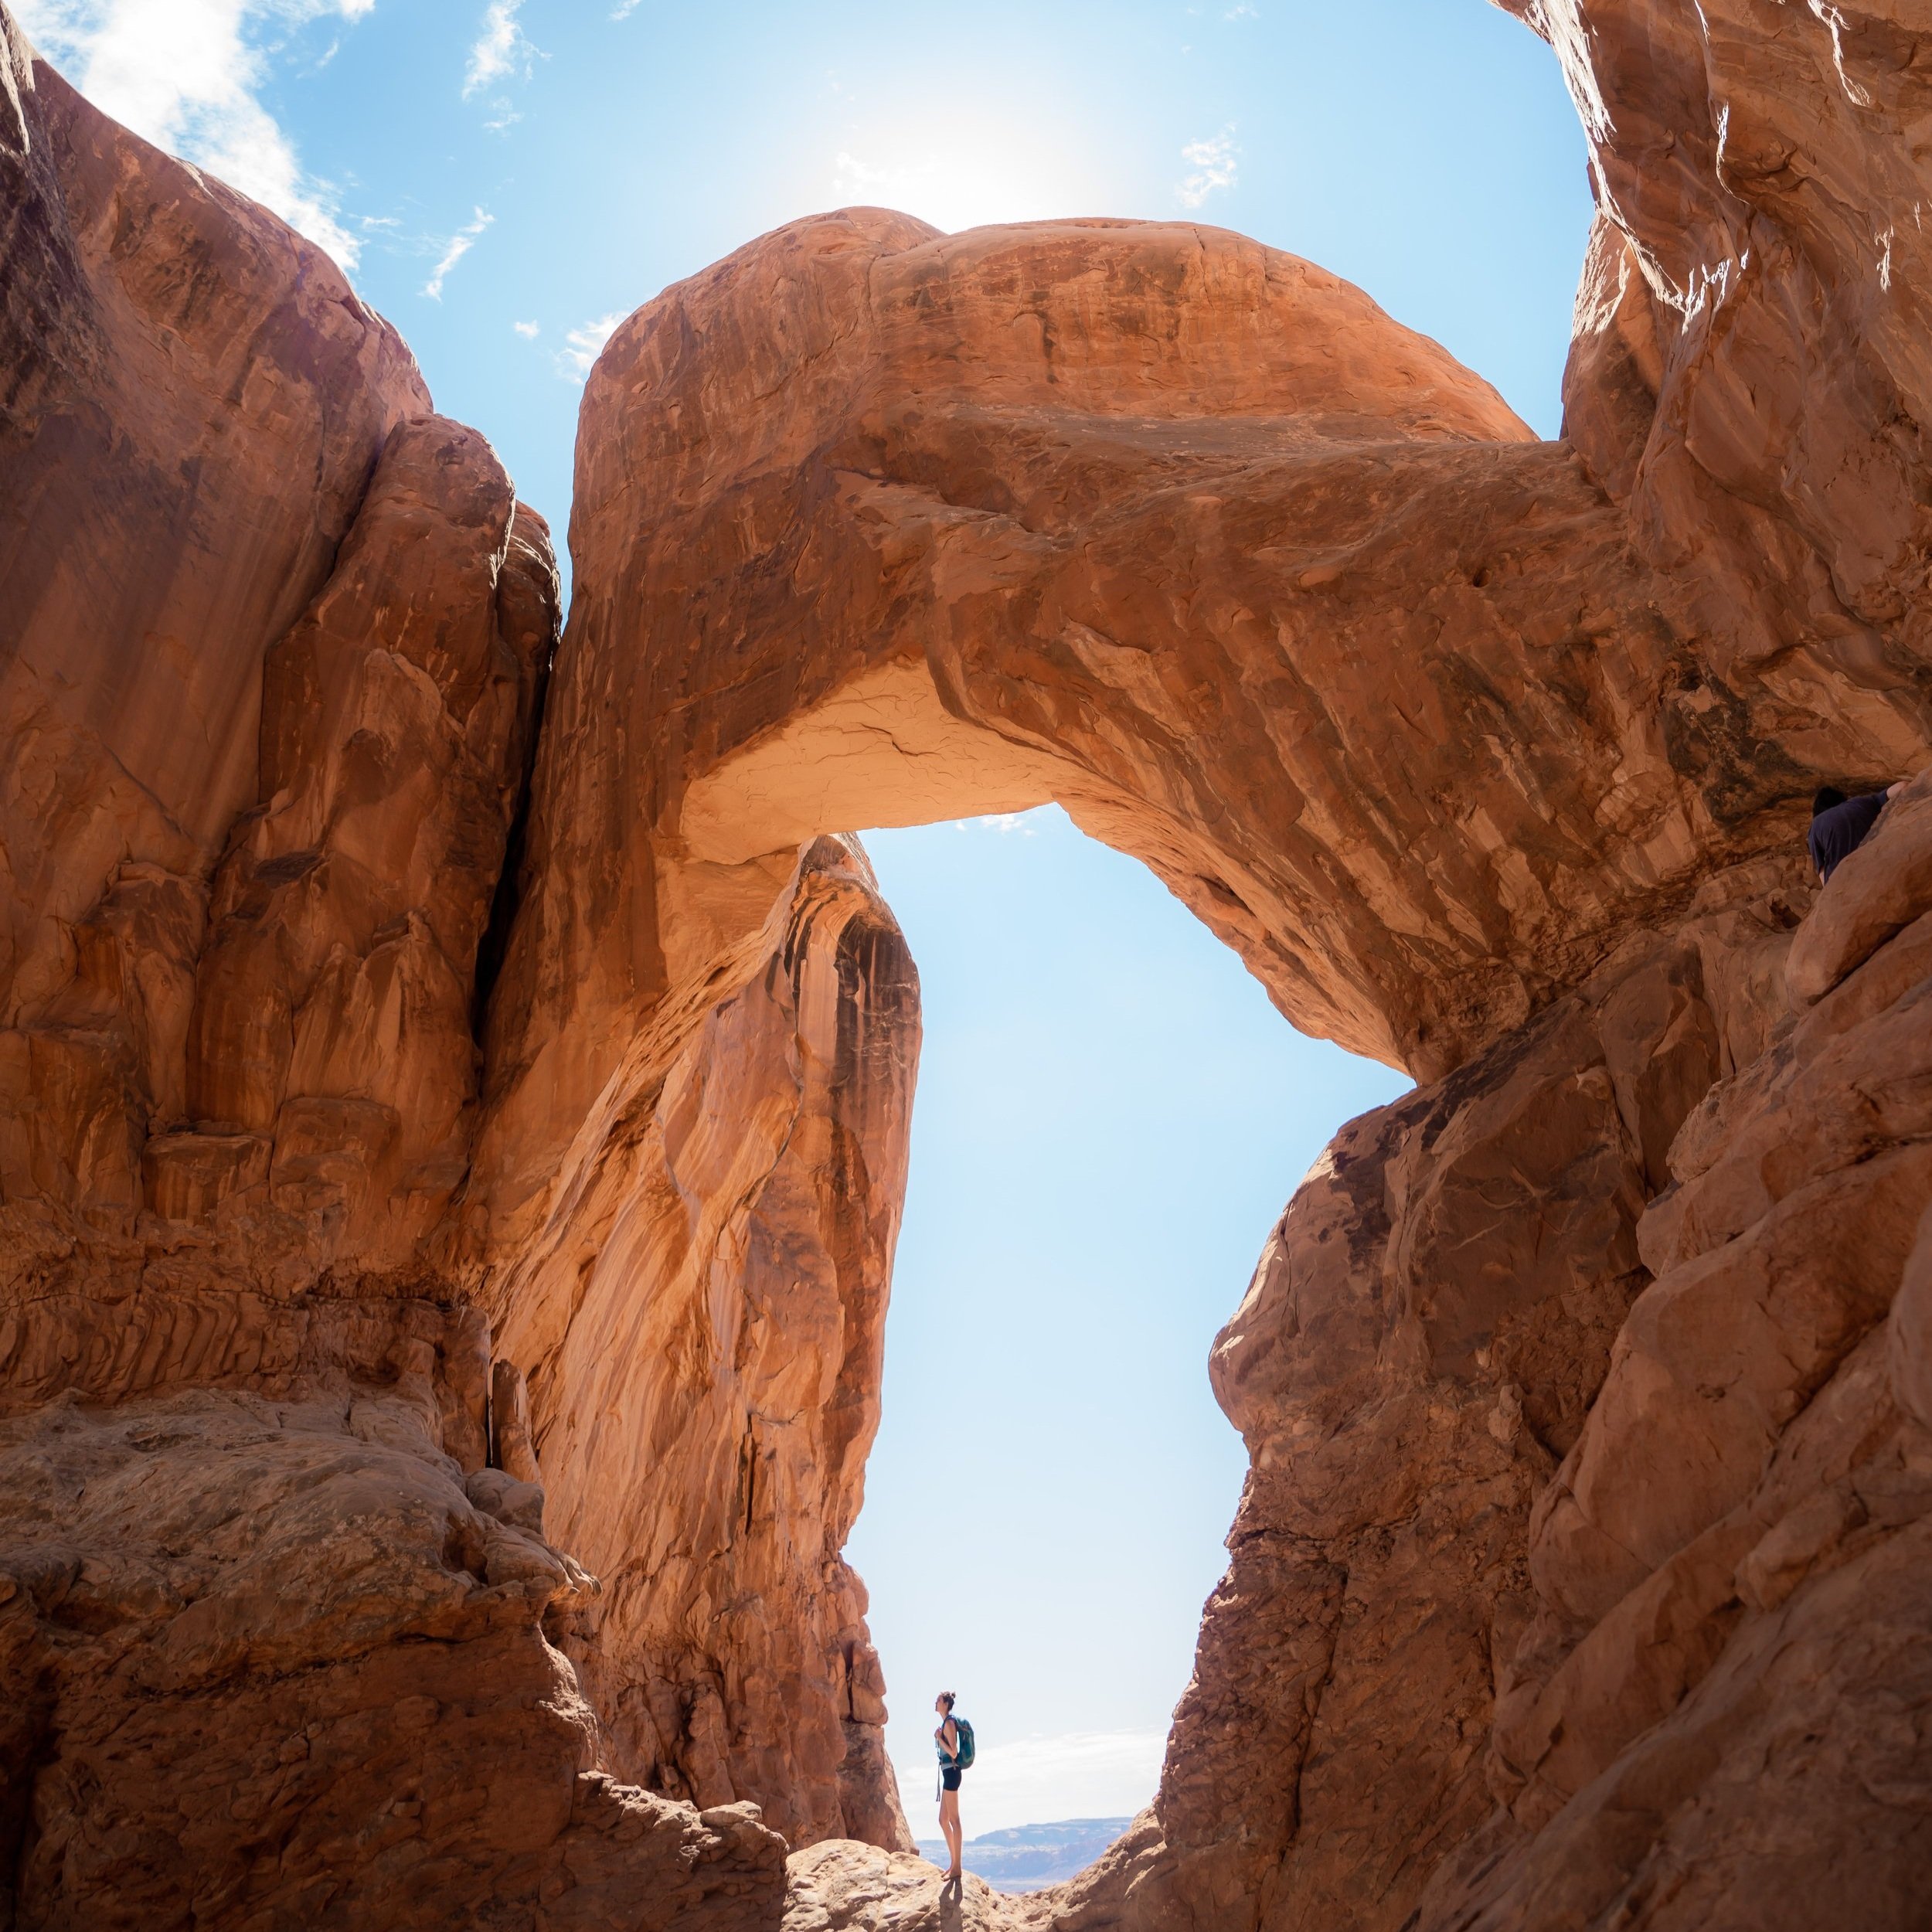
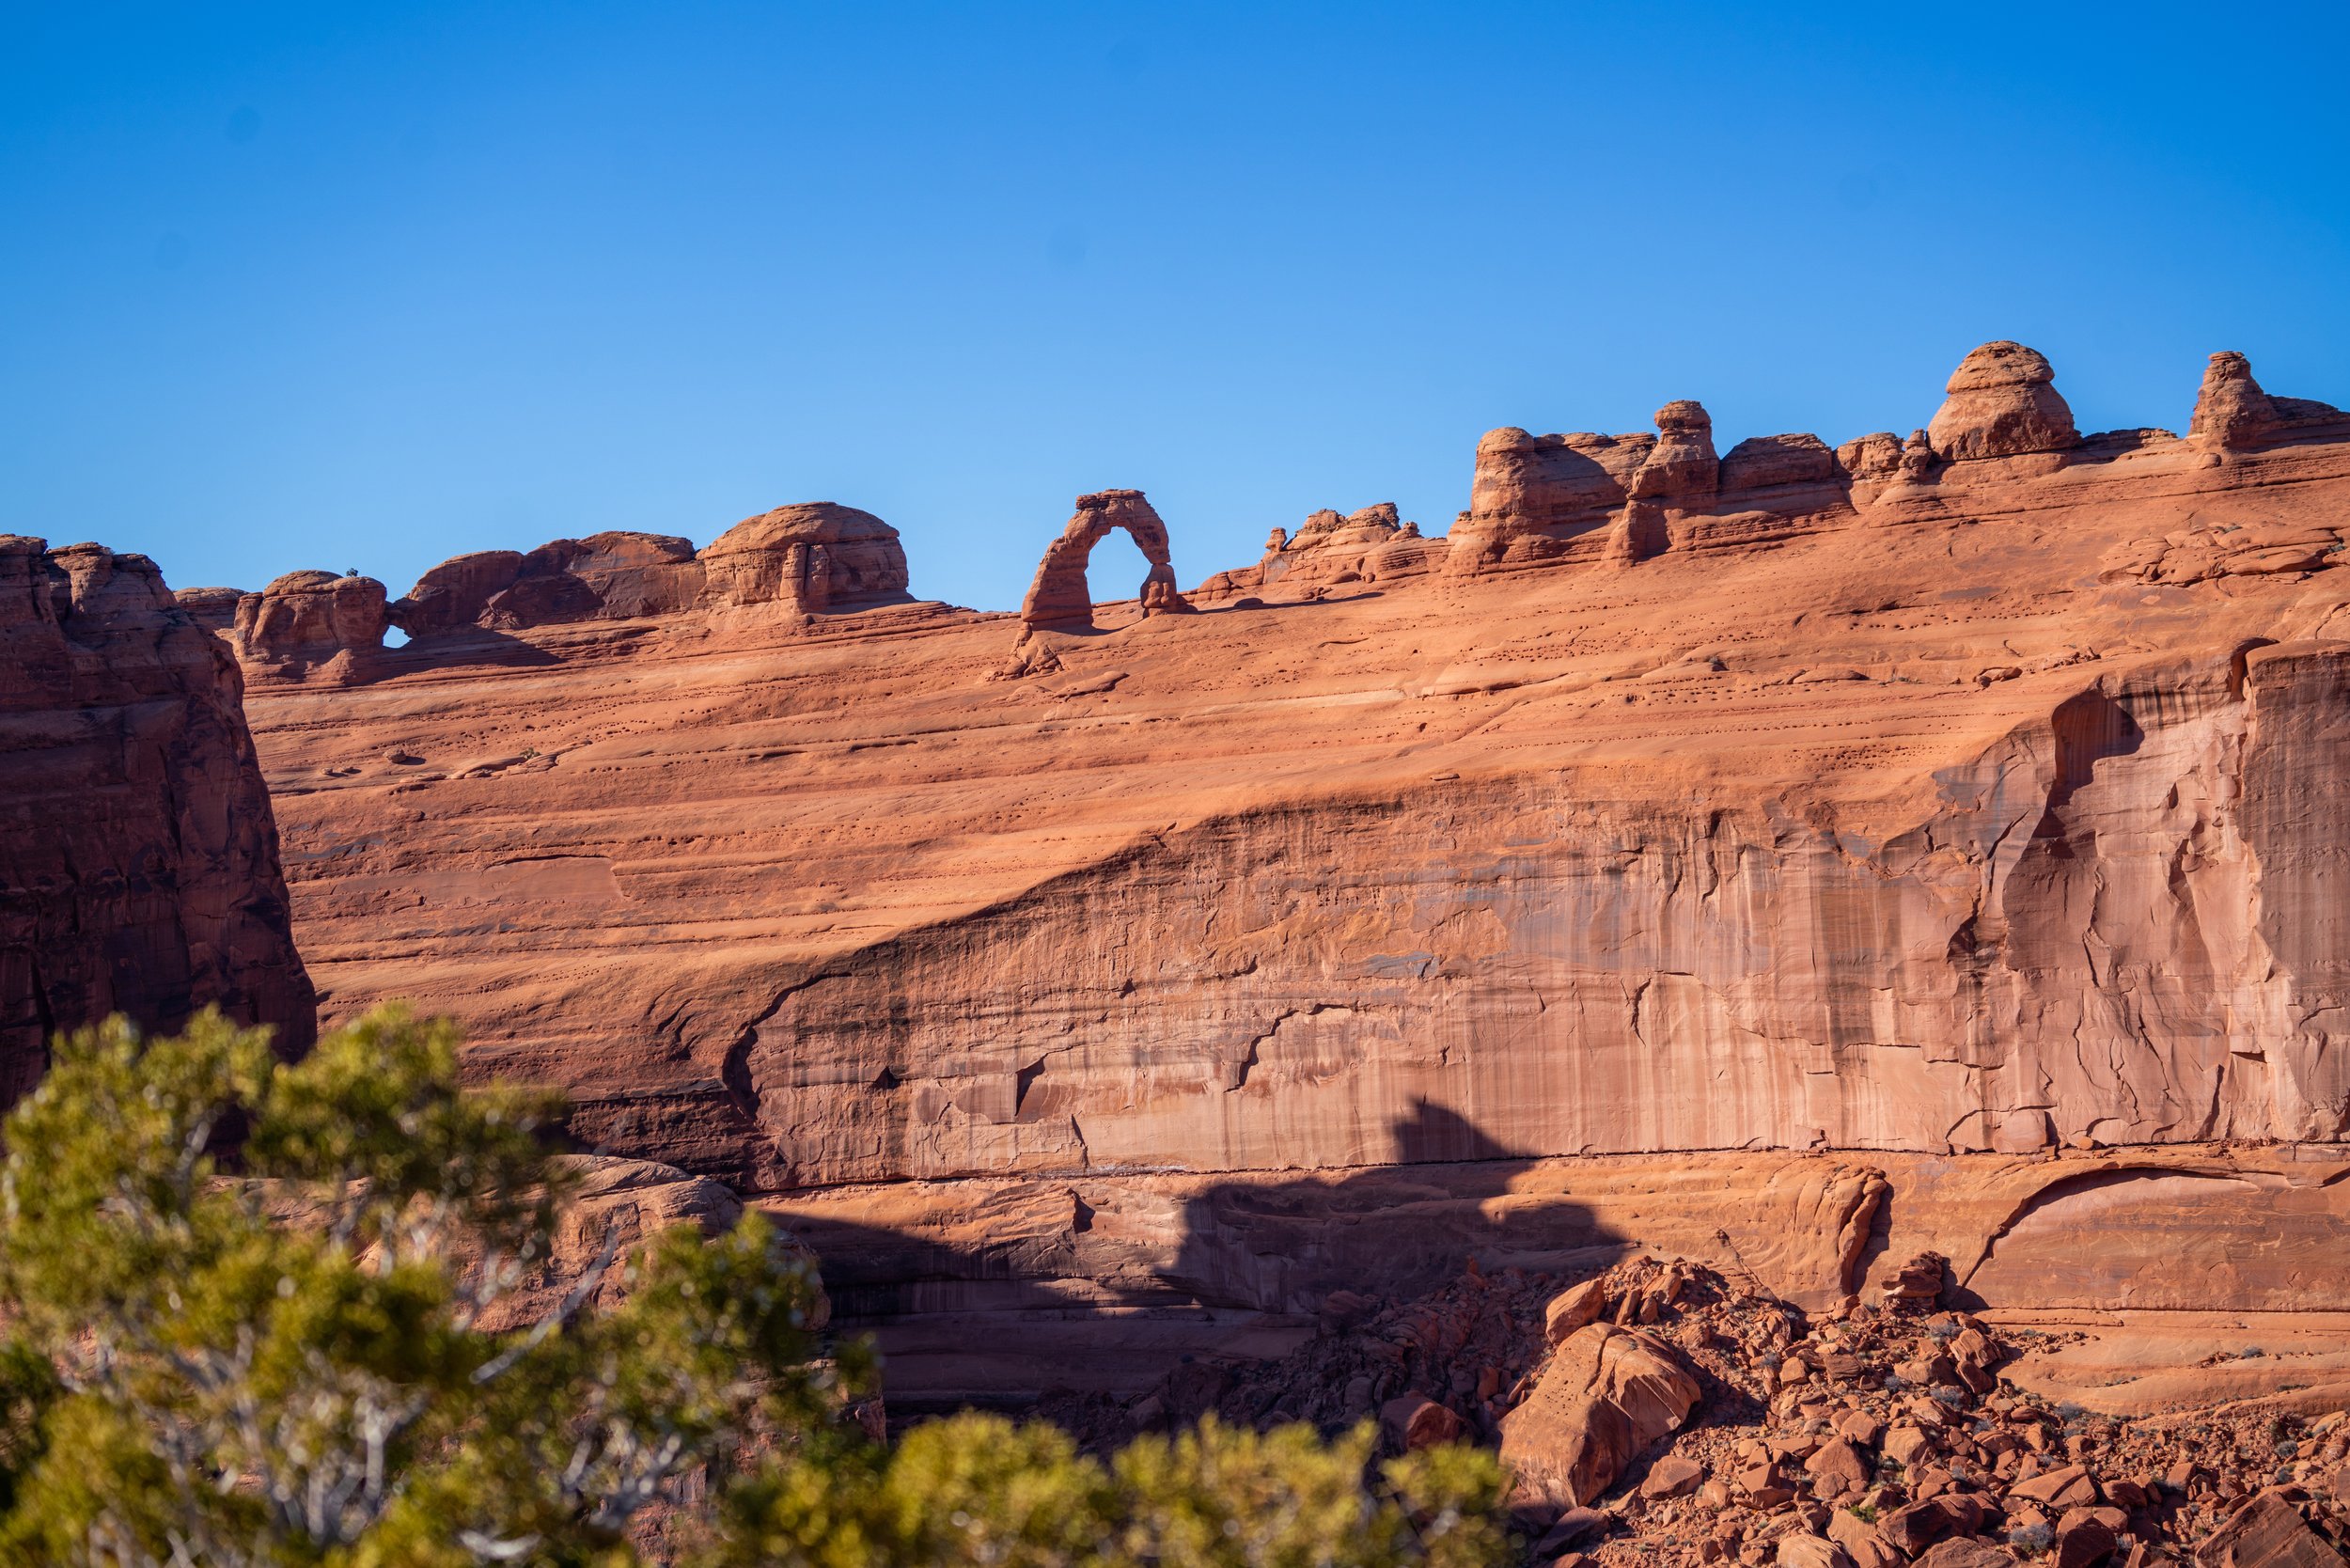
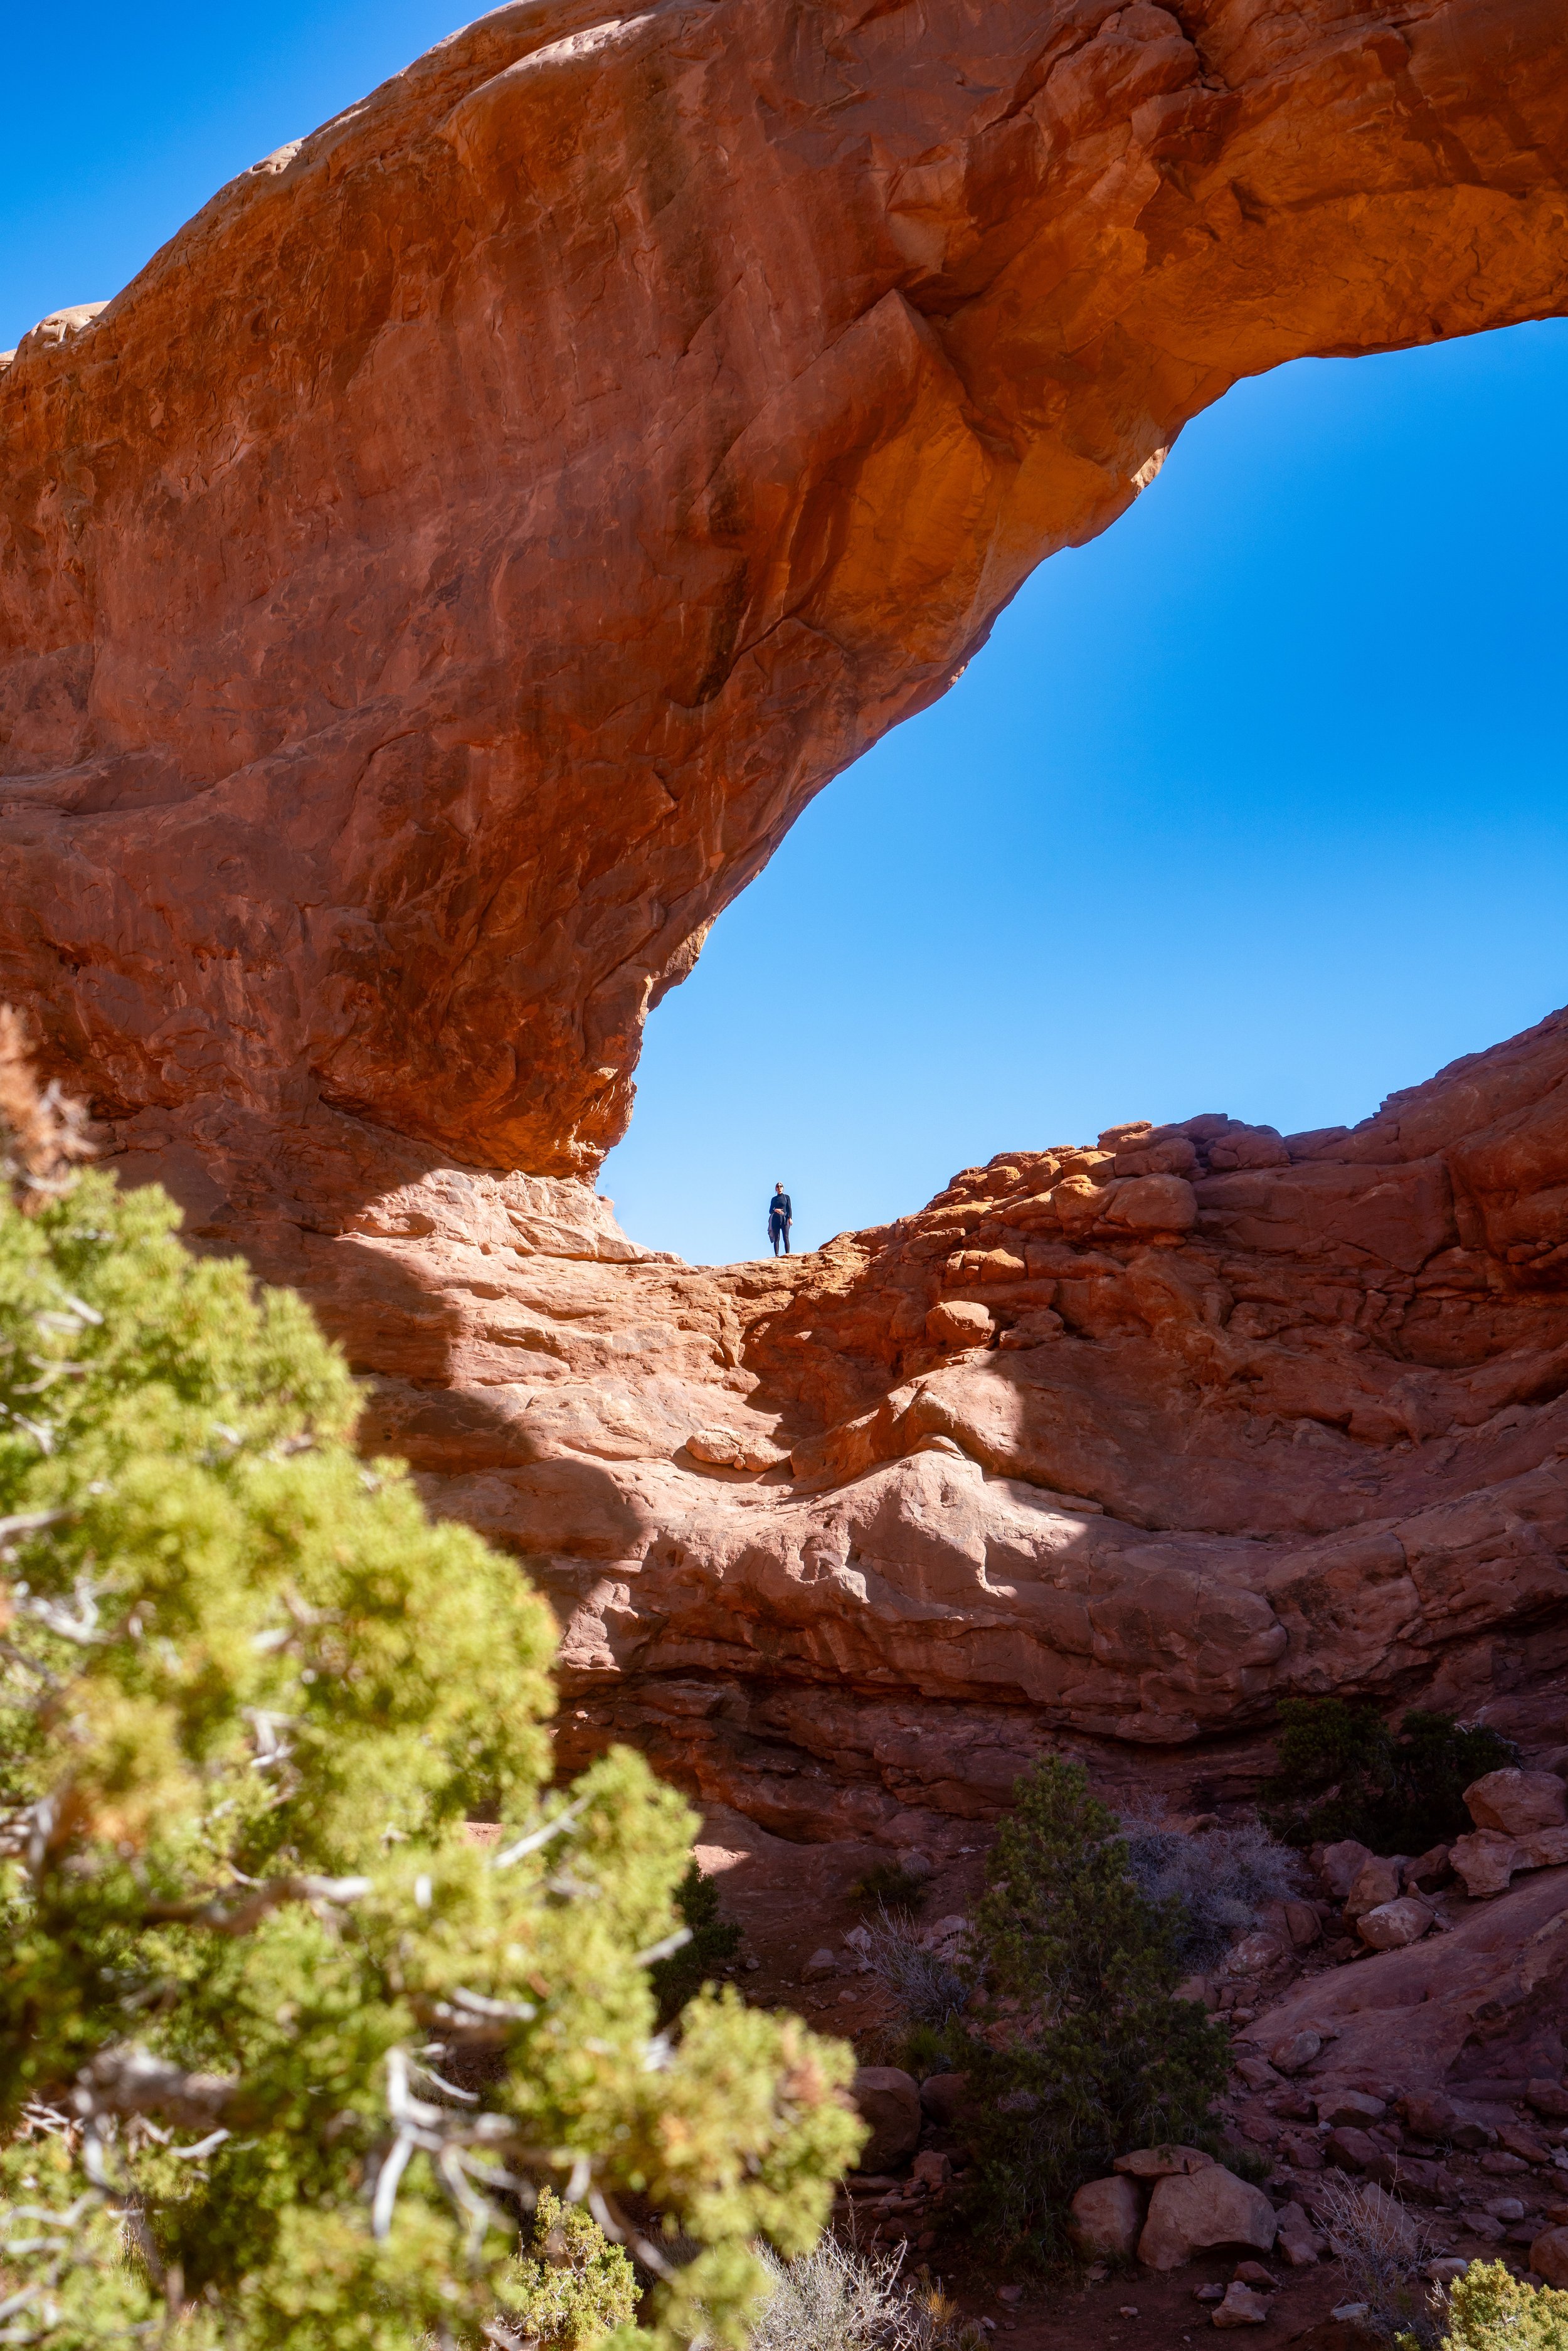
Delicate Arch
After 1.6 miles (2.6 km), the trail ends at the stunning 46-ft. (14 m) tall Delicate Arch, facing out toward Delicate Arch Viewpoint Trail and the beautiful La Sal Mountains to the southeast.
That said, photos, such as mine, don’t often show the crowds around the Delicate Arch, but there is typically a line just off to the left side of the arch, with people waiting for their turn to take a photo beneath the arch.
In addition, photos also don’t show the steep basin just below the arch. However, visitors have taken fatal falls on the slippery sandstone at the Delicate Arch before, which I only mention to make others away of the not-so-obvious dangers surrounding this amazing natural wonder!
Delicate Arch Petroglyphs & Wolfe Ranch
On the hike back, I visited both the Petroglyphs and Wolfe Ranch, which only adds about 0.2 miles (0.3 km) onto the roughly 3.2-mile (5.2 km) Delicate Arch Trail.